20 Flashlight Coloring Pages (Free PDF Printables)

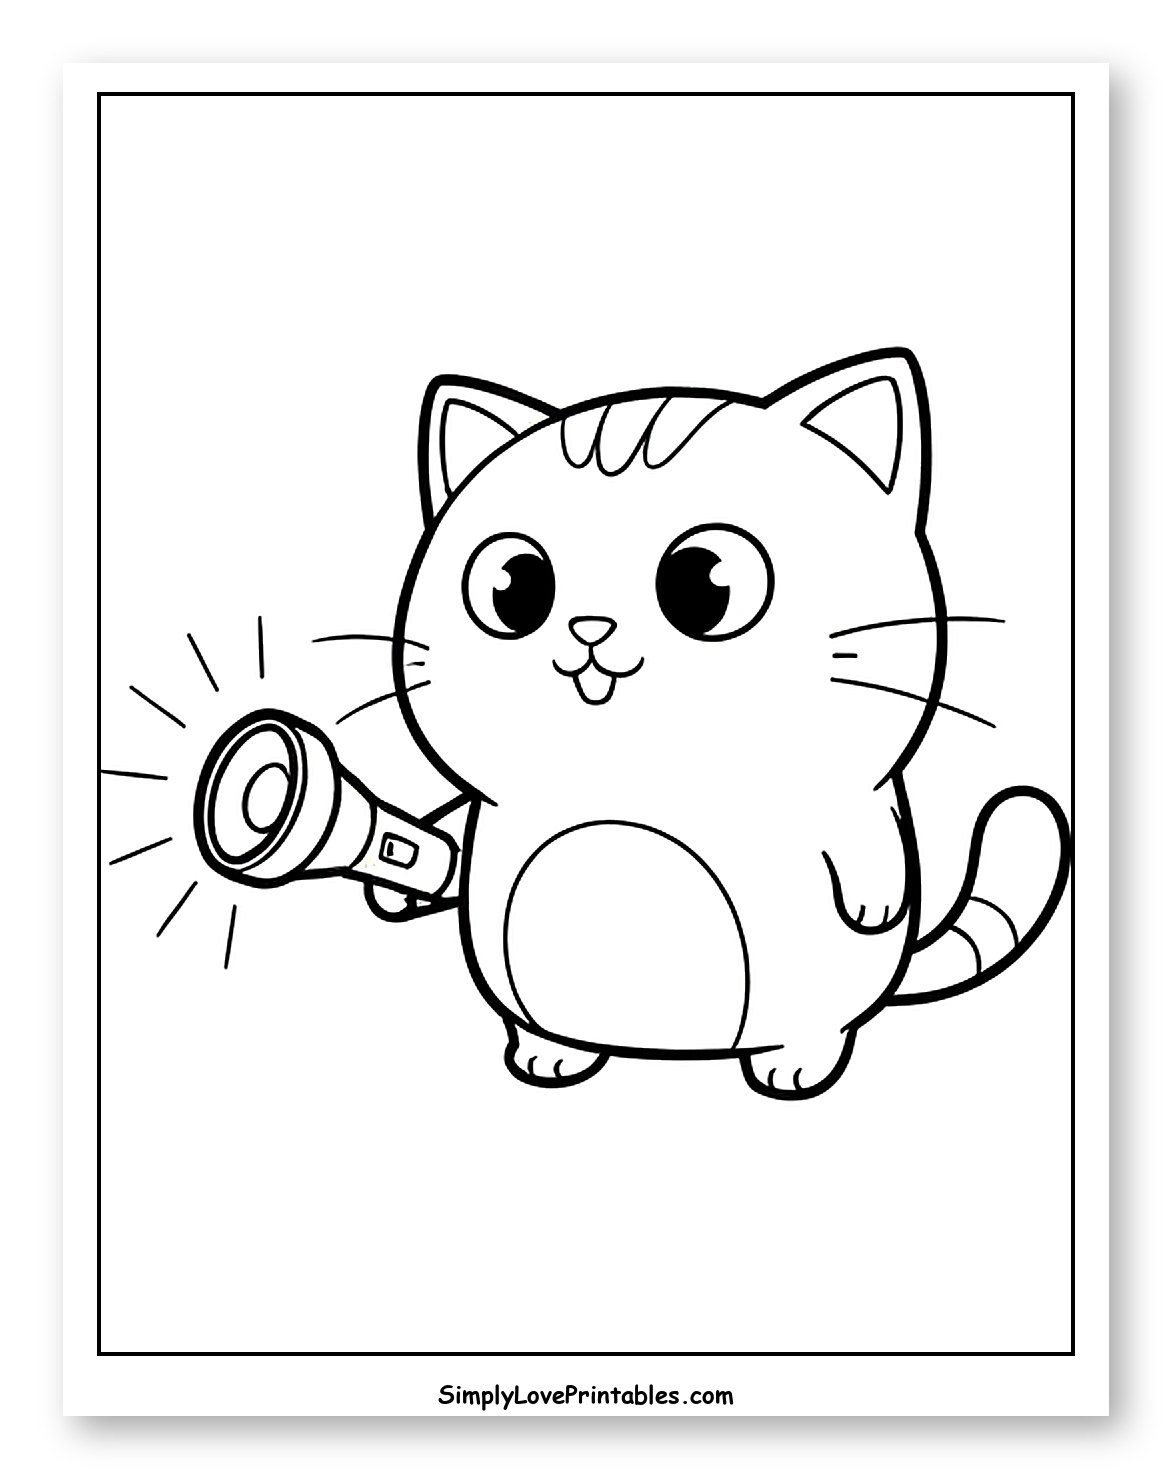
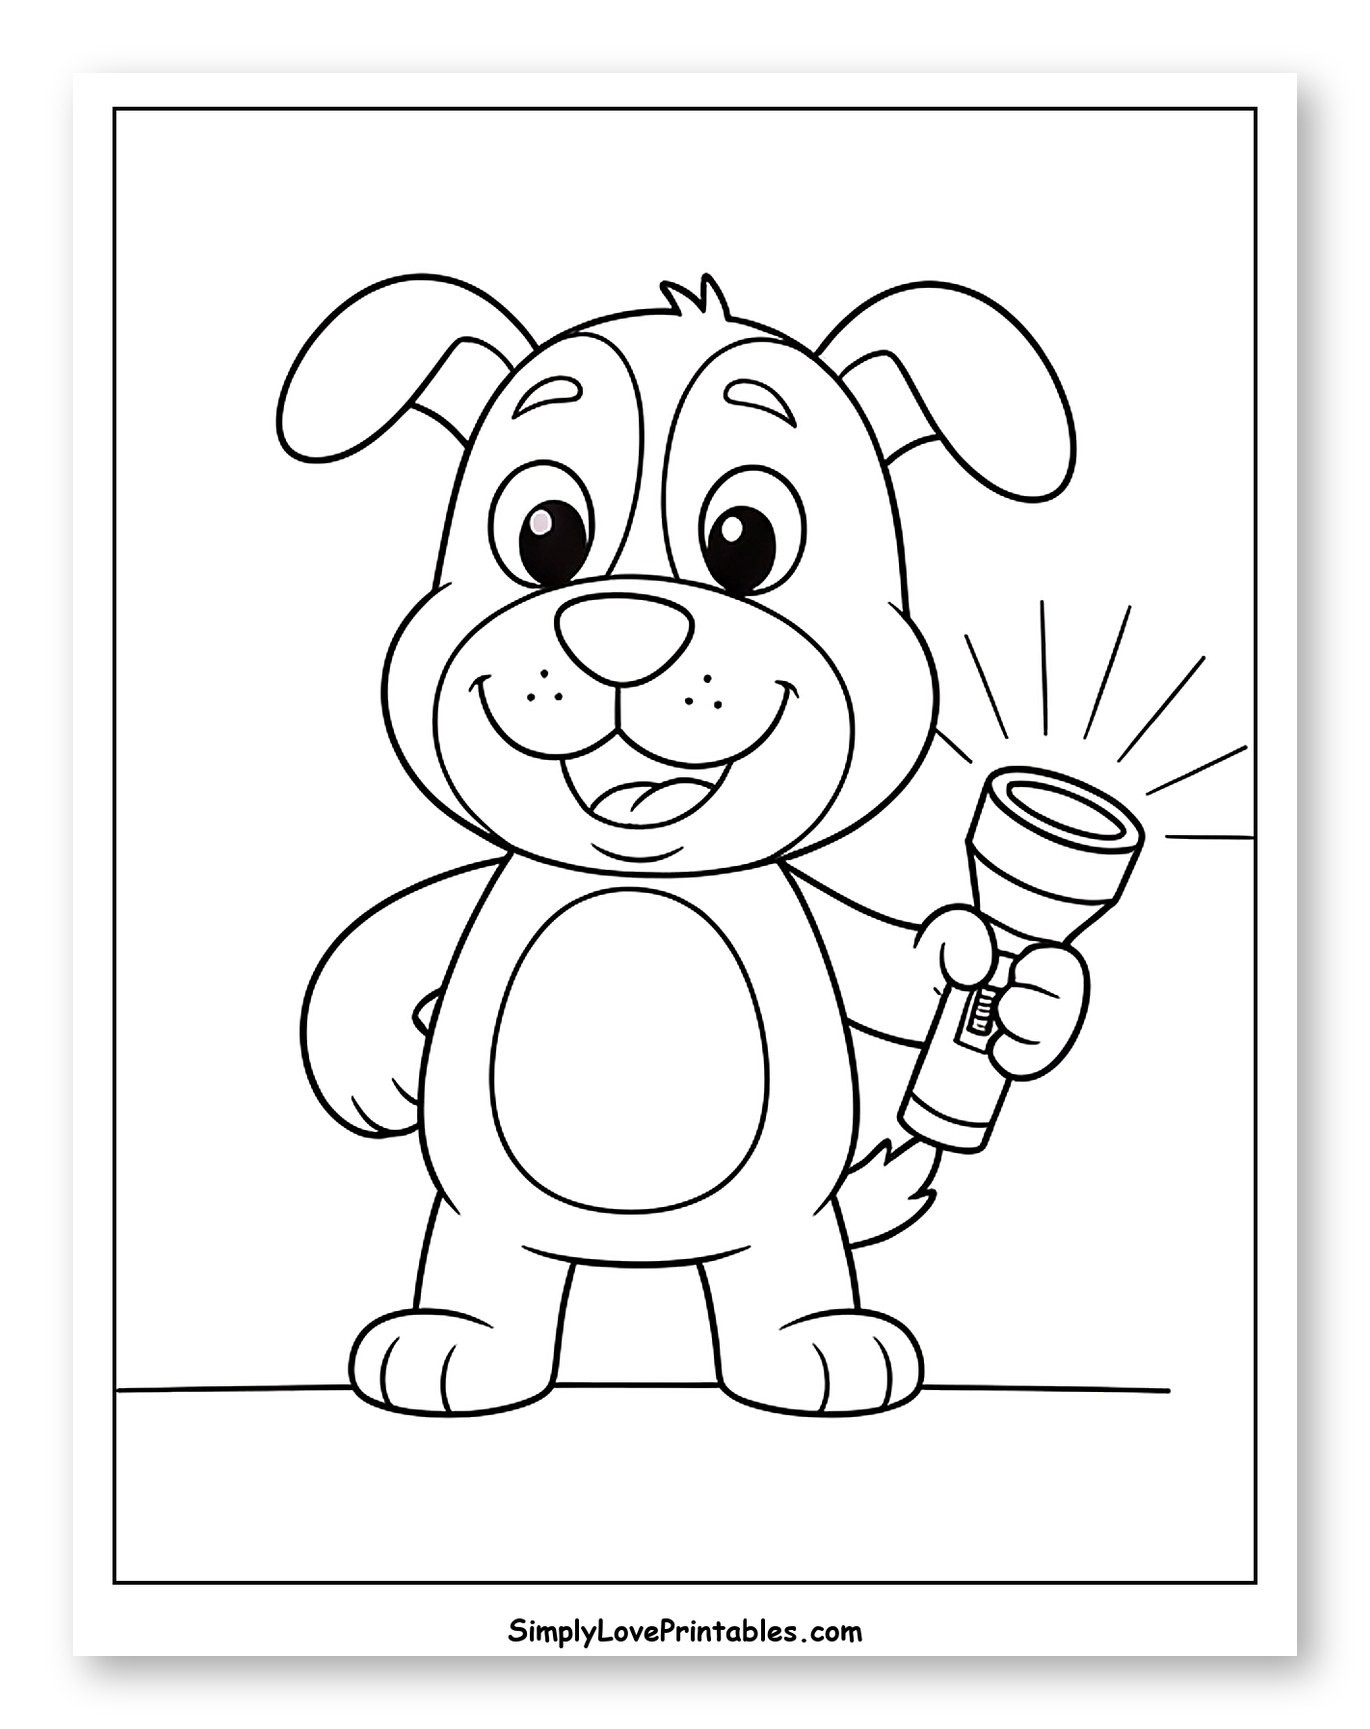
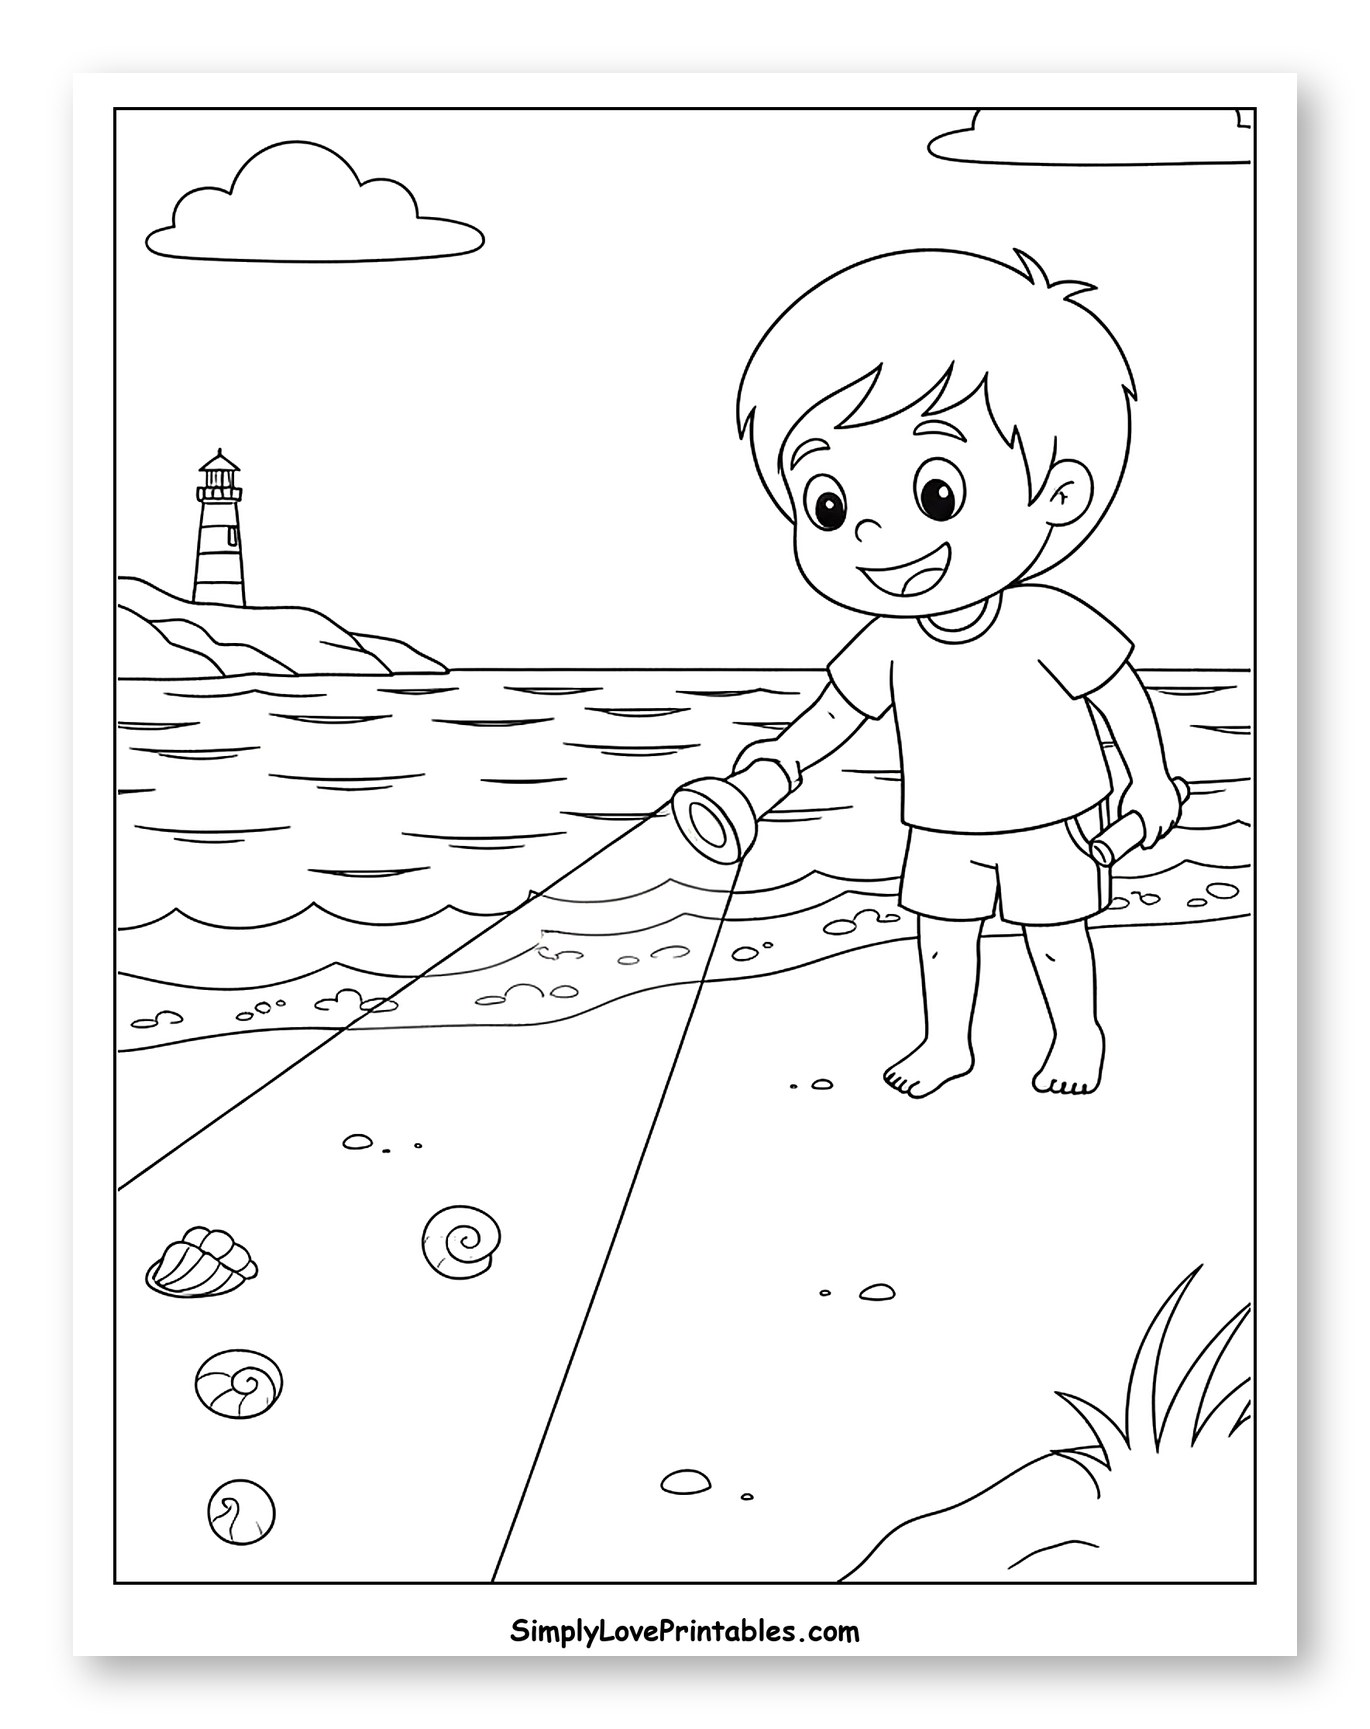
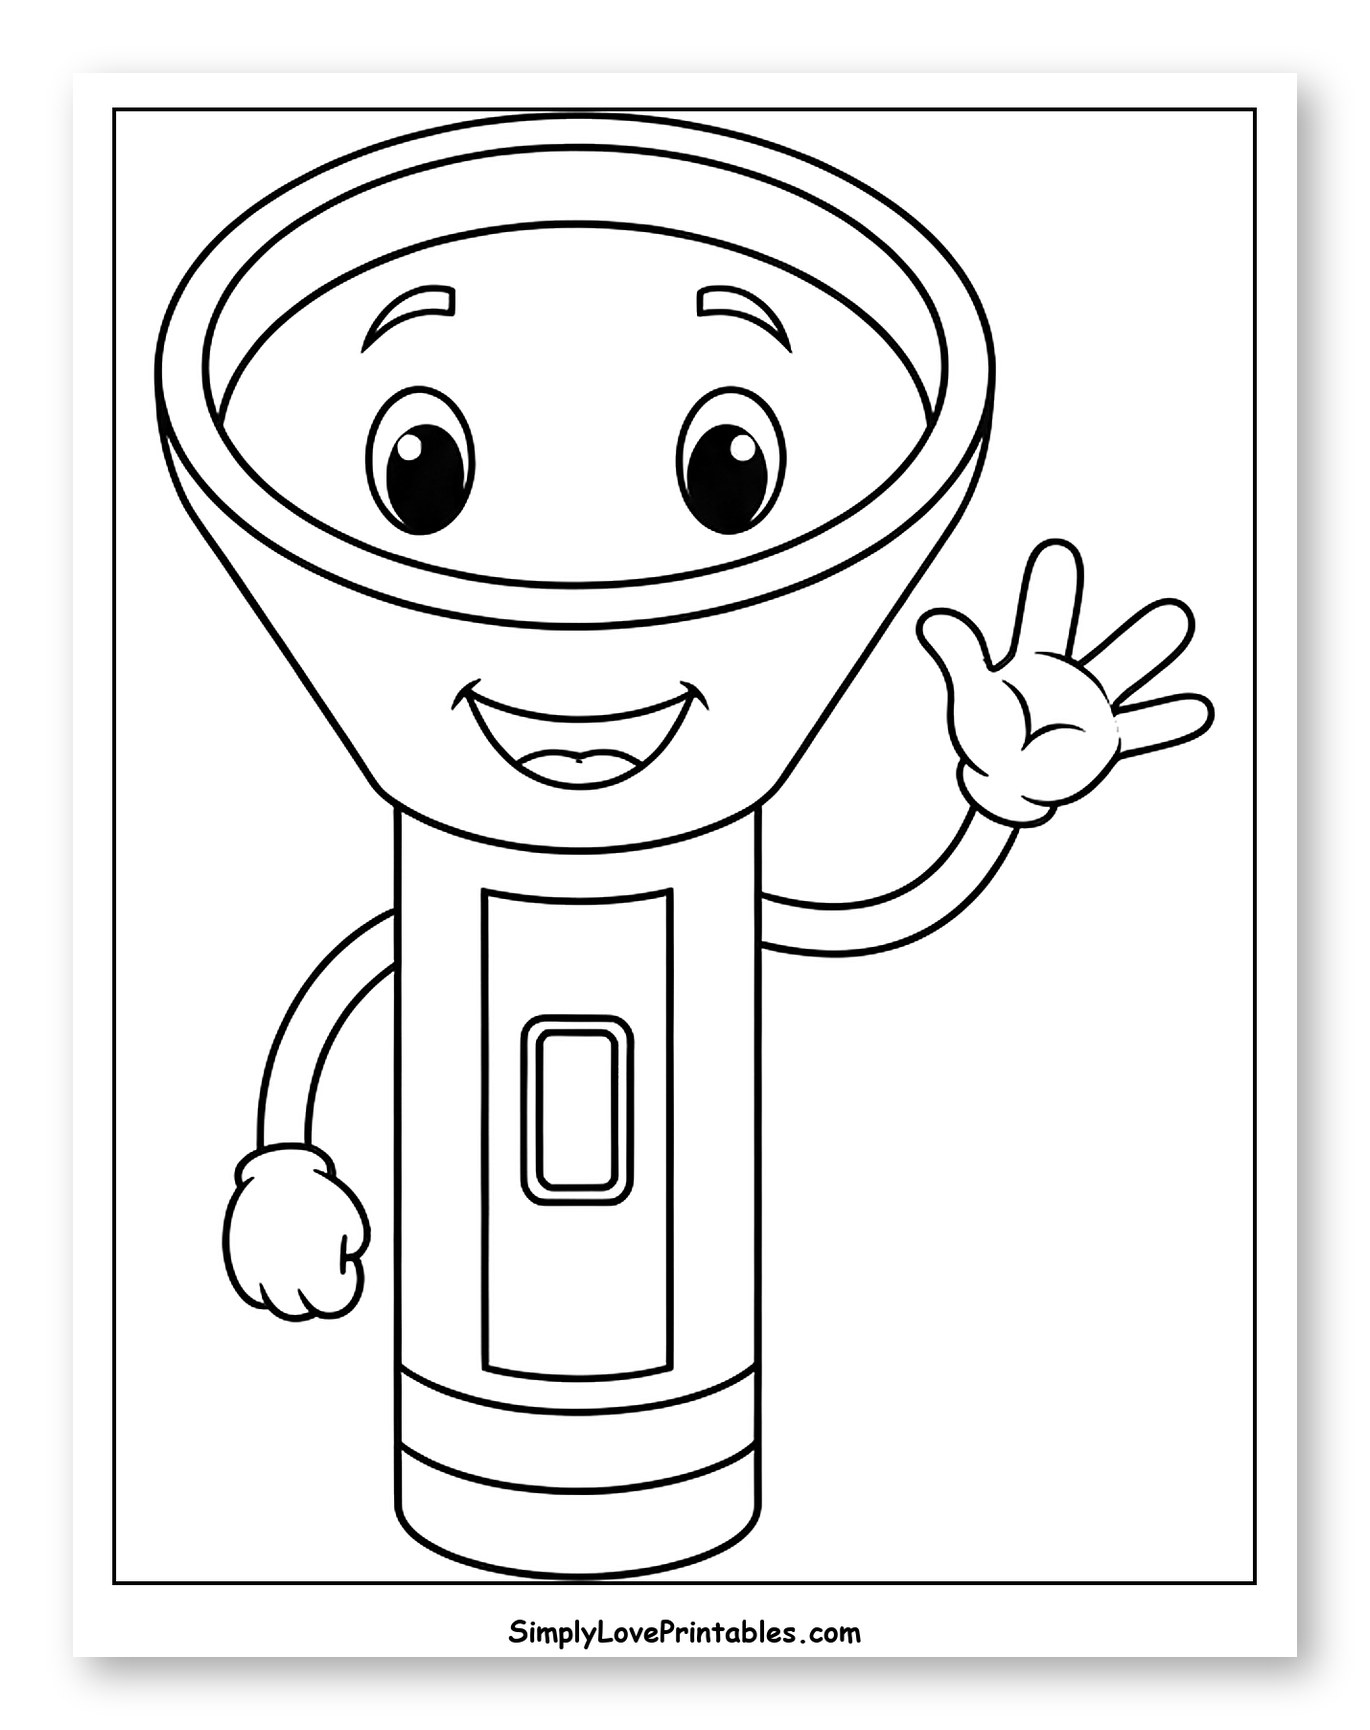
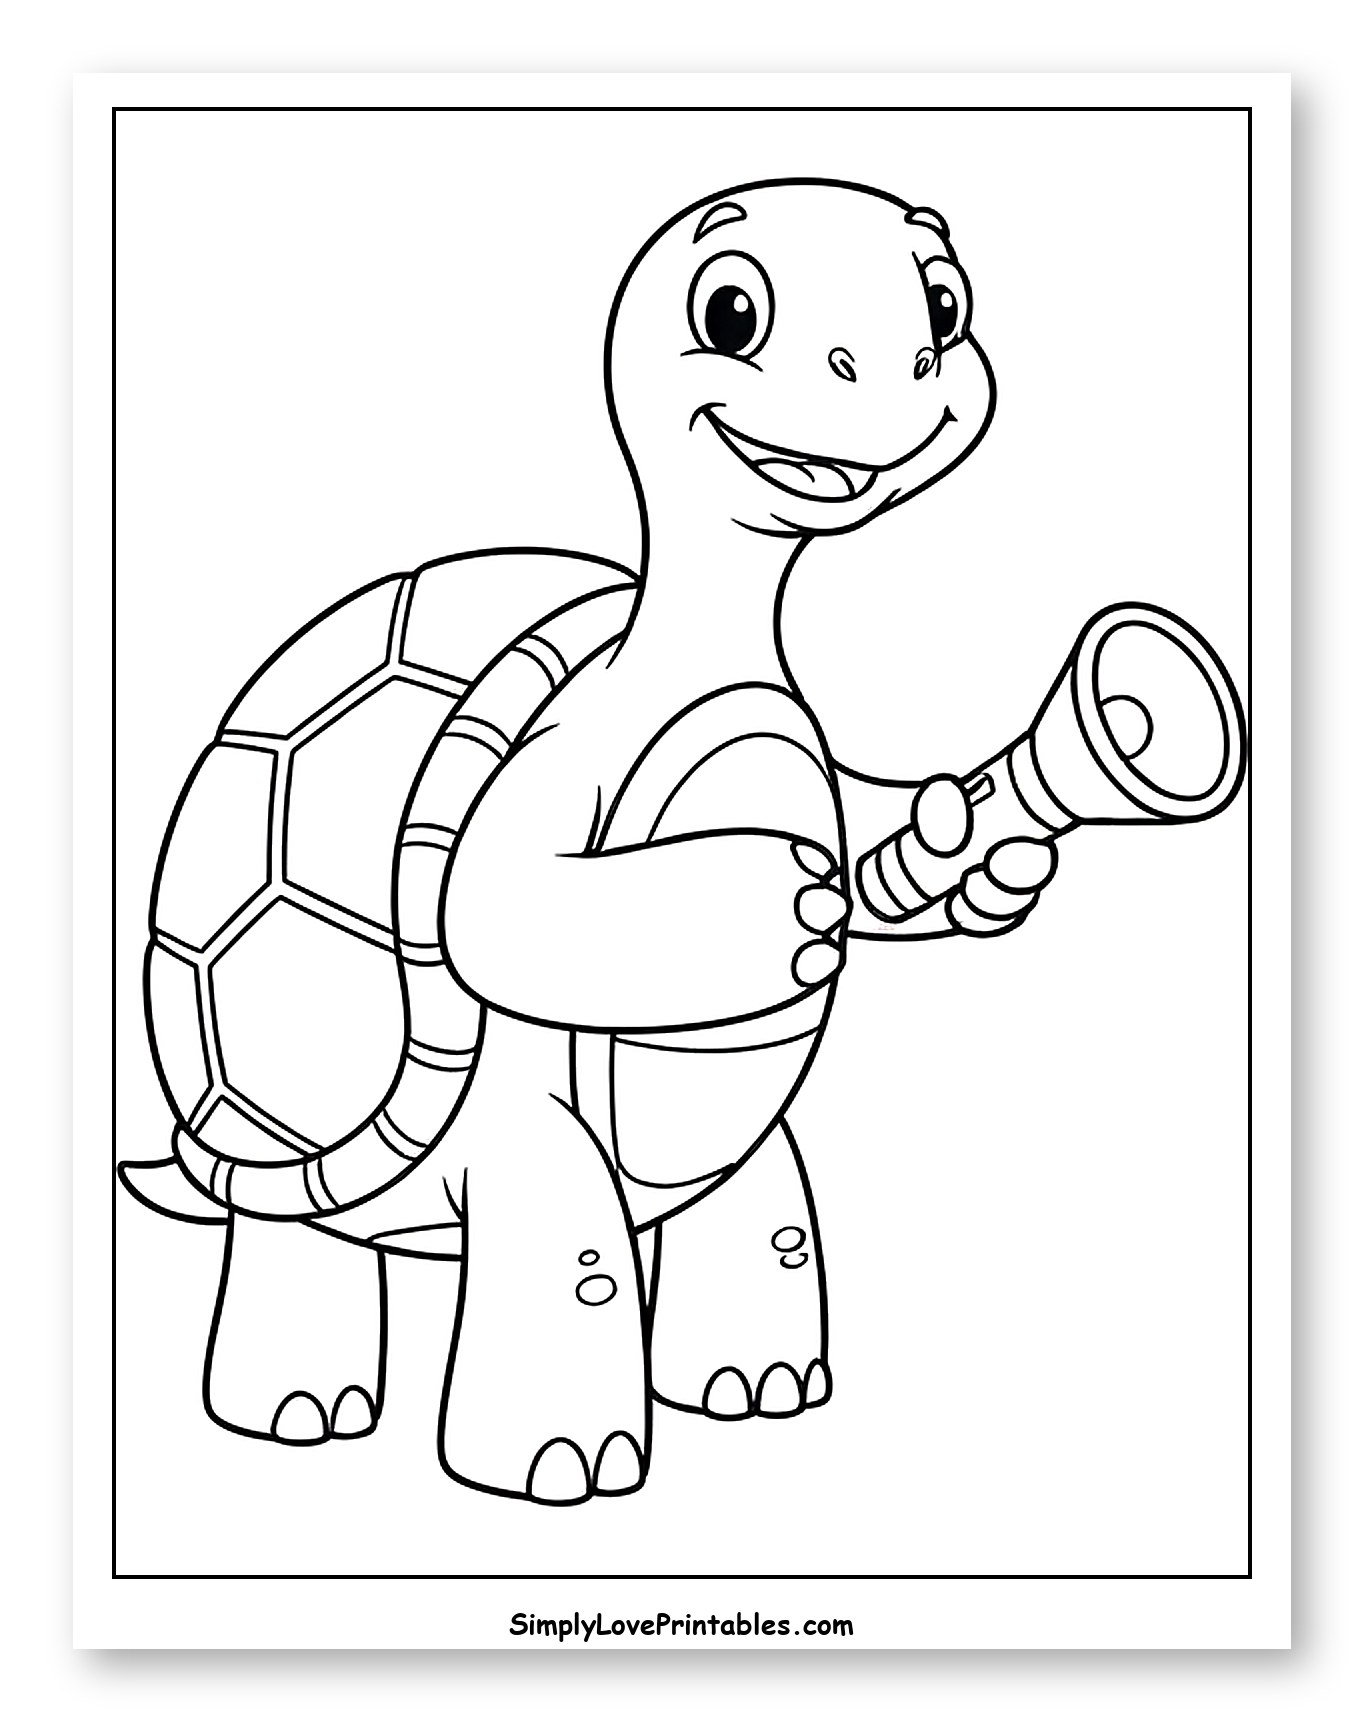
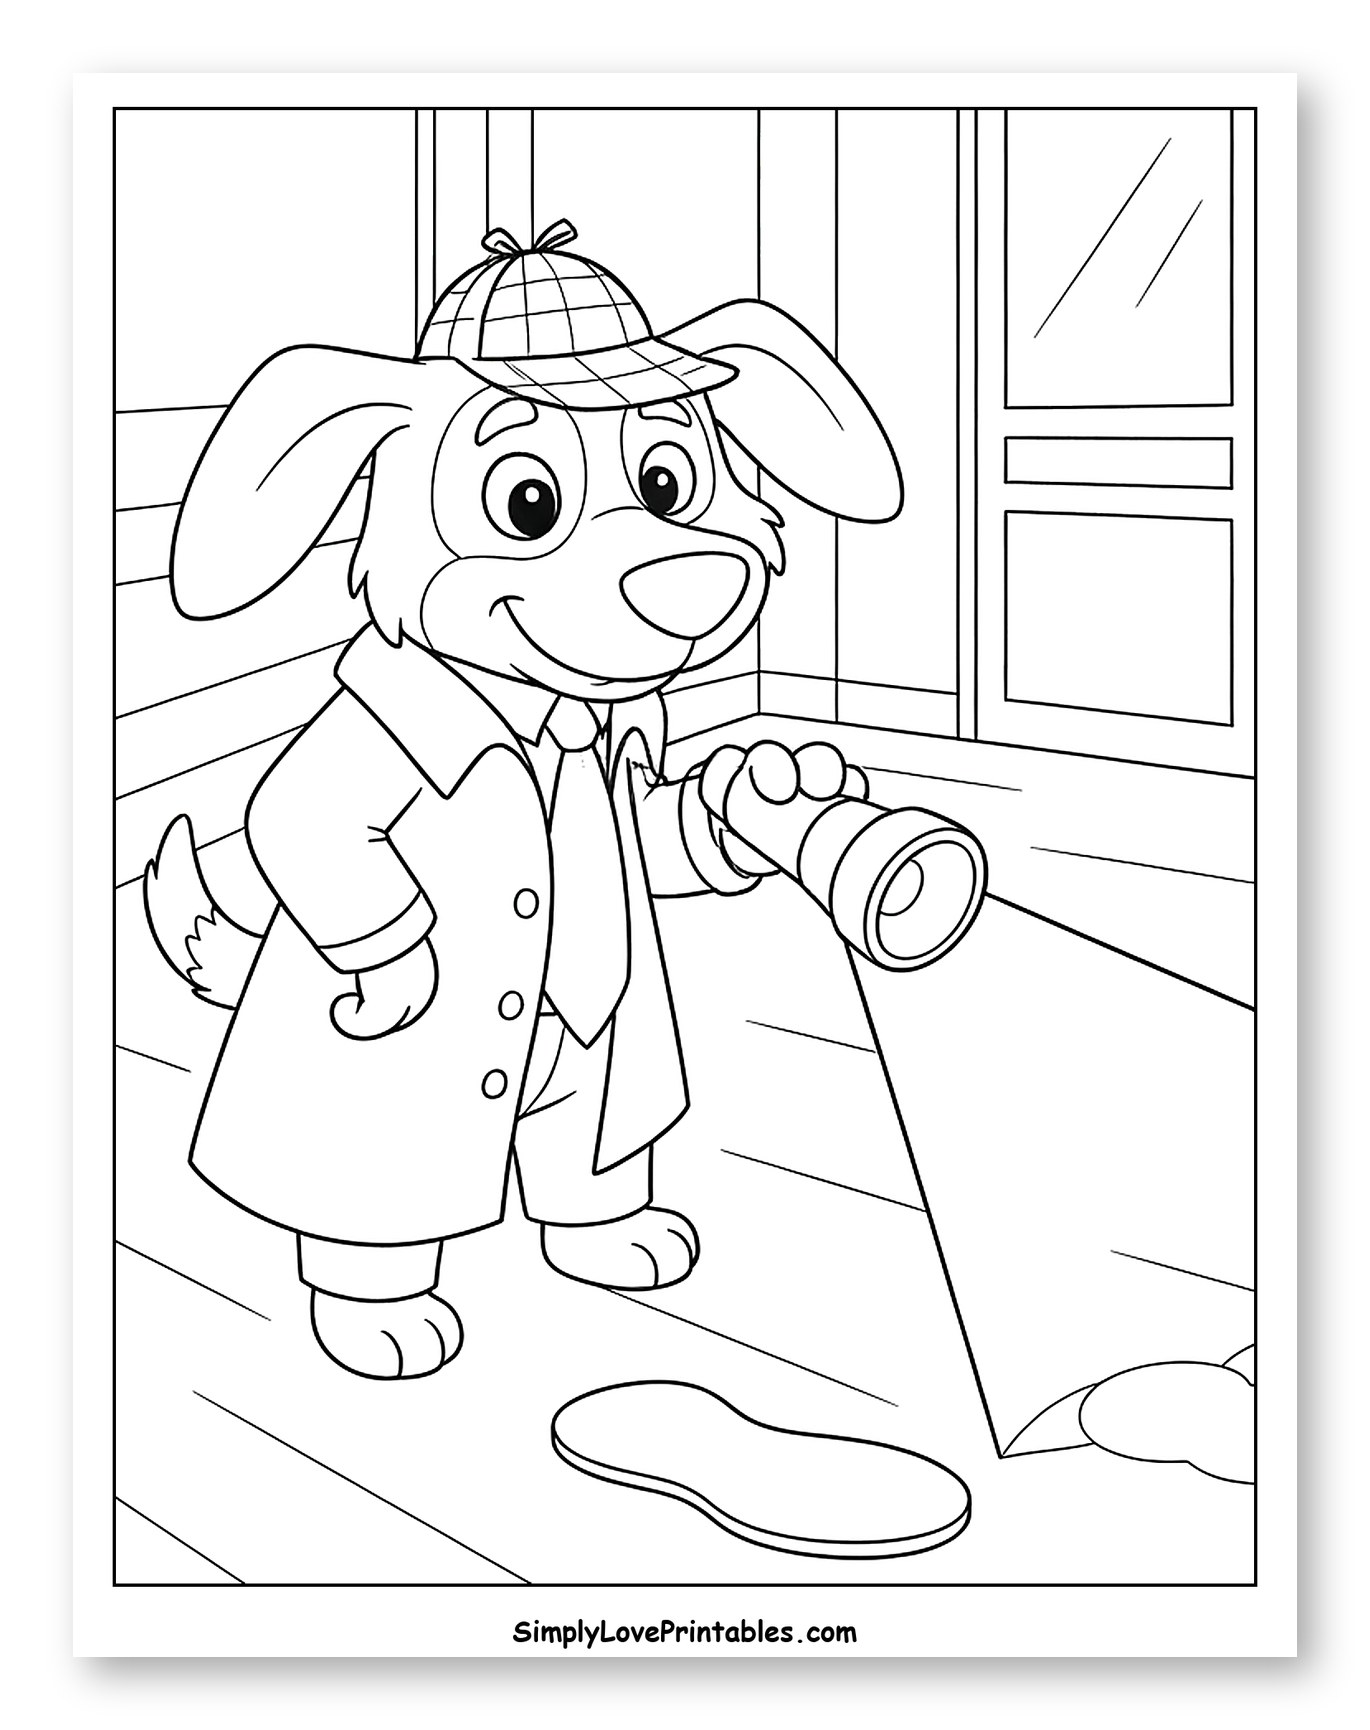
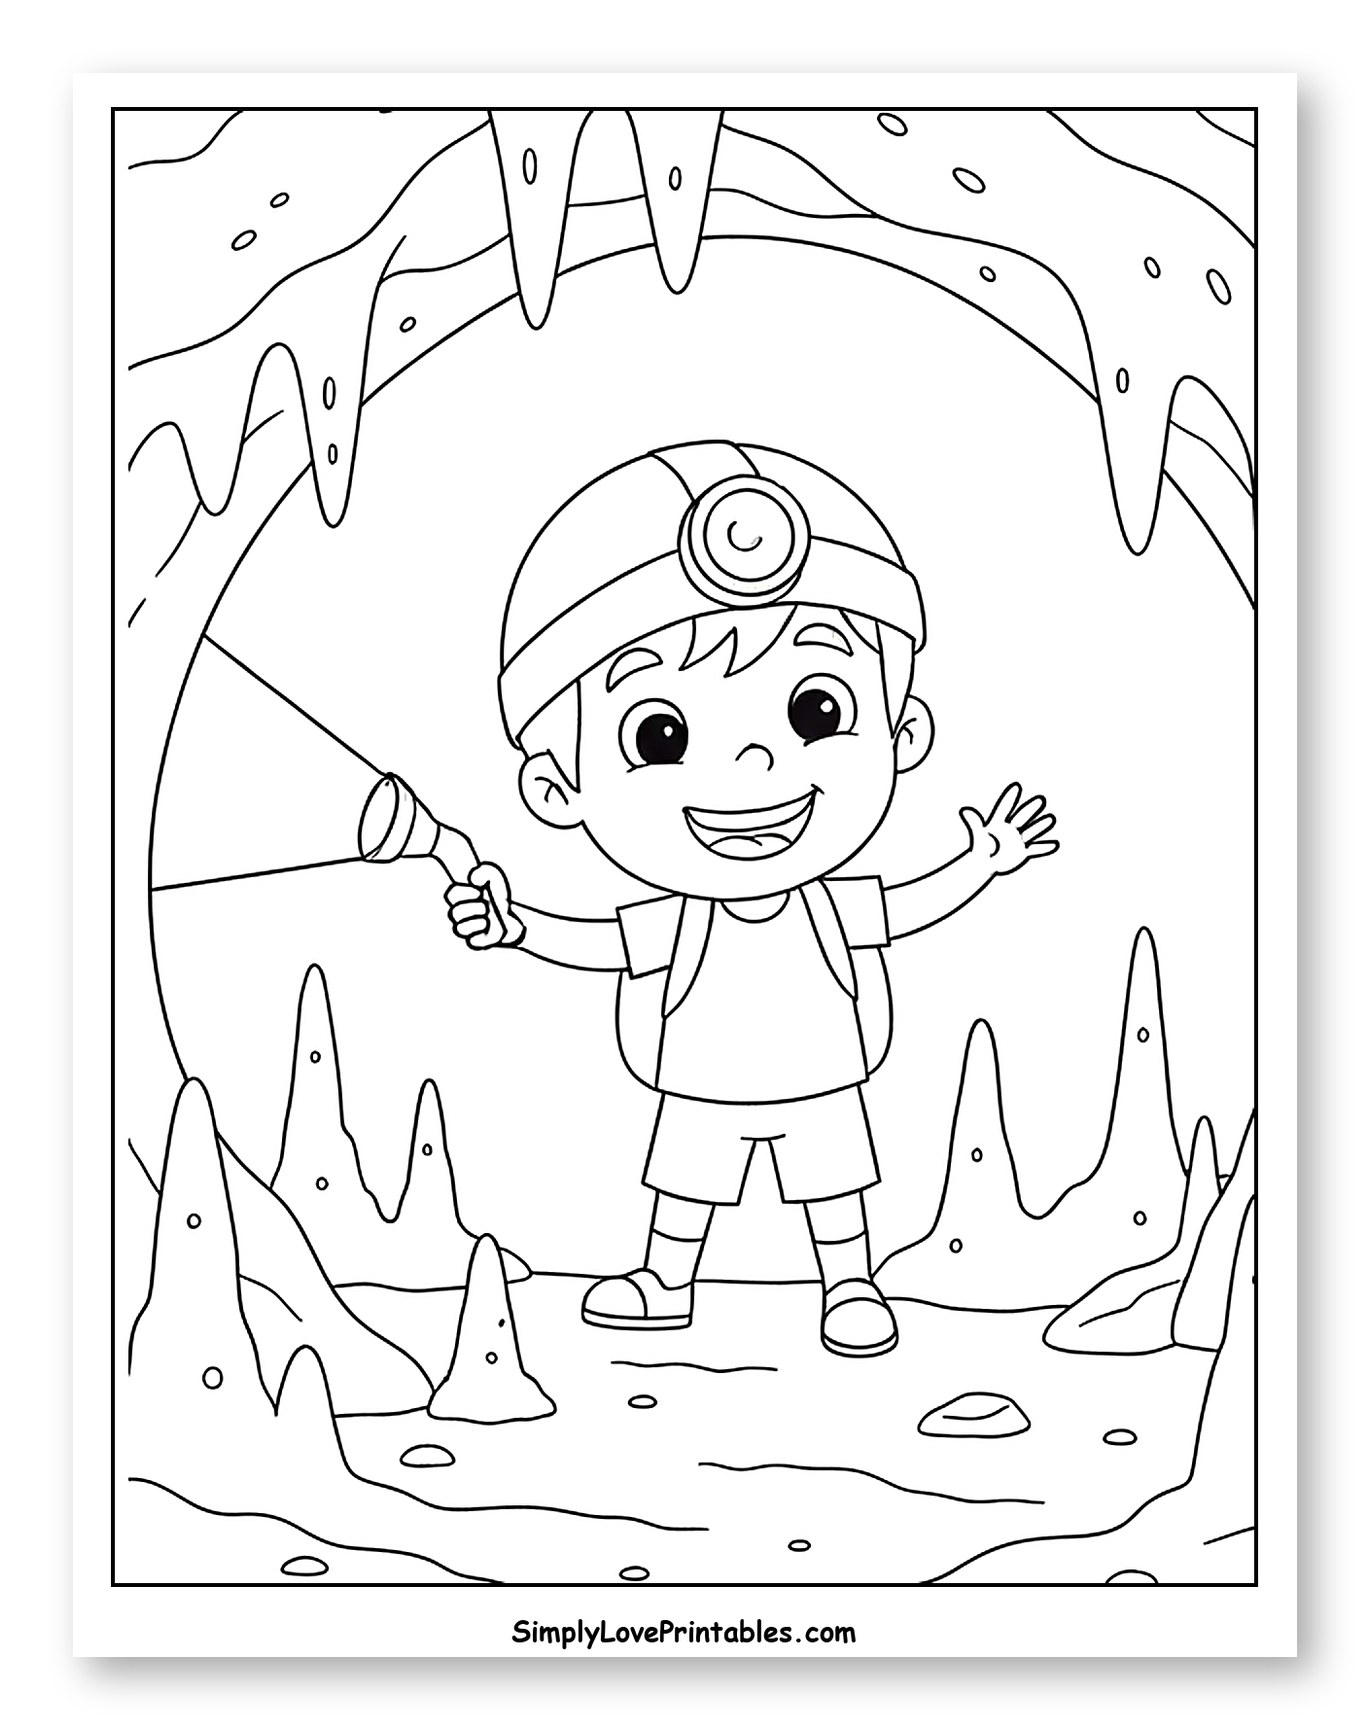
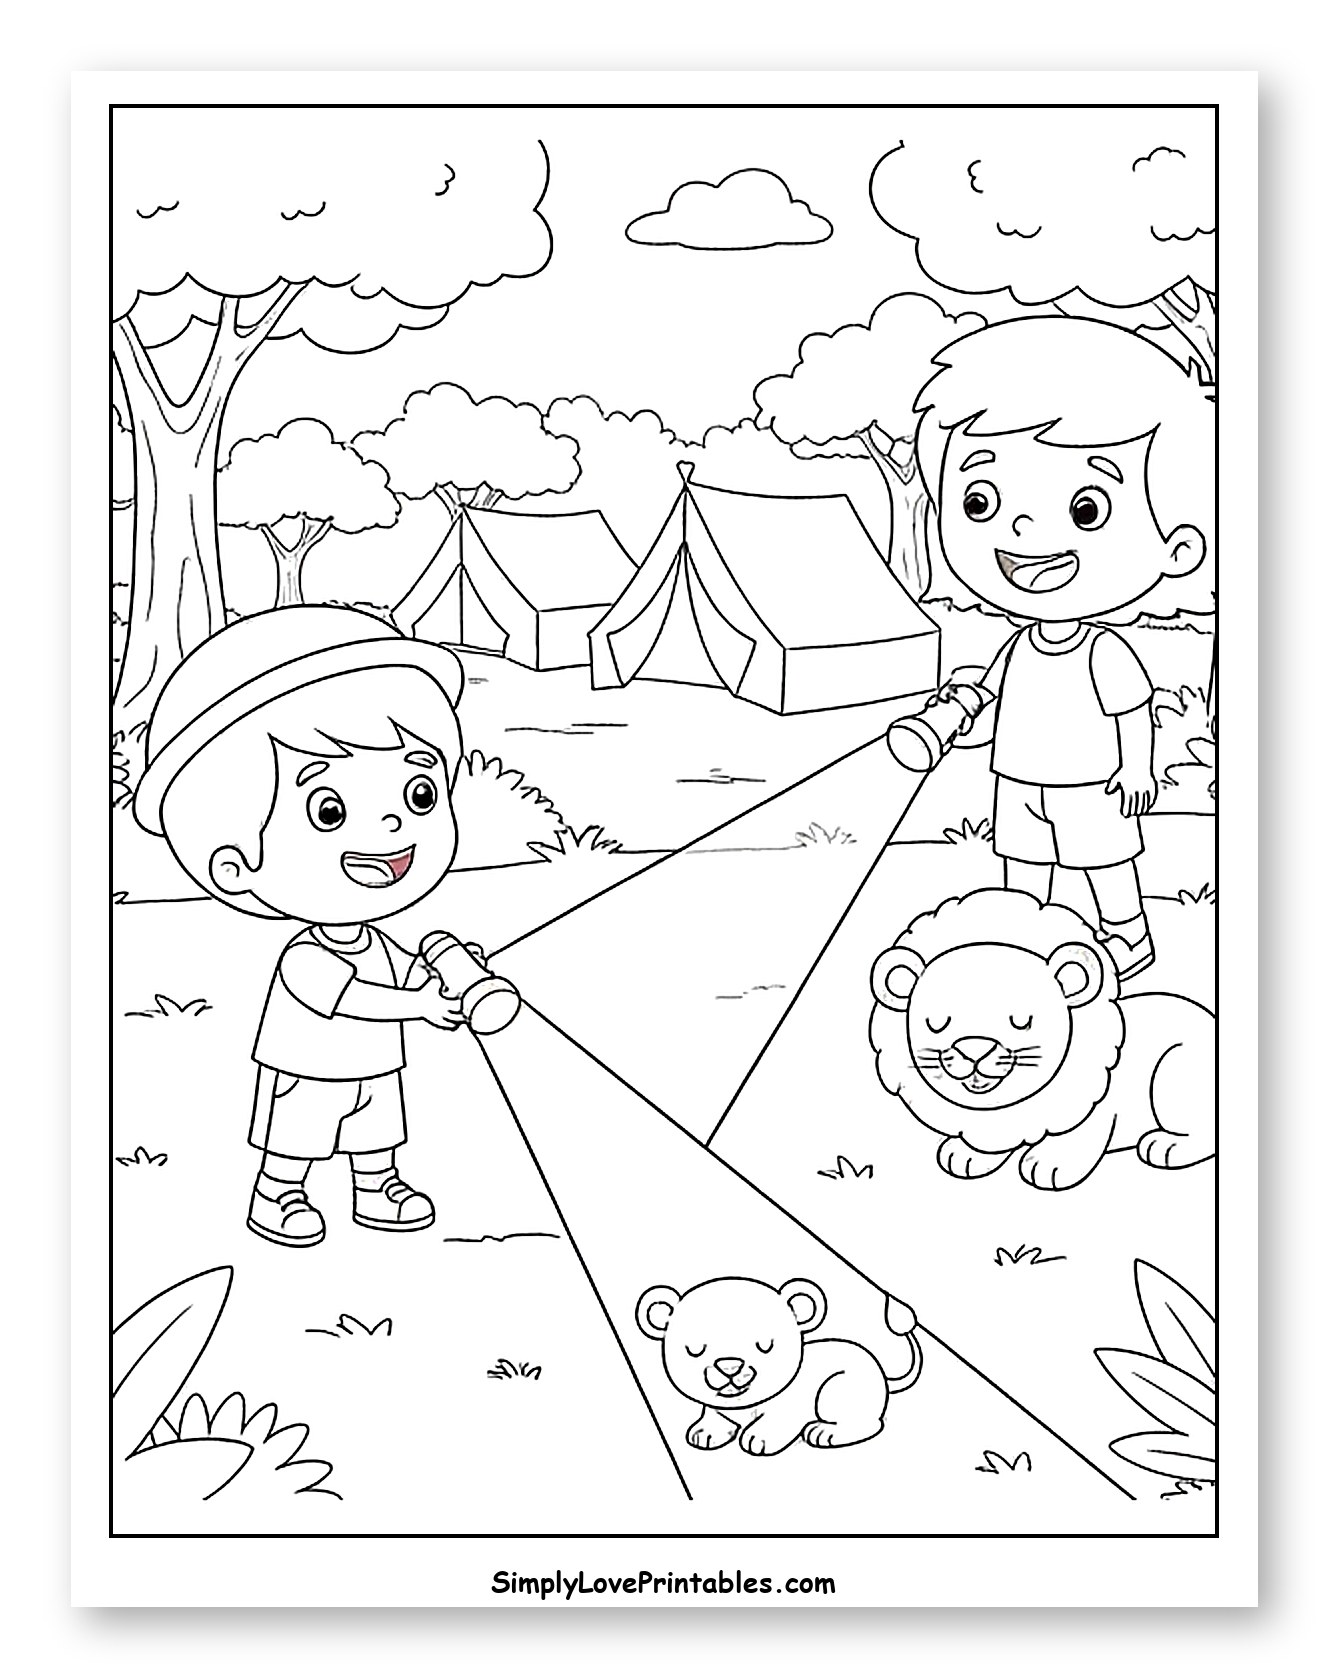
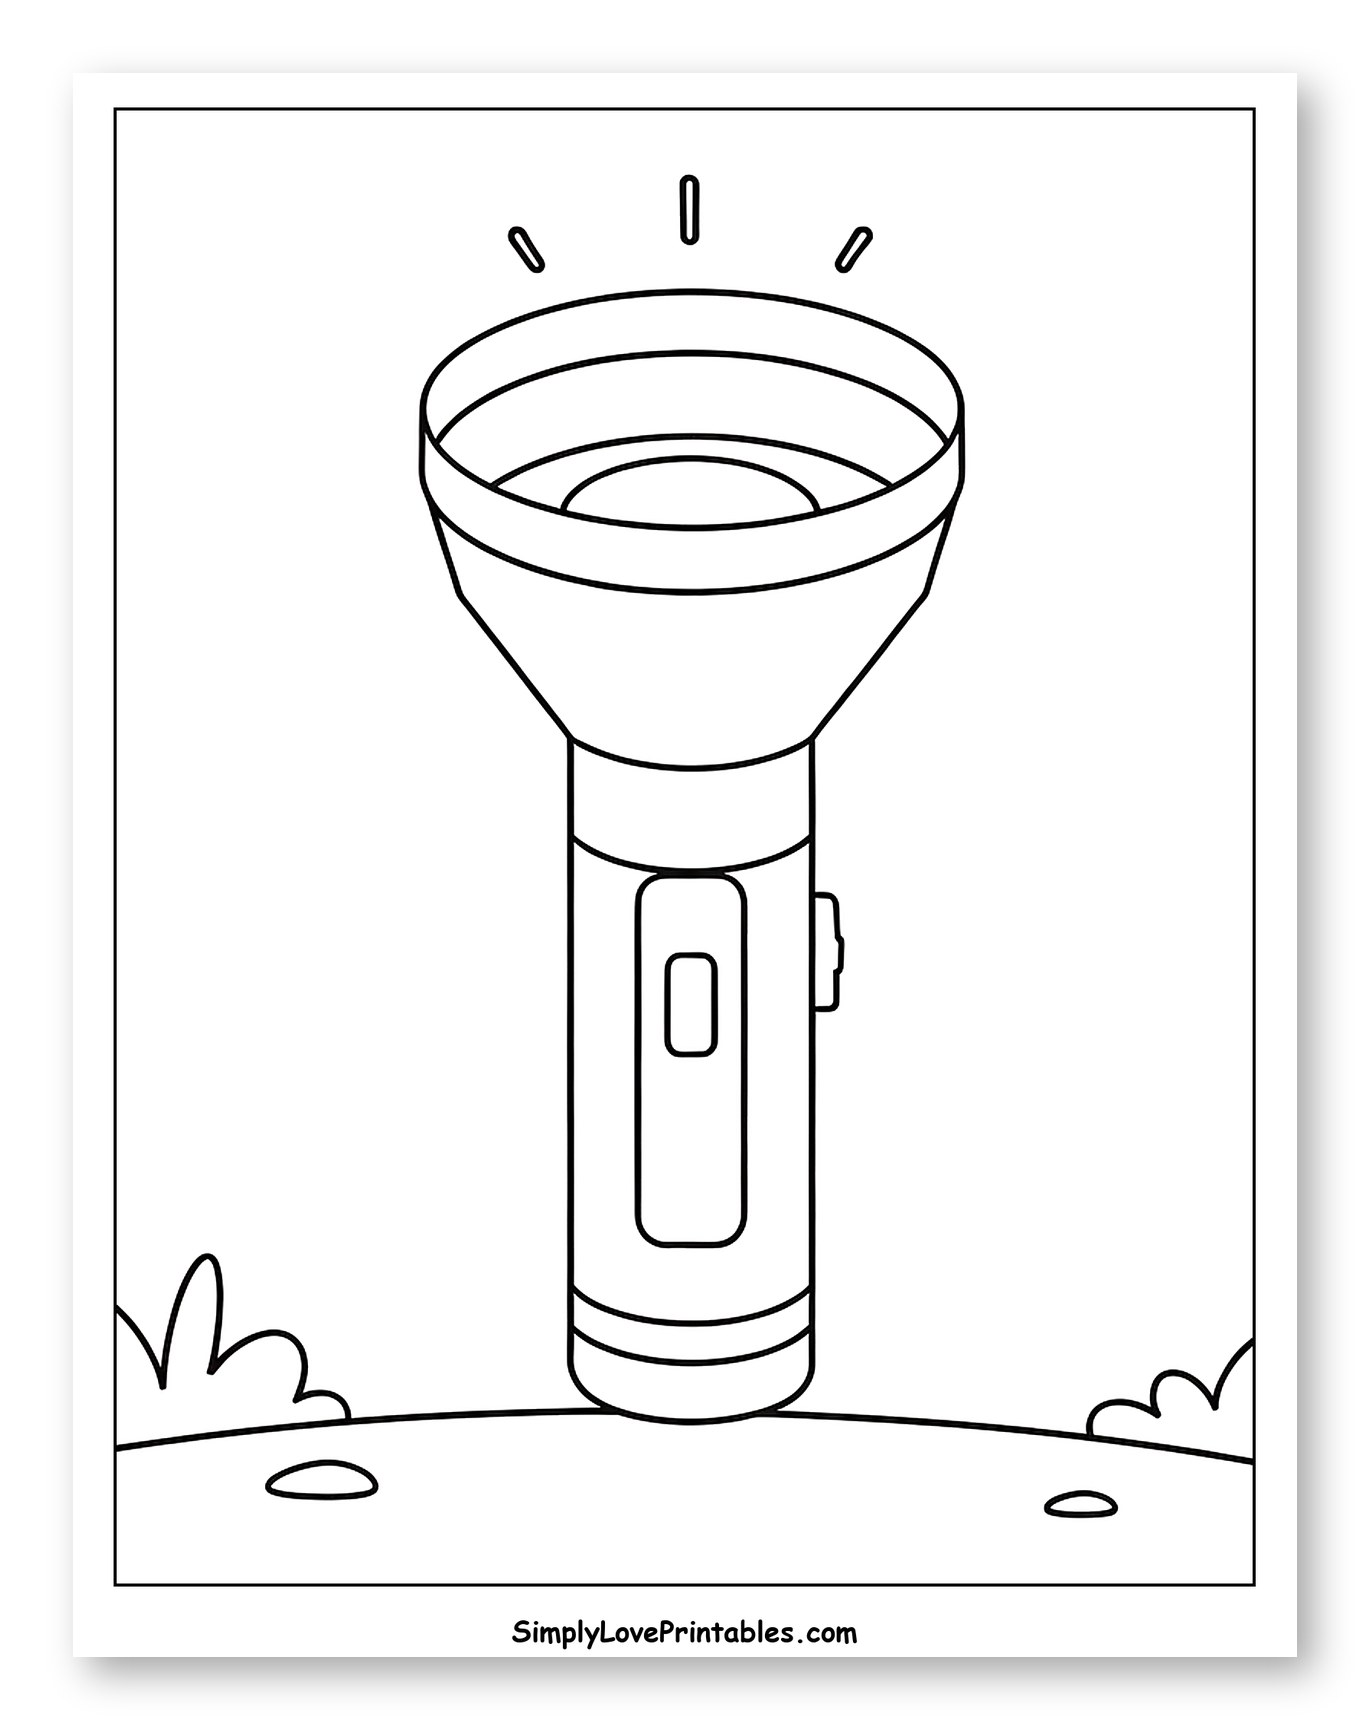
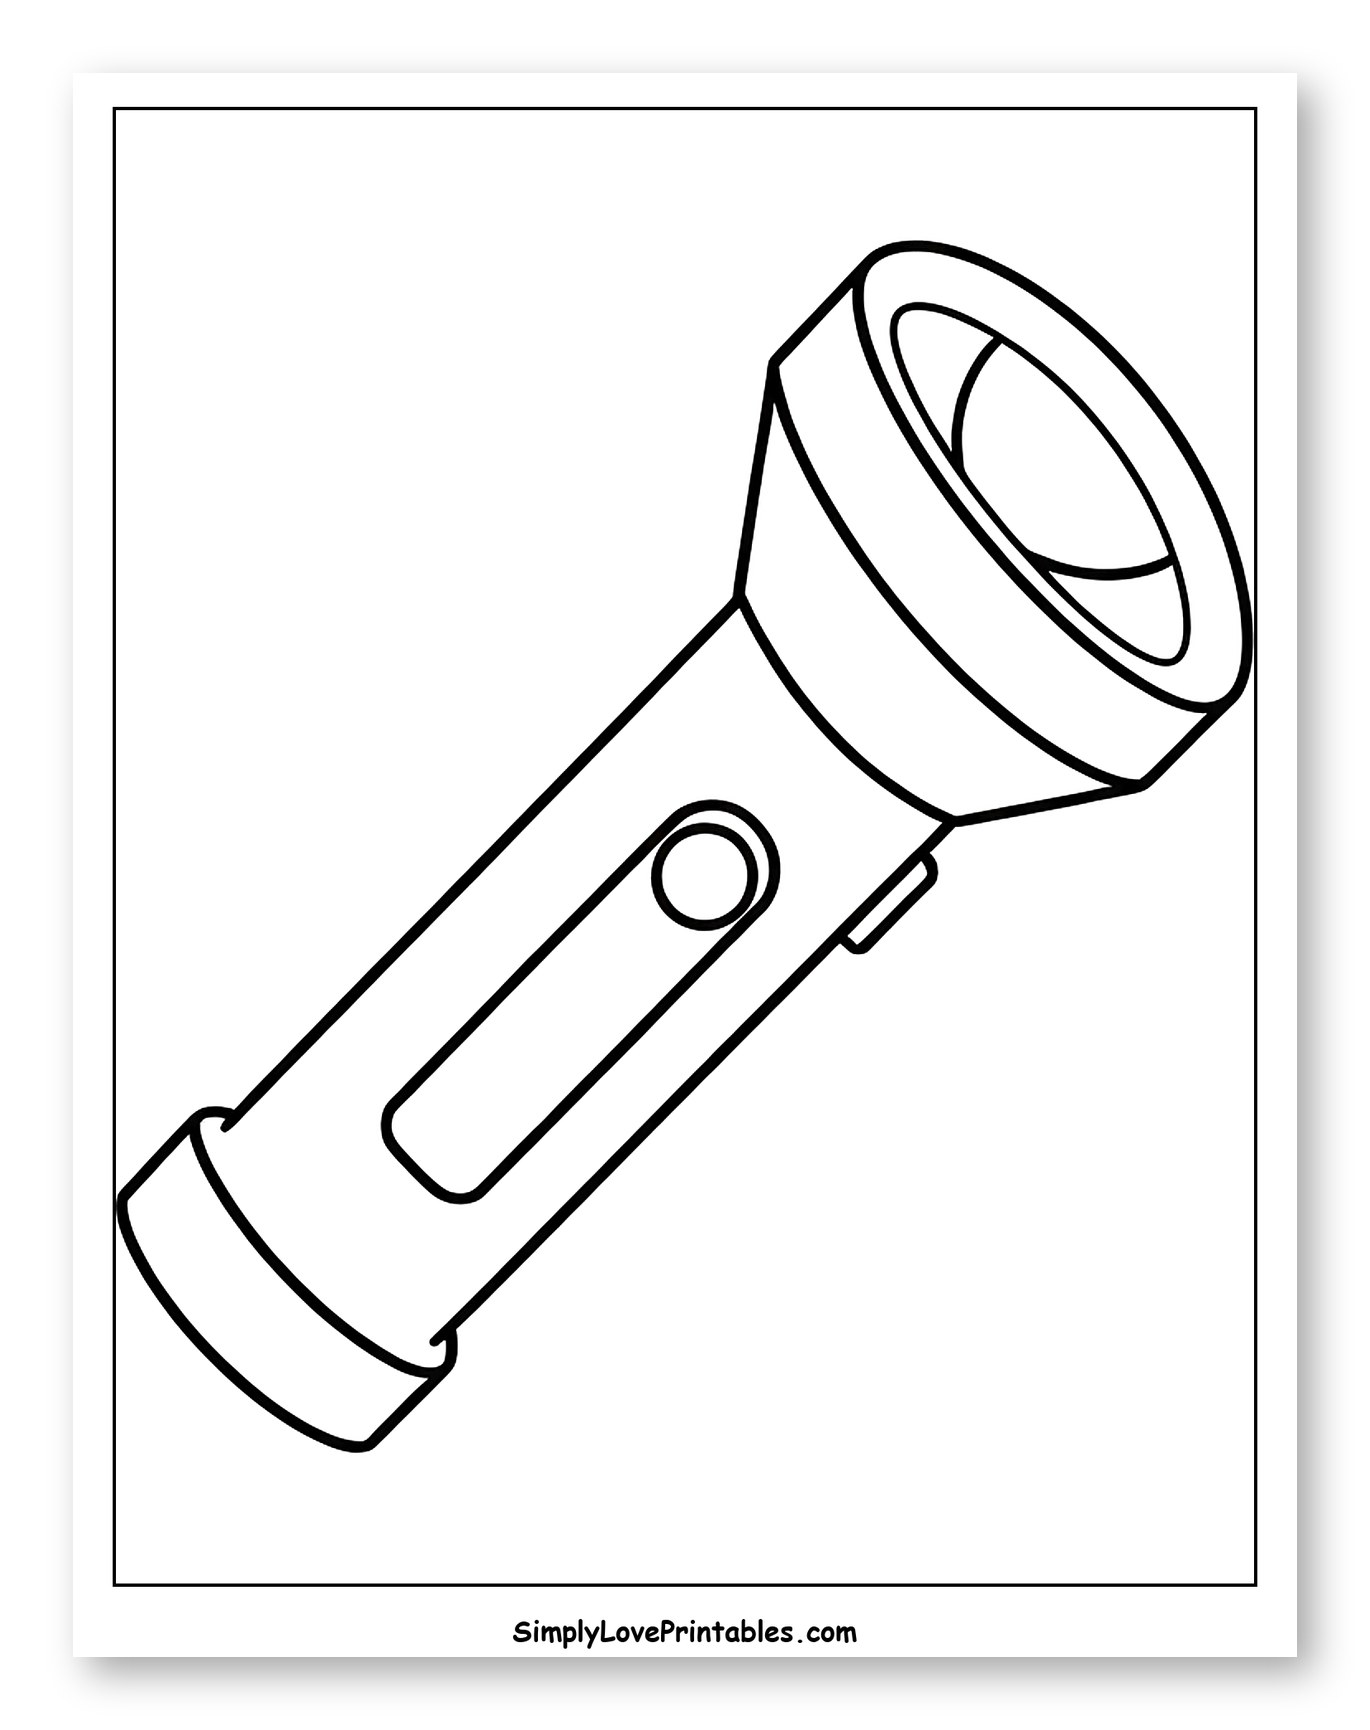
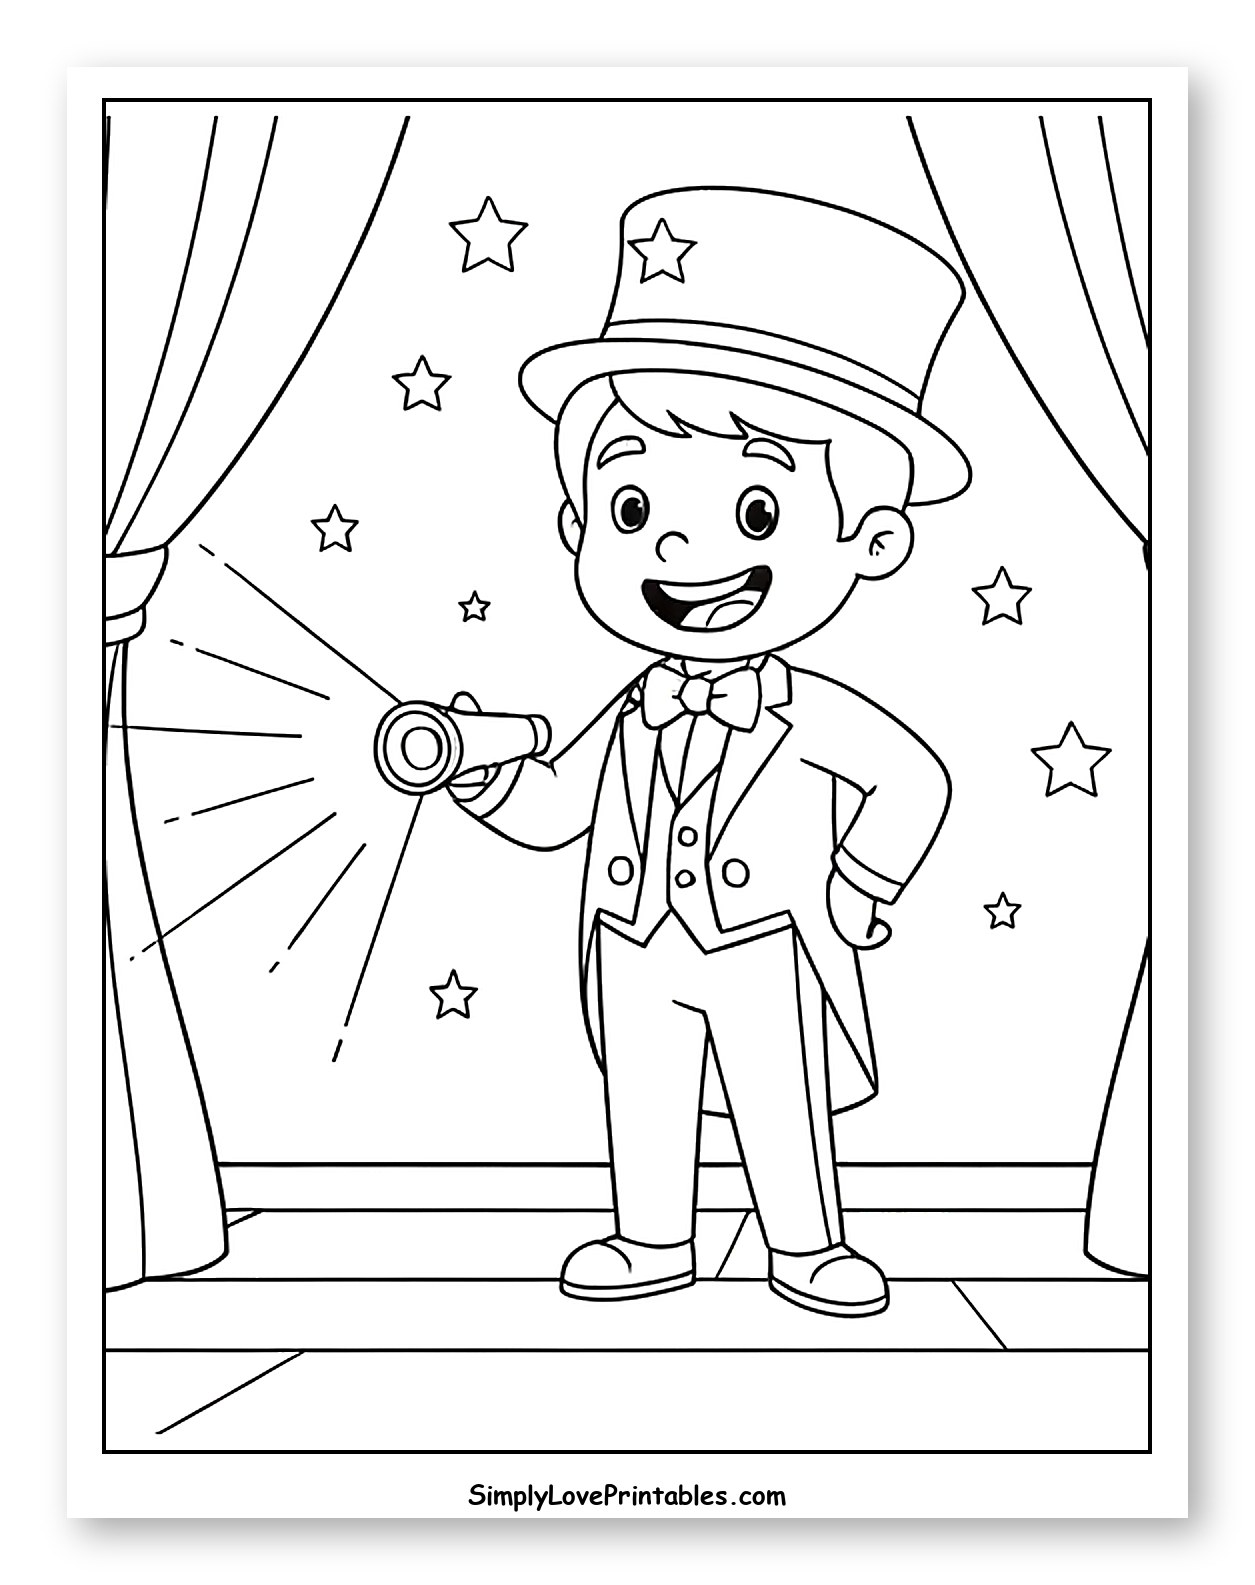
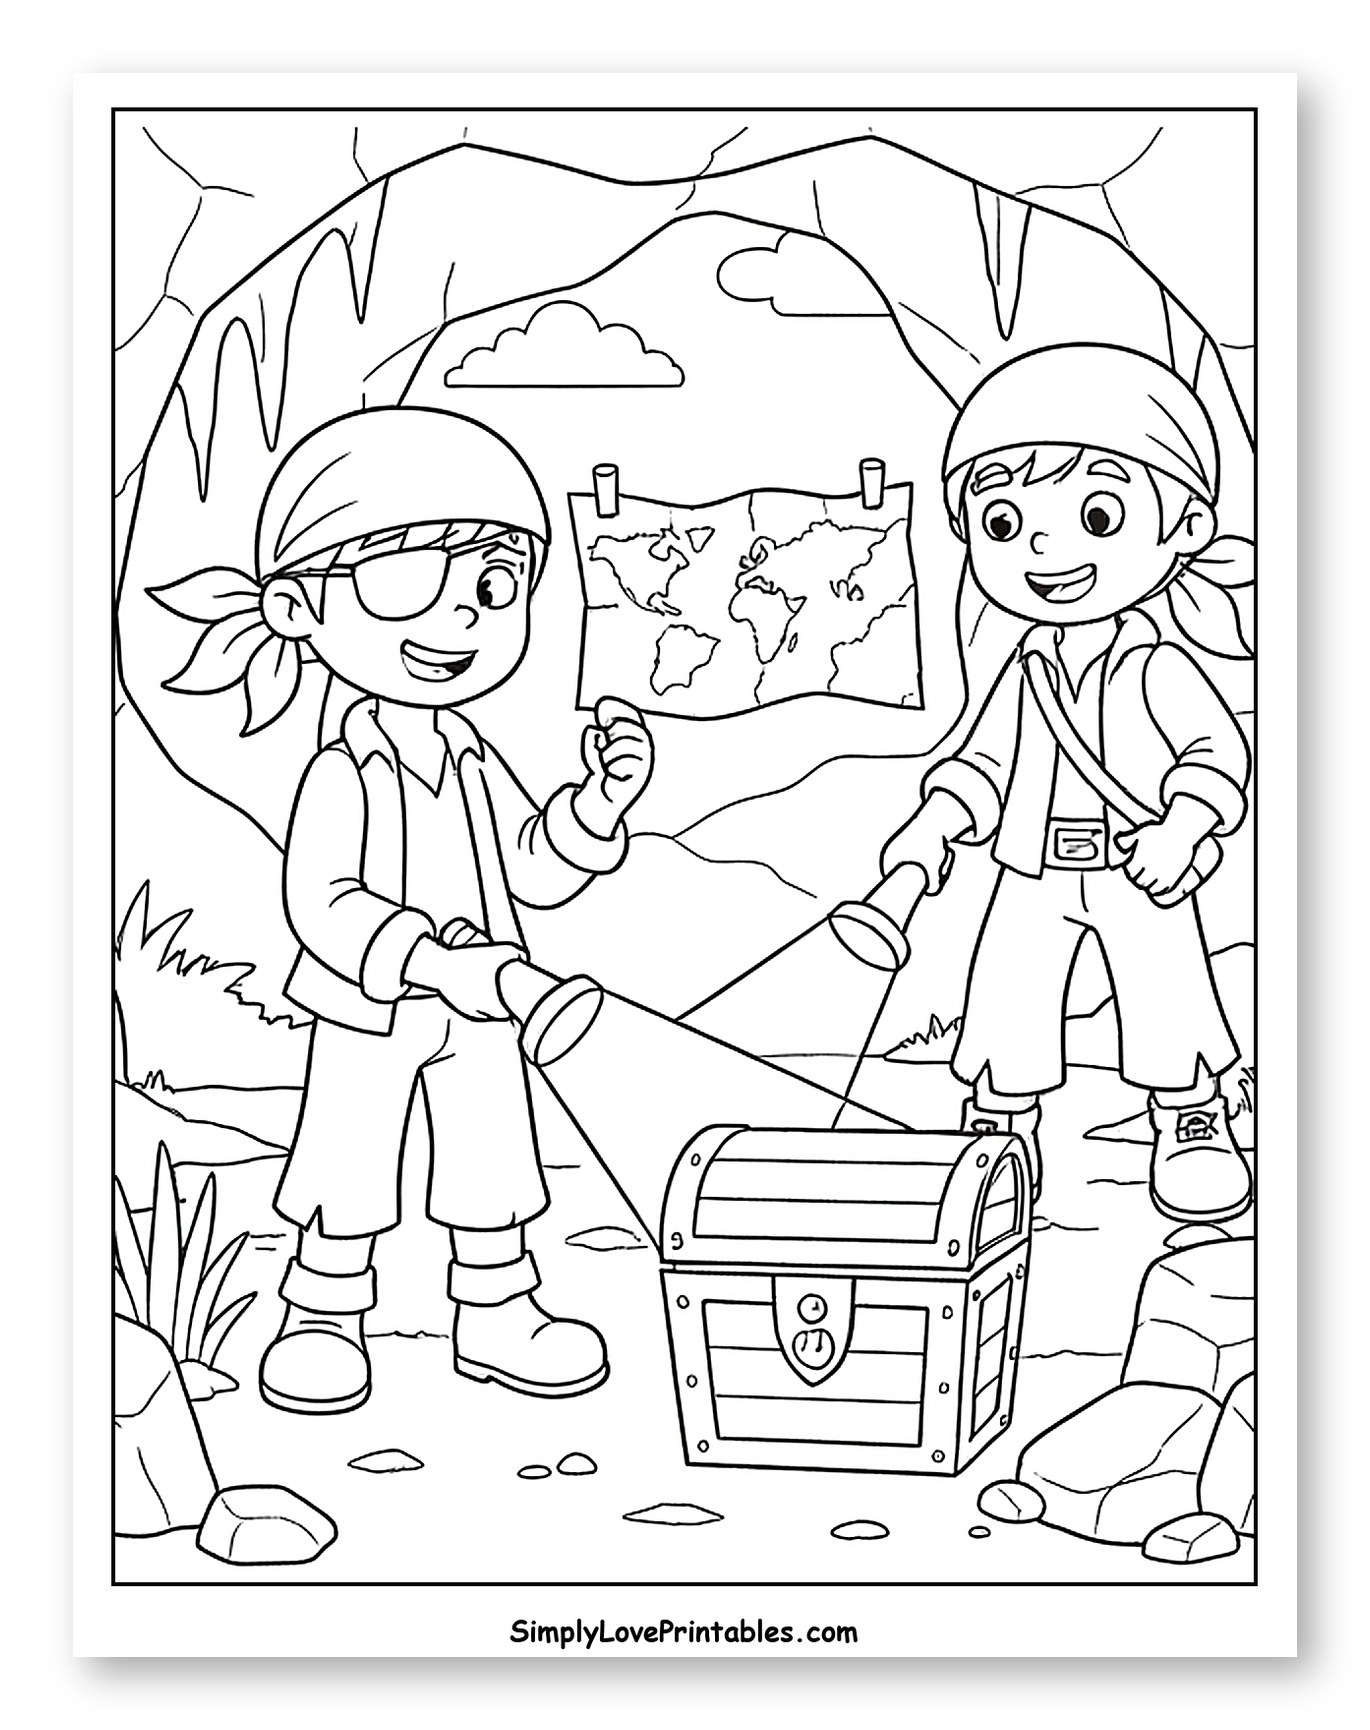
Beams cutting through the dark and illuminating discovery shine bright in these 20 flashlight coloring pages, free for you to download and print, capturing the magic of light in the night.
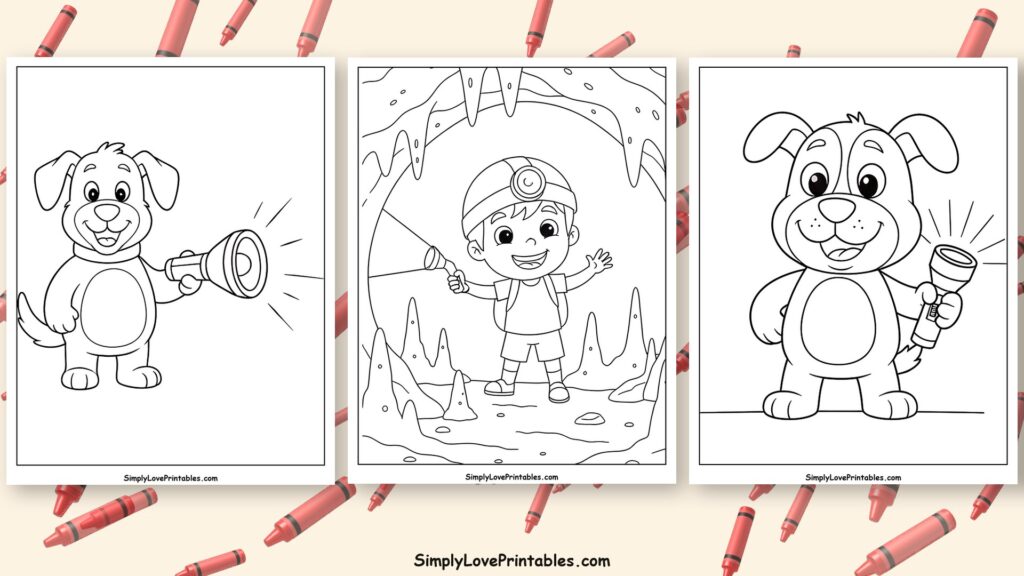
flashlight coloring pages featured image

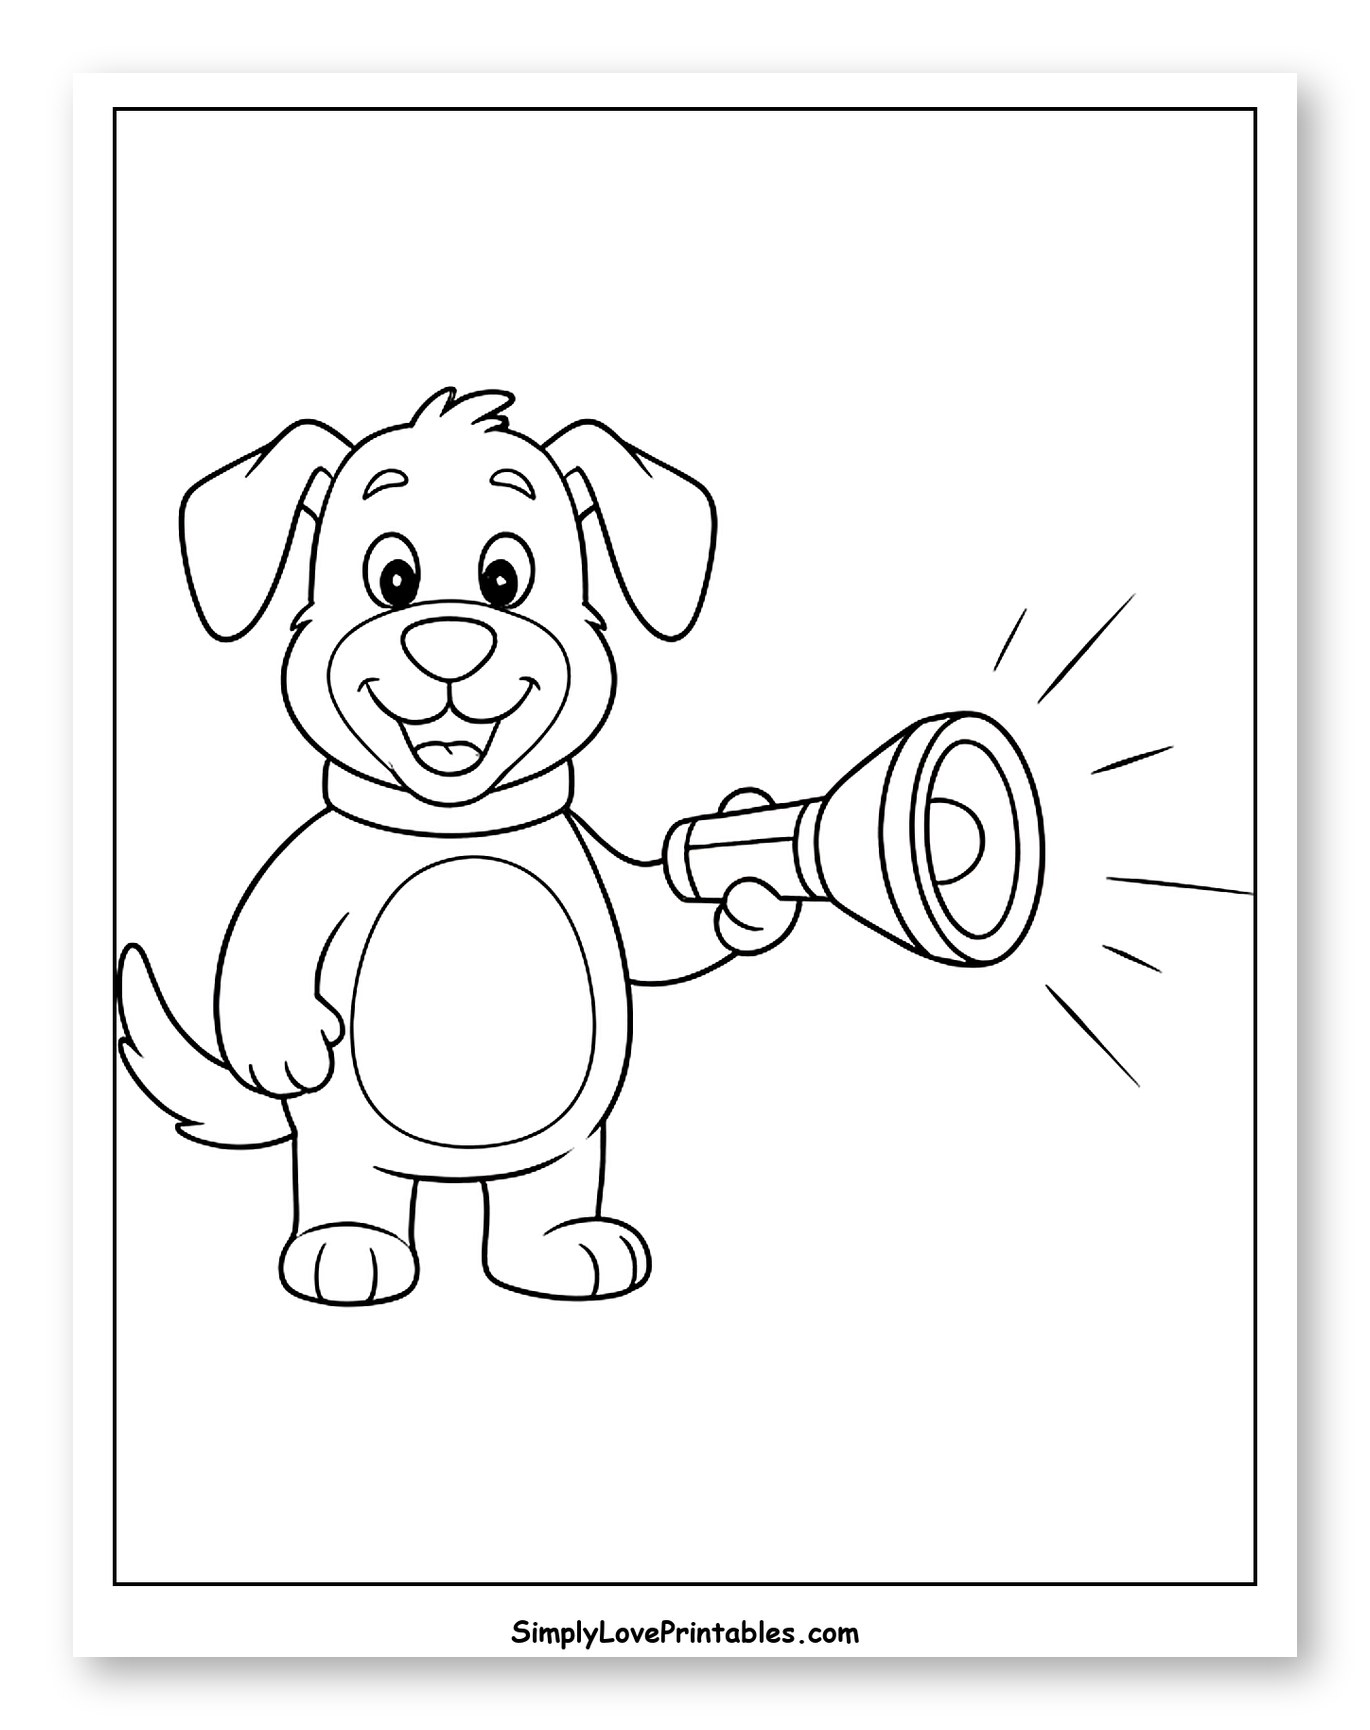
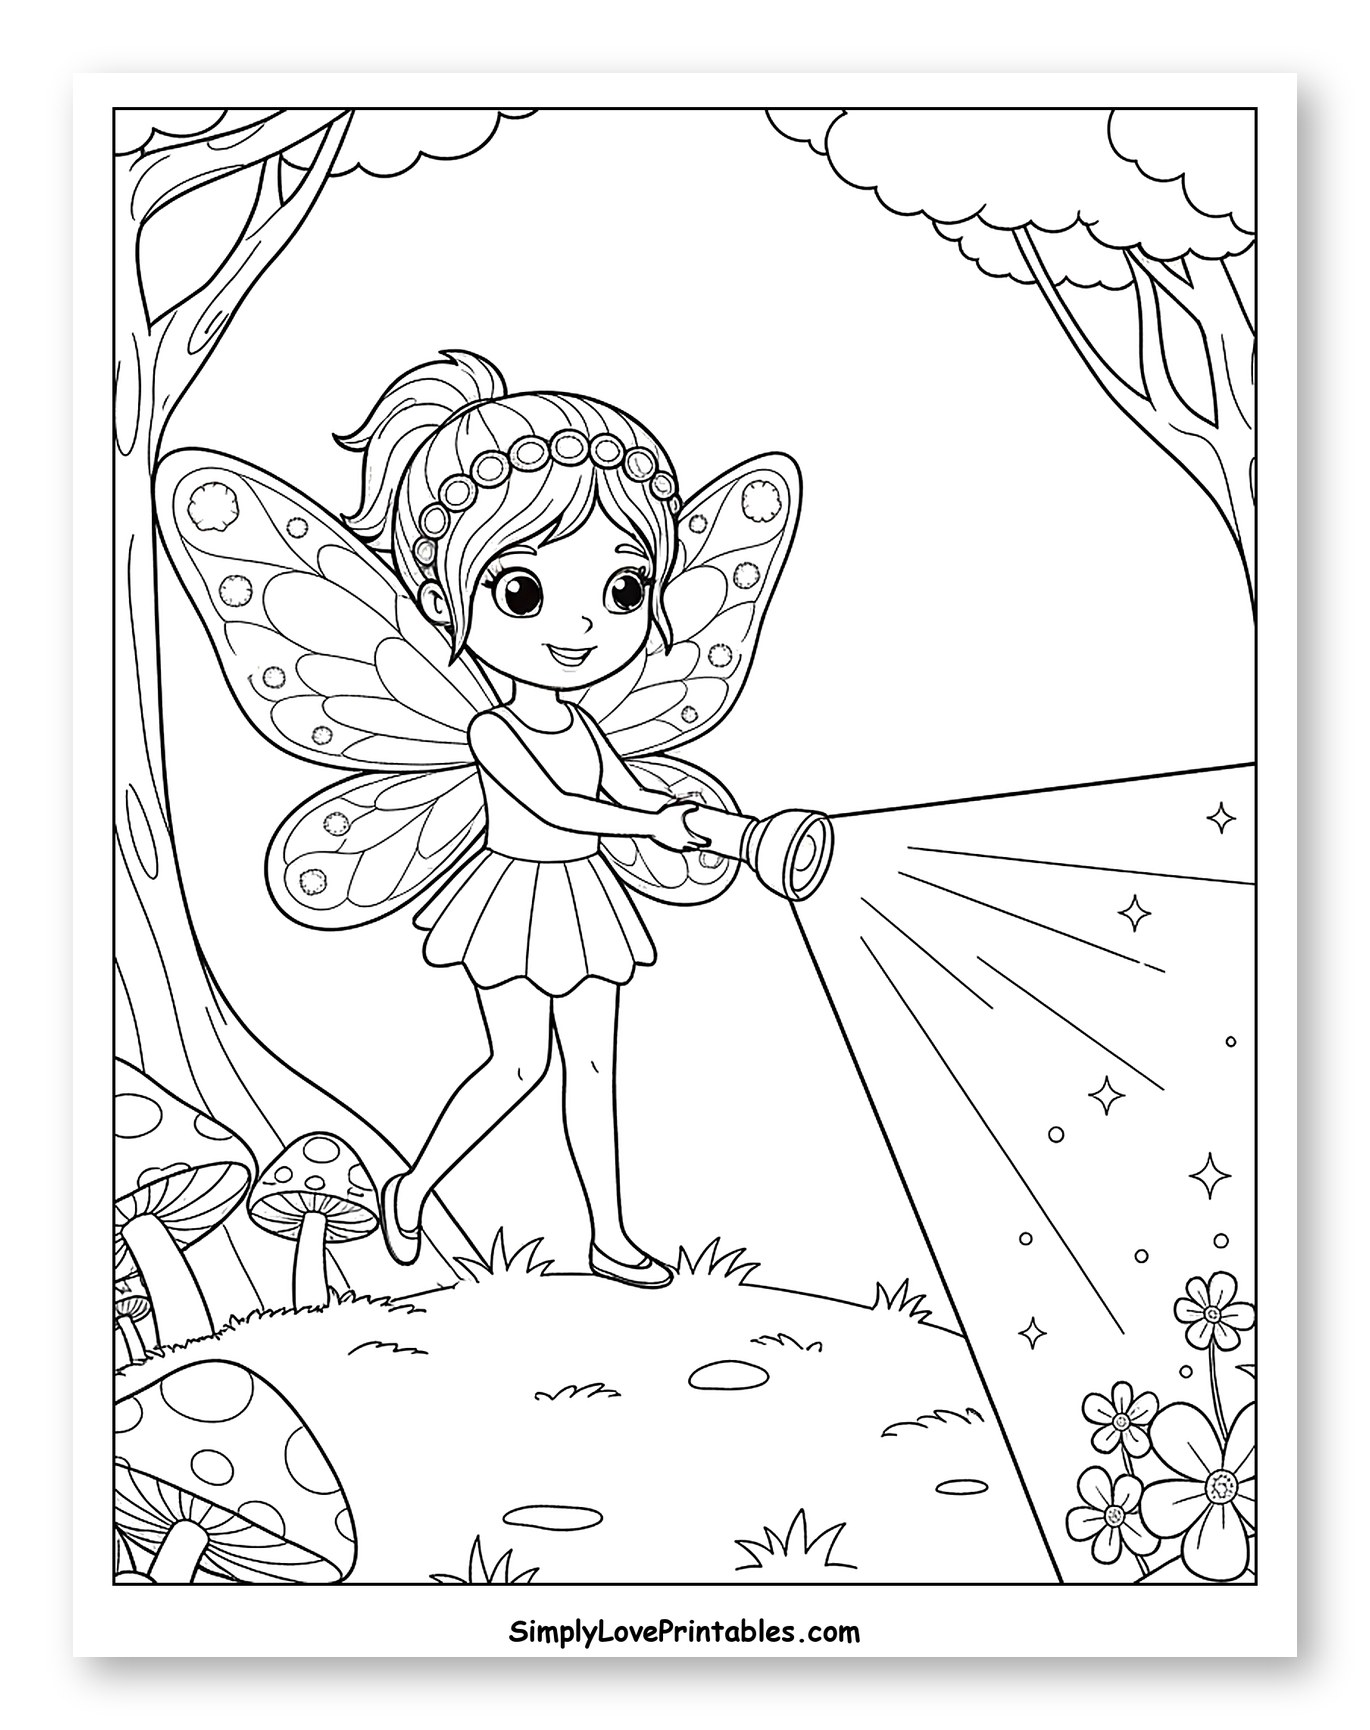
Click any image below to open the free PDF. These pages are US letter sized but also print well on A4. Happy coloring!
10 Craft Ideas to do With Flashlight Coloring Pages

Once you've filled your house with vibrant flashlight coloring pages, don't let them gather dust! These easy, affordable crafts put those colorful creations to brilliant use.

1. Flashlight Shadow Puppets

Cut out your finished flashlight drawings, then firmly attach each one to a craft stick using glue. When evening falls, turn off the room lights and use a real flashlight to cast their shadows onto a wall or sheet, creating an instant, imaginative puppet show.

2. “Light Up My World” Mobile

Carefully cut out several colored flashlights and some yellow “light beam” shapes from construction paper. Punch a small hole in the top of each piece, then thread string through them at varying lengths from a hanger or two crossed popsicle sticks. Hang this whimsical mobile to brighten any space.

3. Night Explorer's Goggles

Cut out two of your colored flashlights, making sure to leave a small “beam” tab on each. Glue these tabs onto the sides of a cardboard tube that's been cut in half lengthwise, then attach an elastic string for a headband. Now you have special goggles ready for any pretend nighttime expedition!

4. “Shine a Light” Bookmark

Laminate your cut-out colored flashlight drawing or glue it securely onto a sturdy piece of cardstock. Punch a hole near the top and thread a colorful ribbon or yarn through it. This unique bookmark will always remind you to “shine a light” on your next great book.

5. Storytelling Flashlight Prop

Cut out your vibrant flashlight drawing and glue it onto a large popsicle stick. You can add extra details like glitter or glow-in-the-dark paint around the “beam” area. Use it as a fun prop while telling bedtime stories, letting your “flashlight” guide the narrative.

6. Flashlight Adventurer's Map

Glue a cut-out colored flashlight onto a large piece of brown construction paper or an opened paper bag. Draw a winding path starting from your flashlight, adding “discoveries” like hidden gems or mysterious creatures along the way. This map is perfect for charting imaginative nocturnal journeys.

7. “Guiding Light” Door Hanger

Affix your colored flashlight cutout to a sturdy piece of poster board with glue. Cut around the entire shape, then punch a hole near the top where a doorknob would typically go. Decorate with playful phrases like “Exploring In Progress” for a personalized door sign.

8. Flashlight “Beam” Window Clings

Cut out the body of your colored flashlight and then separate the yellow “beam” portion. Laminate both pieces for durability. Use clear tape or window cling film to attach them to a window, allowing real sunlight to create the illusion of your flashlight shining brightly.

9. Emergency Flashlight Badge

Cut out your finished flashlight coloring page and glue it onto a sturdy piece of cardboard, like a recycled cereal box. Attach a safety pin to the back using strong tape or craft glue. Wear your unique flashlight badge on all your important missions, signaling you're prepared for adventure!

10. Night Sky Viewer

Glue your colored flashlight cutout to the side of an empty toilet paper roll. On the opposite end of the roll, tape a circle of dark construction paper with tiny pinholes poked through it to represent stars. Look through your flashlight viewer to see your very own starry night sky.