
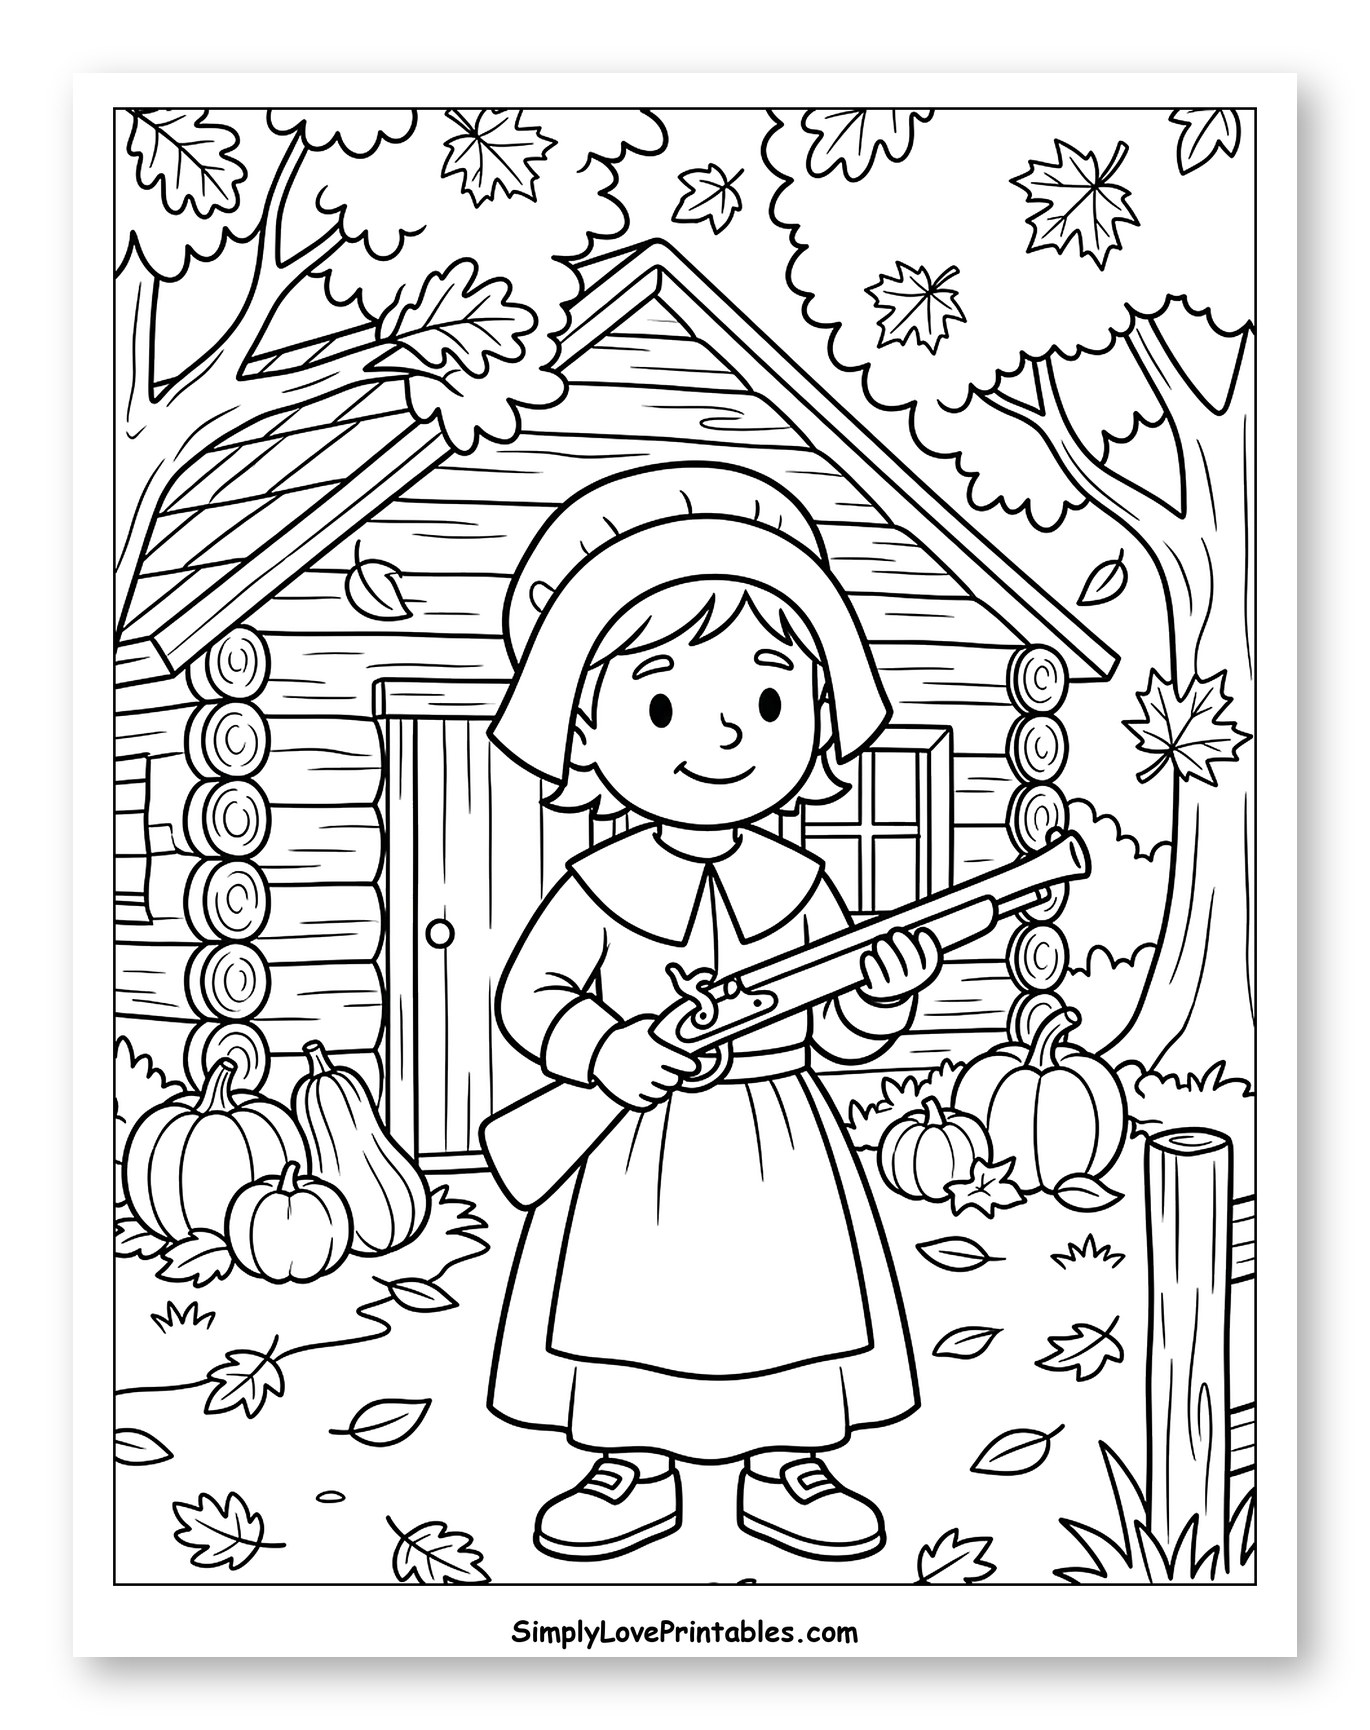
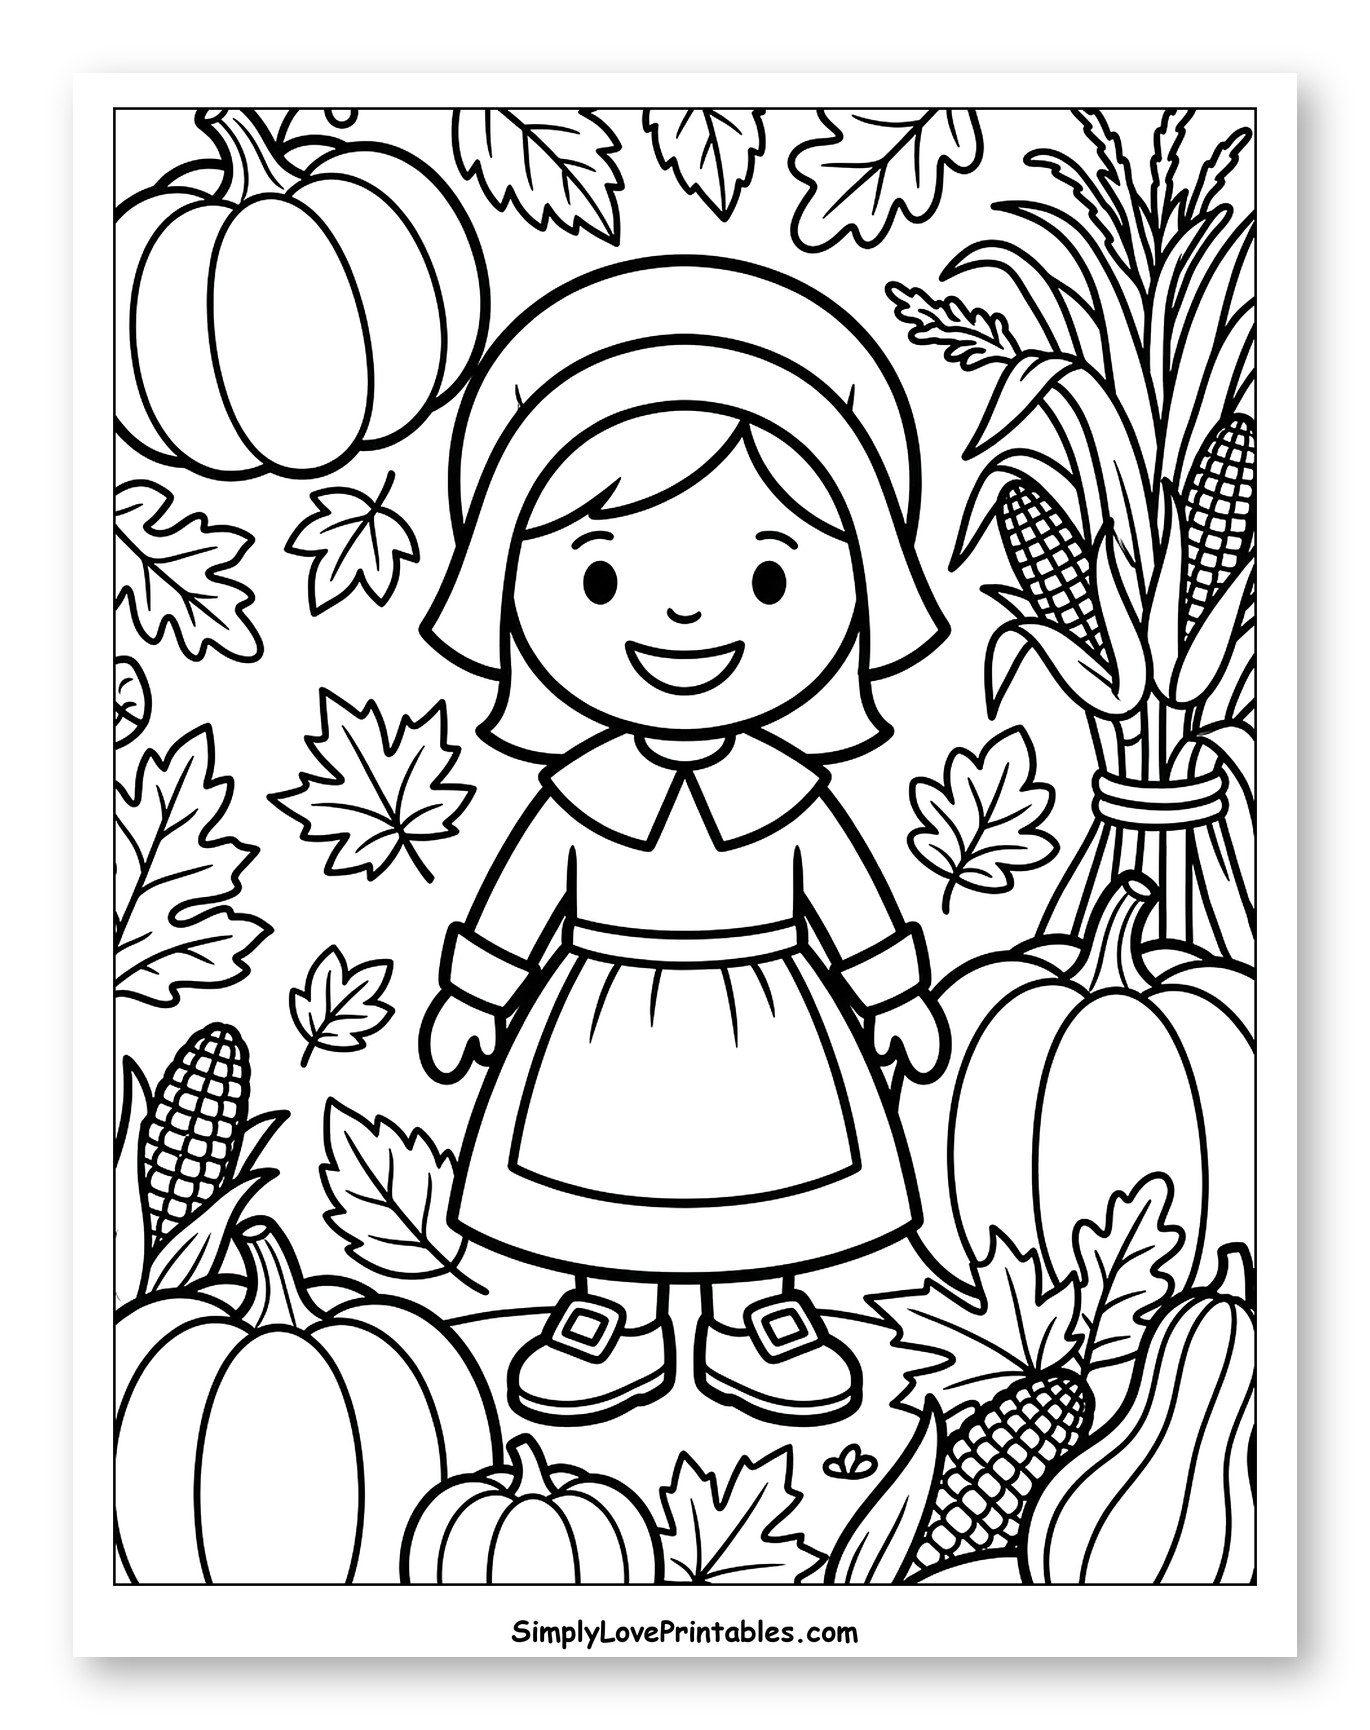
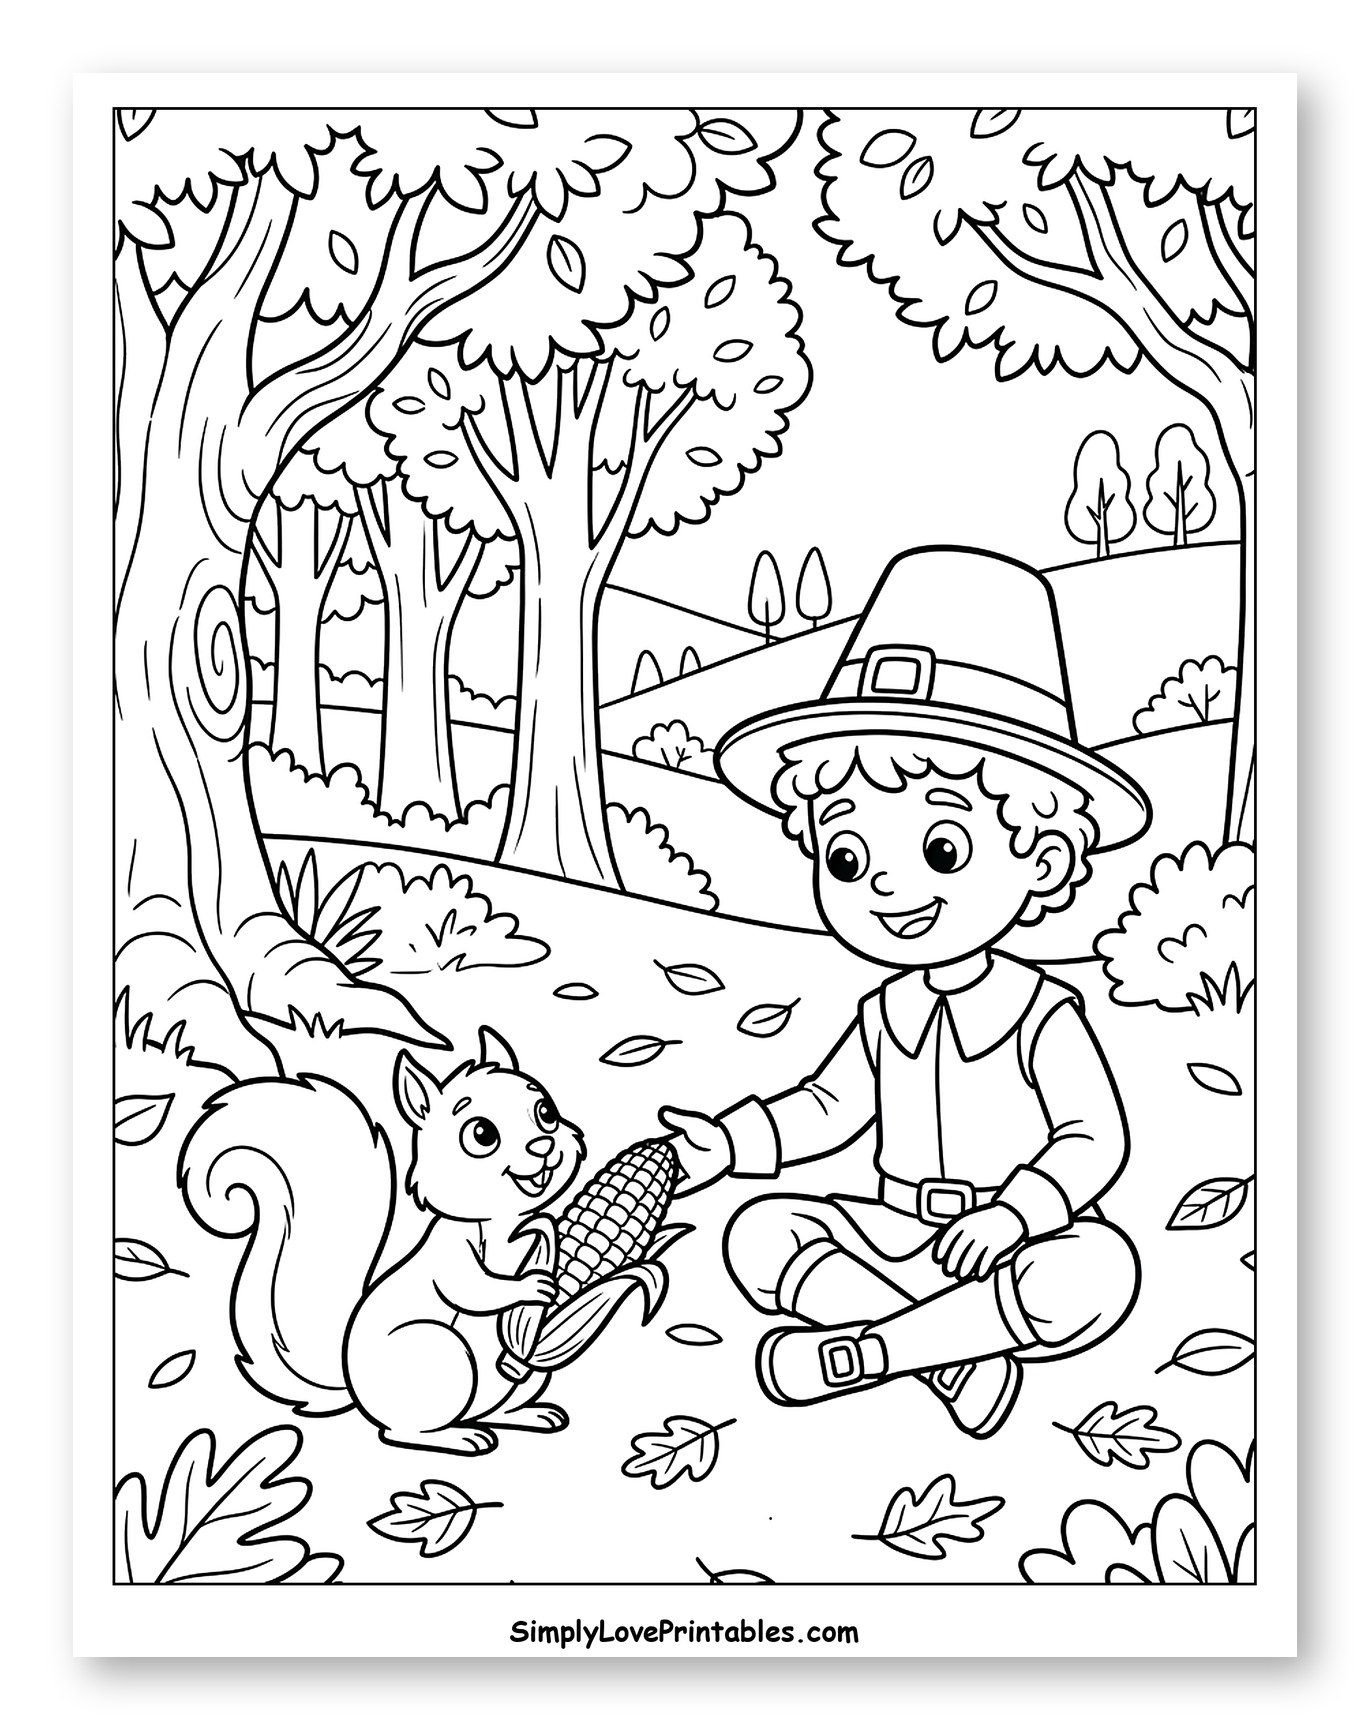
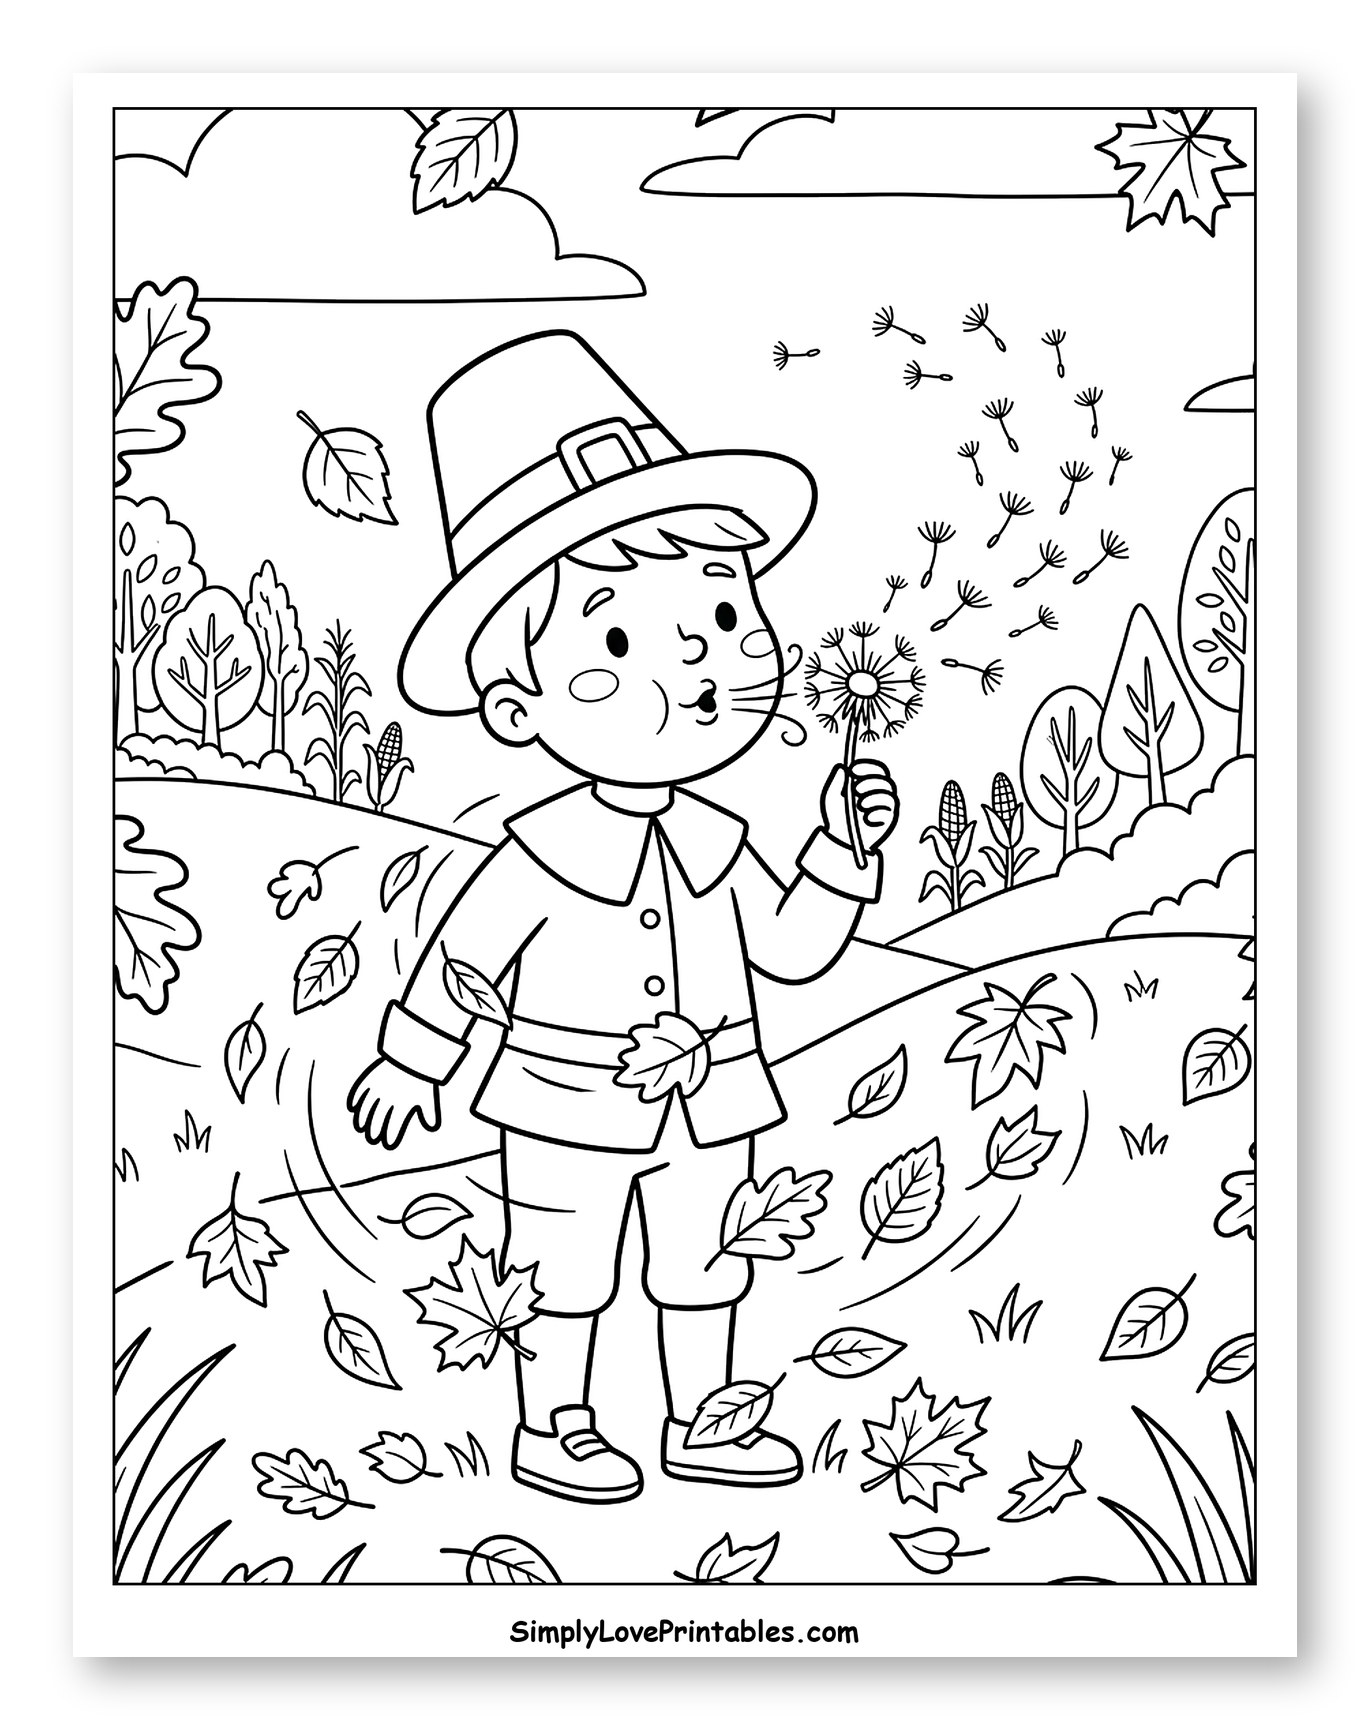
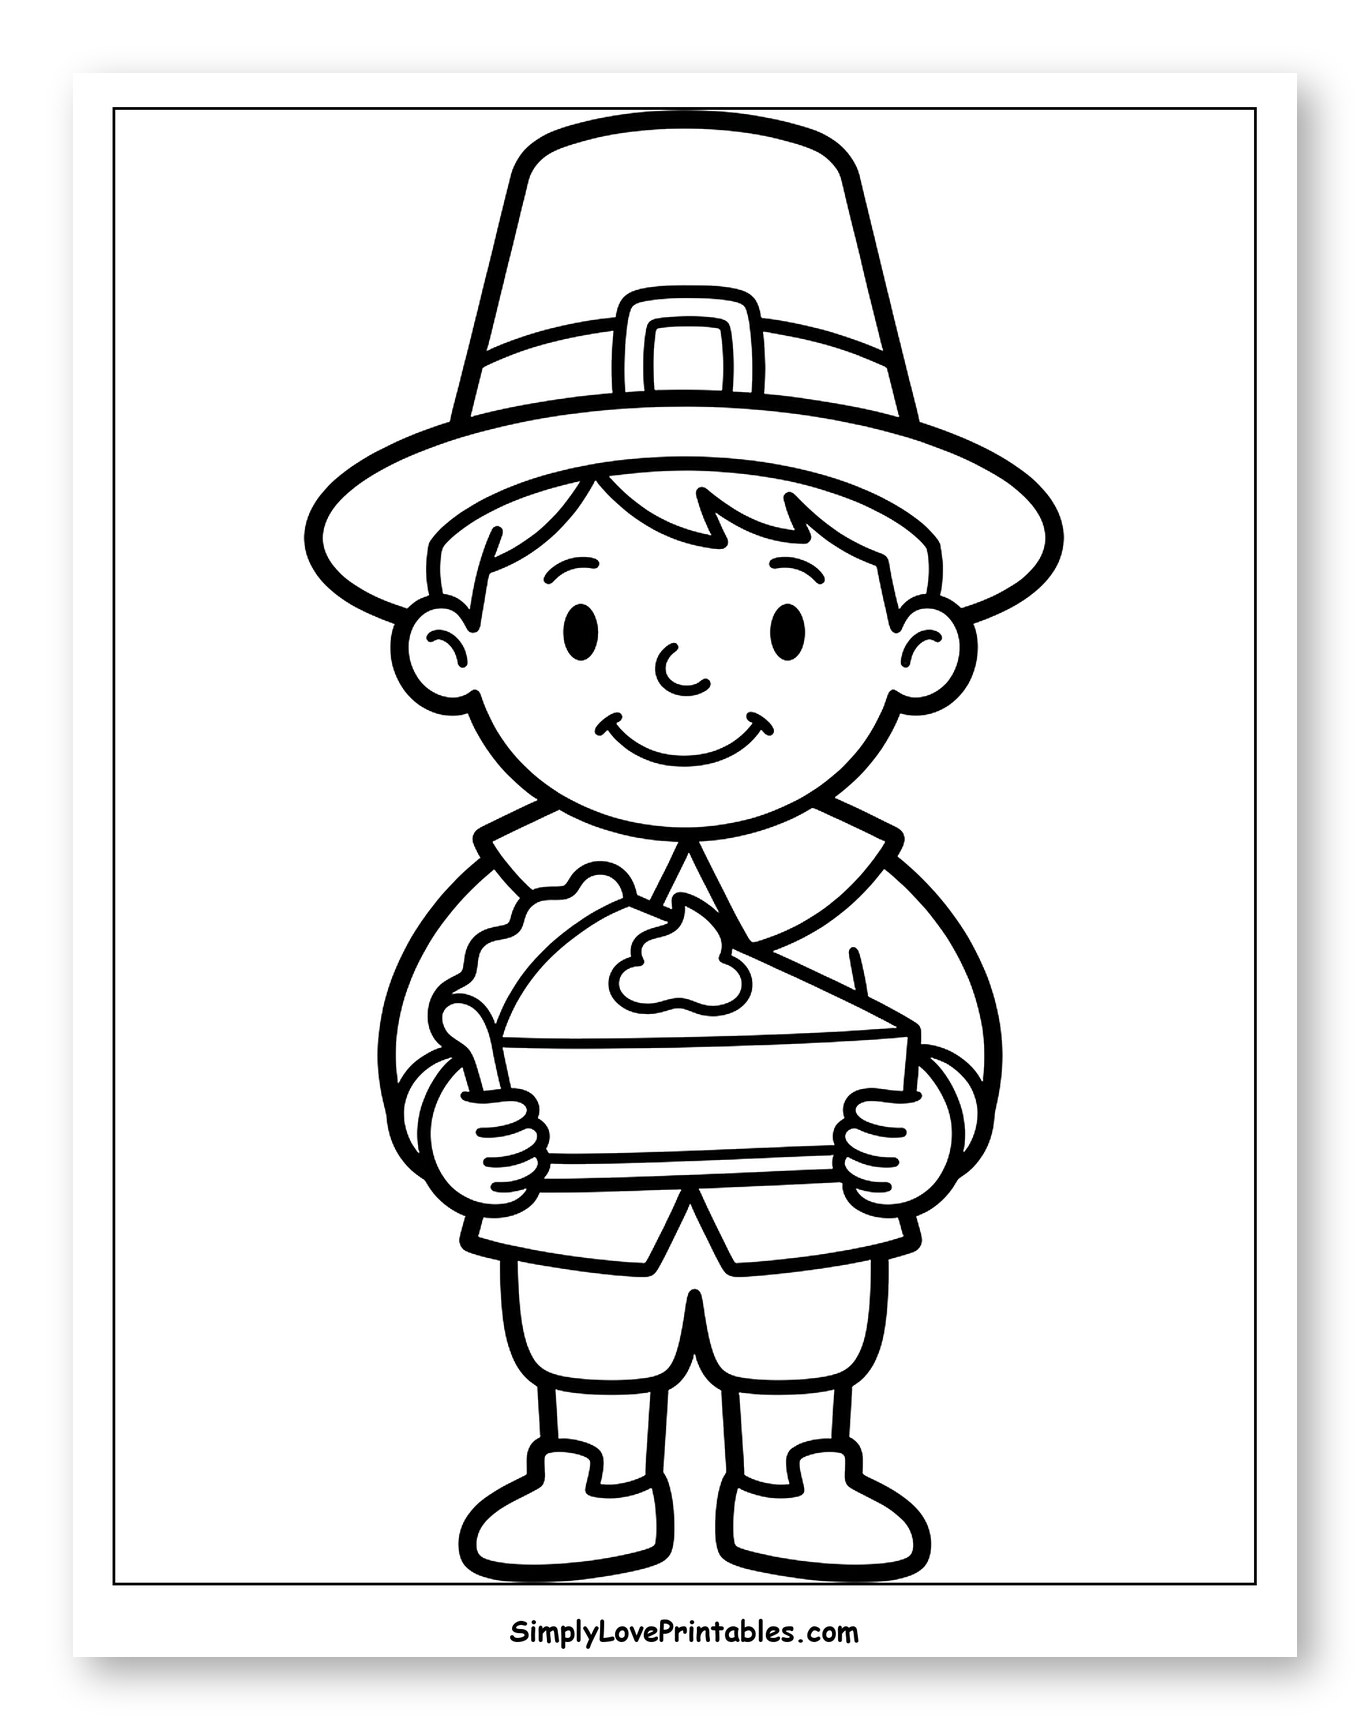
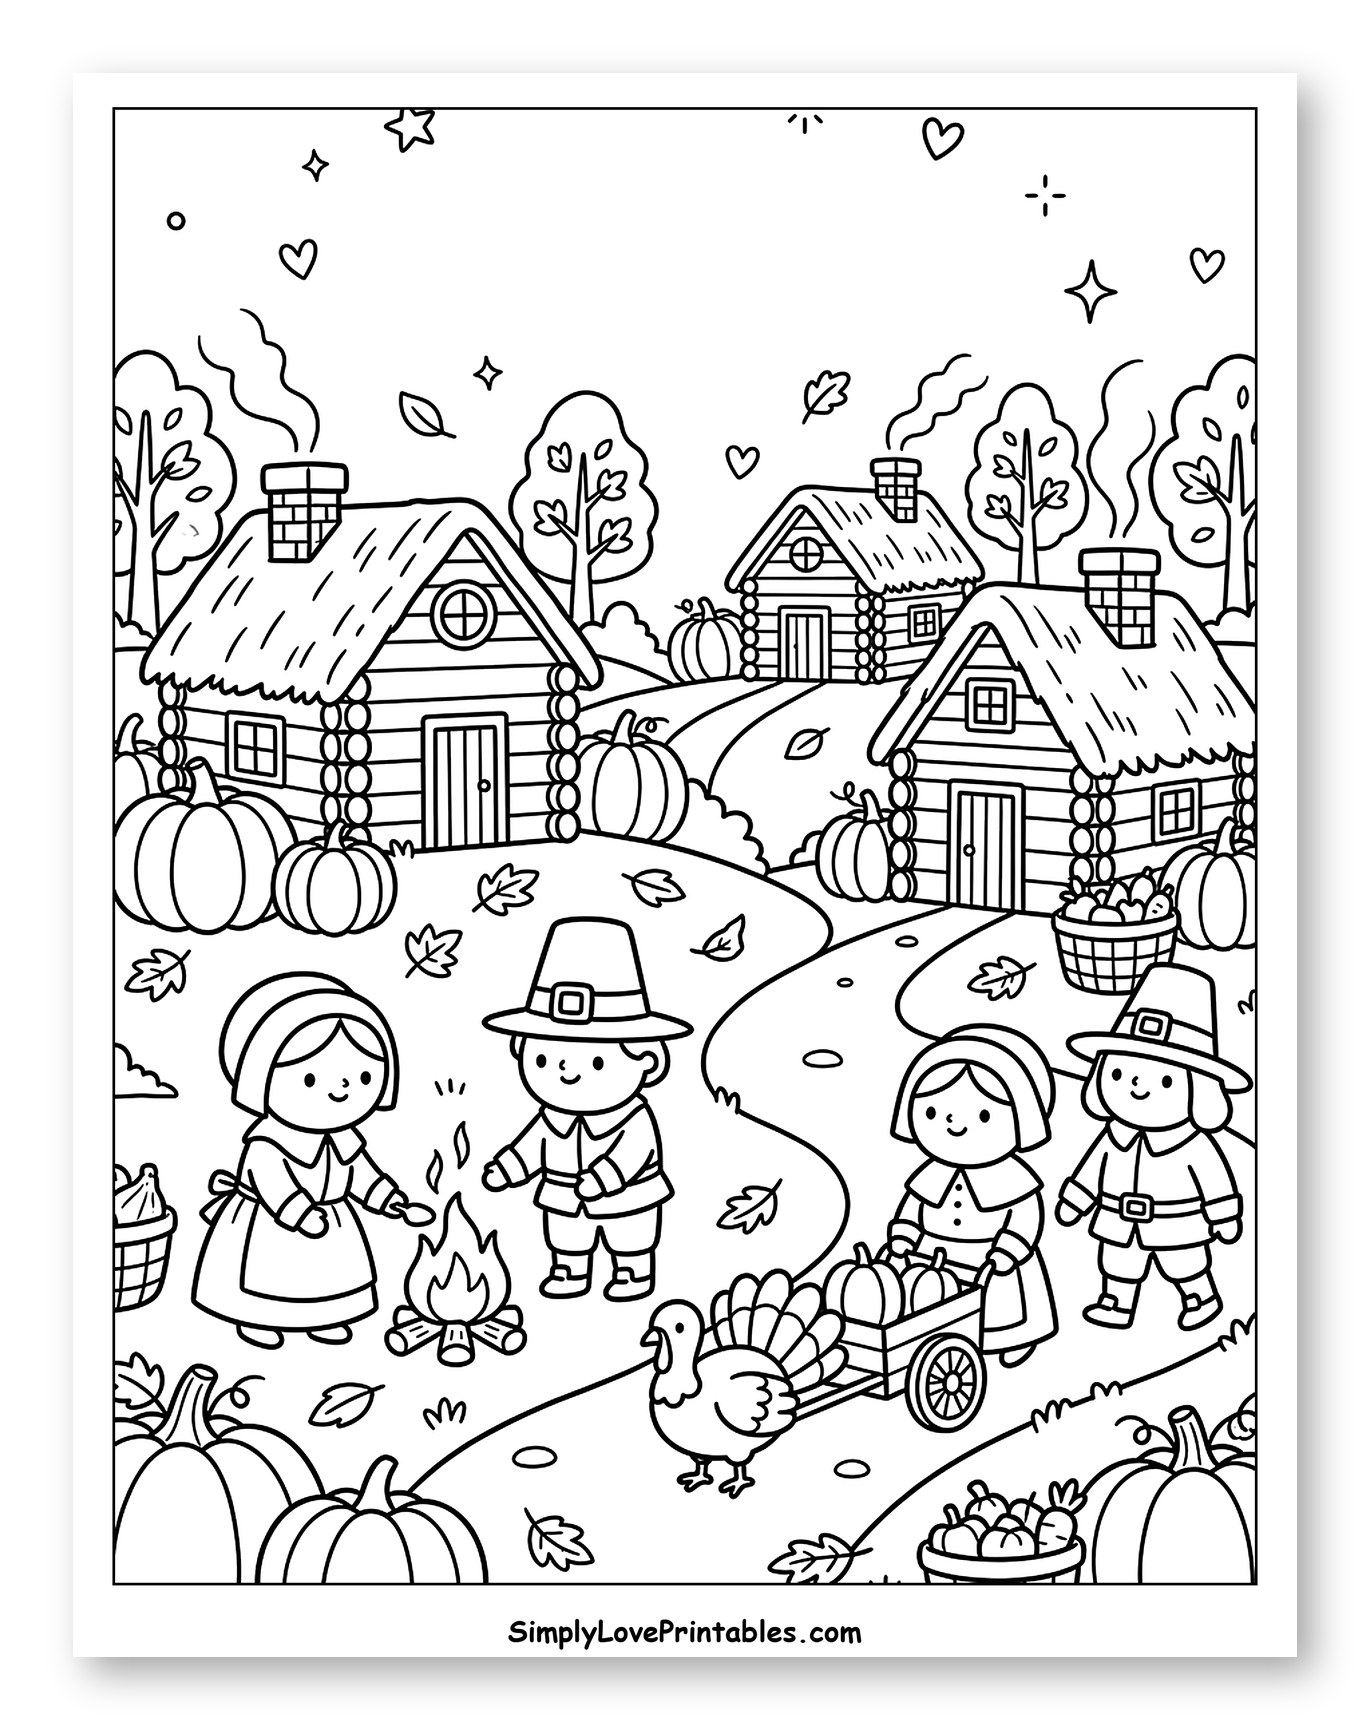
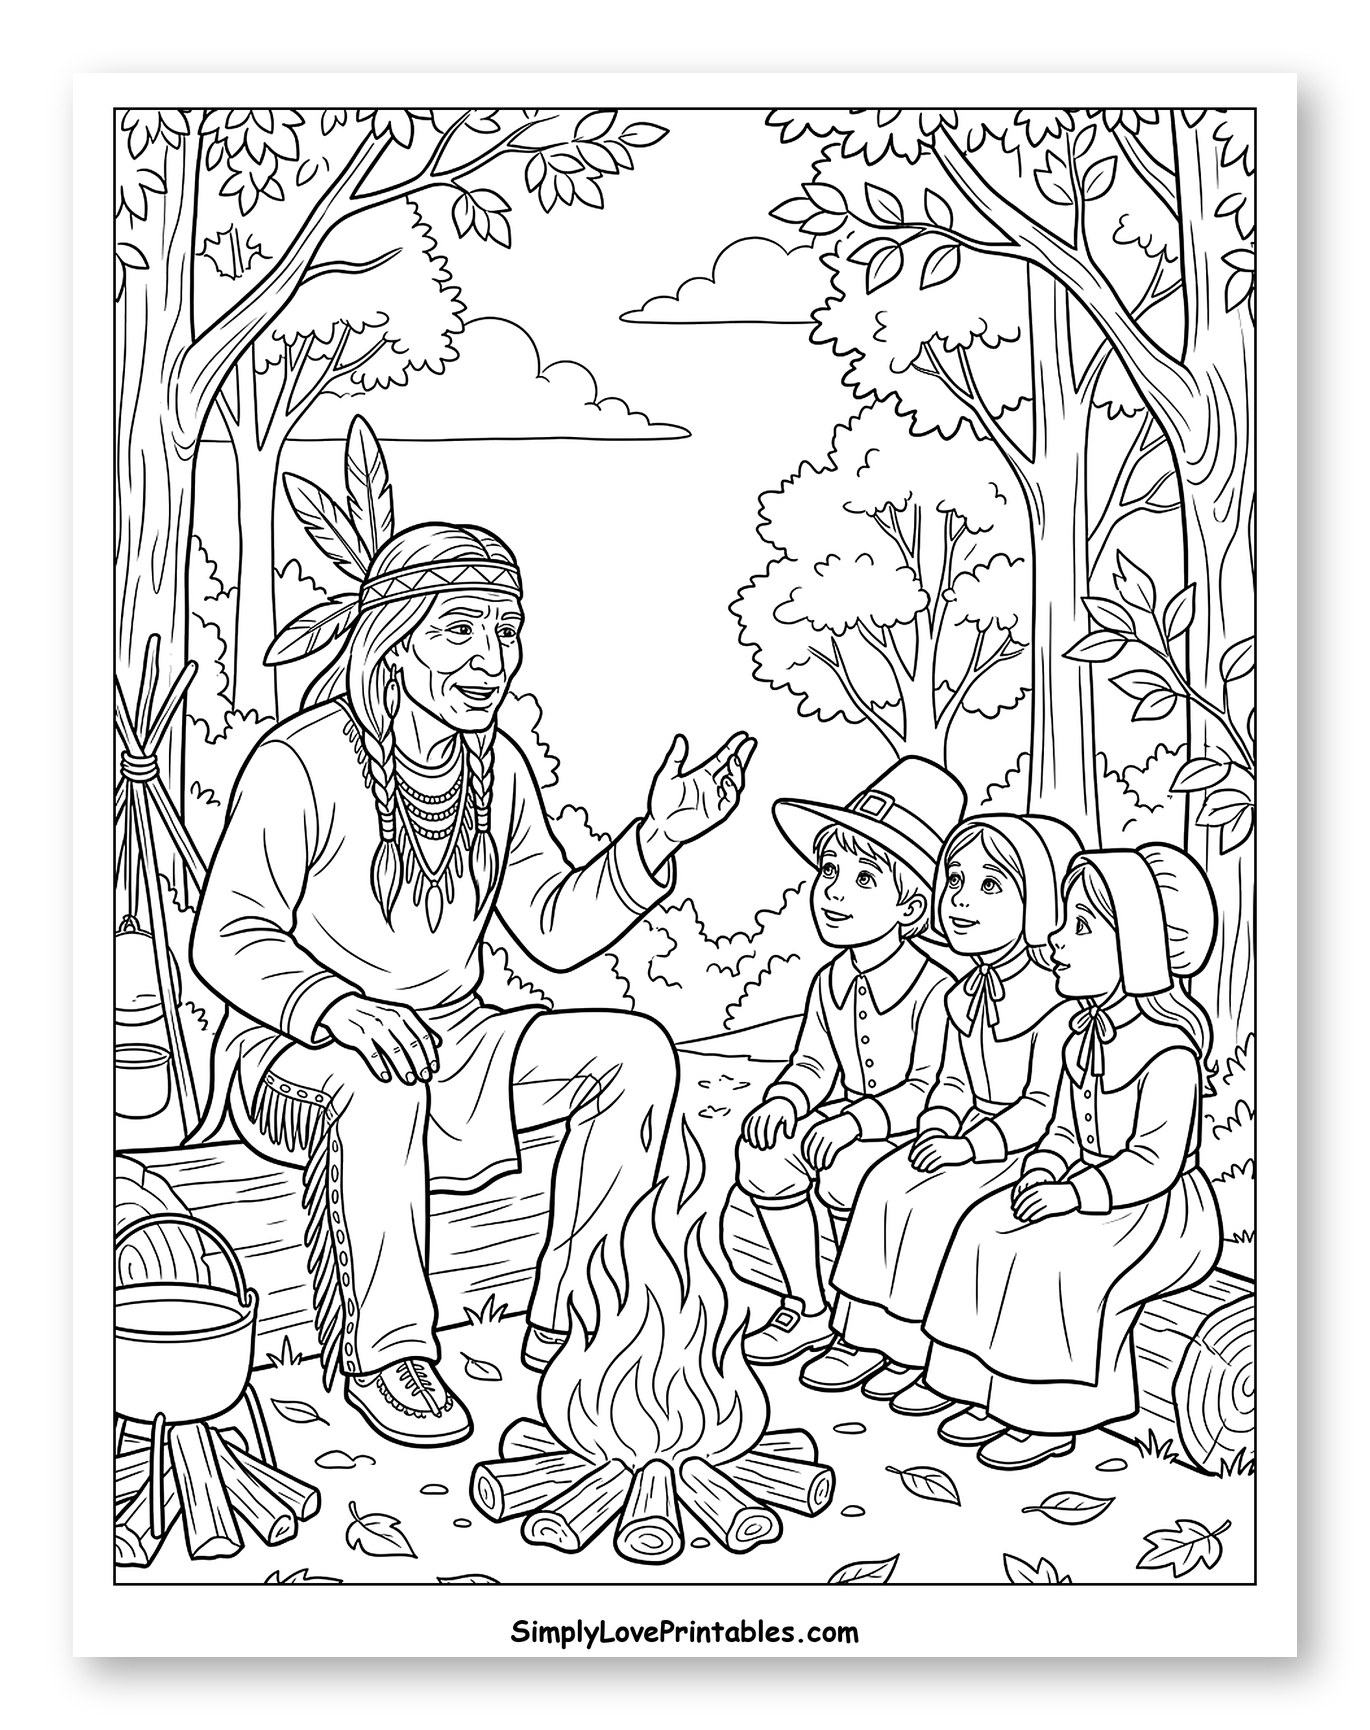
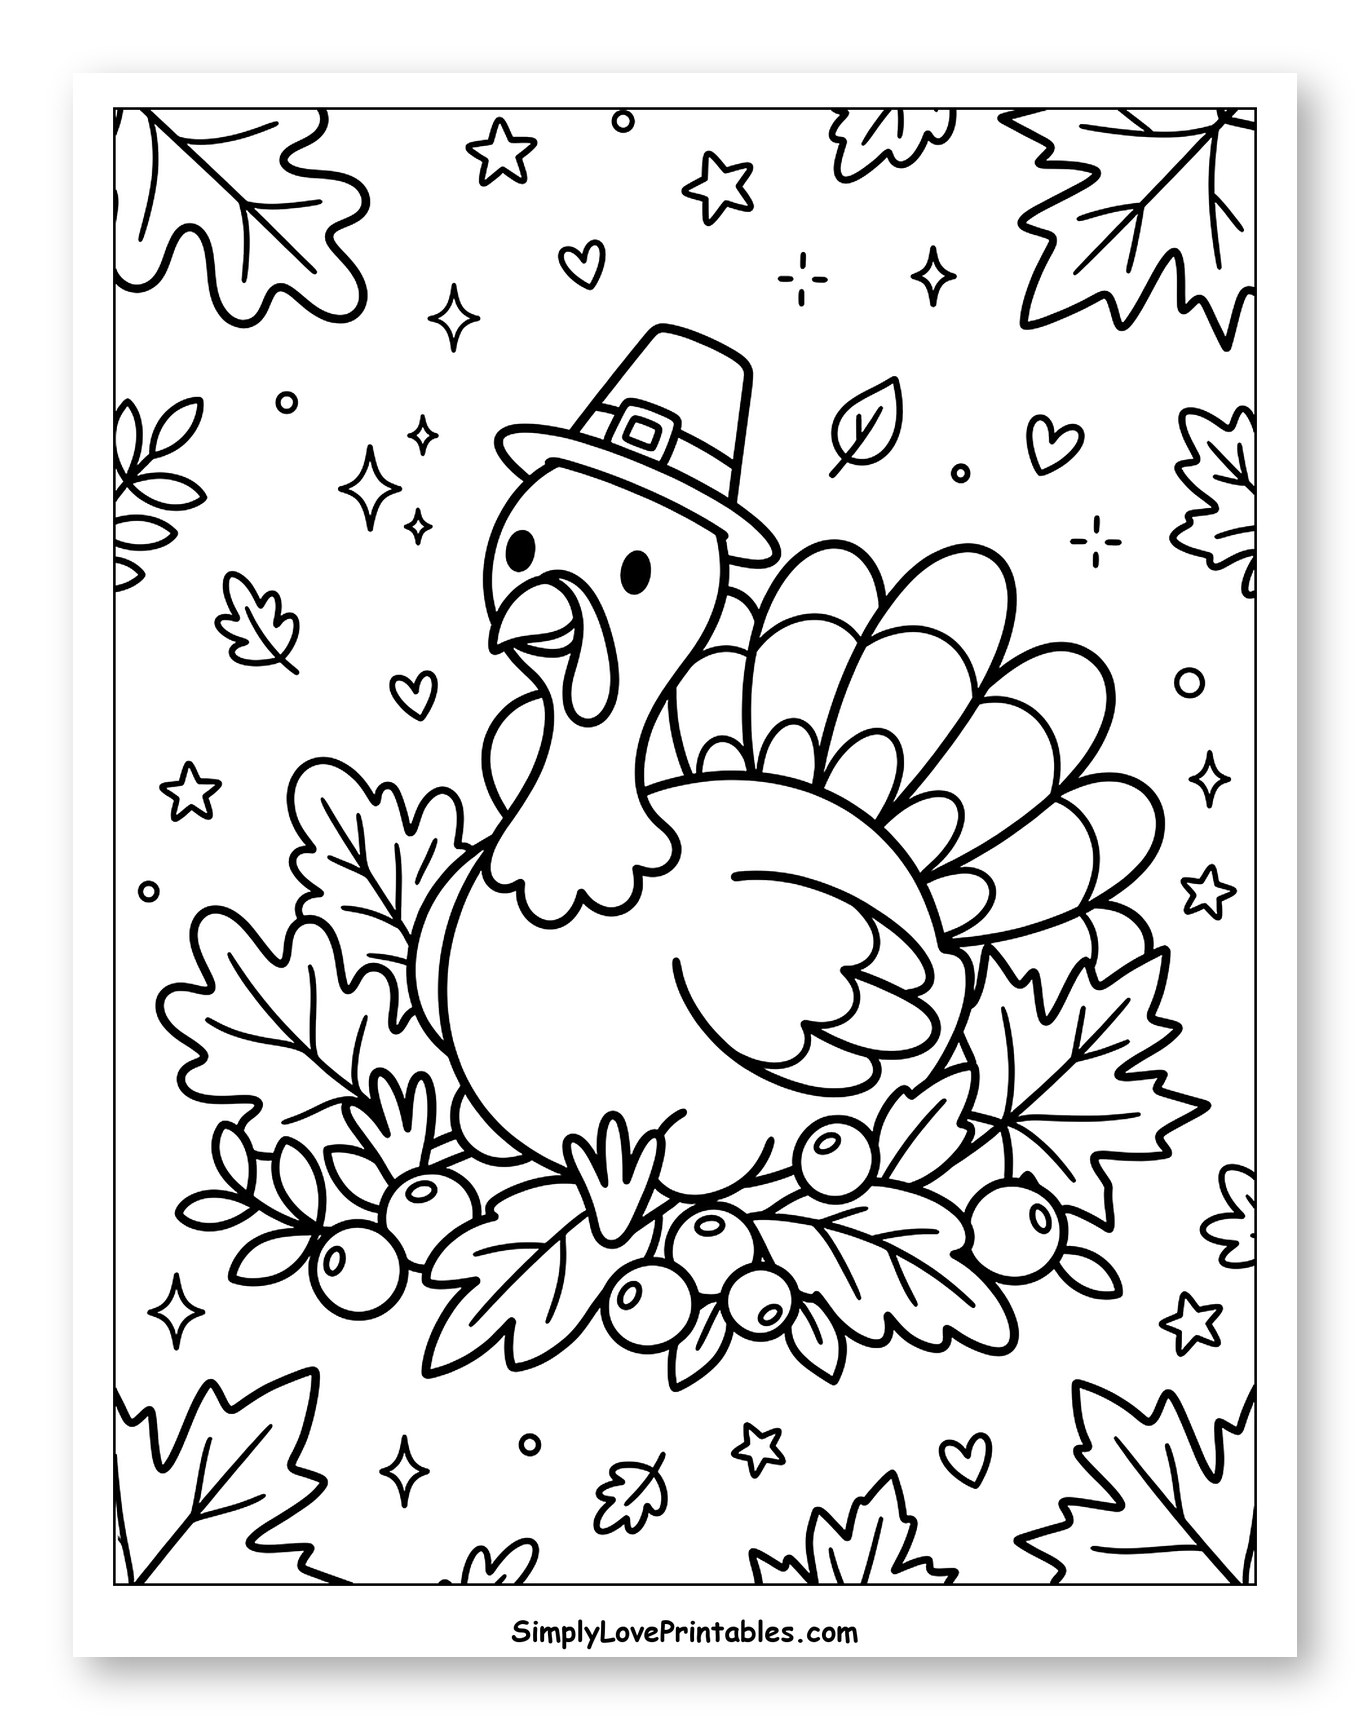
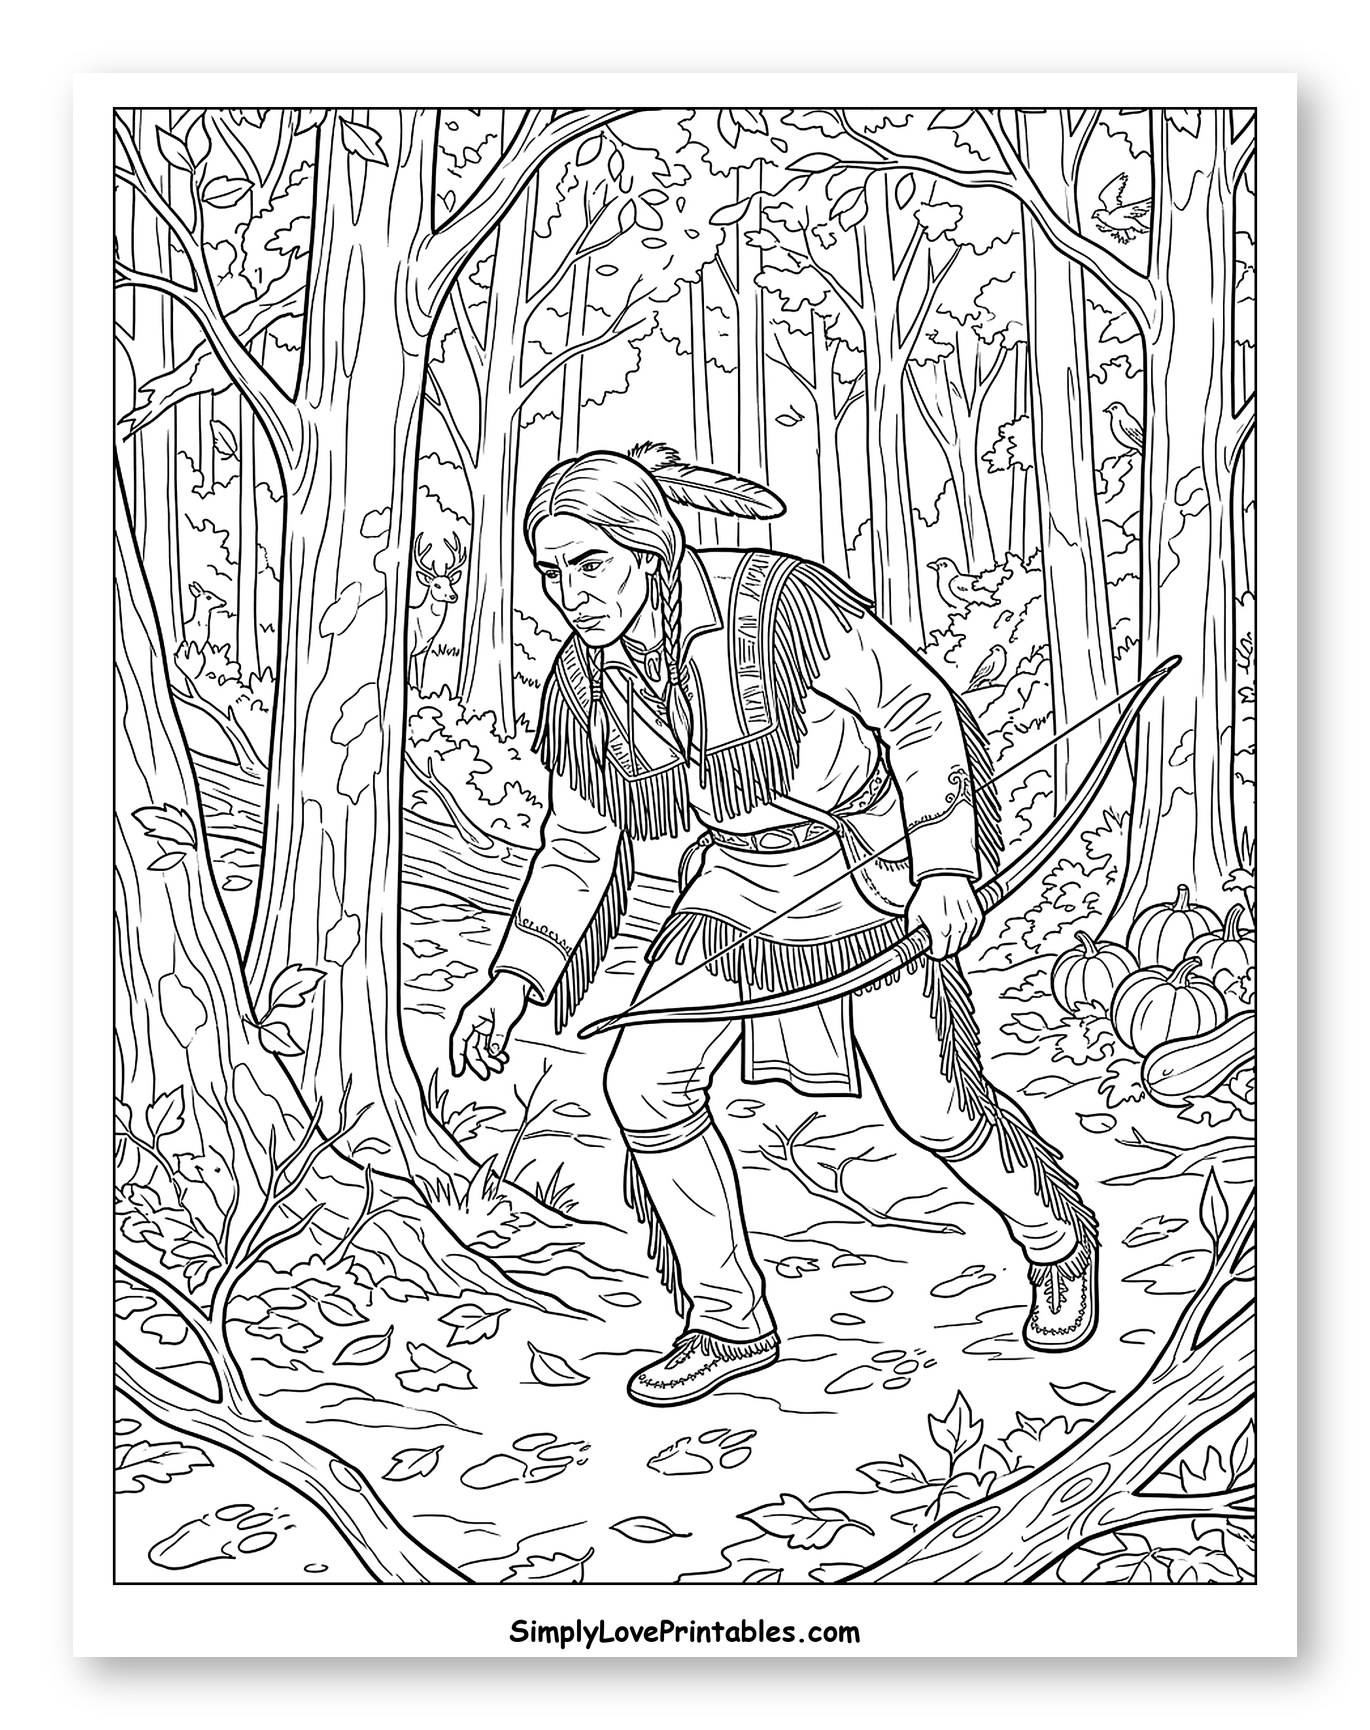
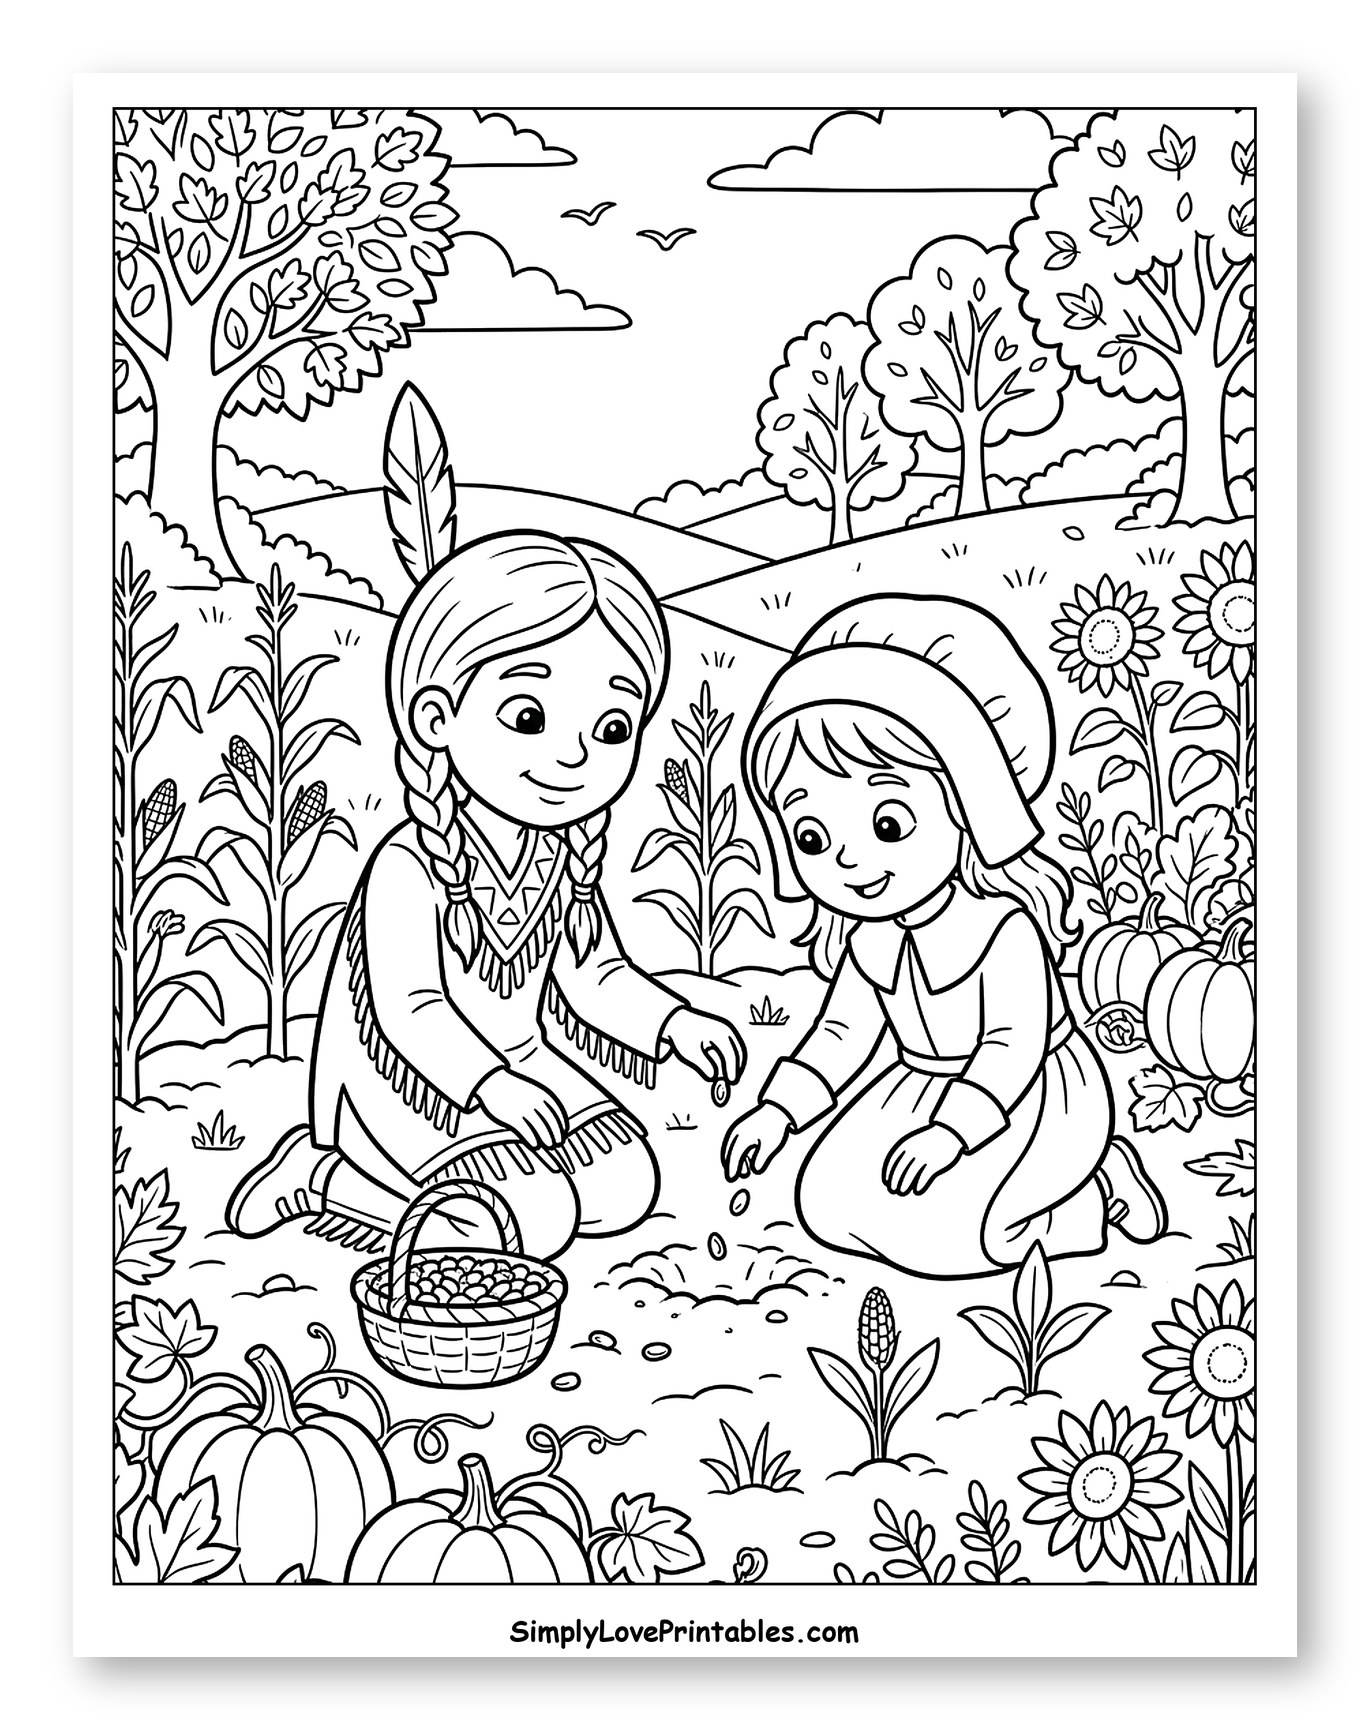
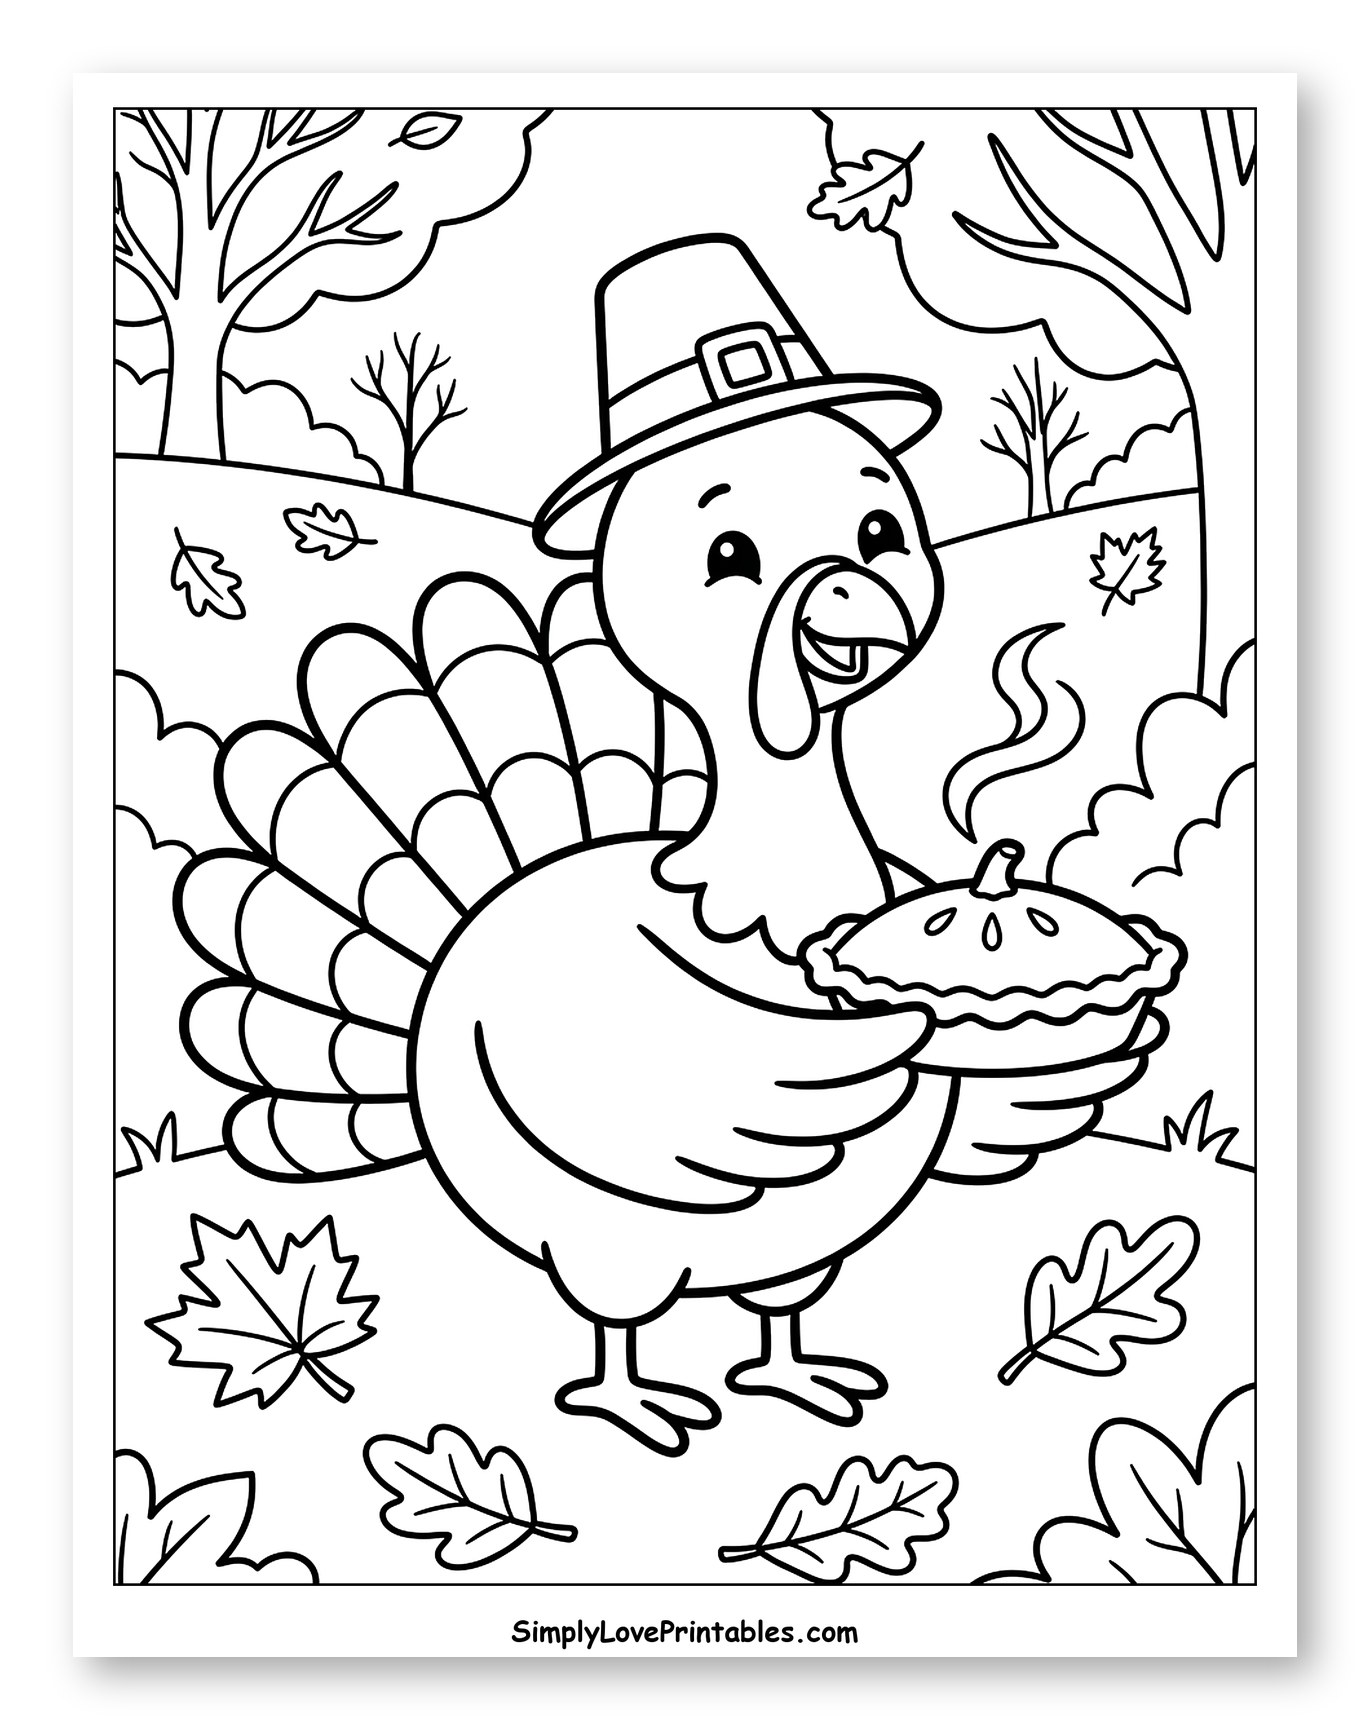
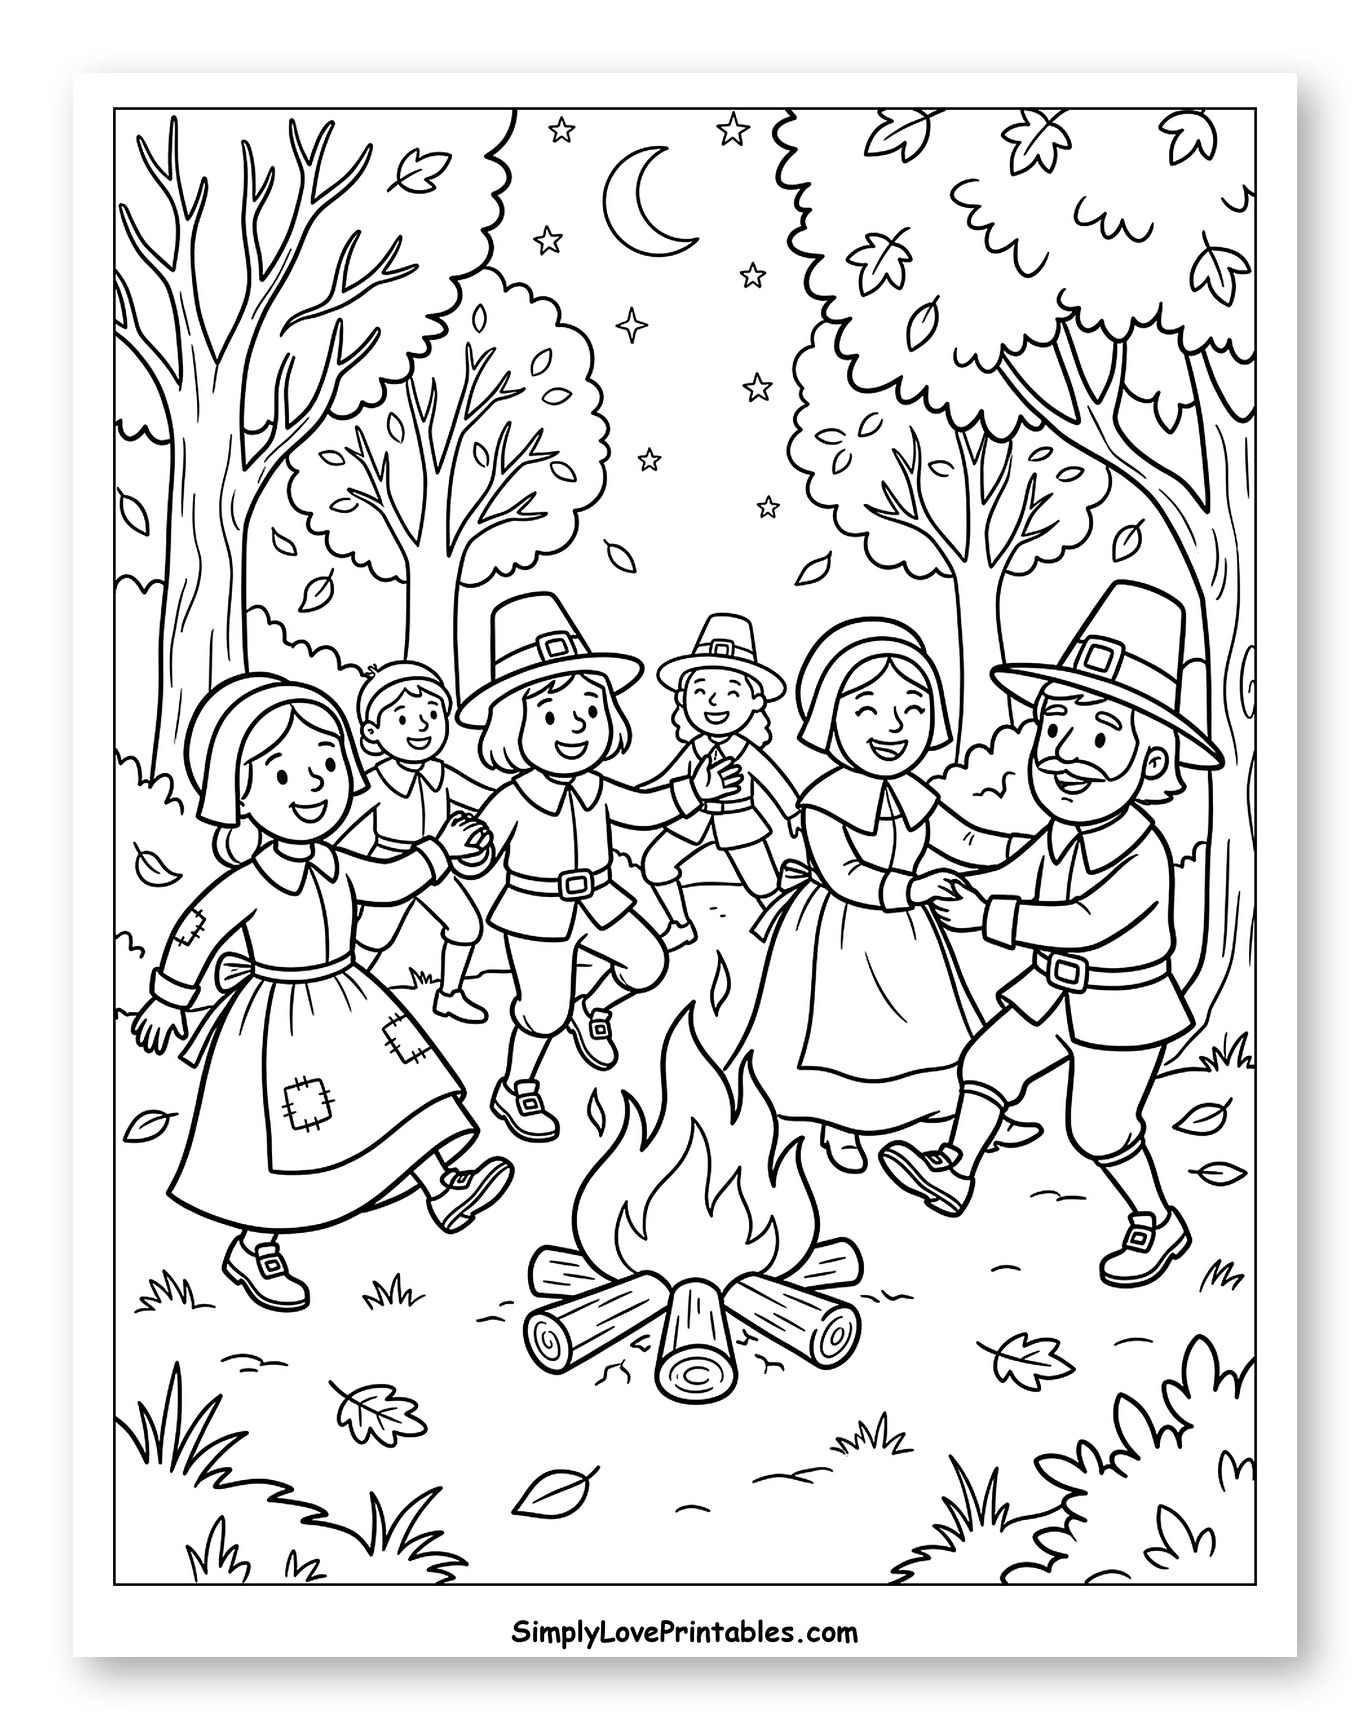
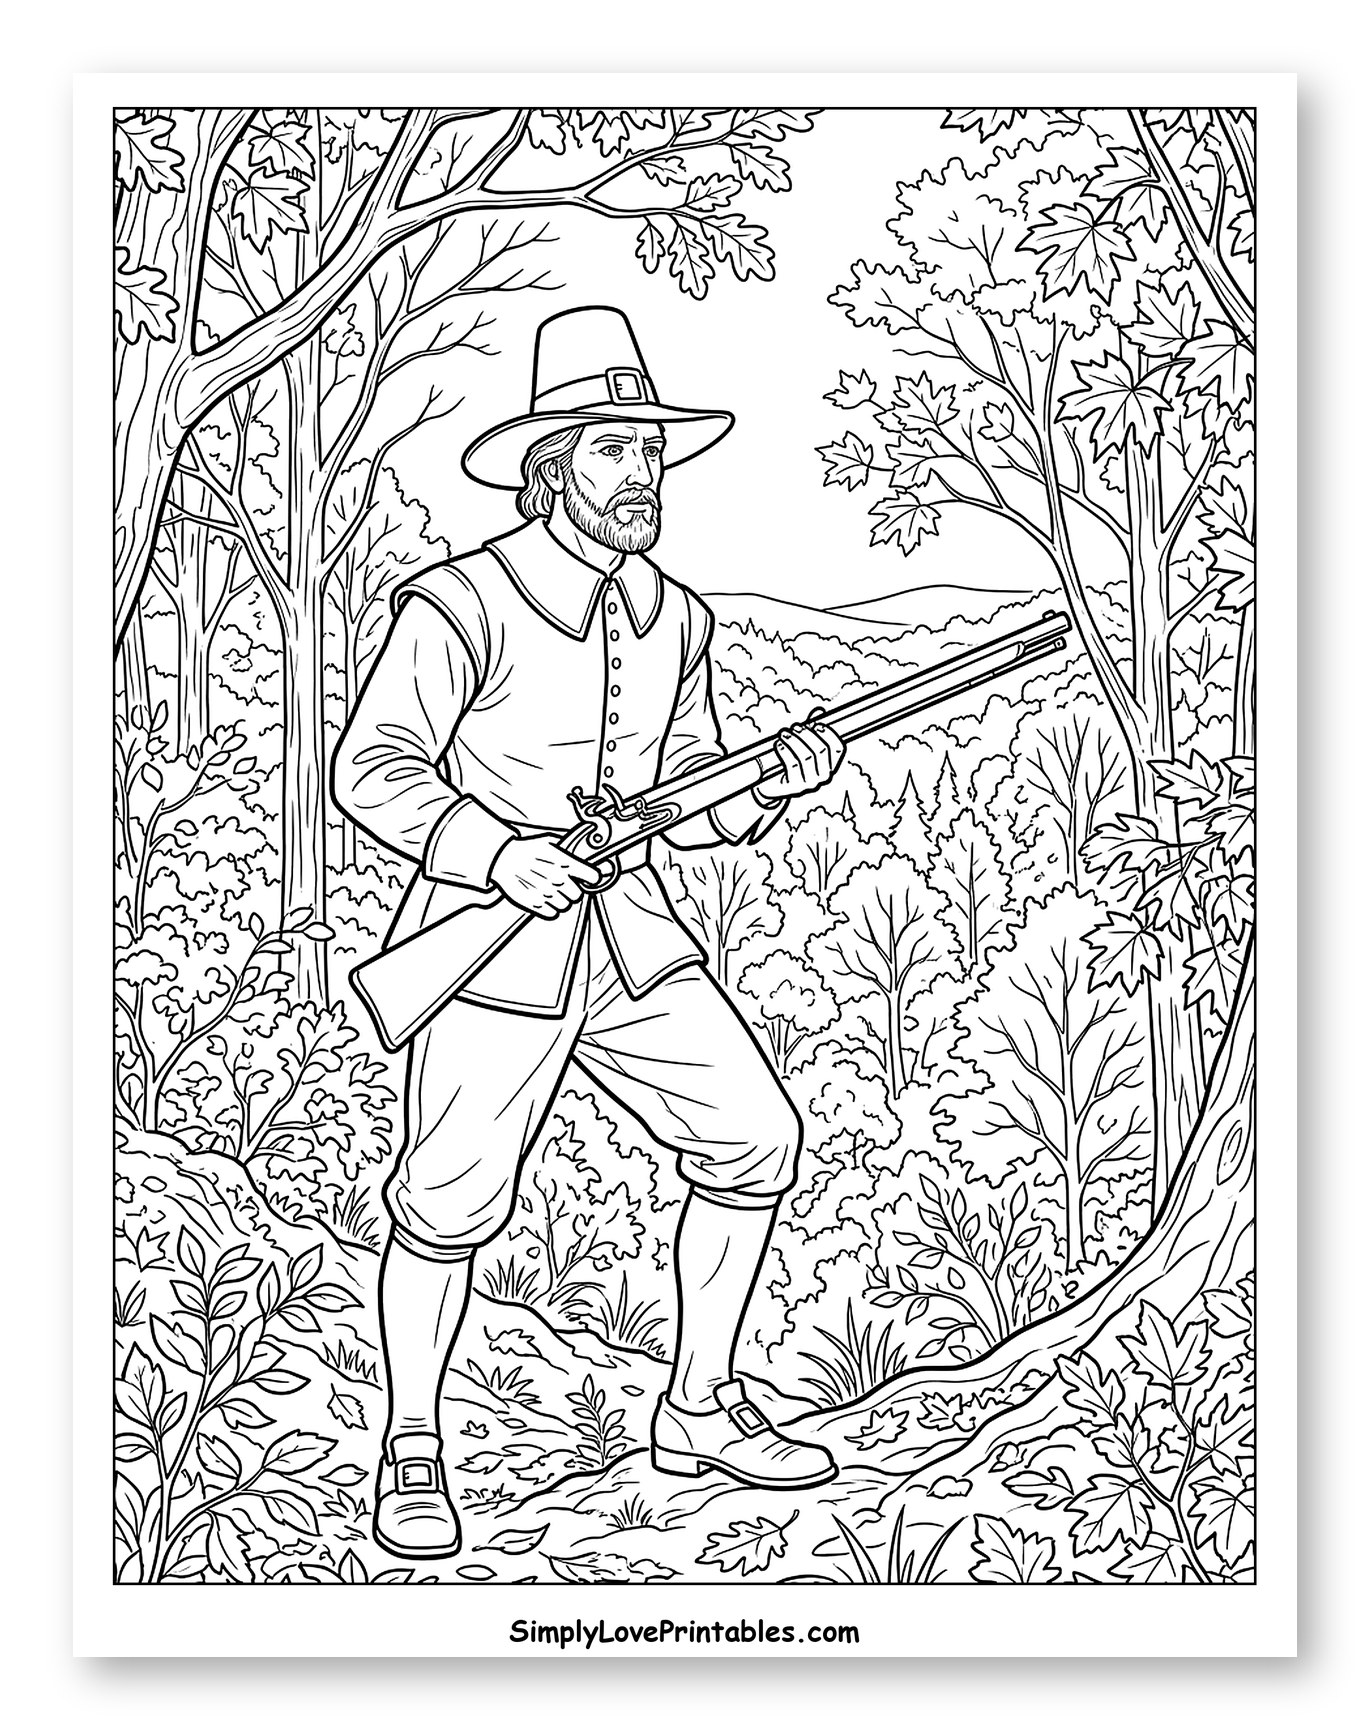
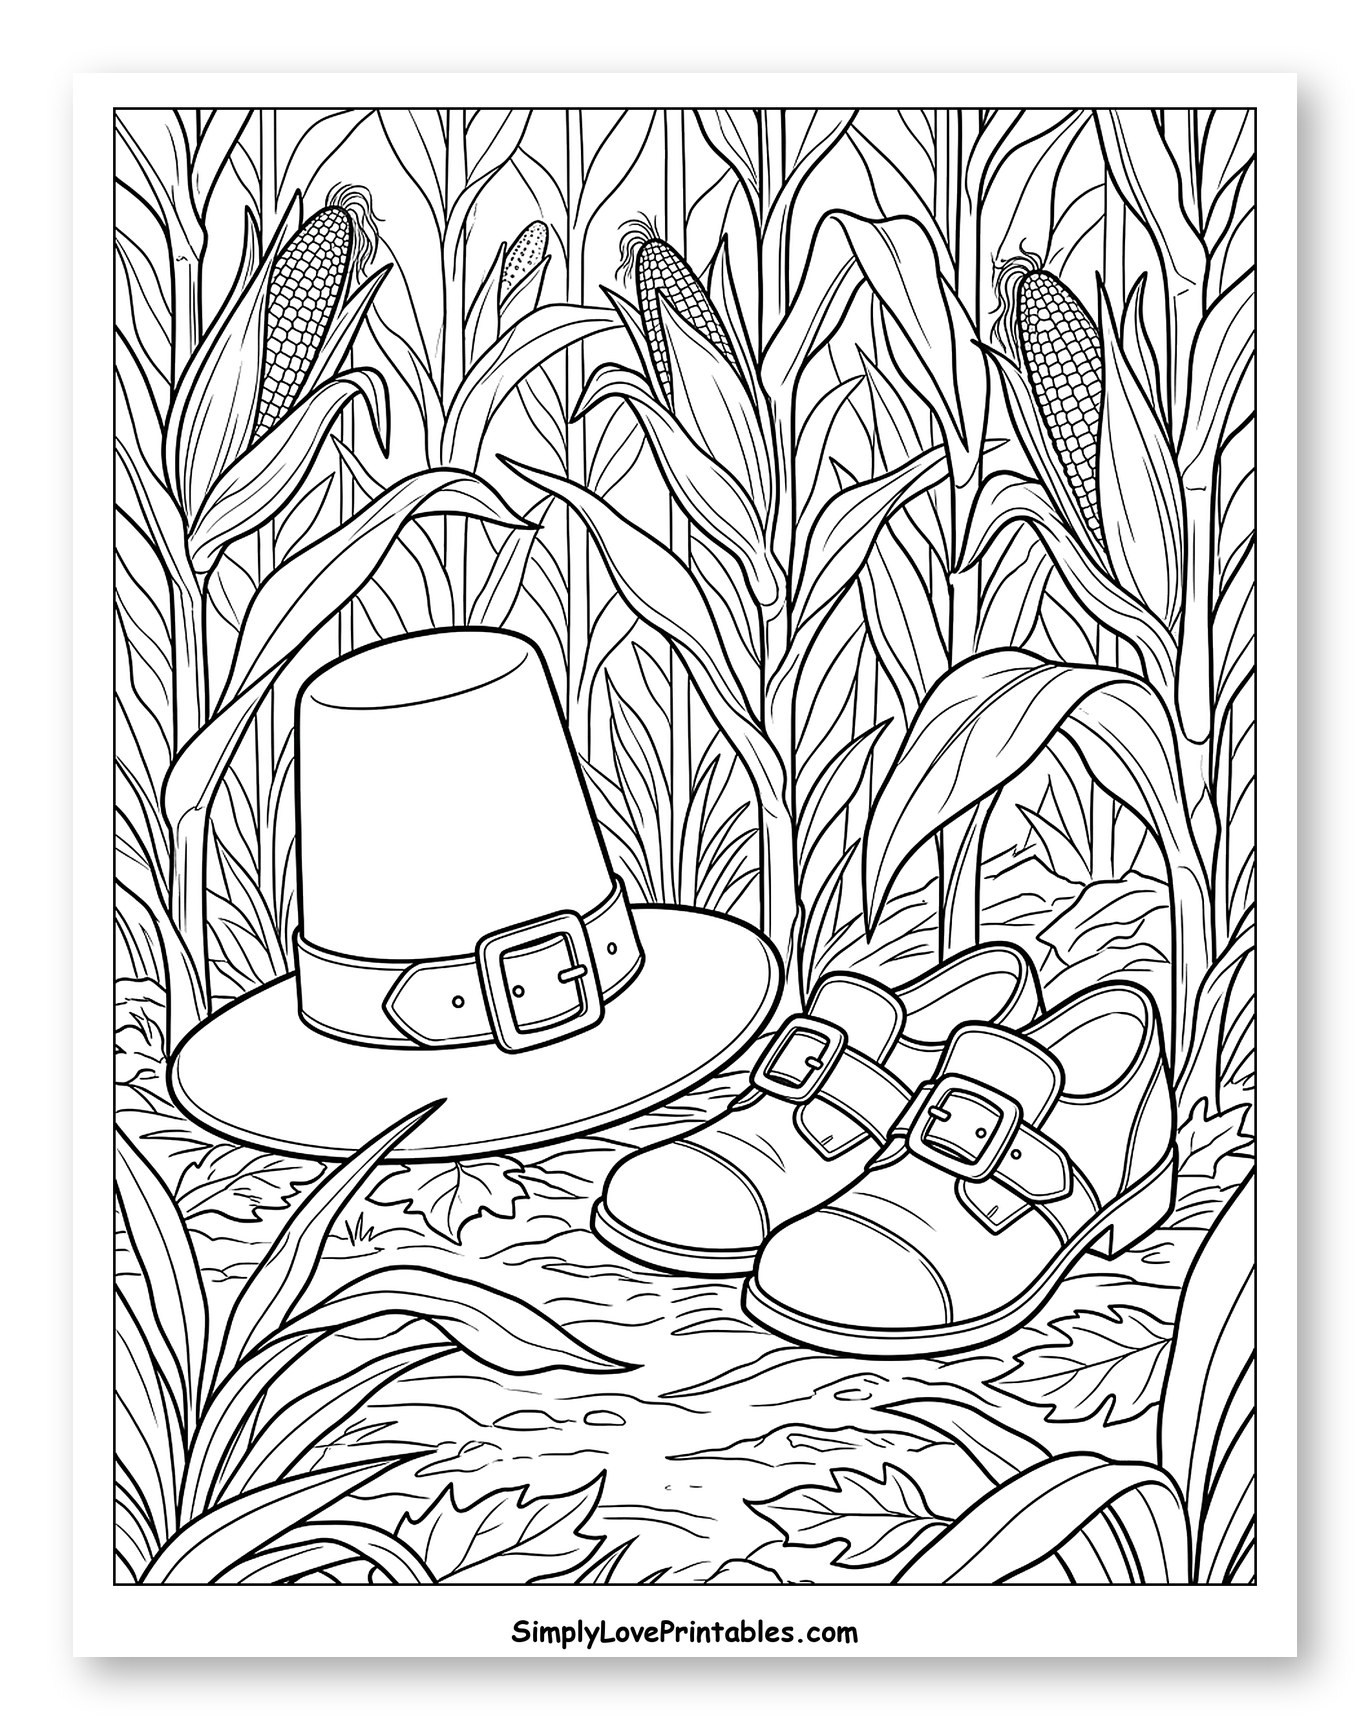
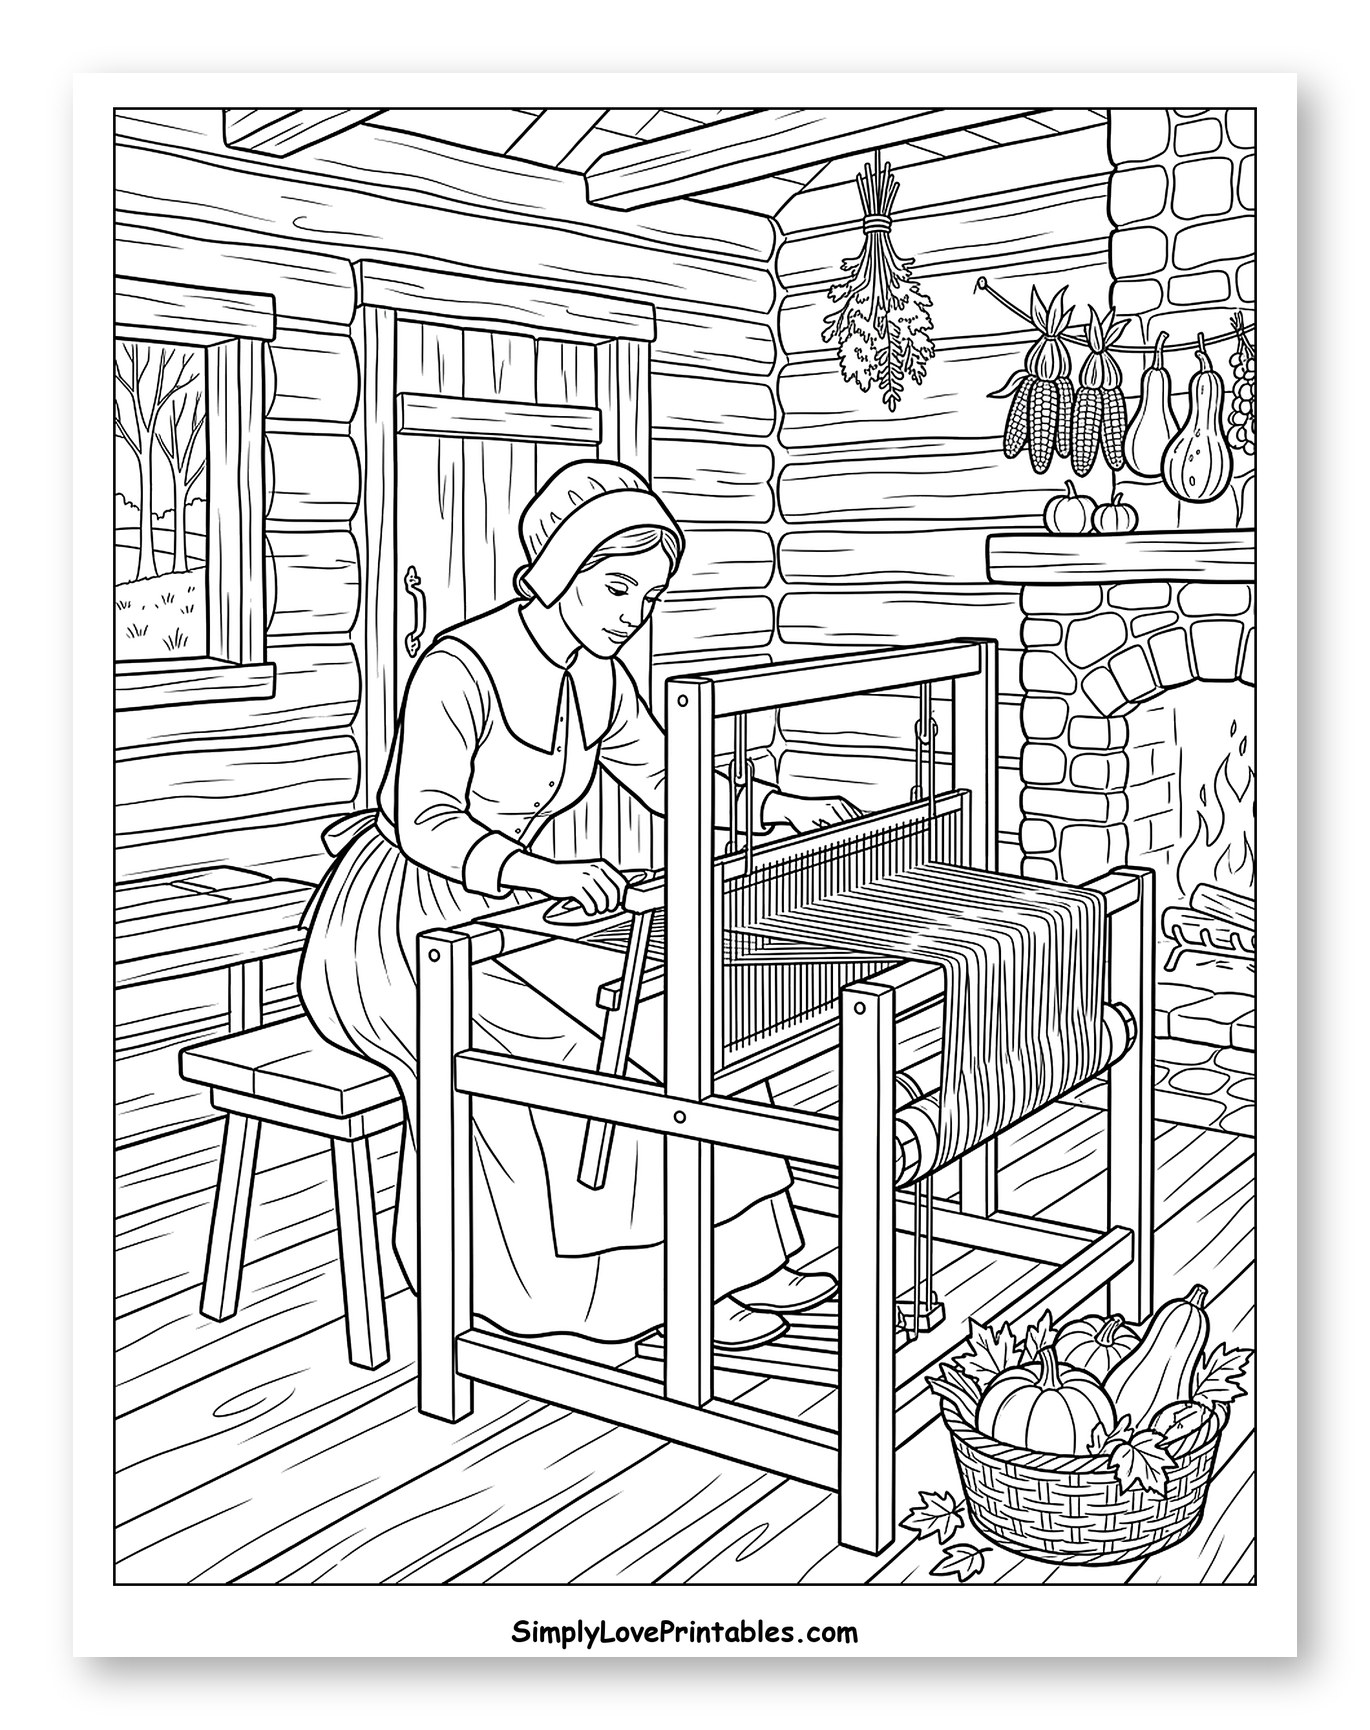
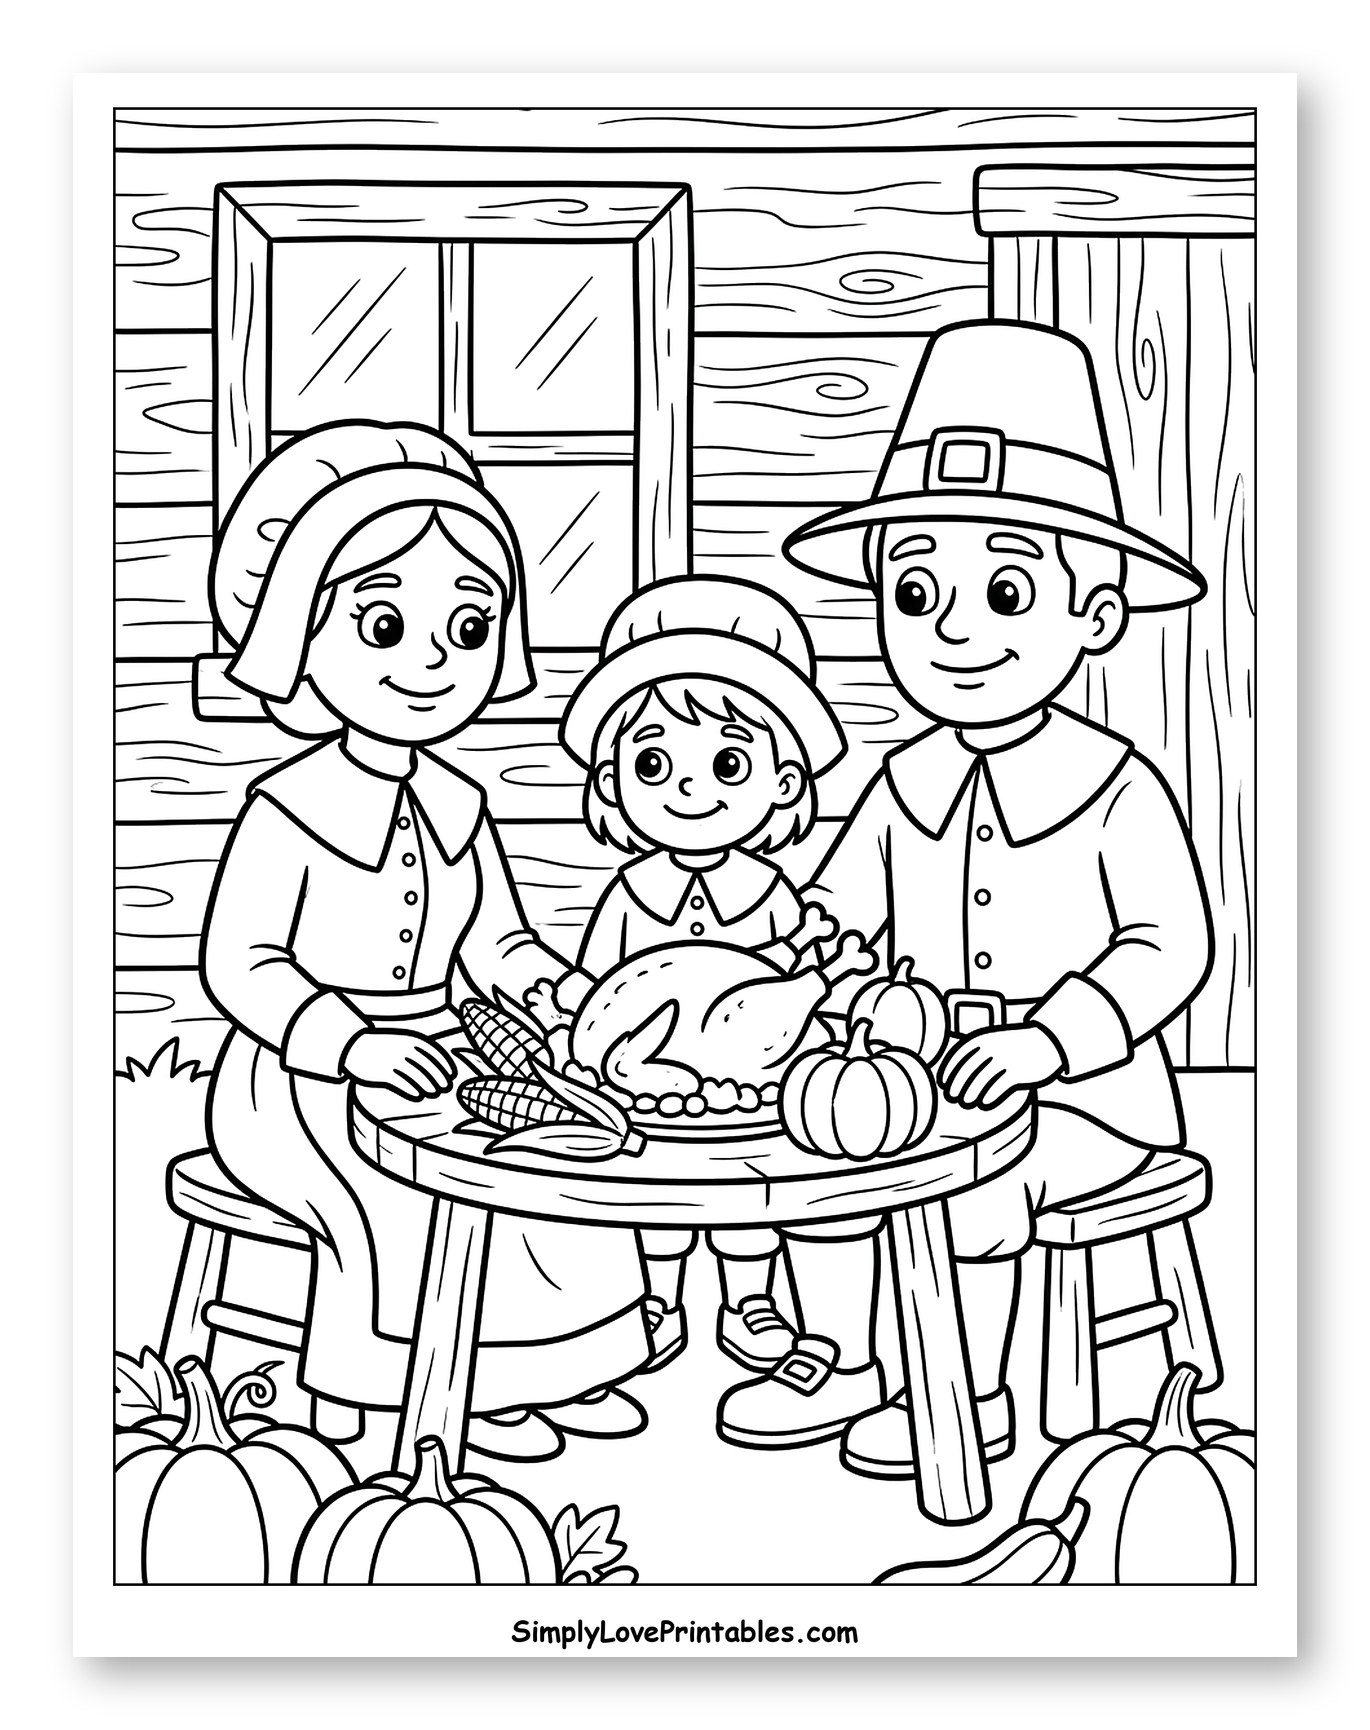
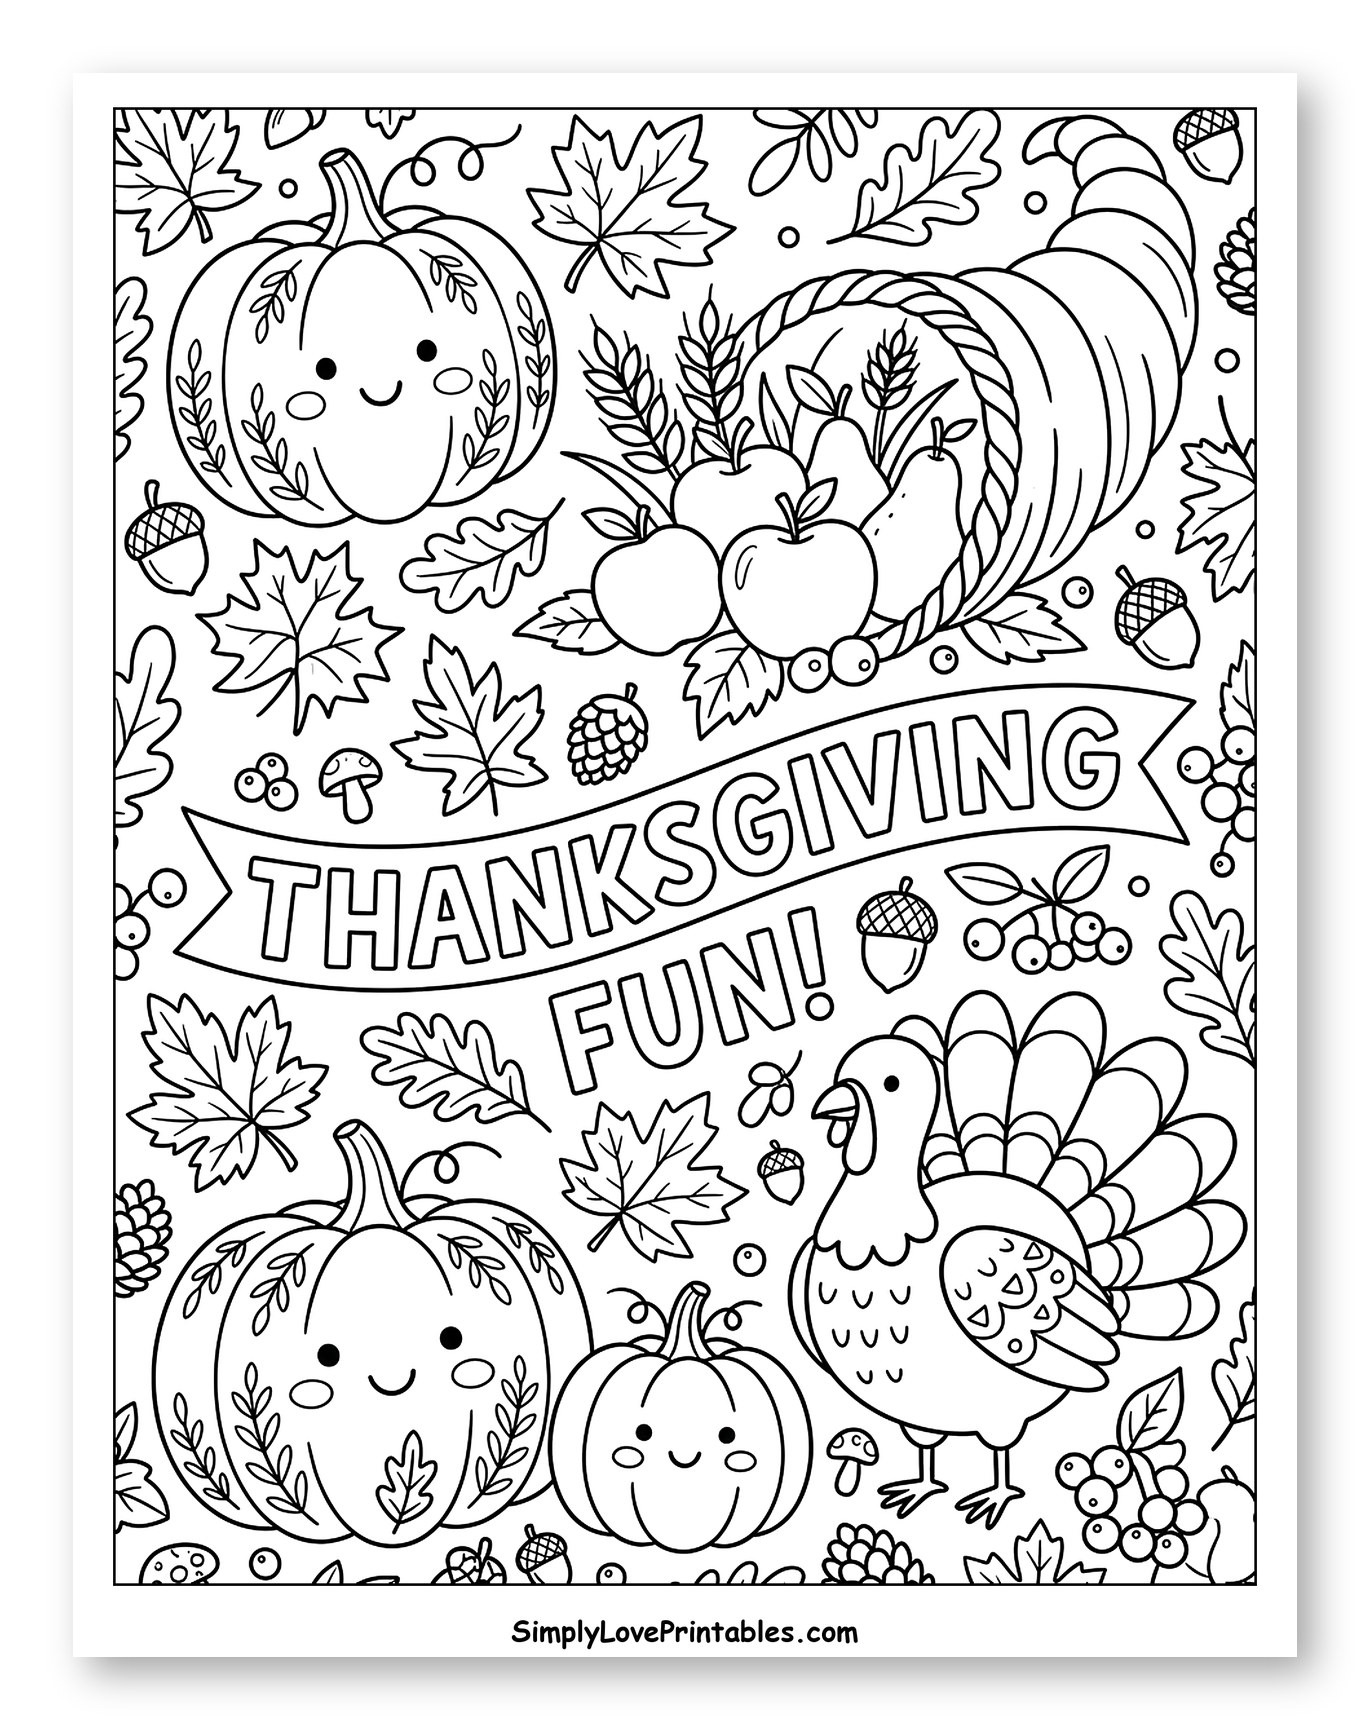
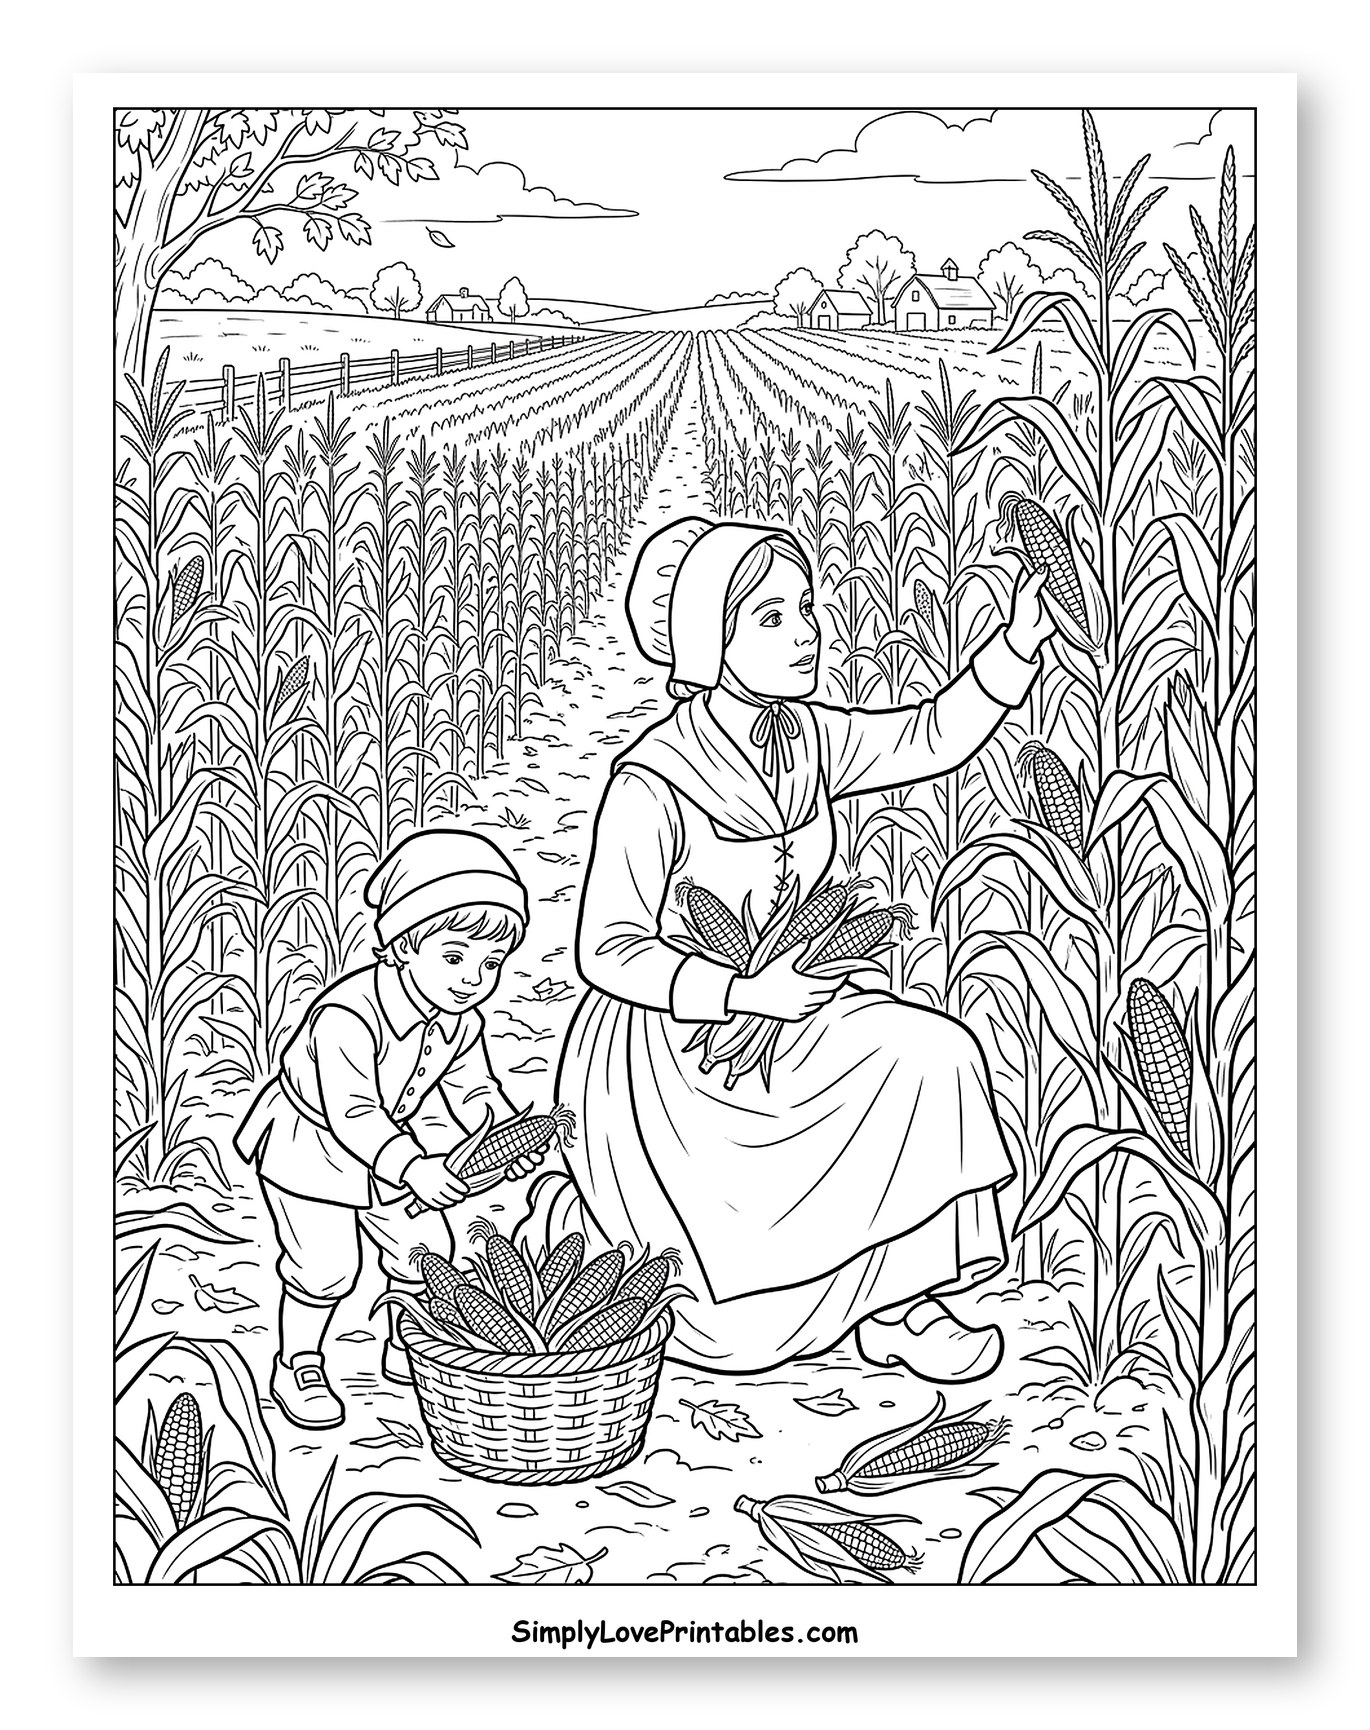
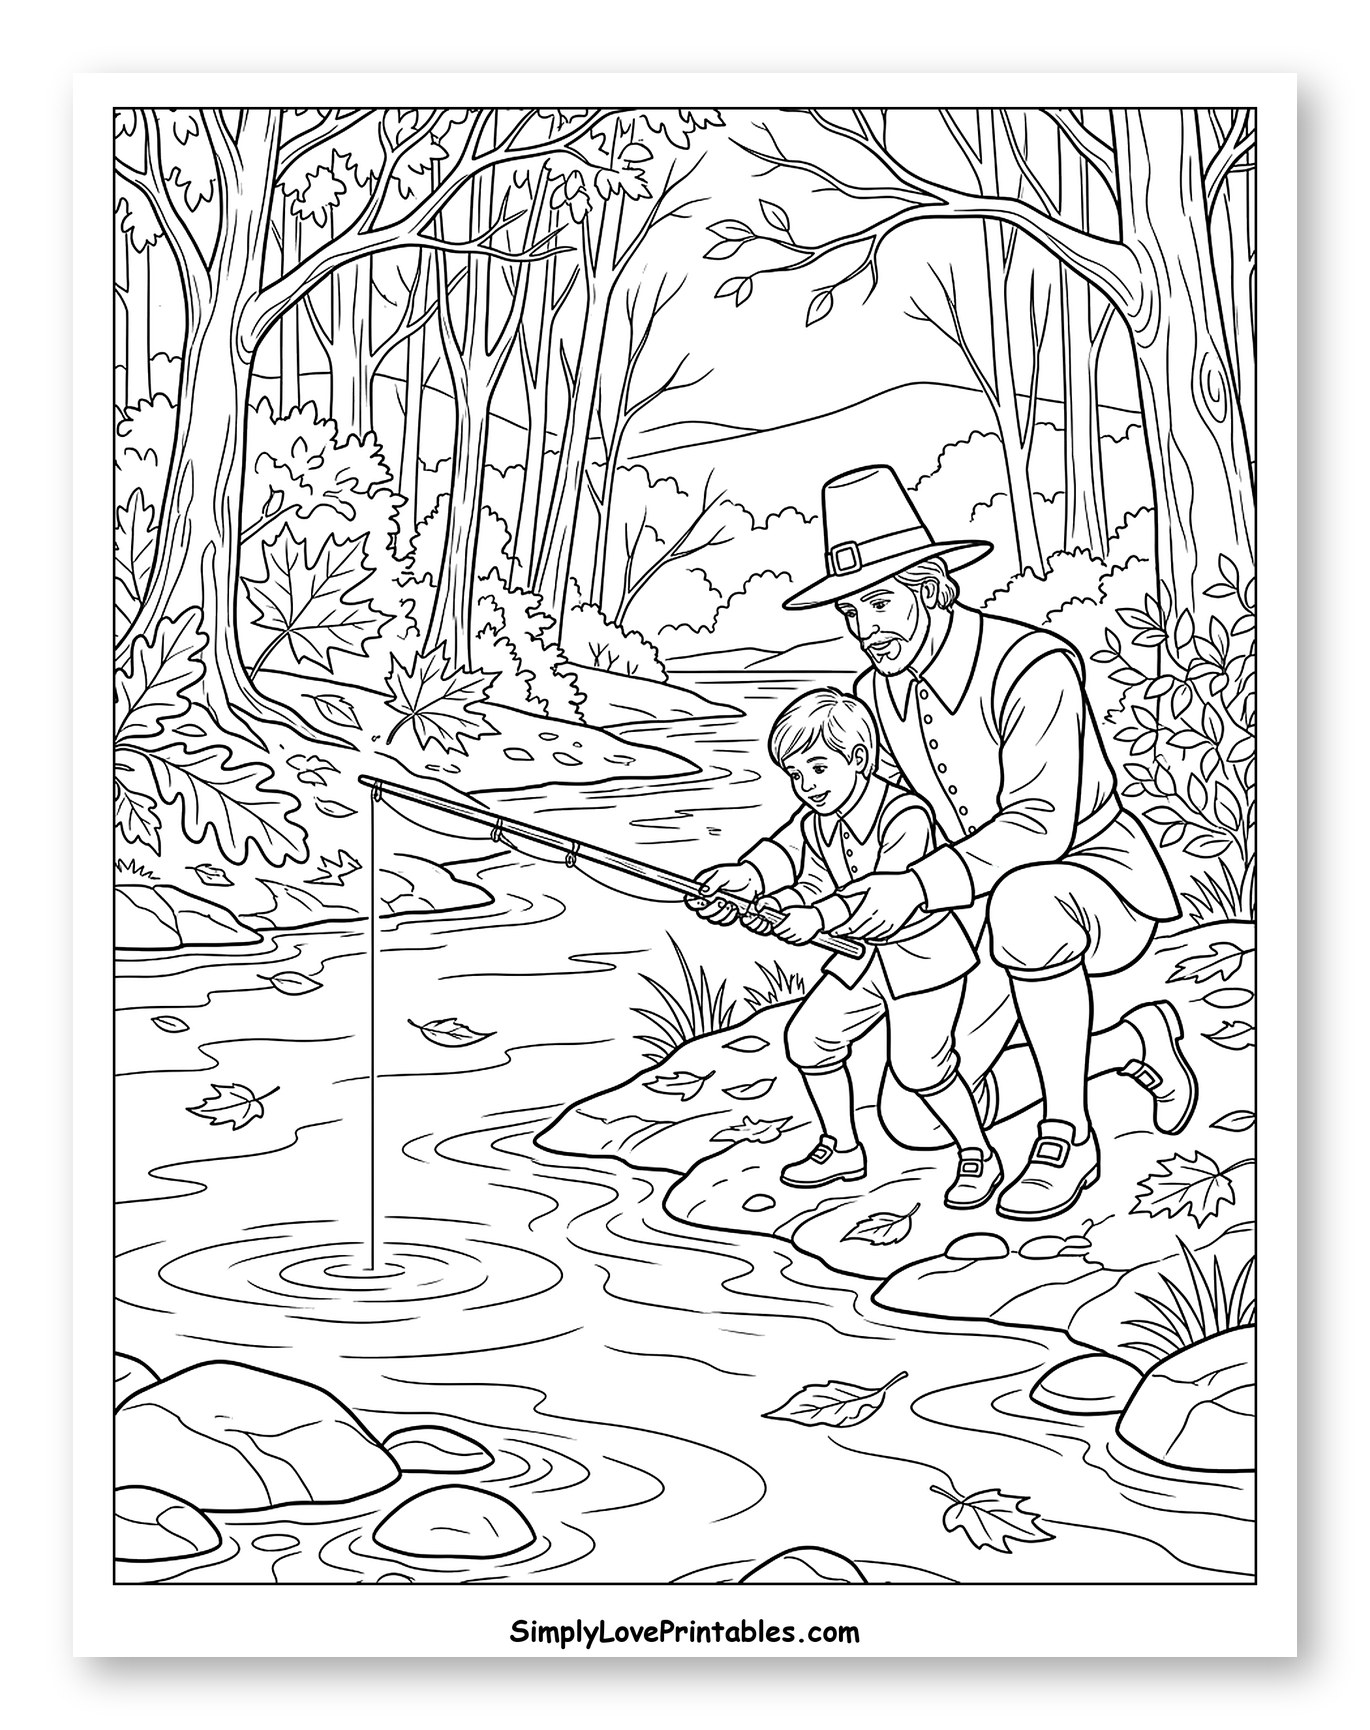
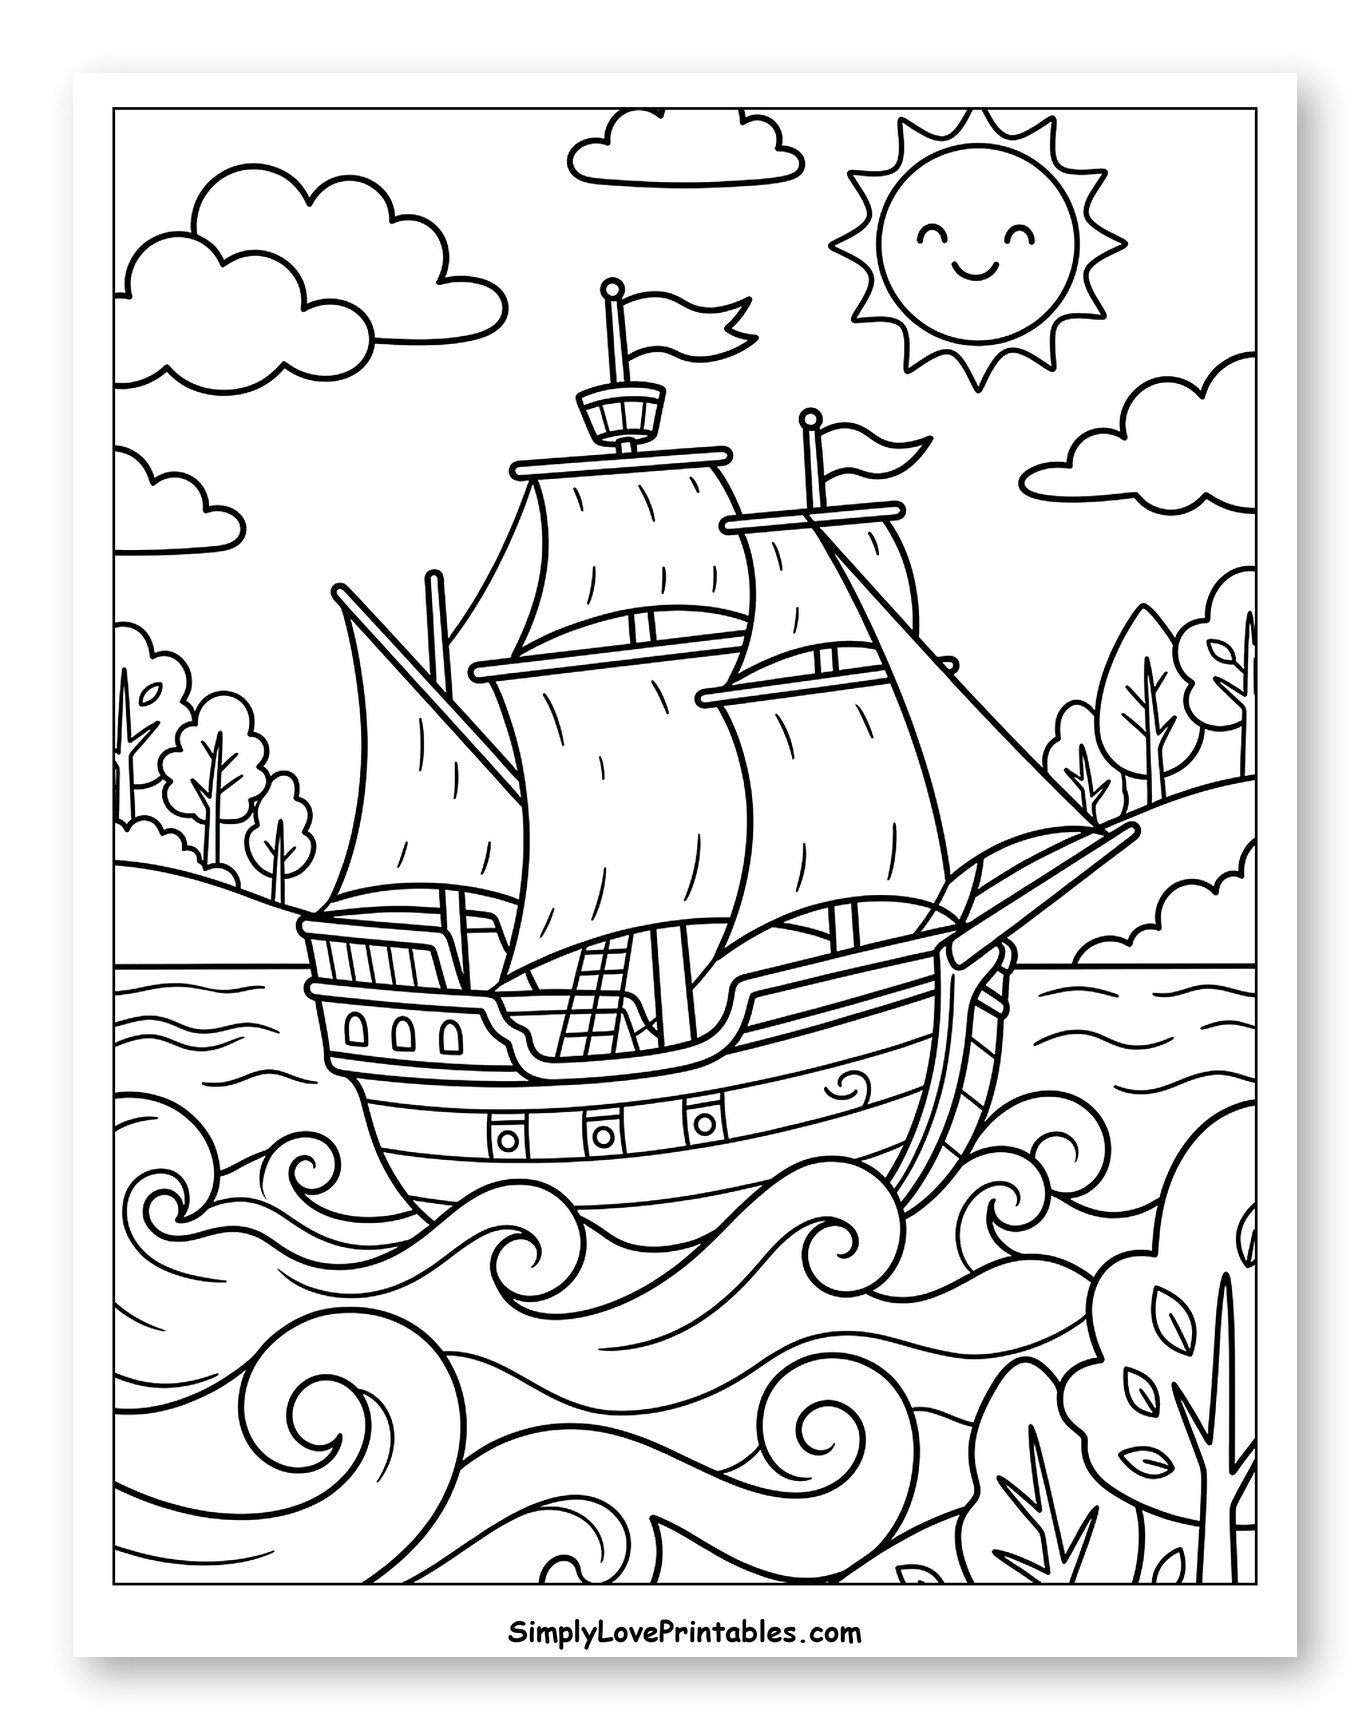
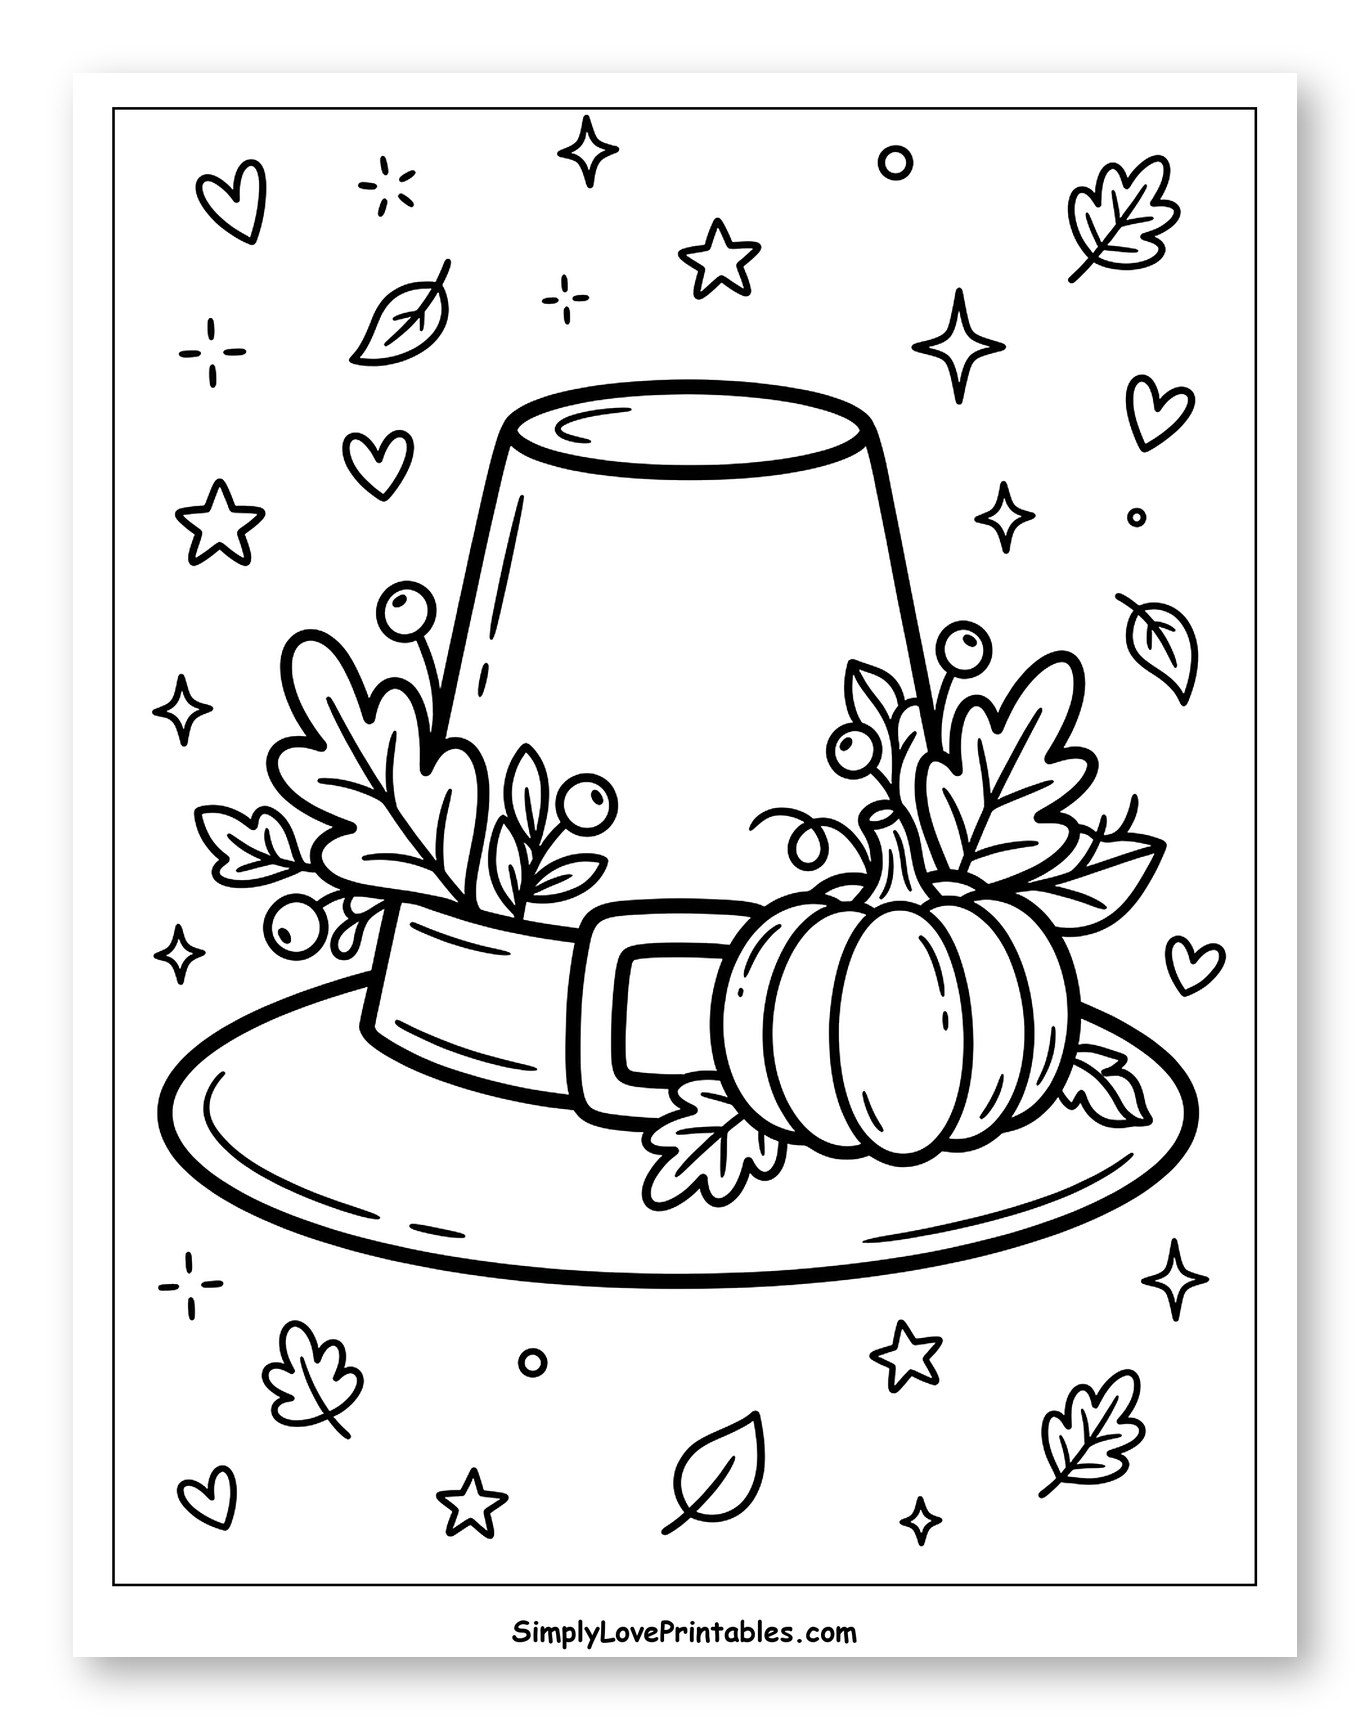
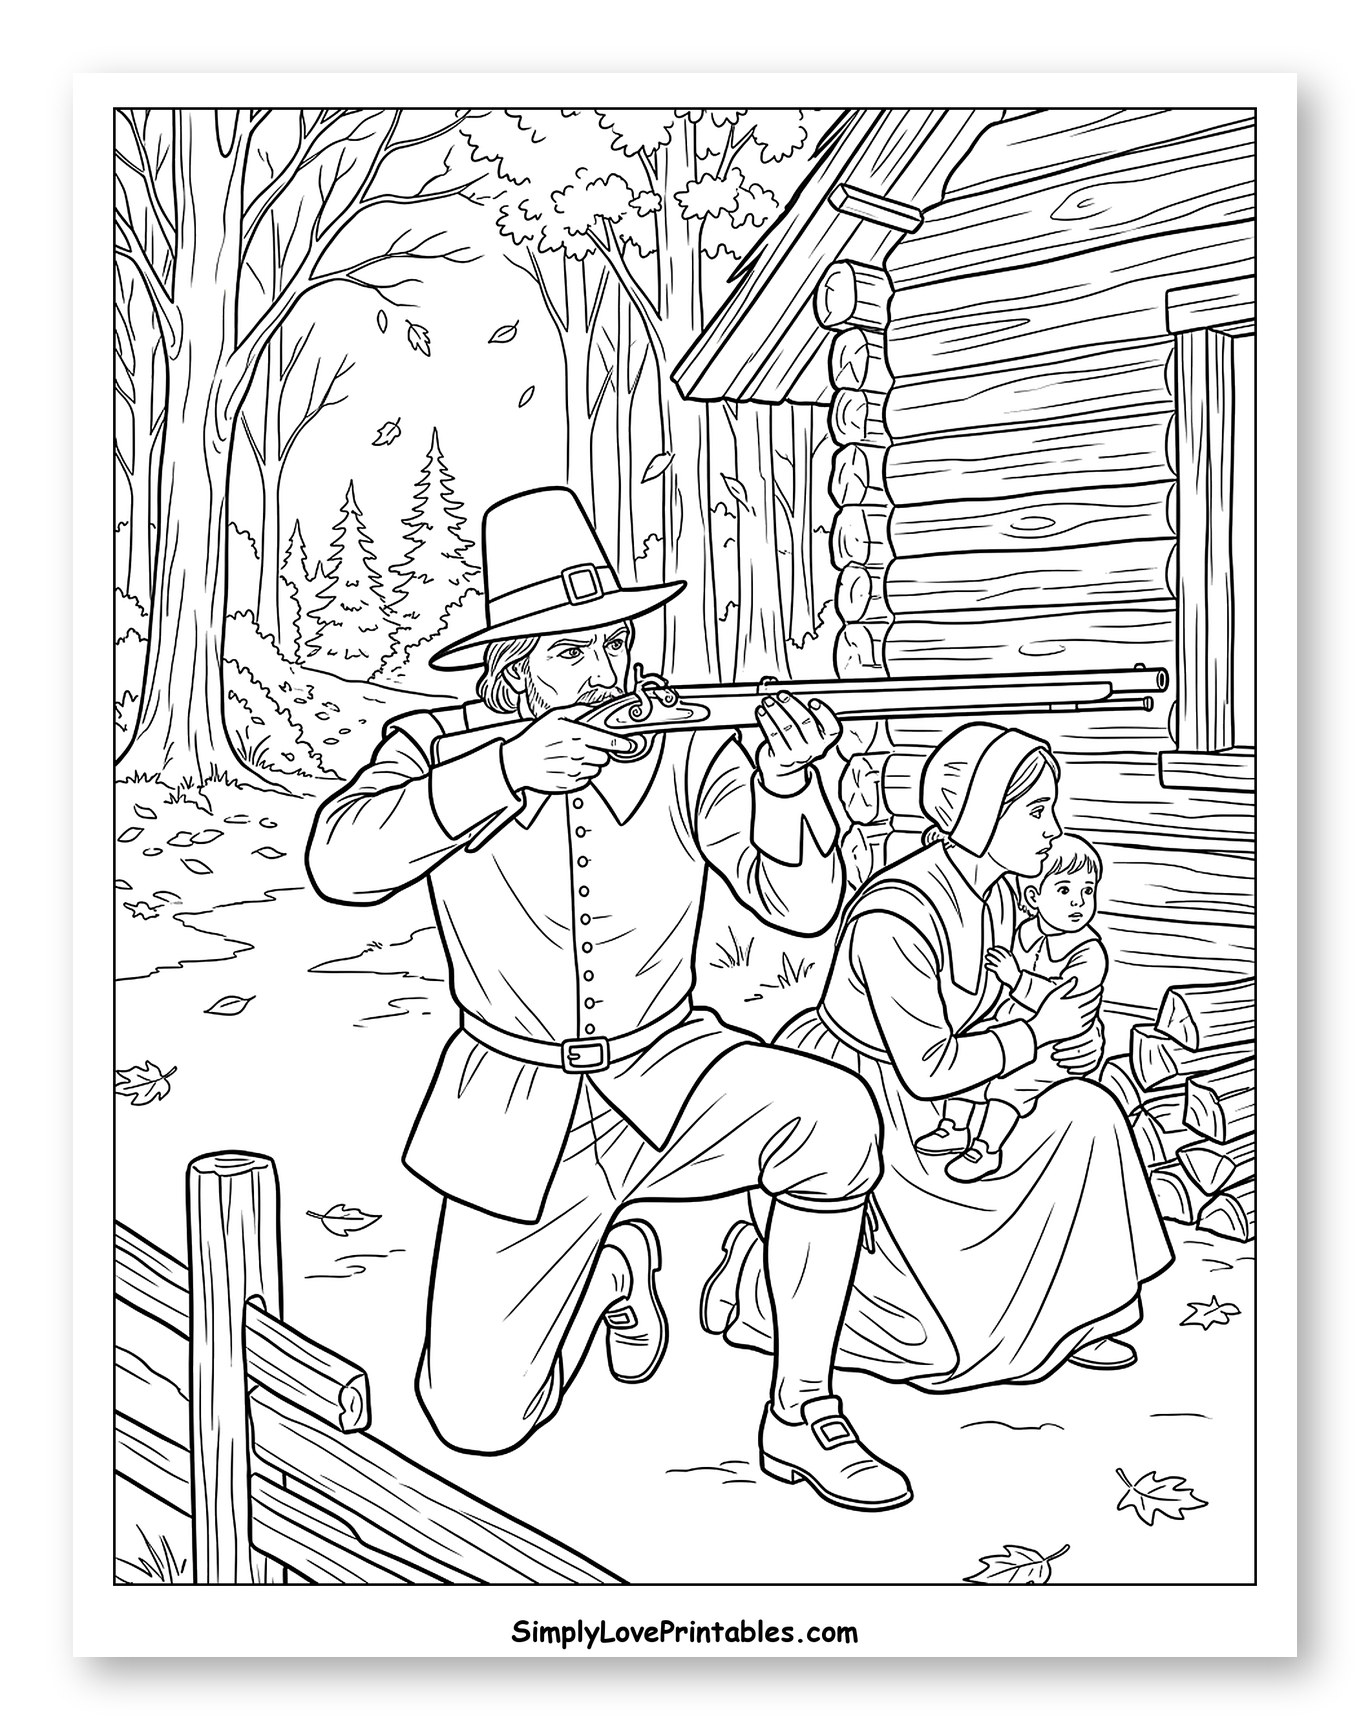
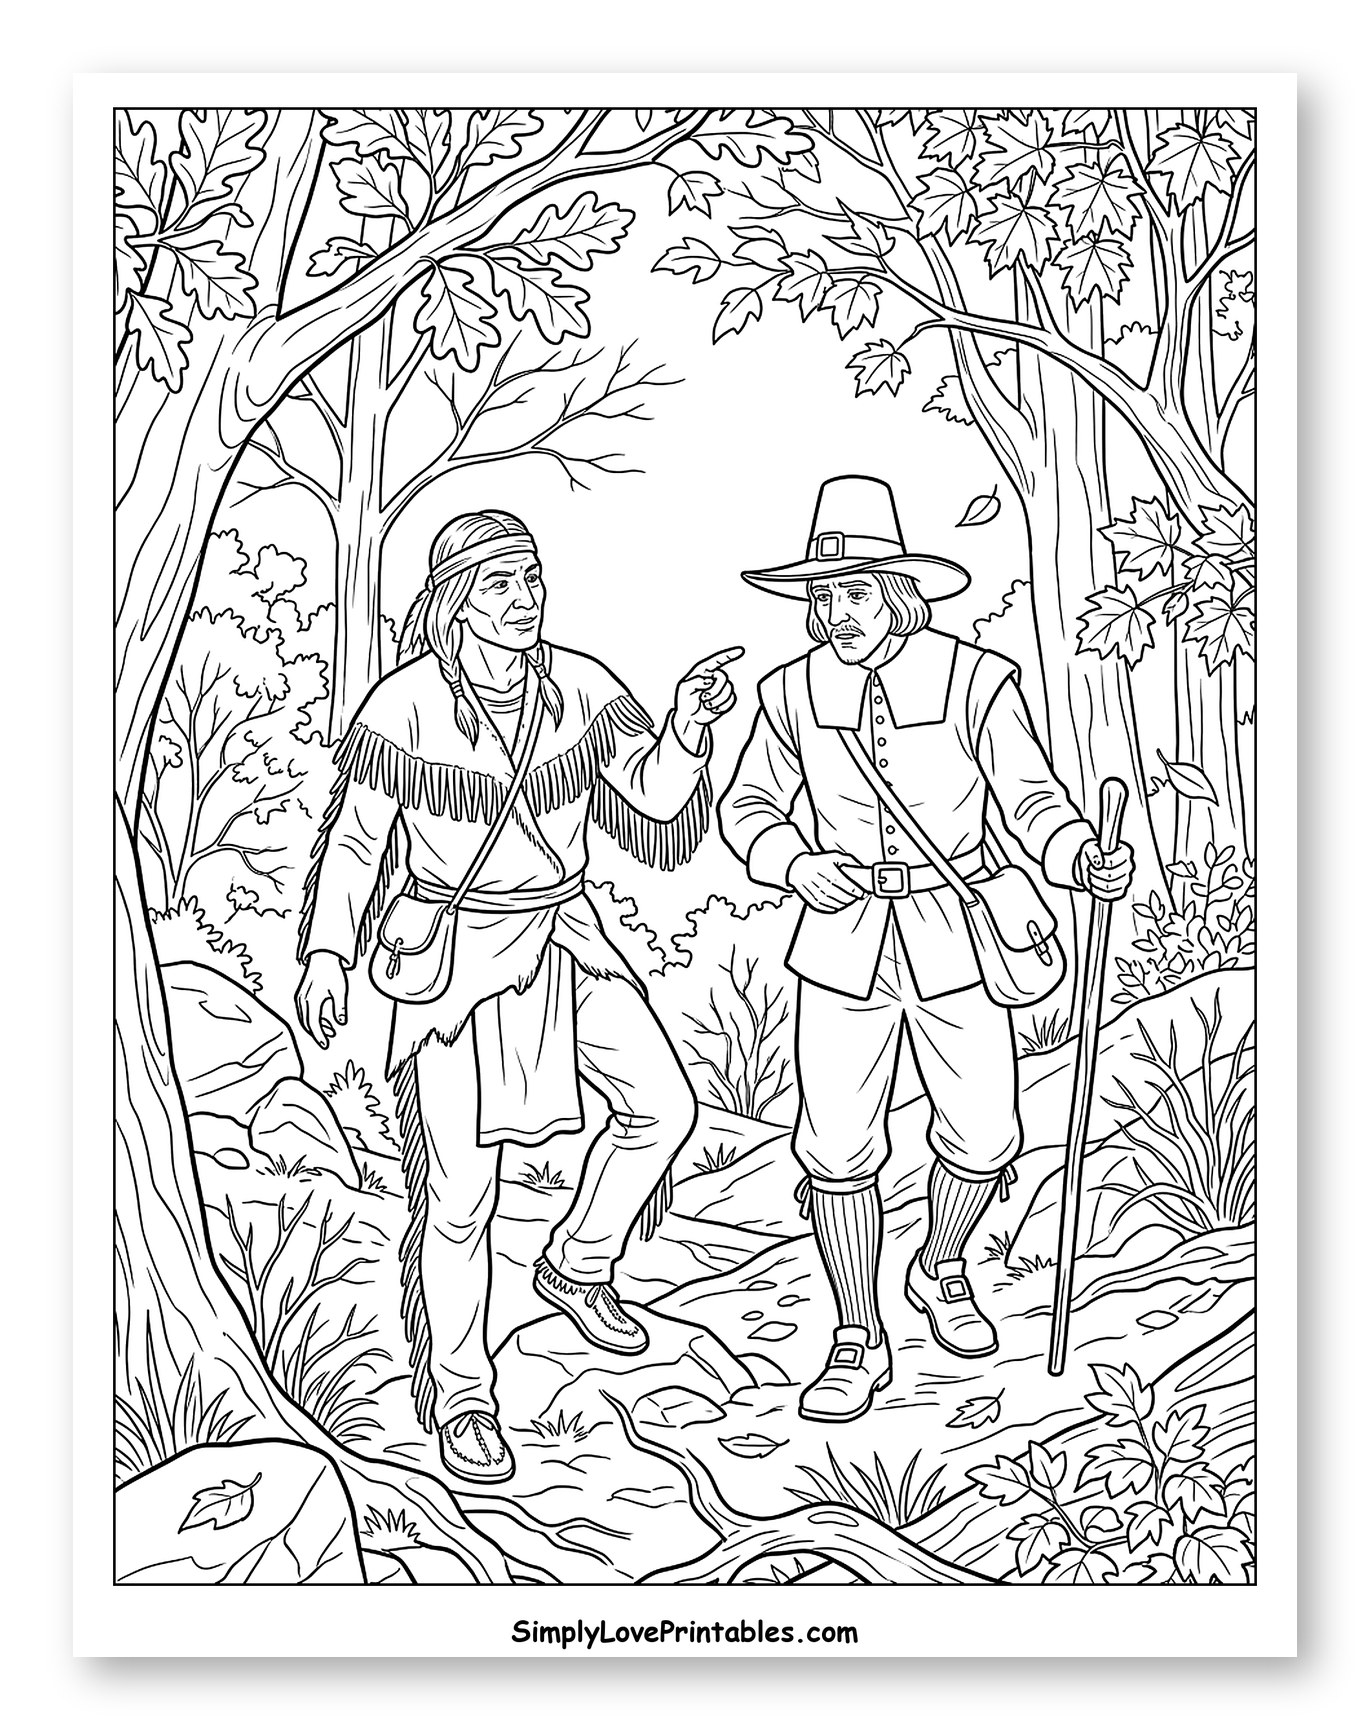
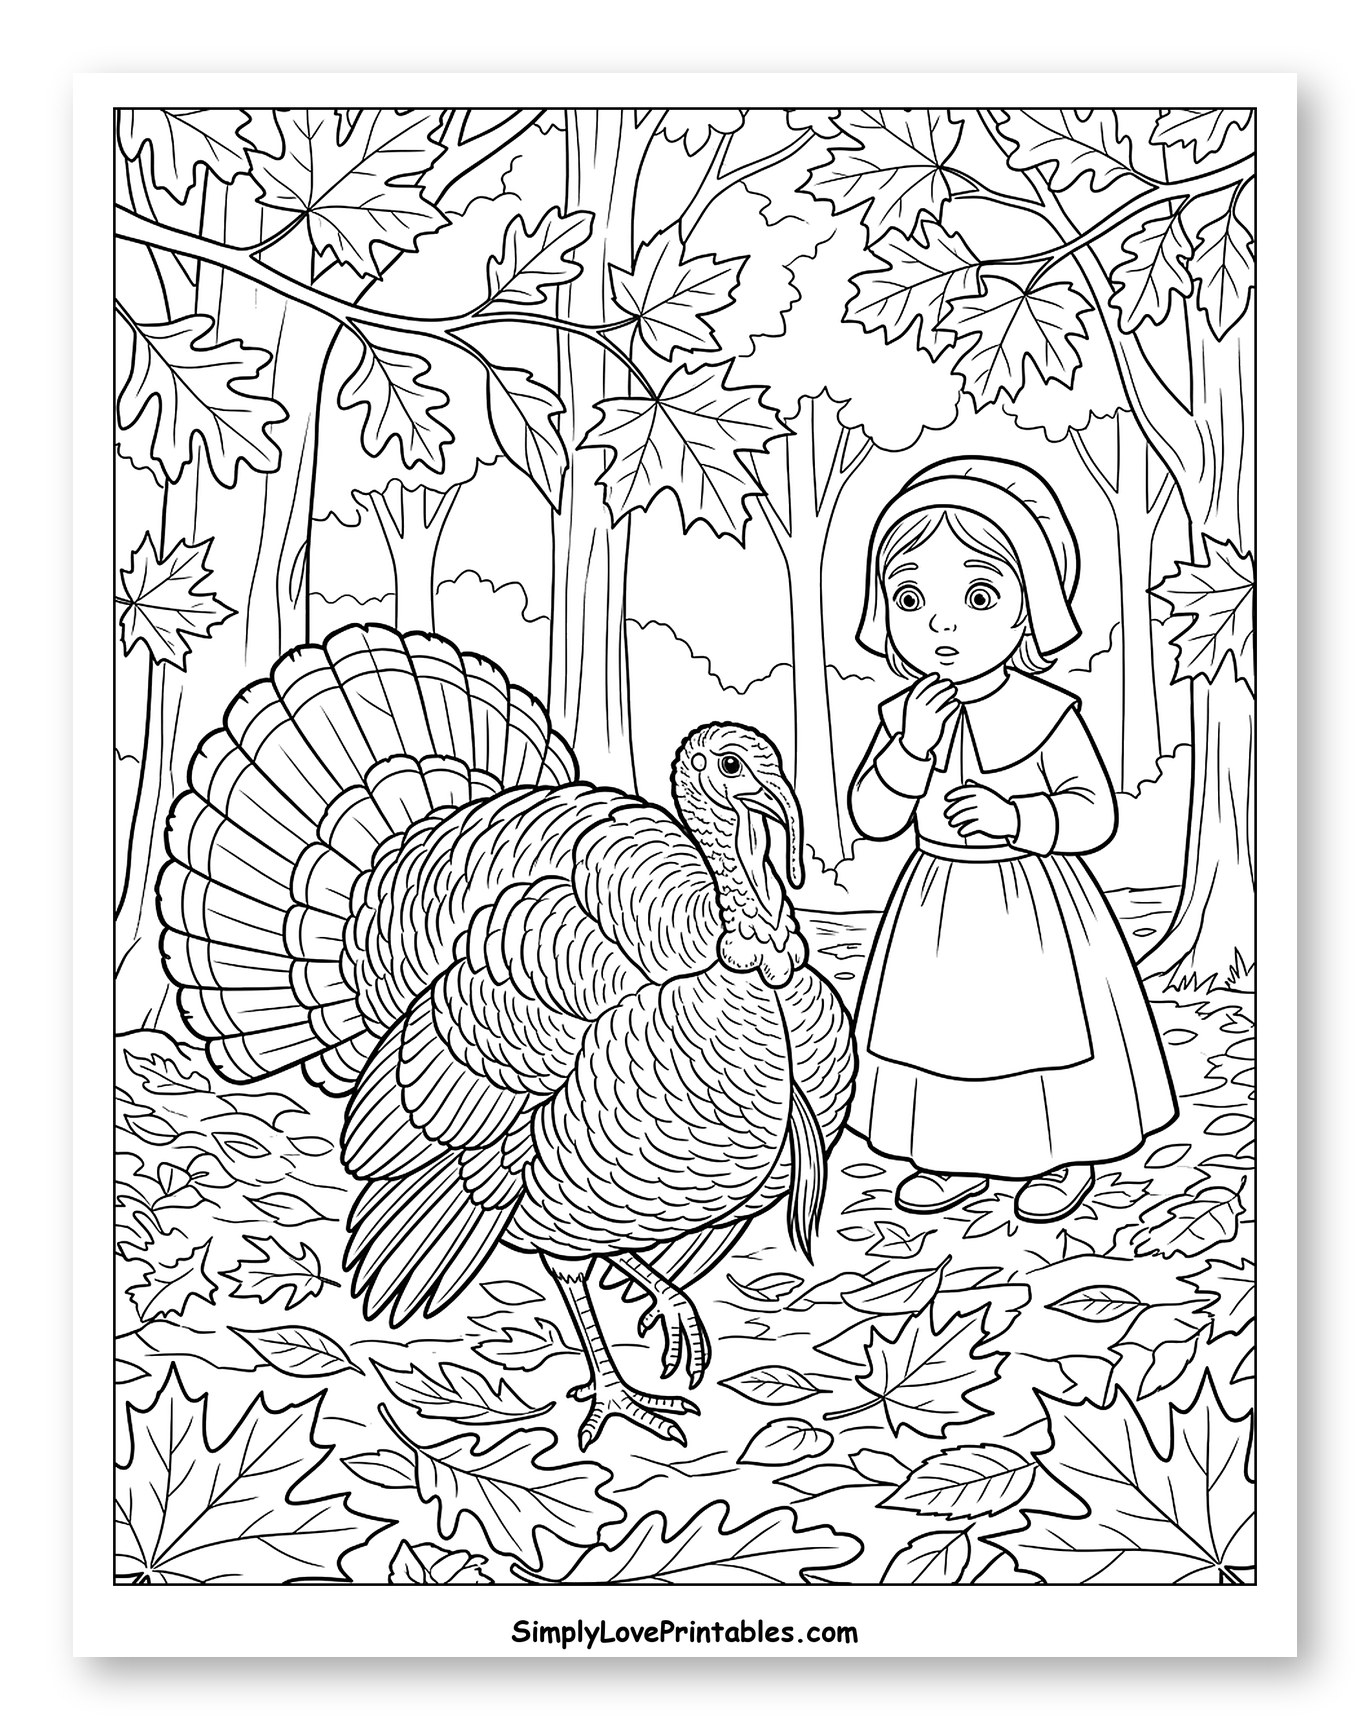
Historic journeys, courageous spirits, and the simple charm of a new world come together in these 54 Pilgrim coloring pages, free for you to download and print. This thoughtful collection celebrates the resilience of early American settlers, capturing the spirit of their voyage and the warmth of the first Thanksgiving!
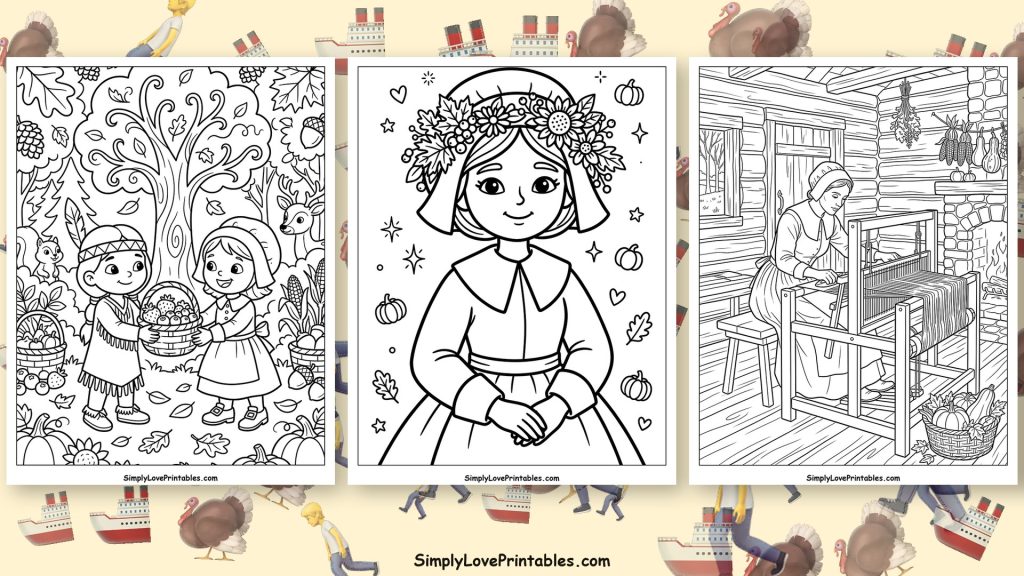
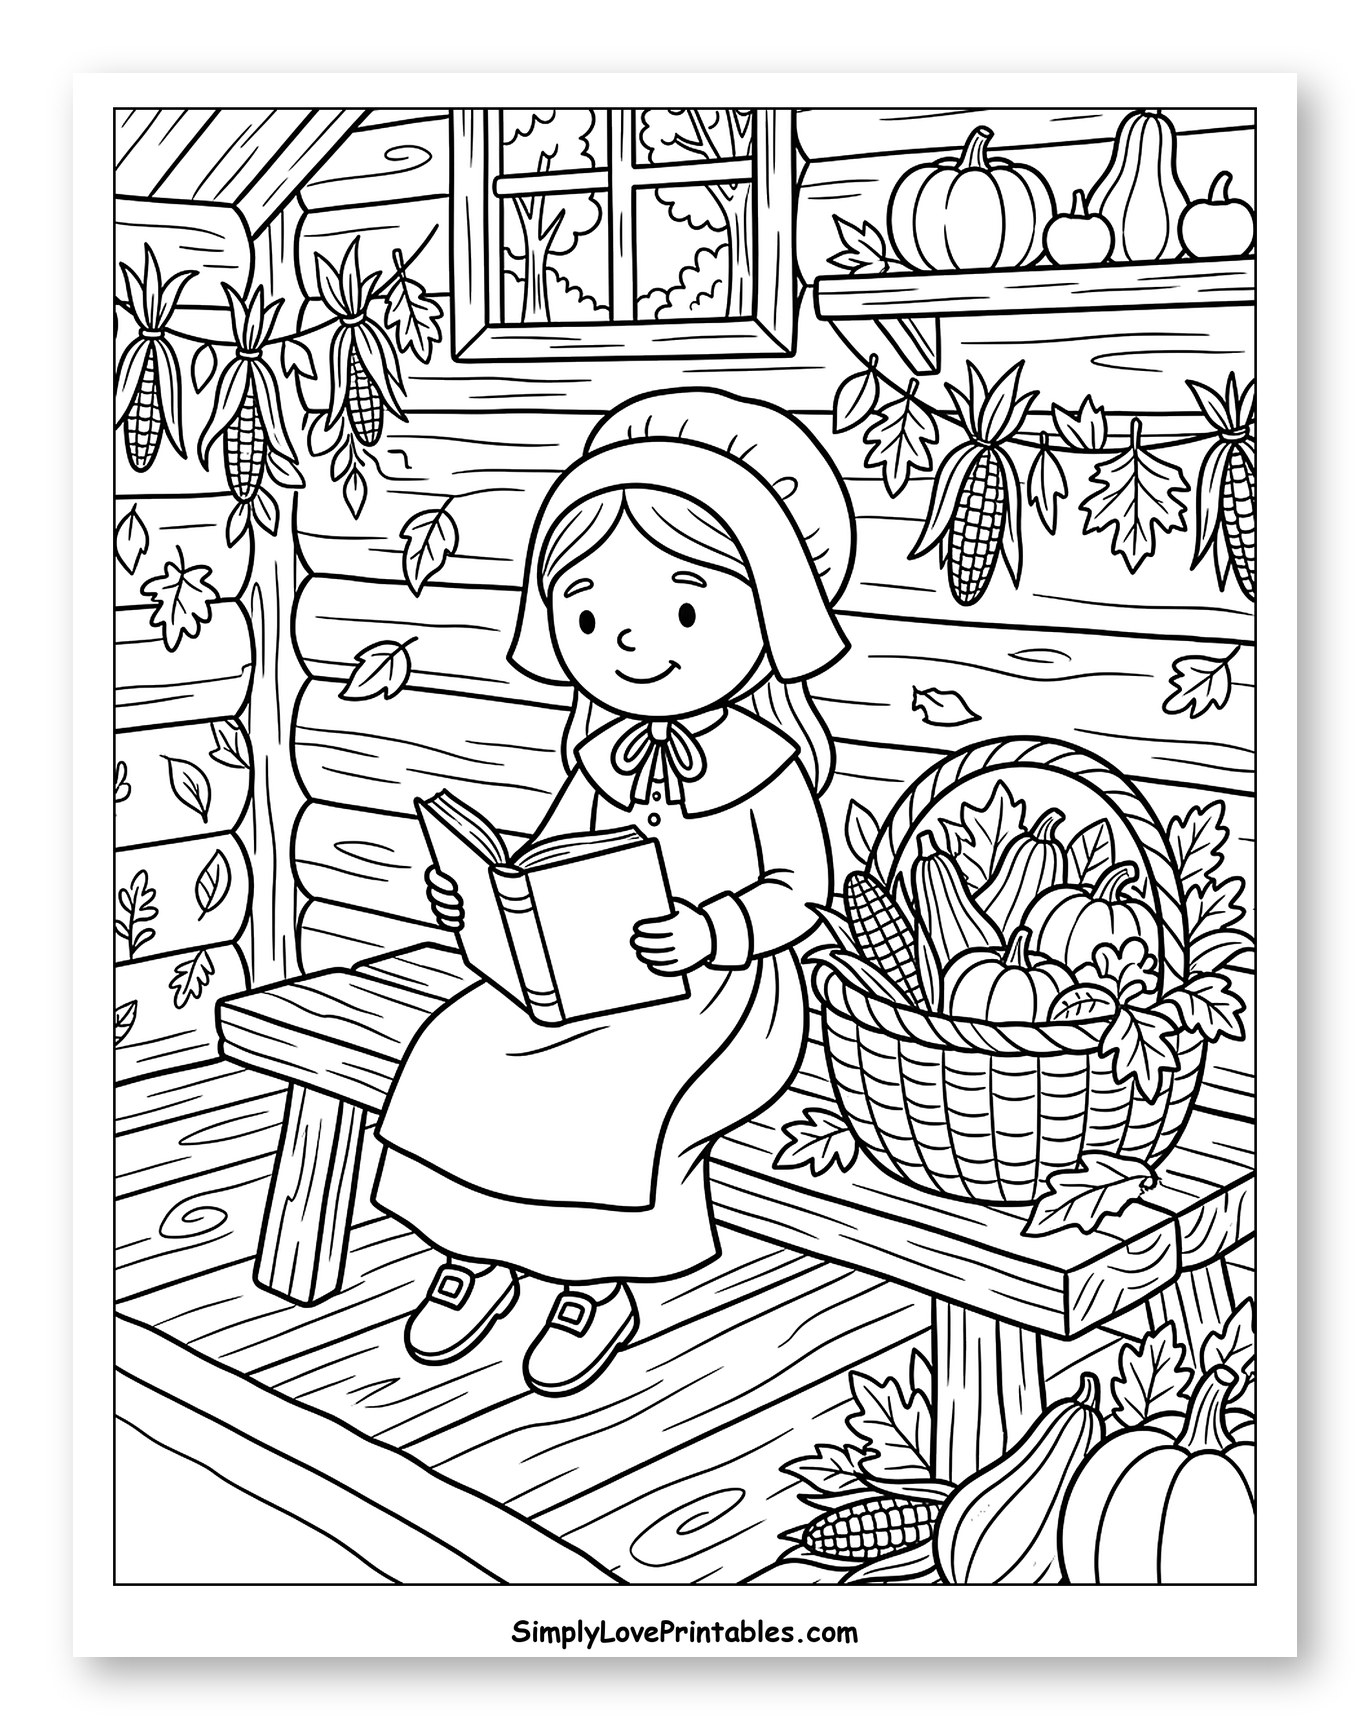
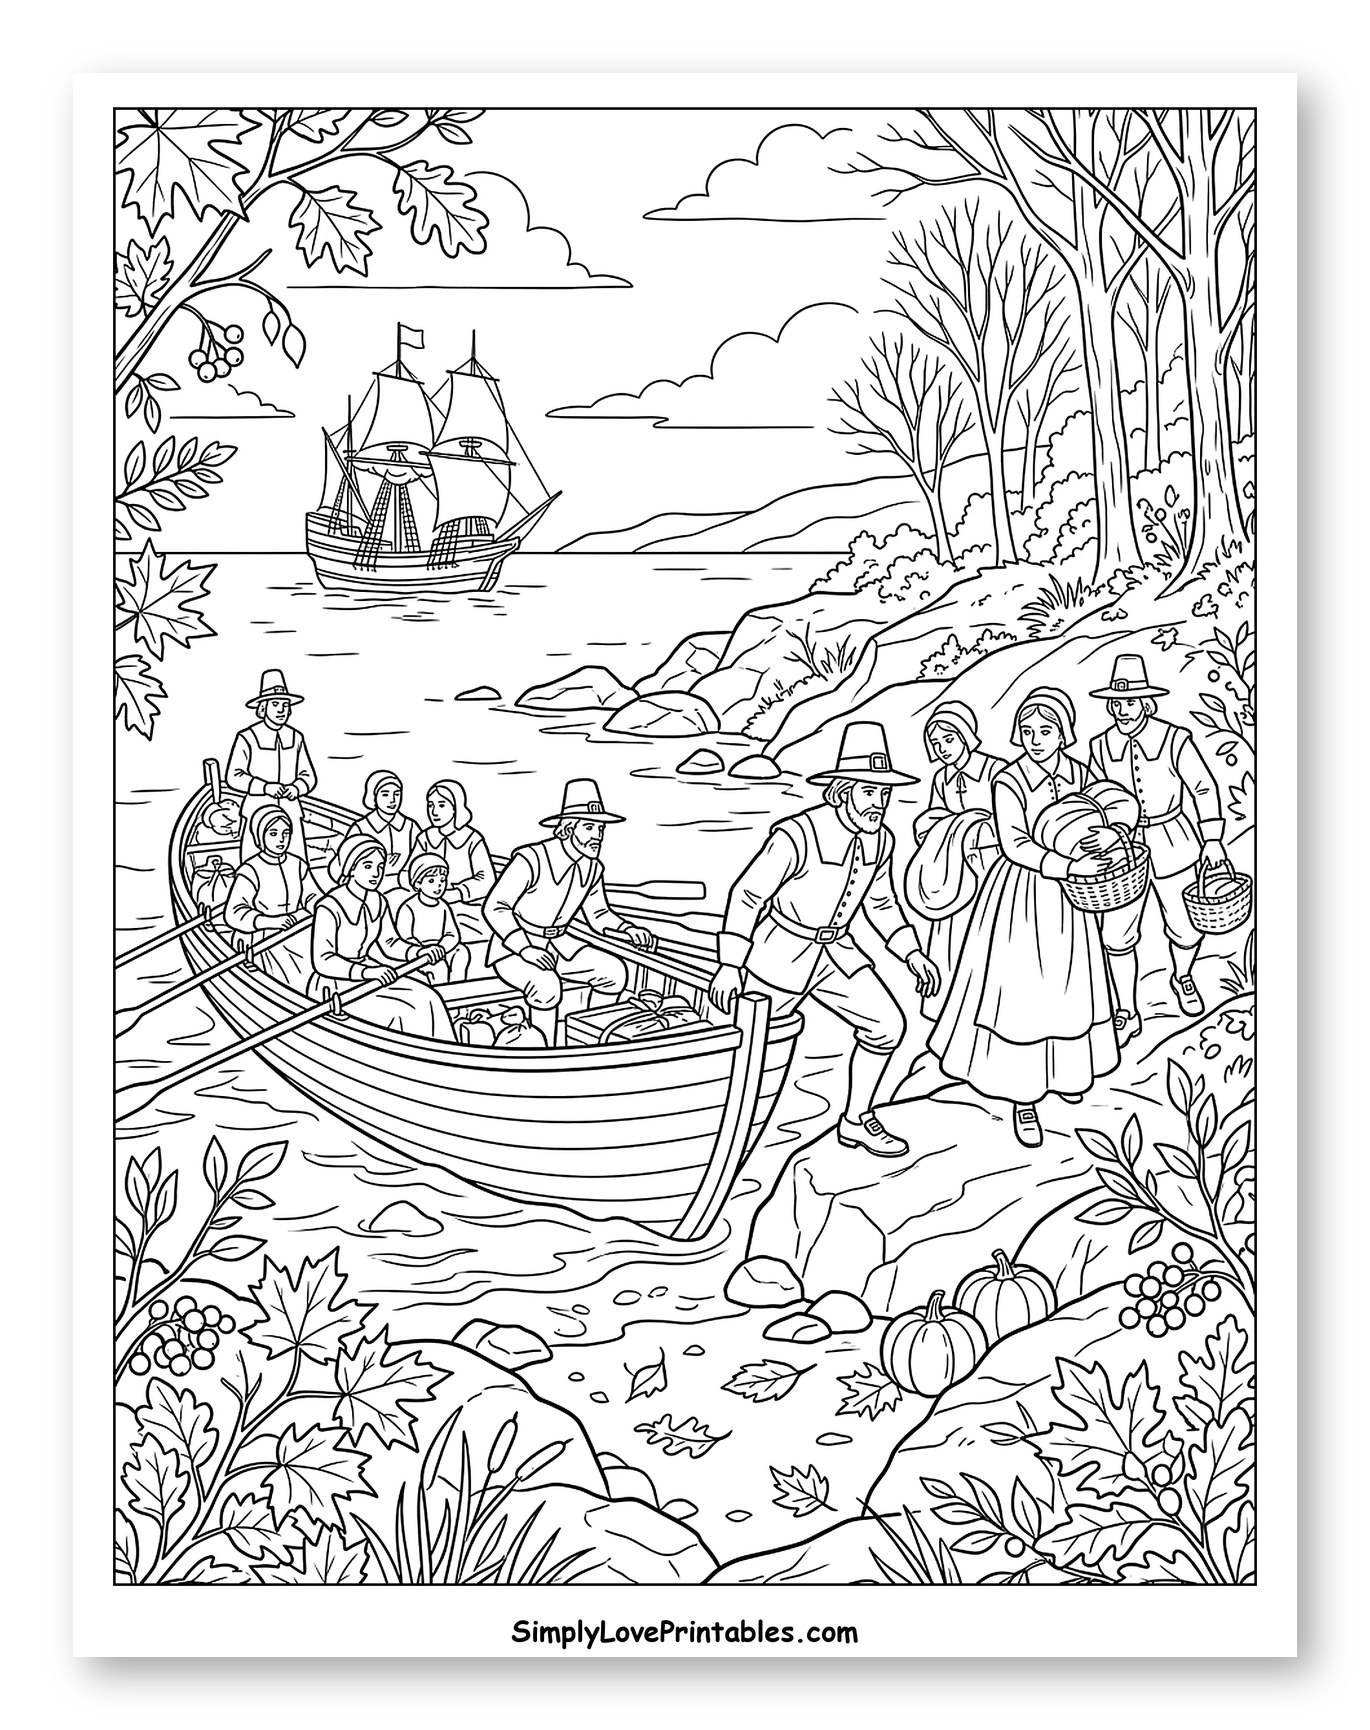
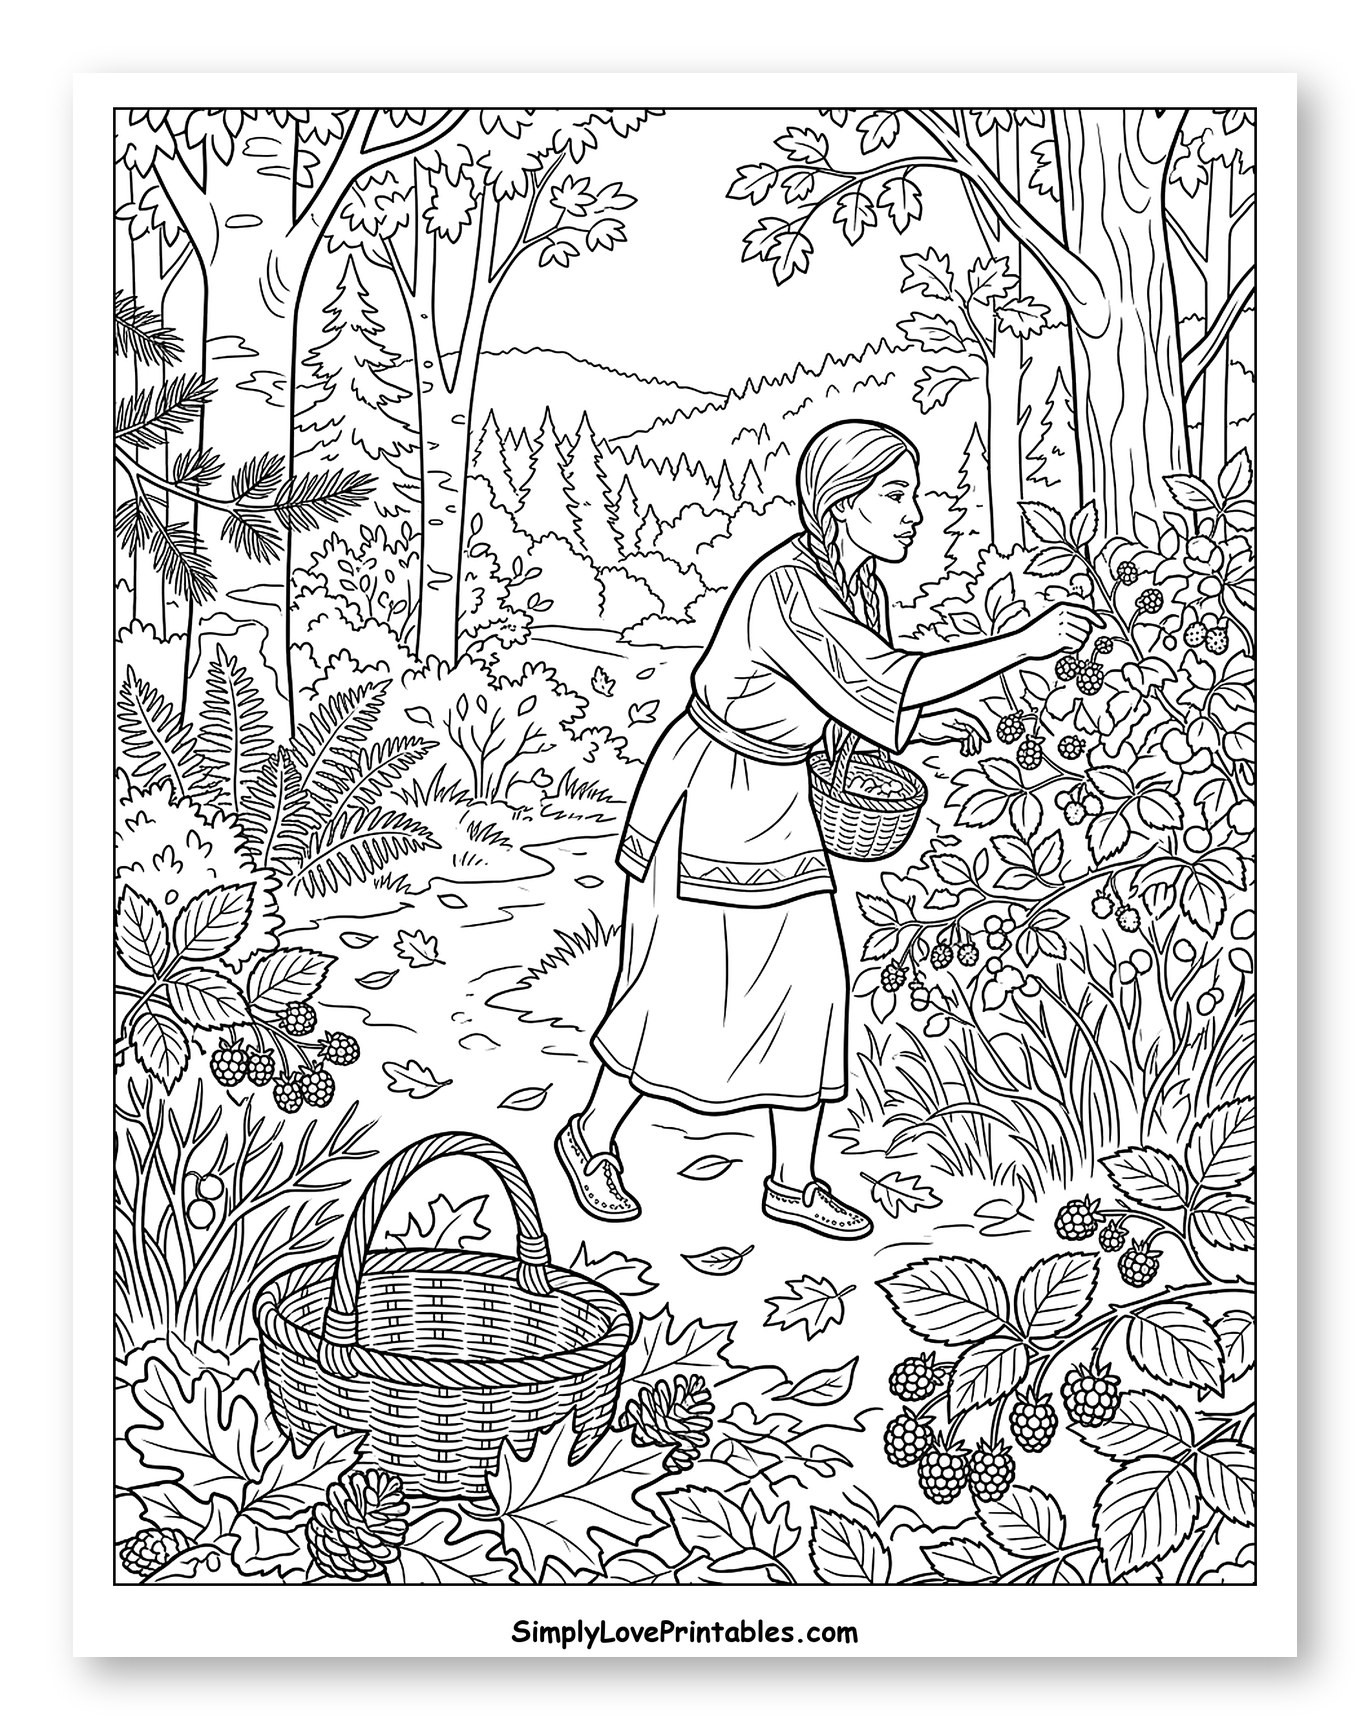
These pages bring the history of early American settlement right to your fingertips, from images of the Mayflower's journey and bustling colonial life to scenes of the first Thanksgiving feast, Native American interactions, and more!
To begin coloring, just click on any image or link below to view the free PDF. Once open, feel free to download and print to your heart's content.
All pages are designed for US Letter paper but scale flawlessly to A4. Happy coloring!
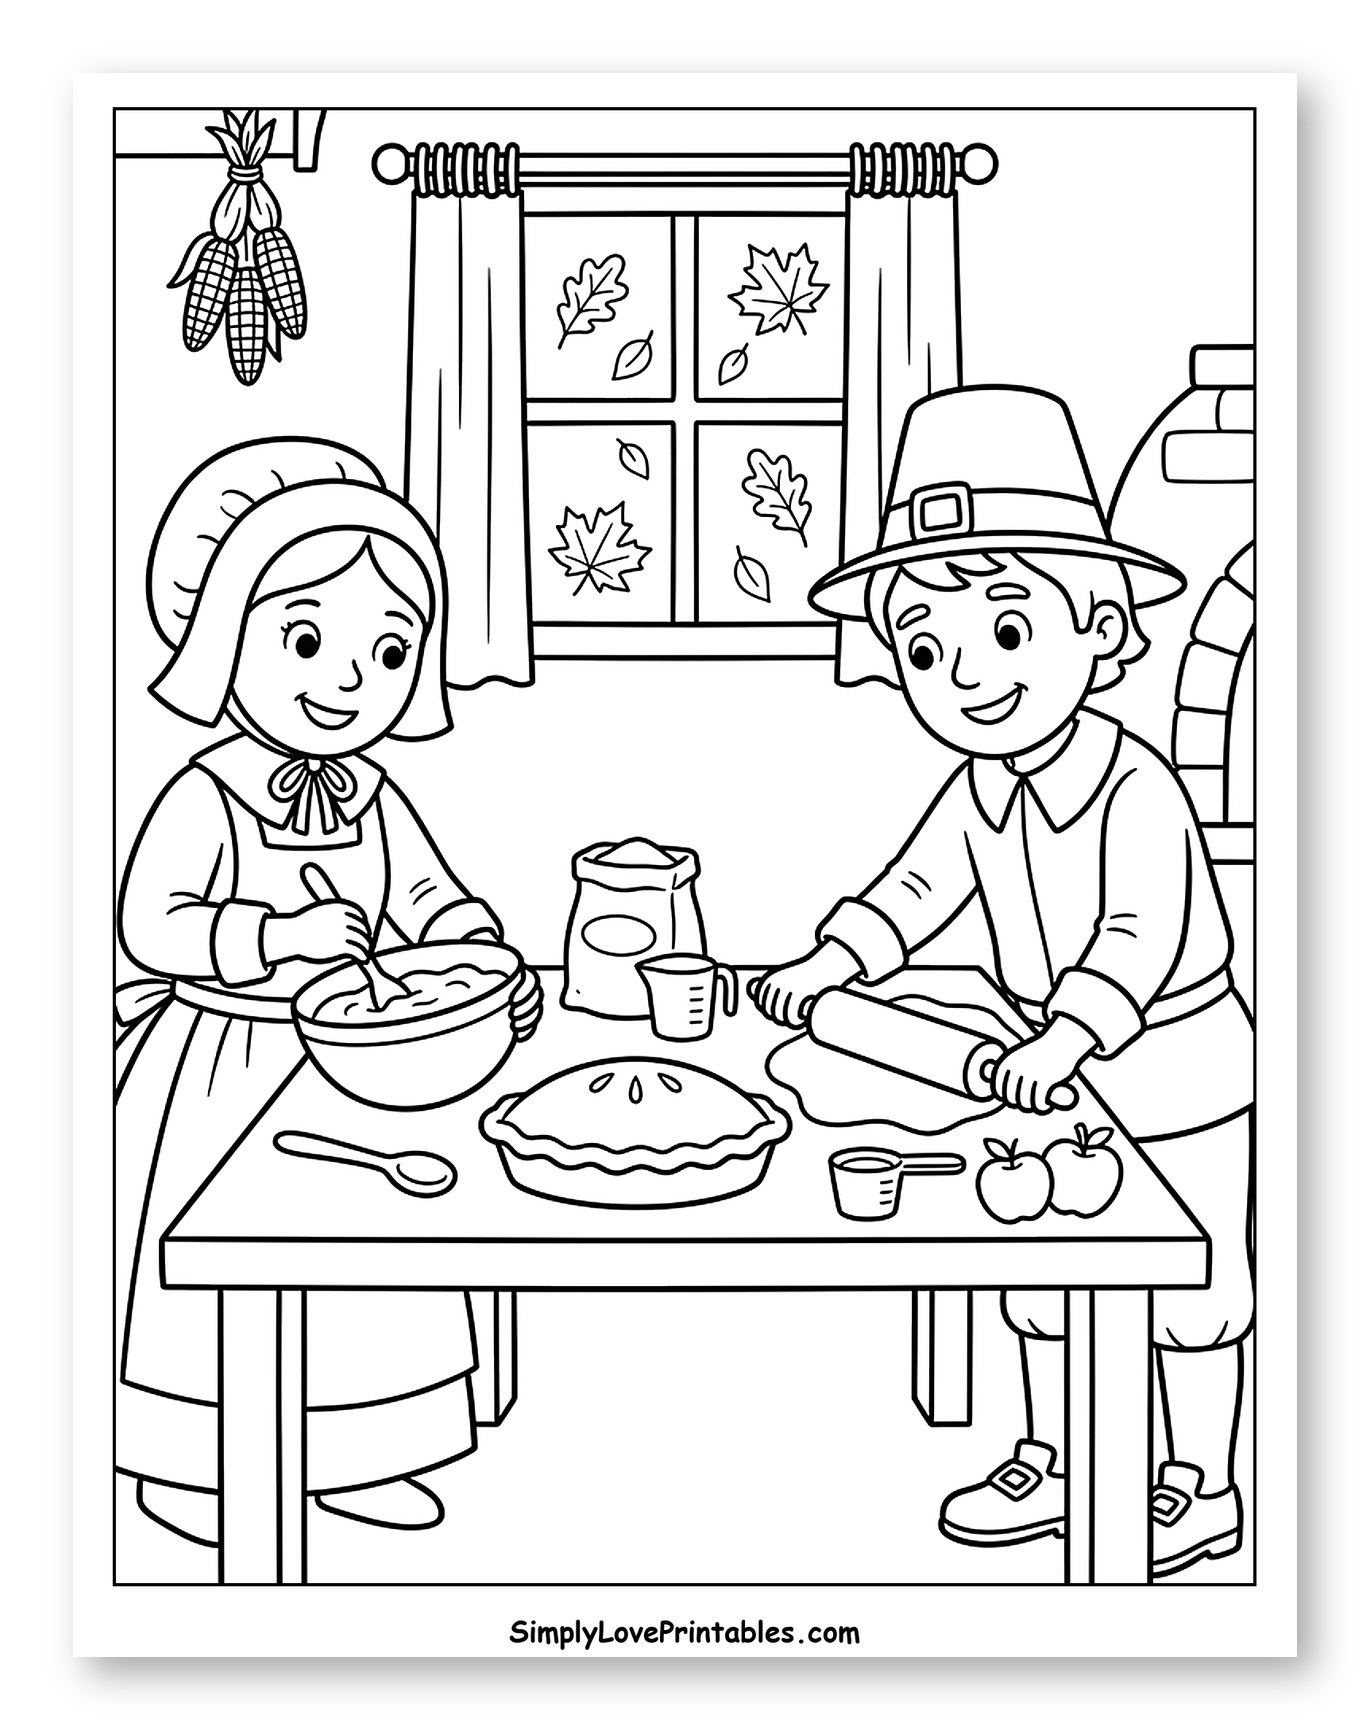
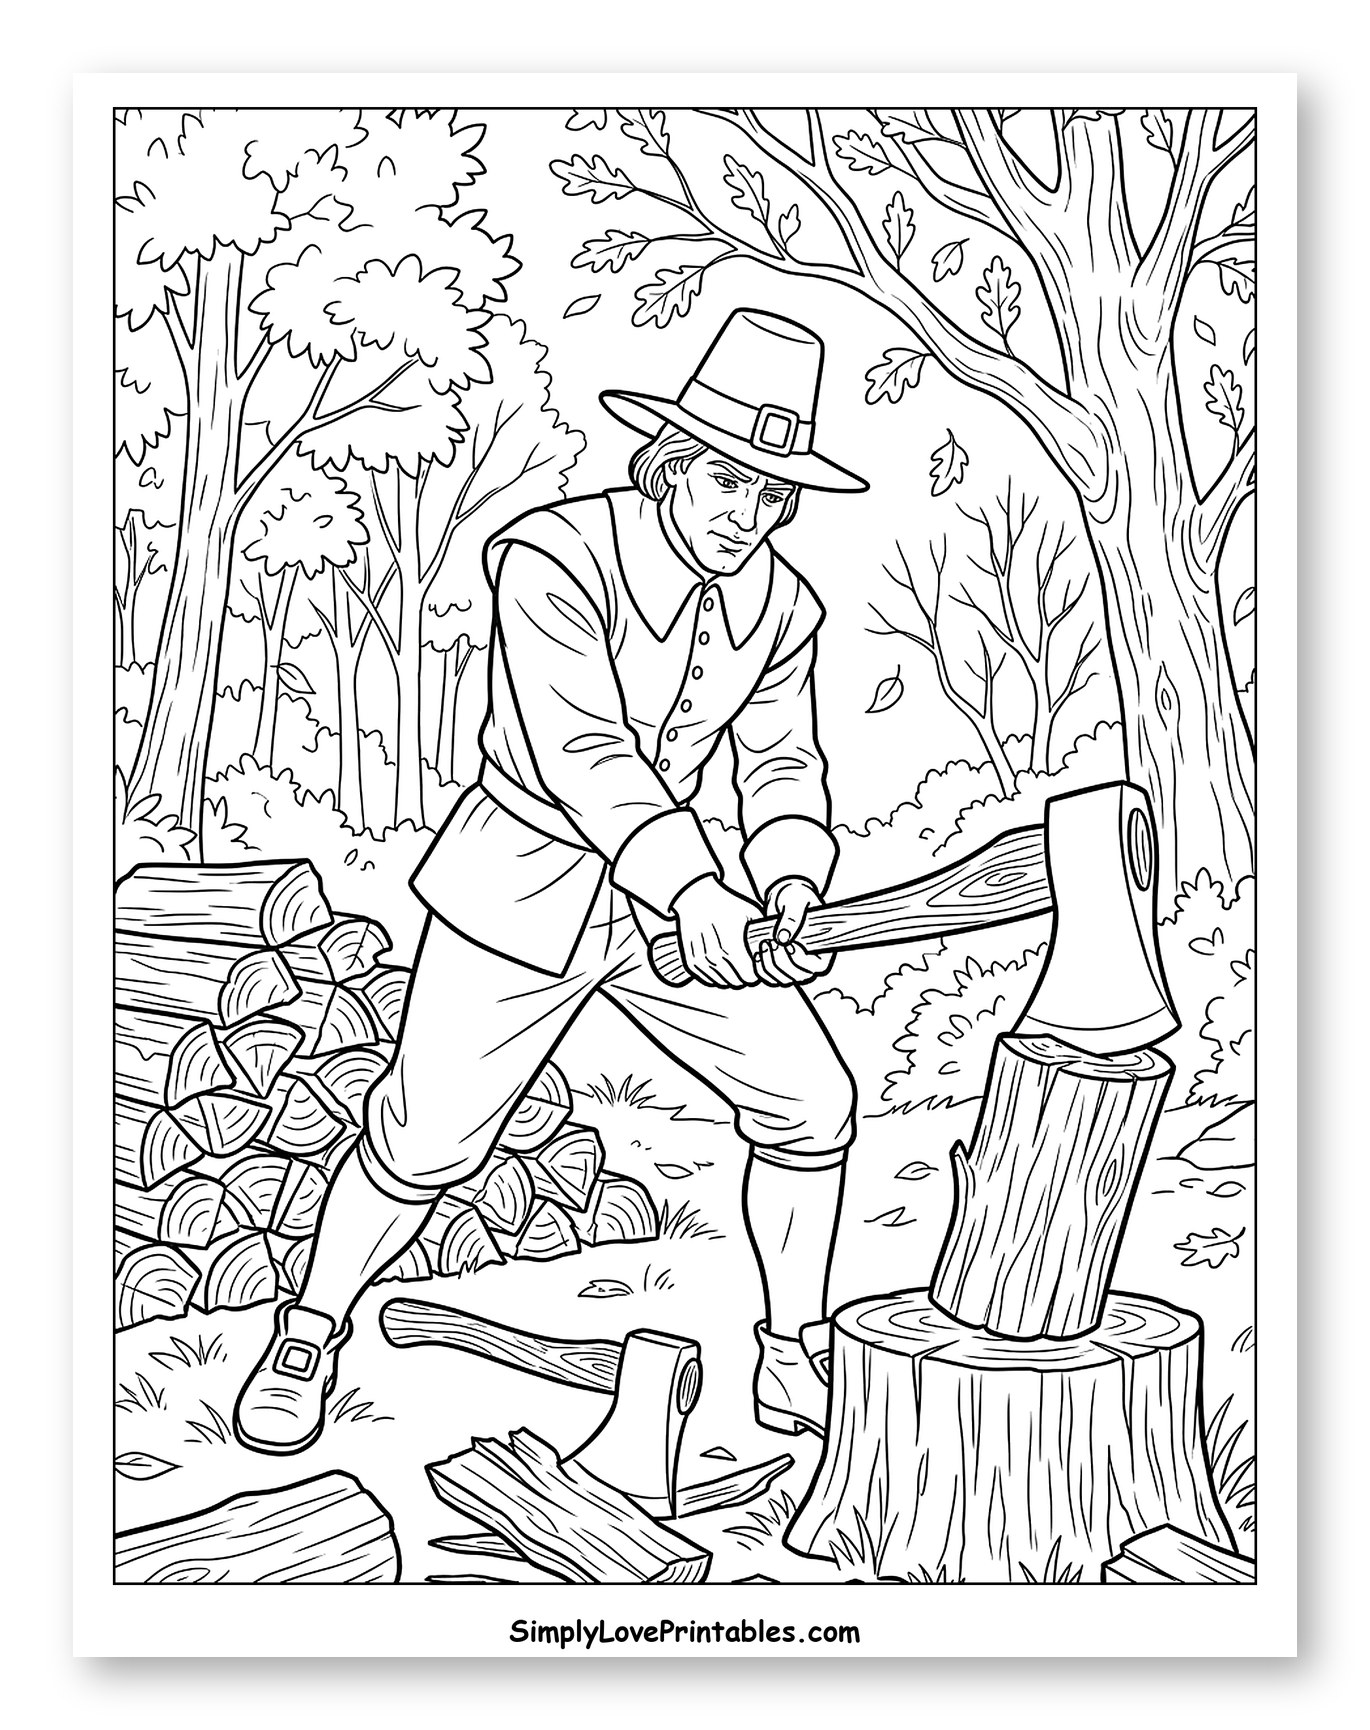
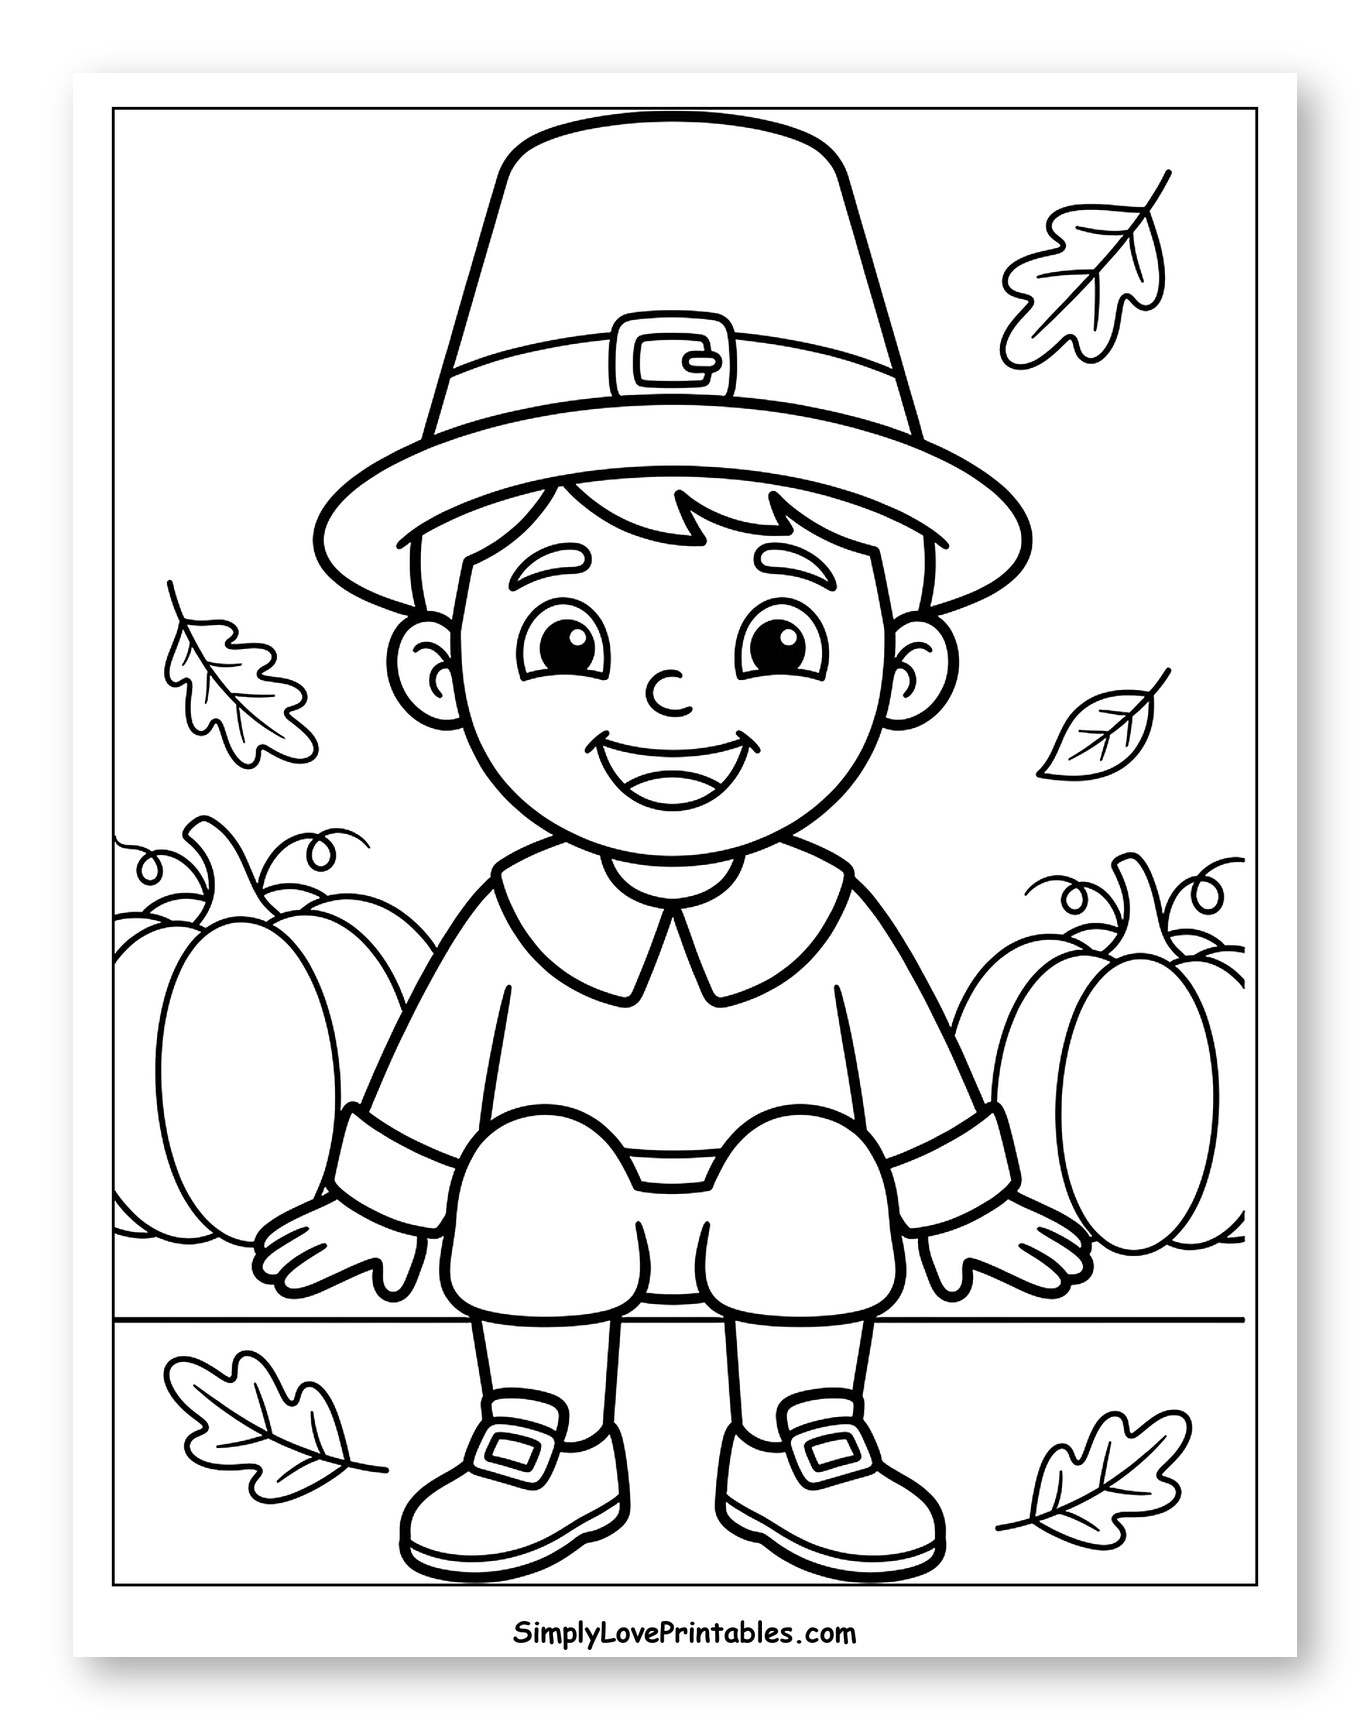
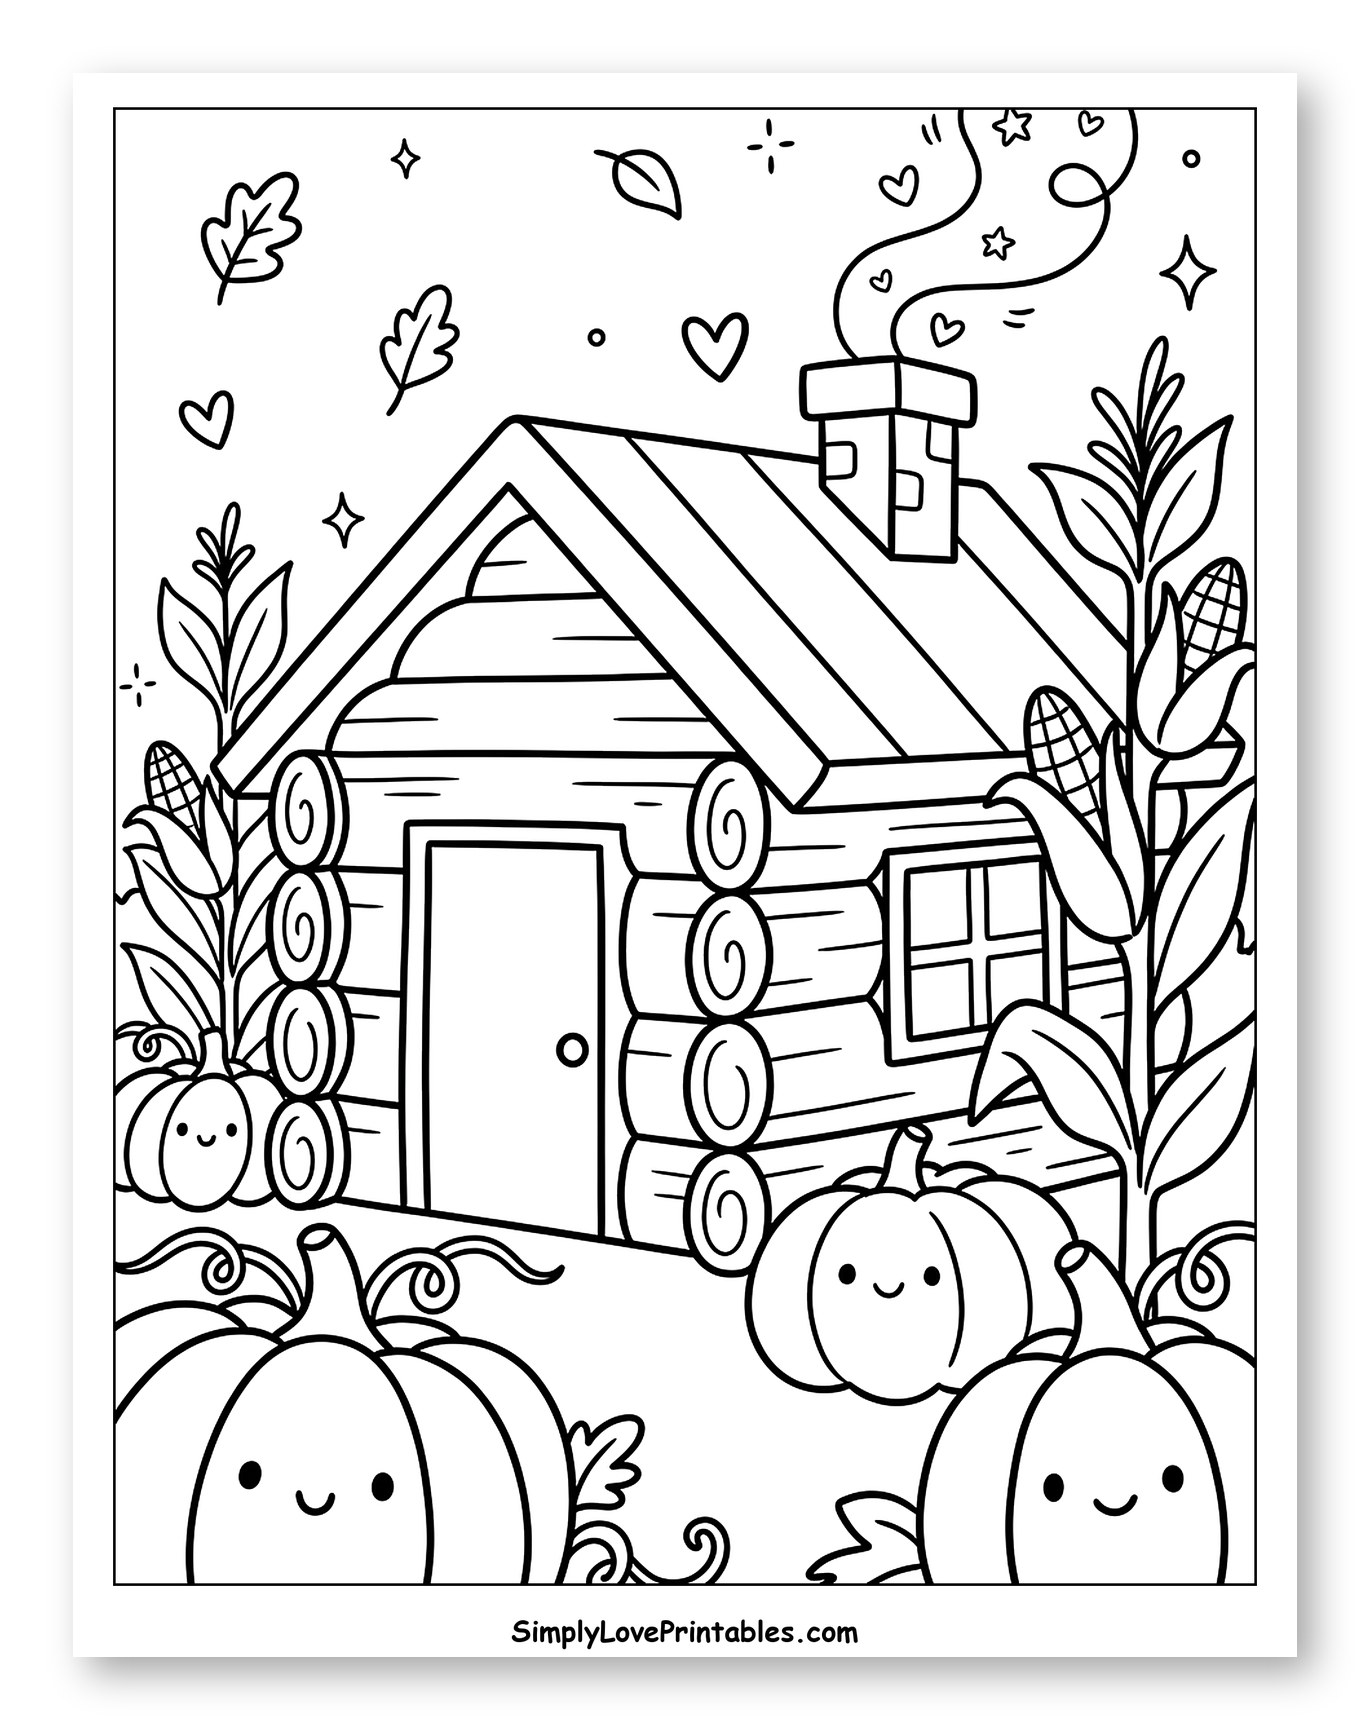
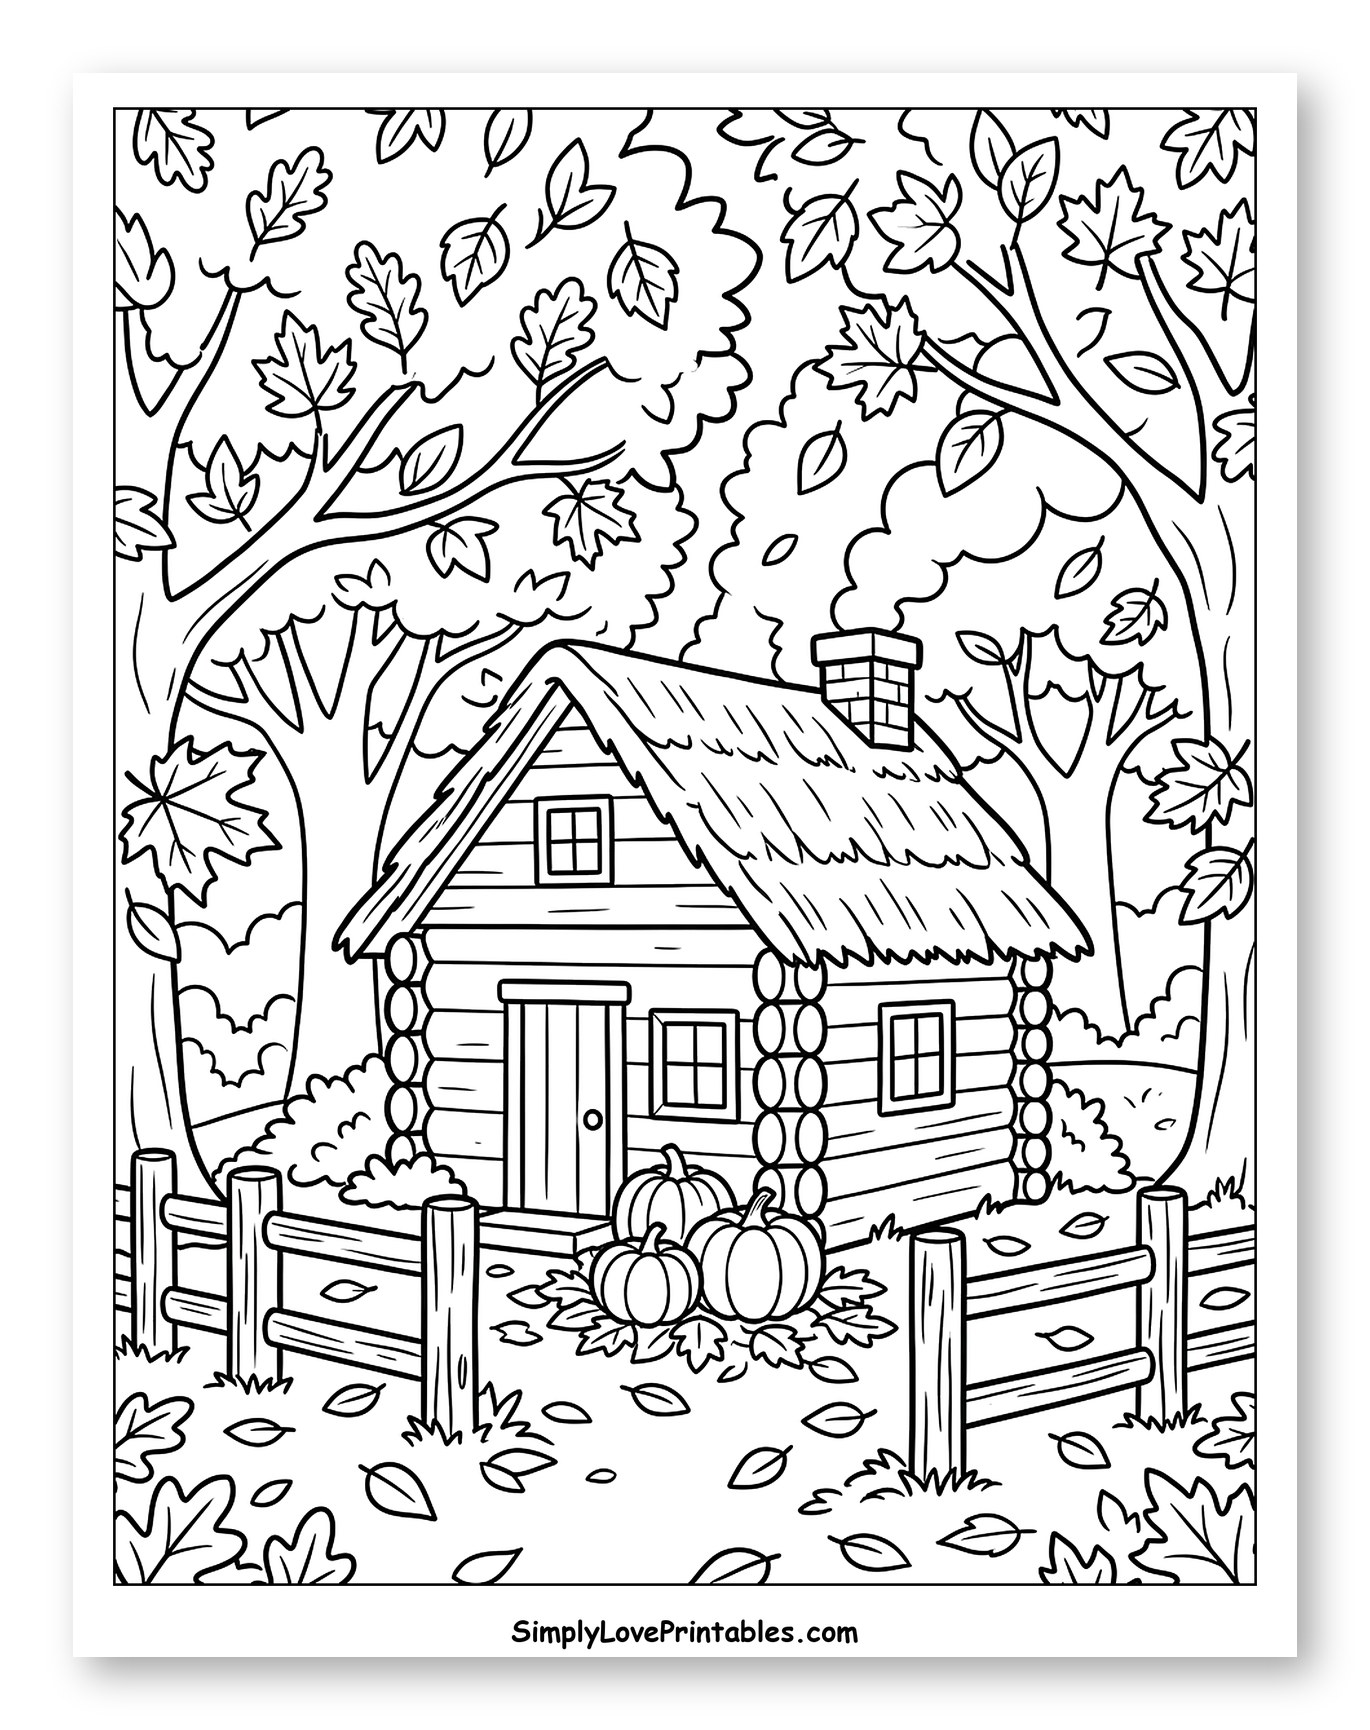
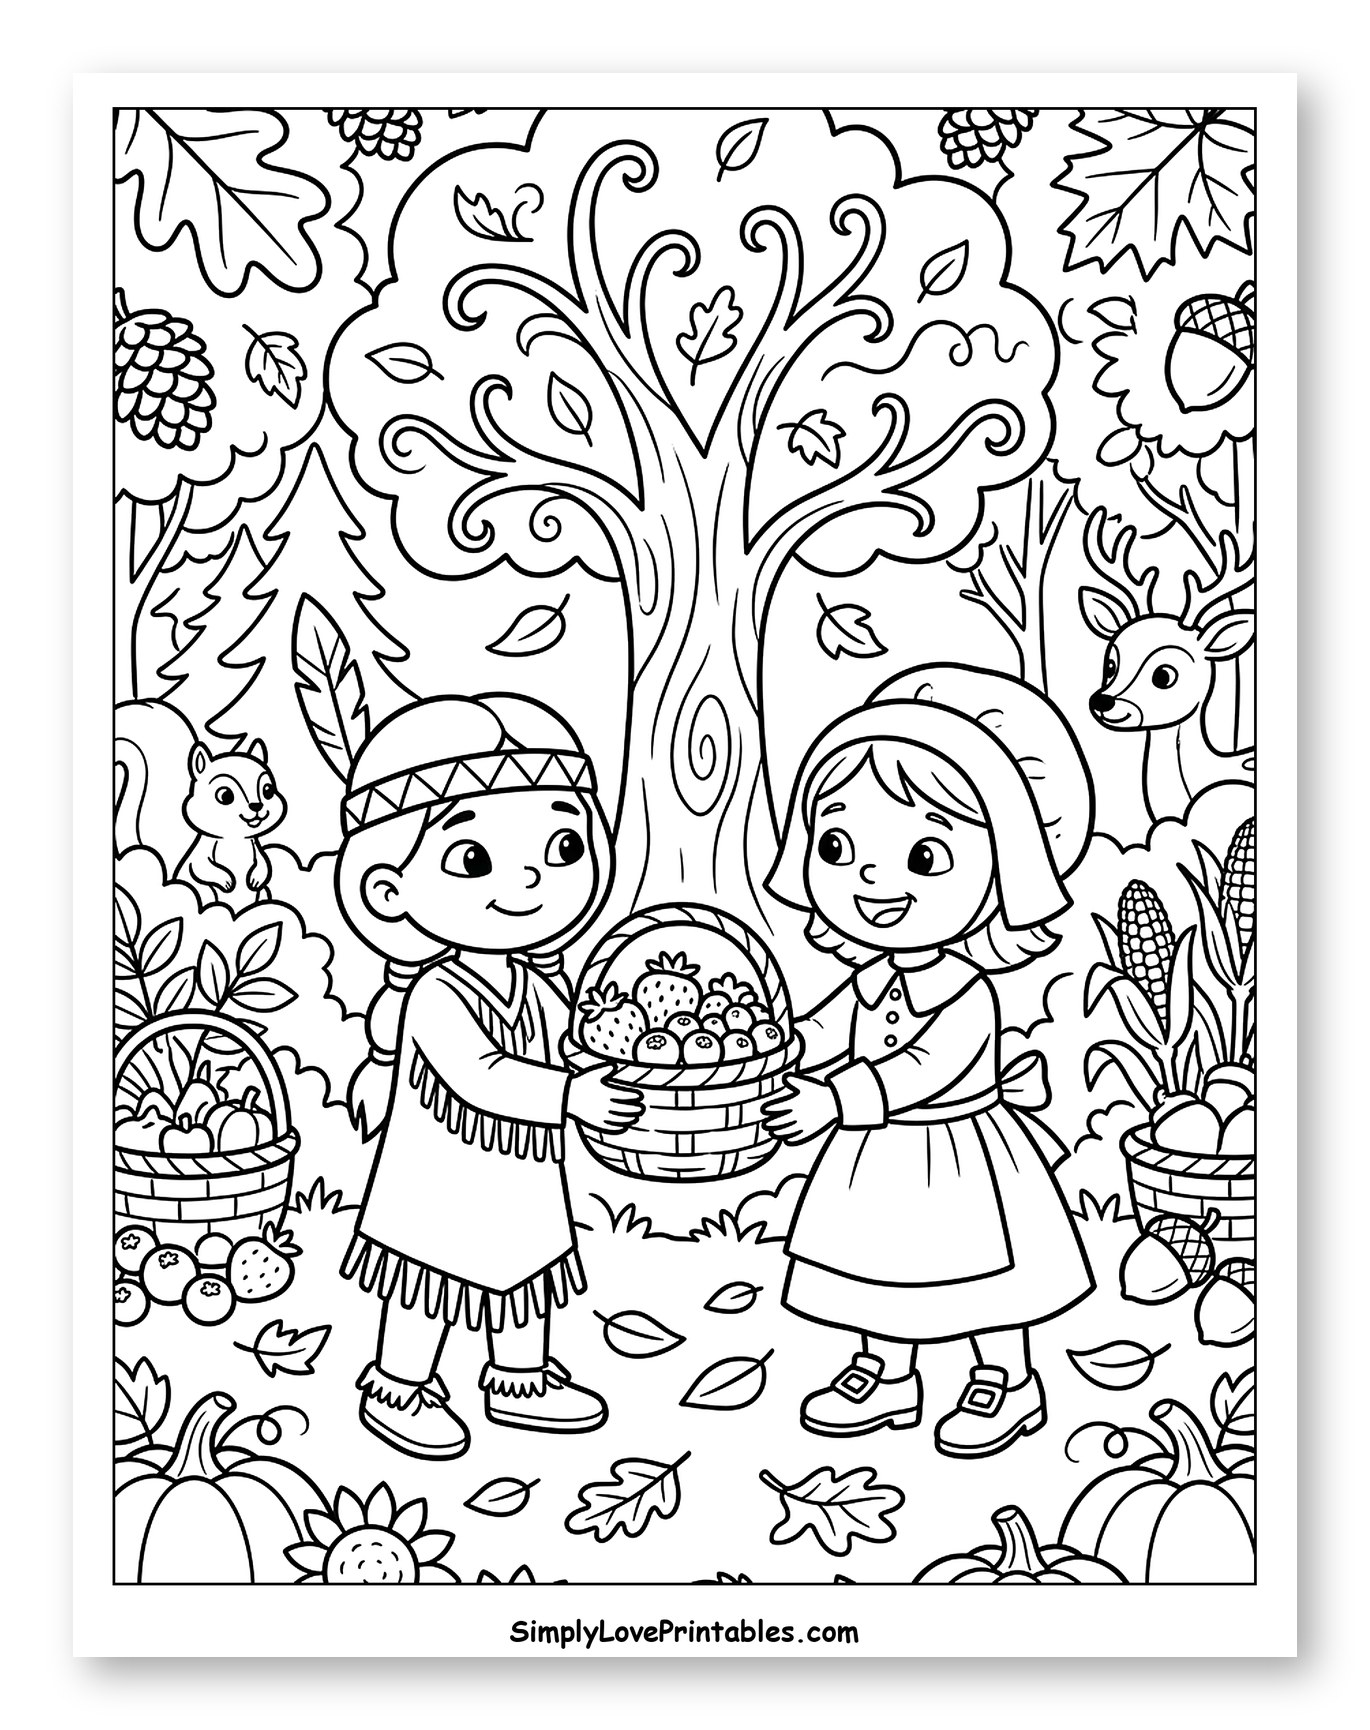
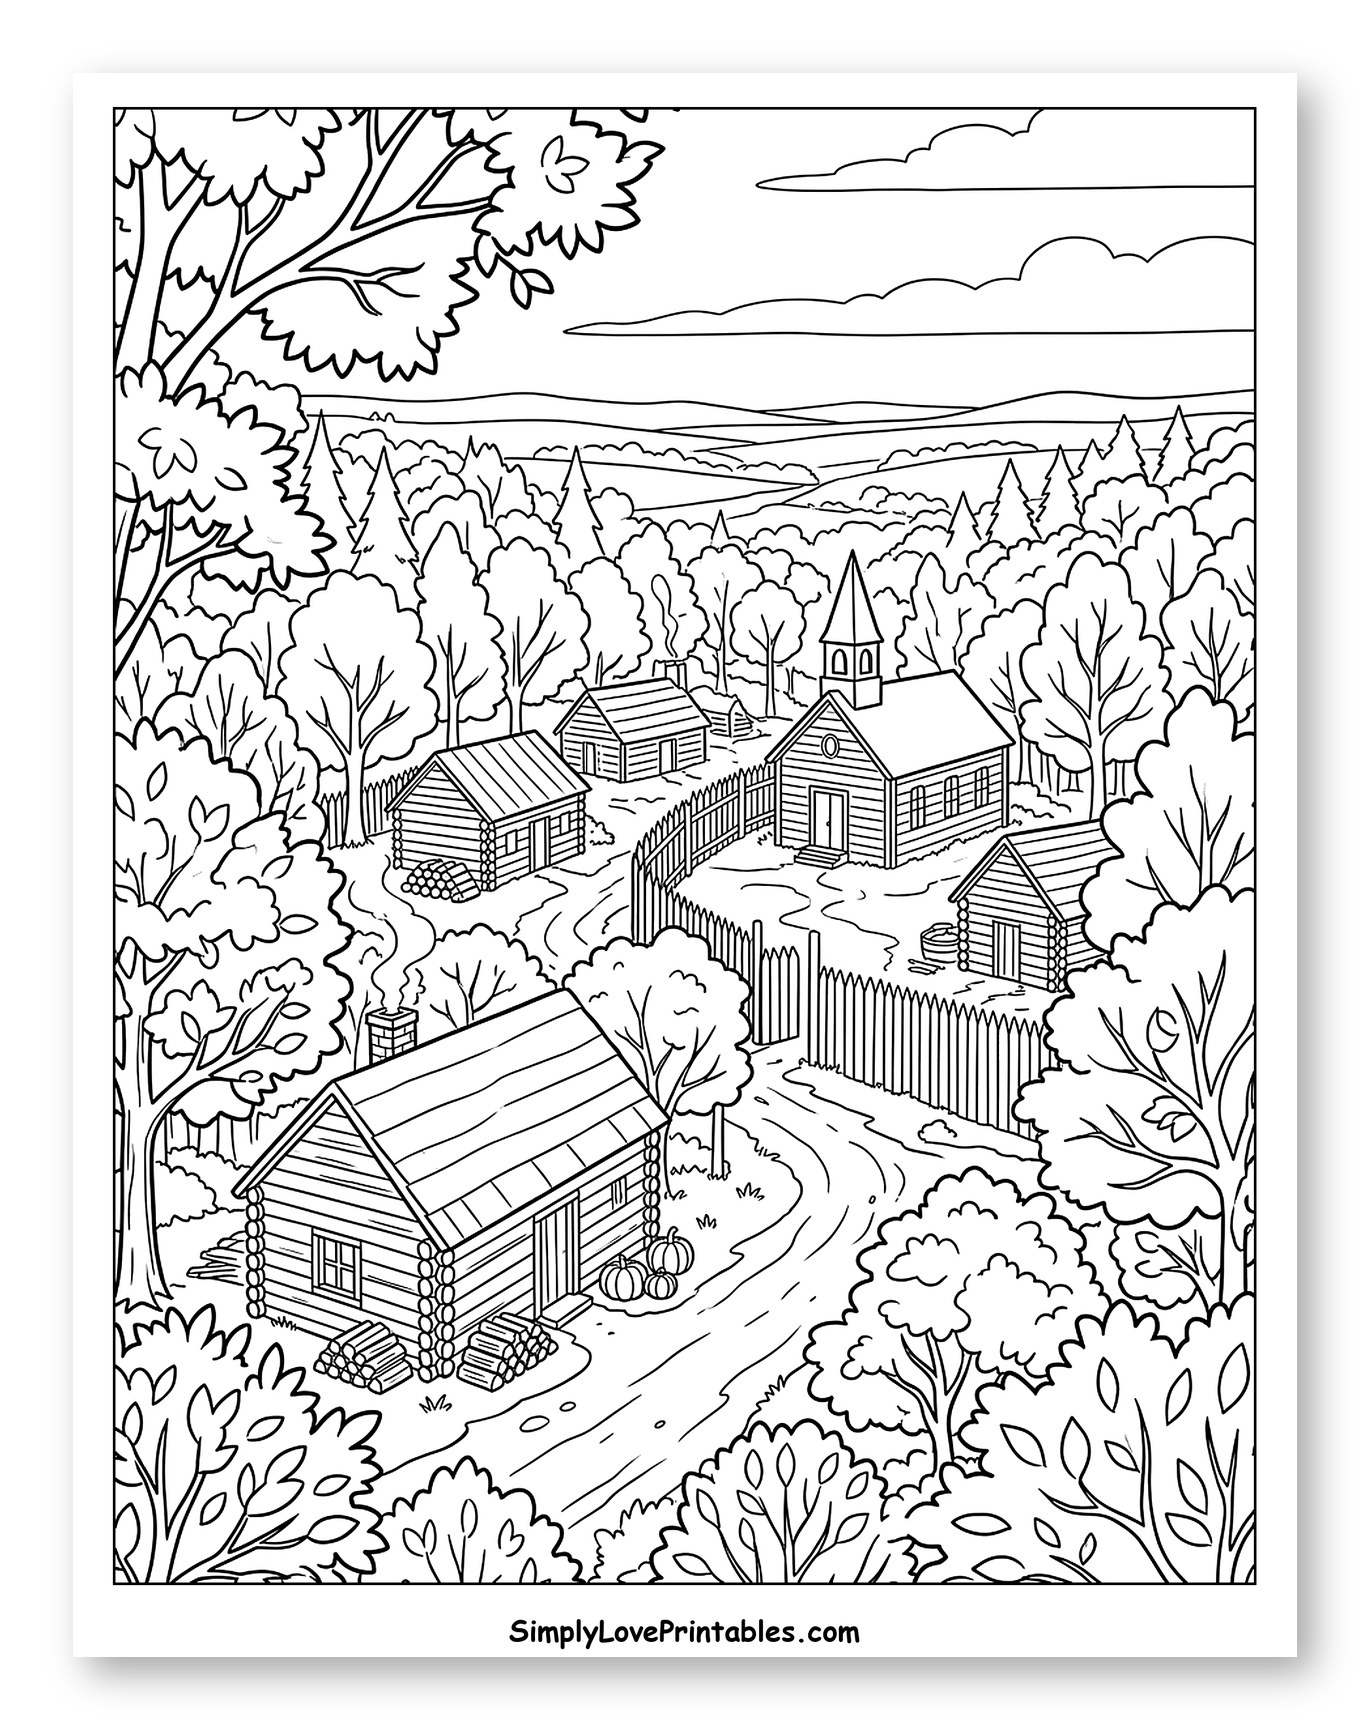
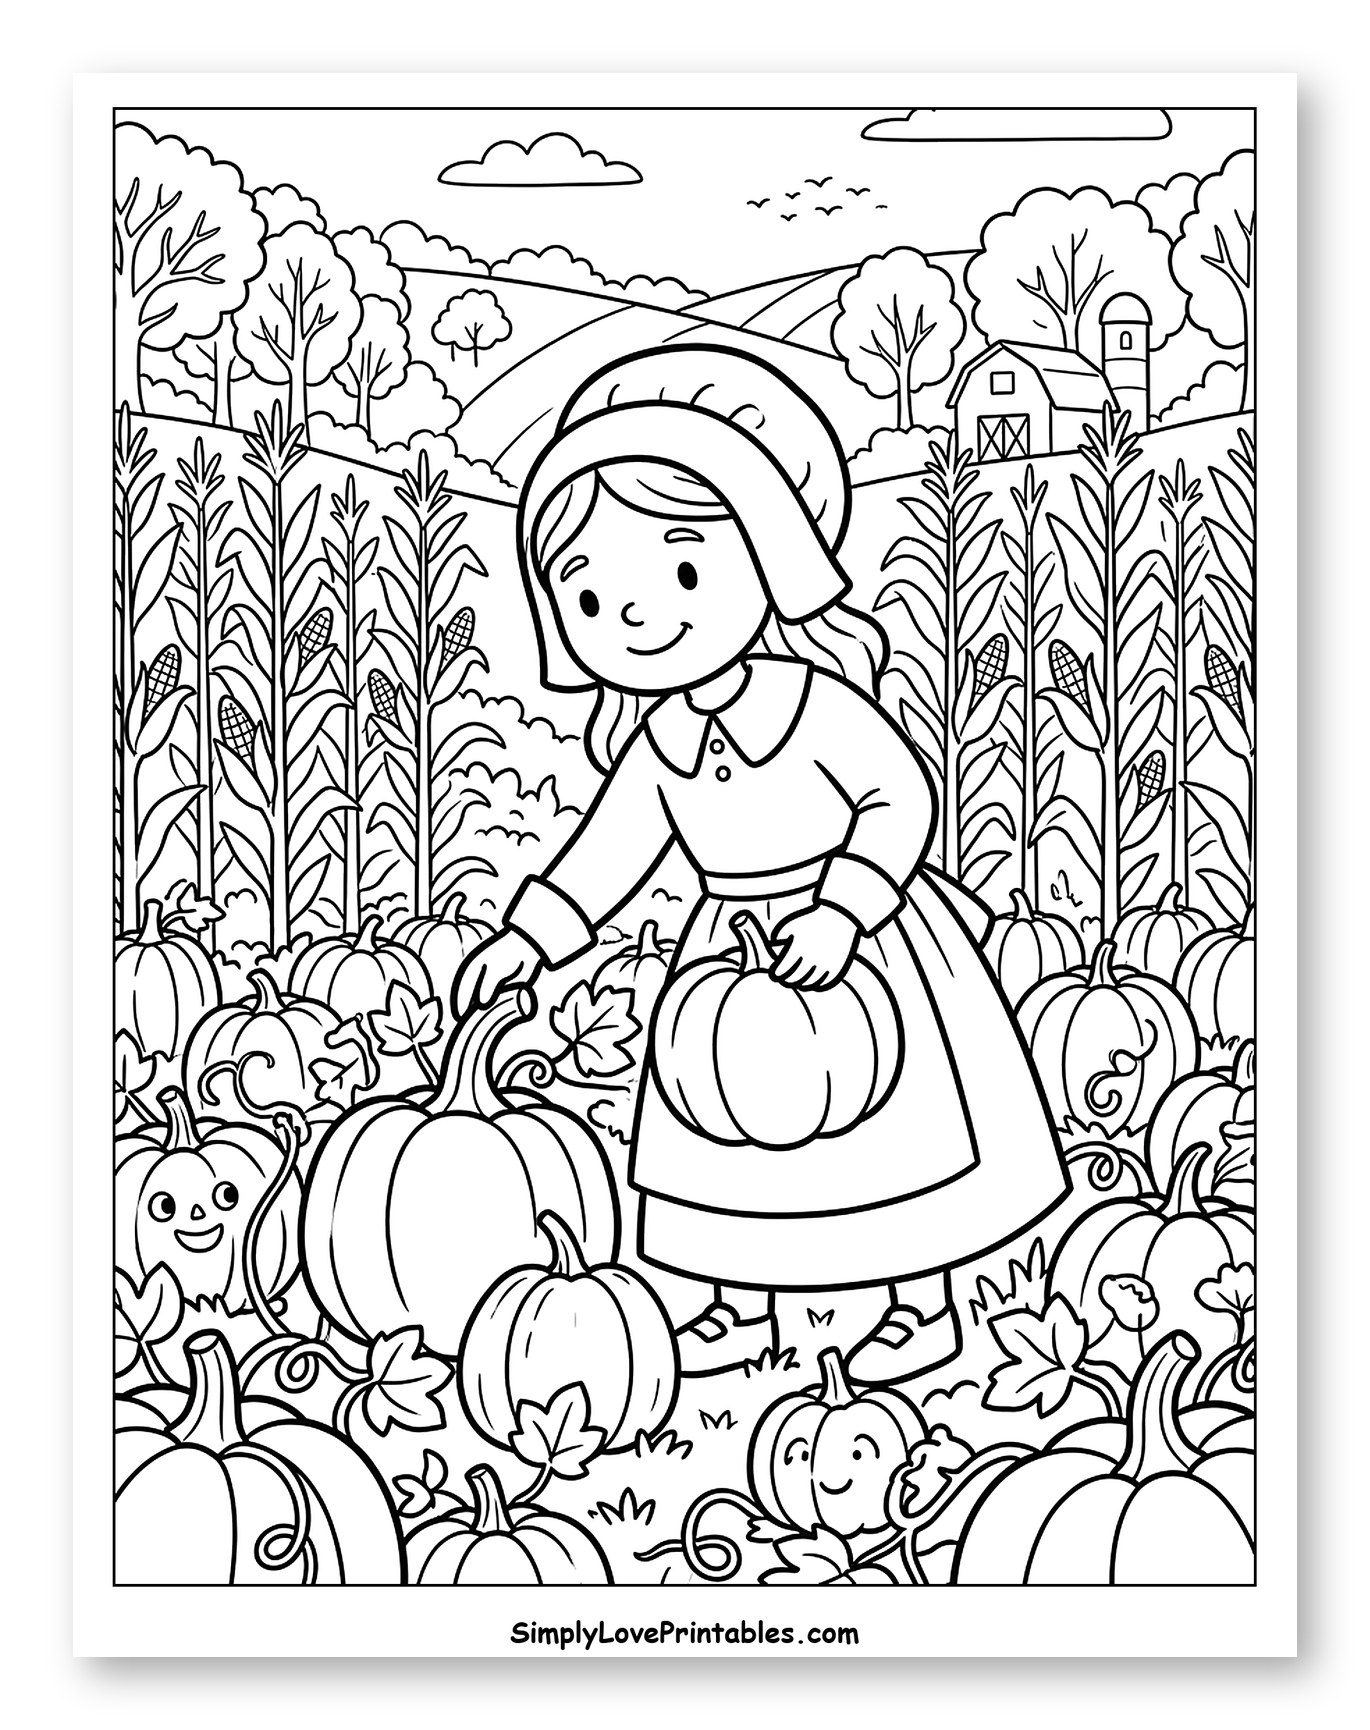
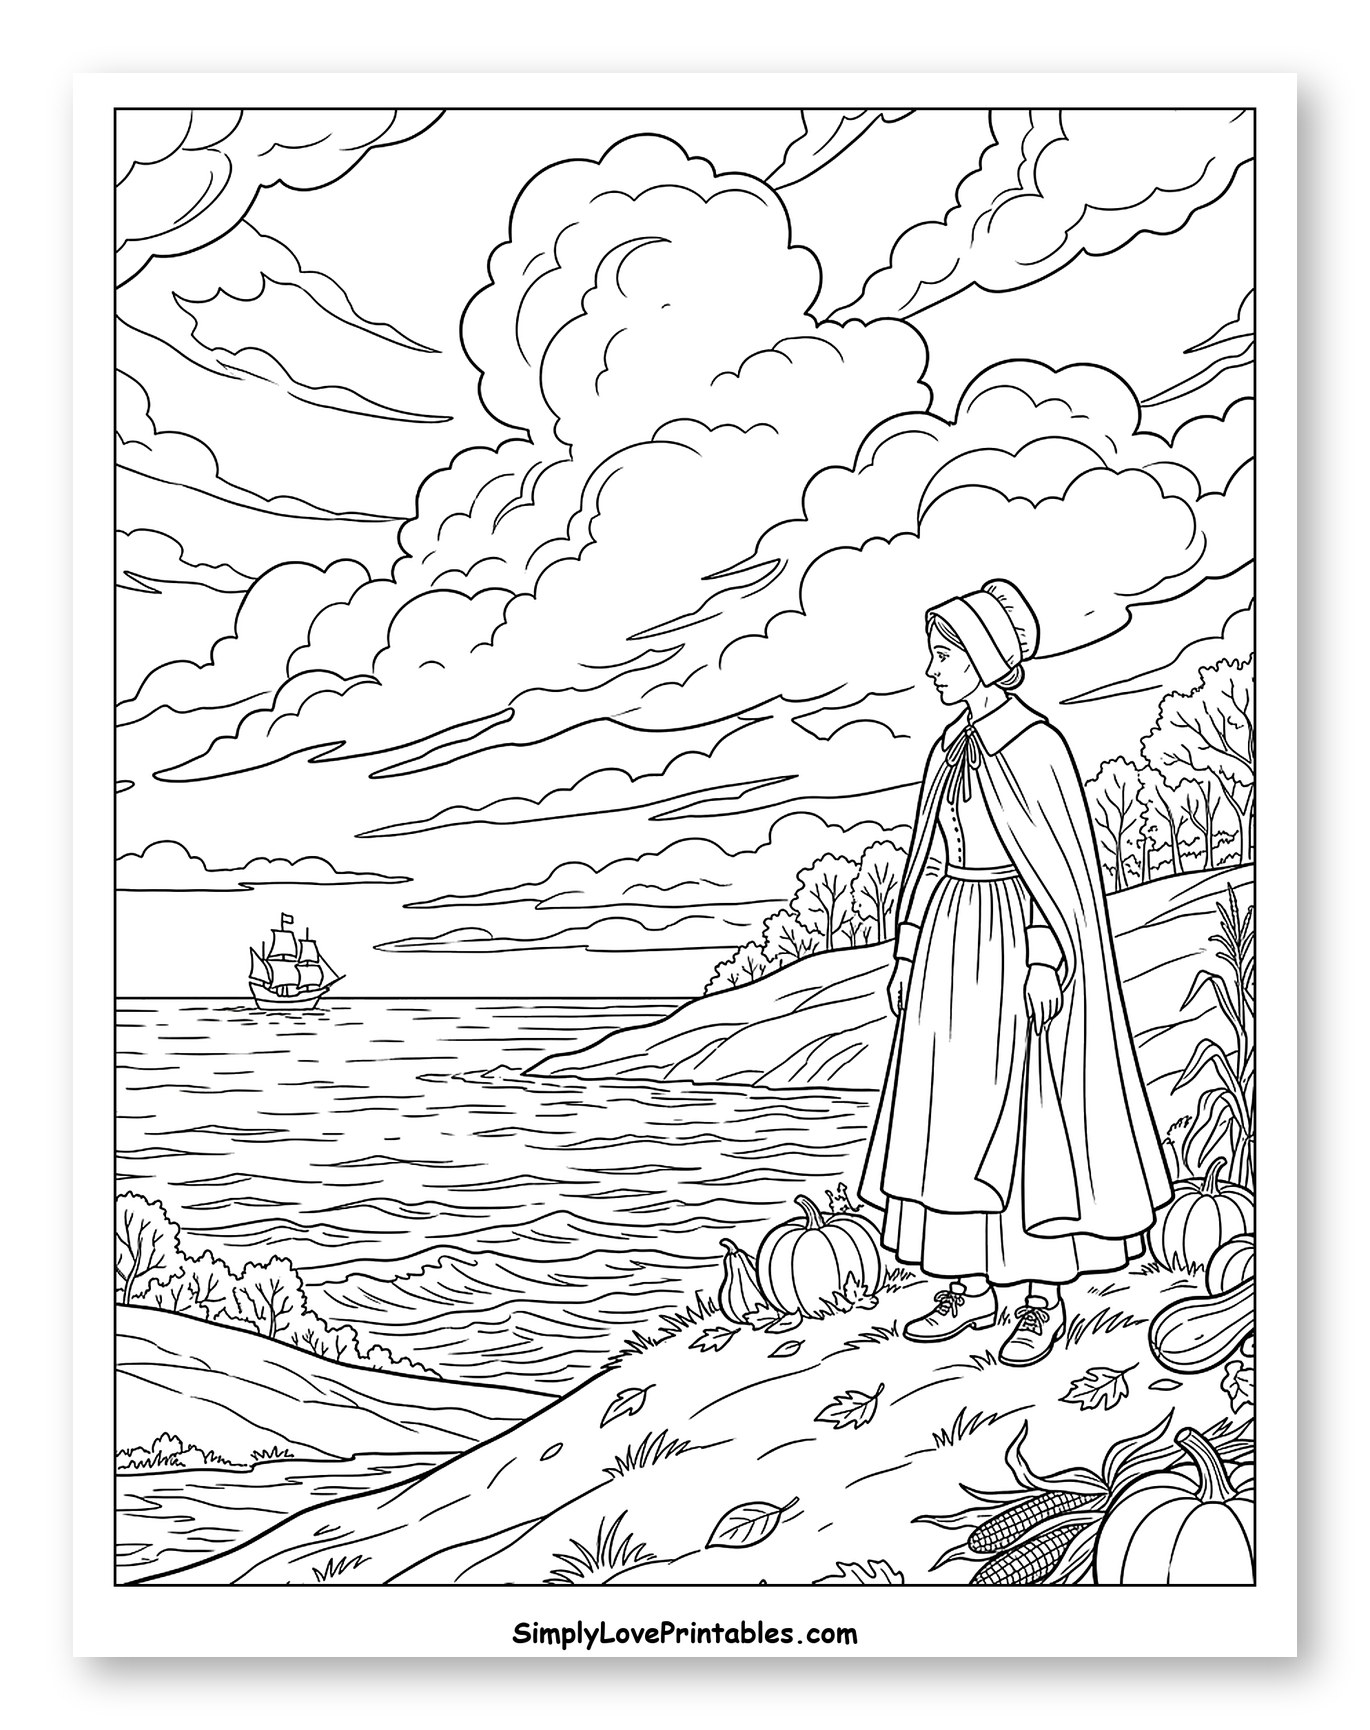
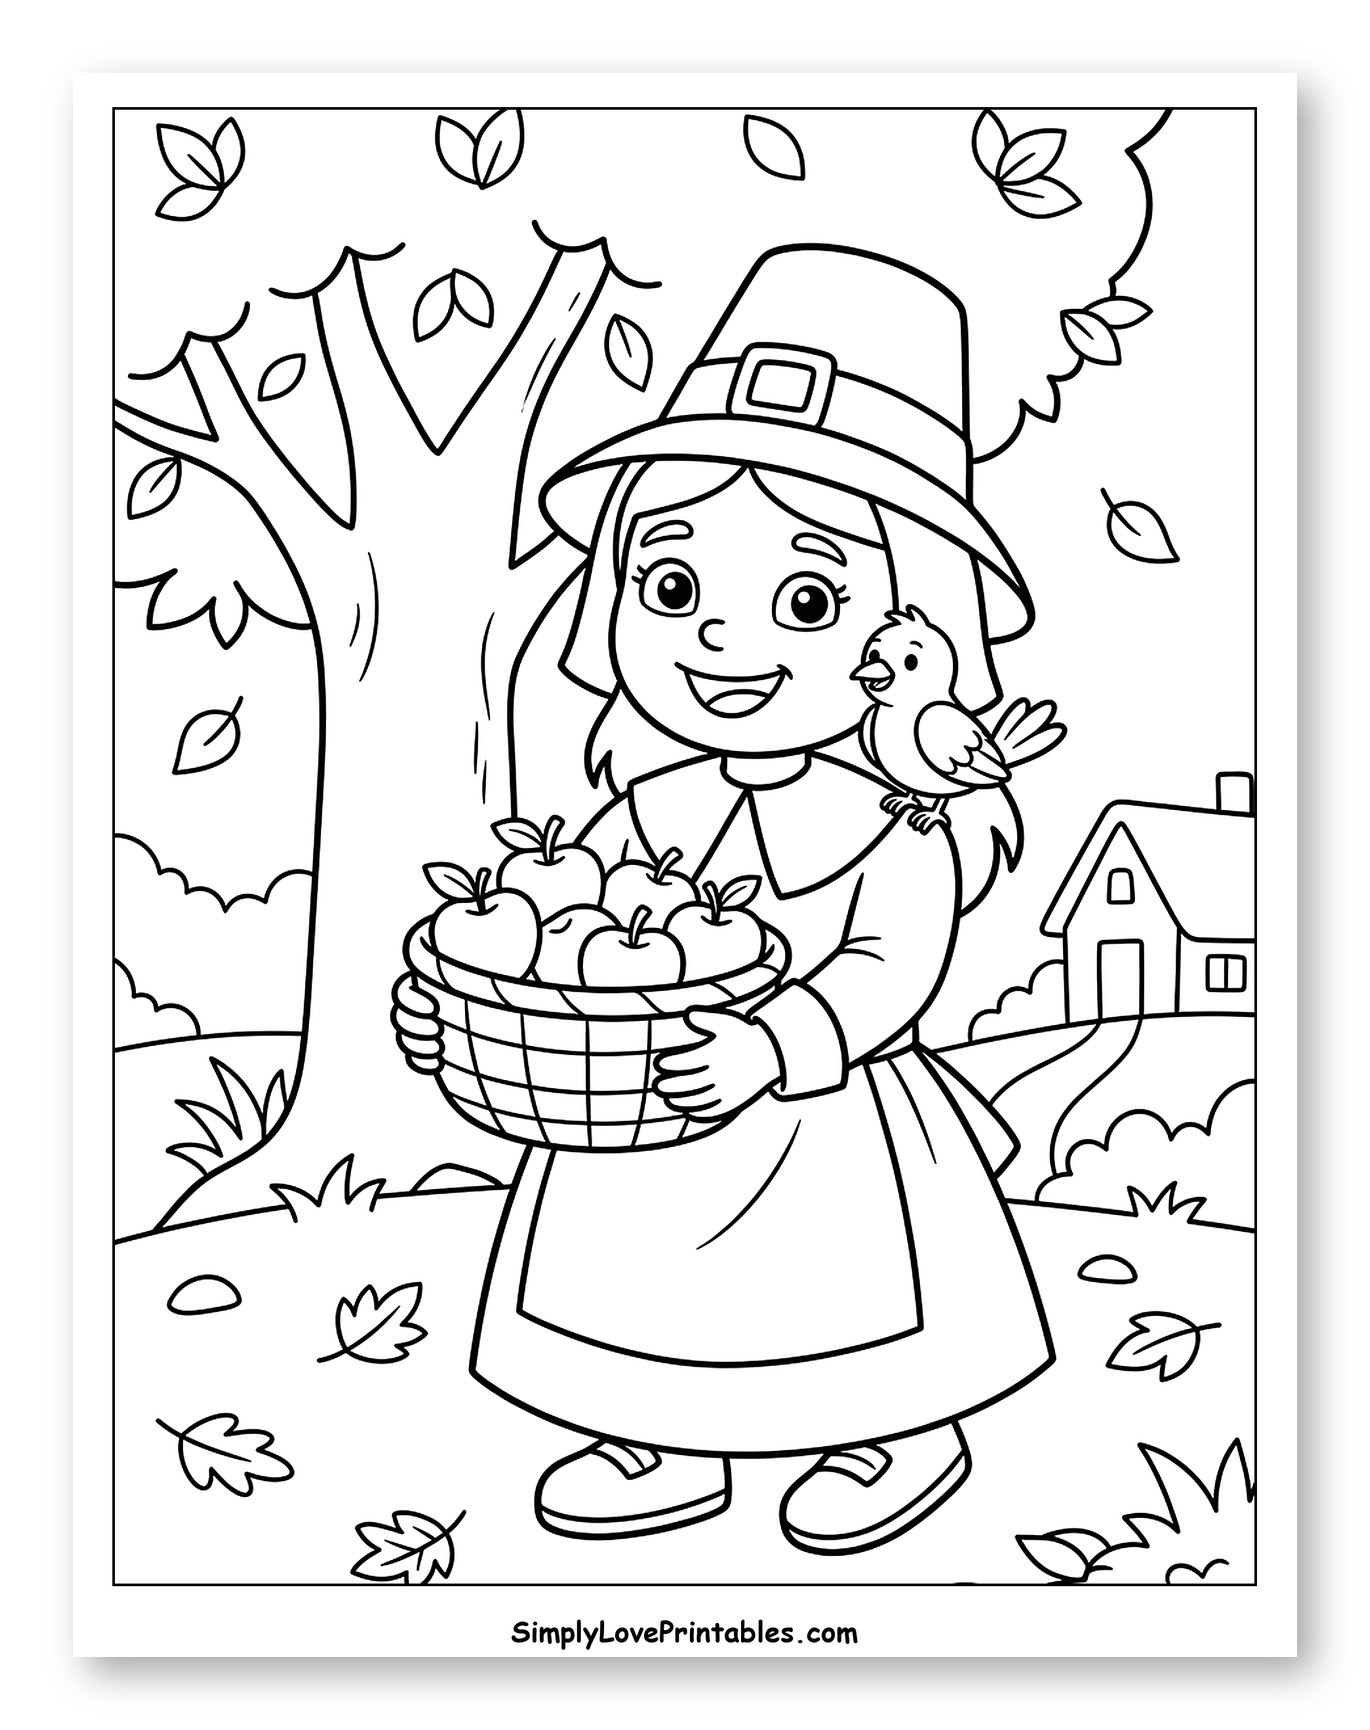
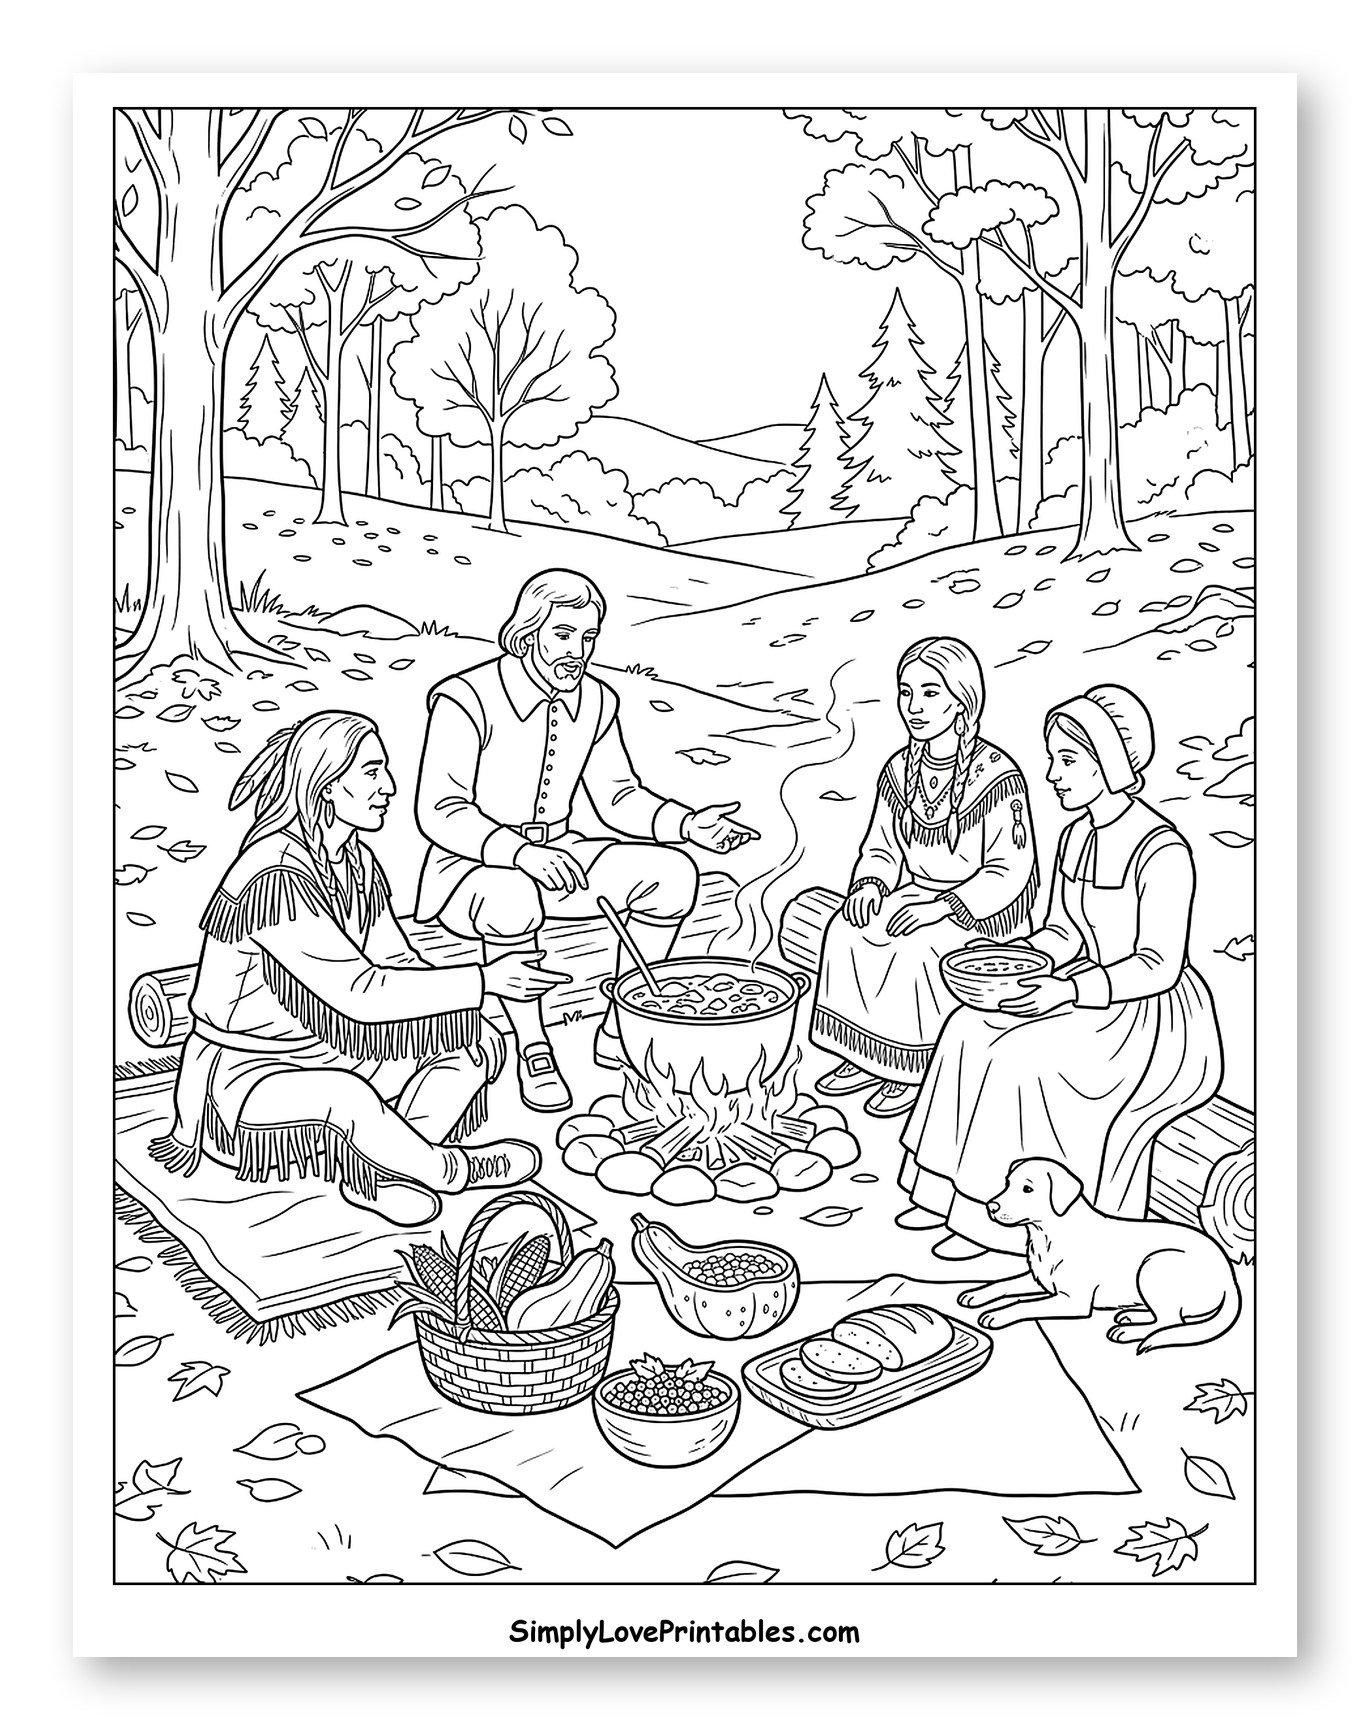
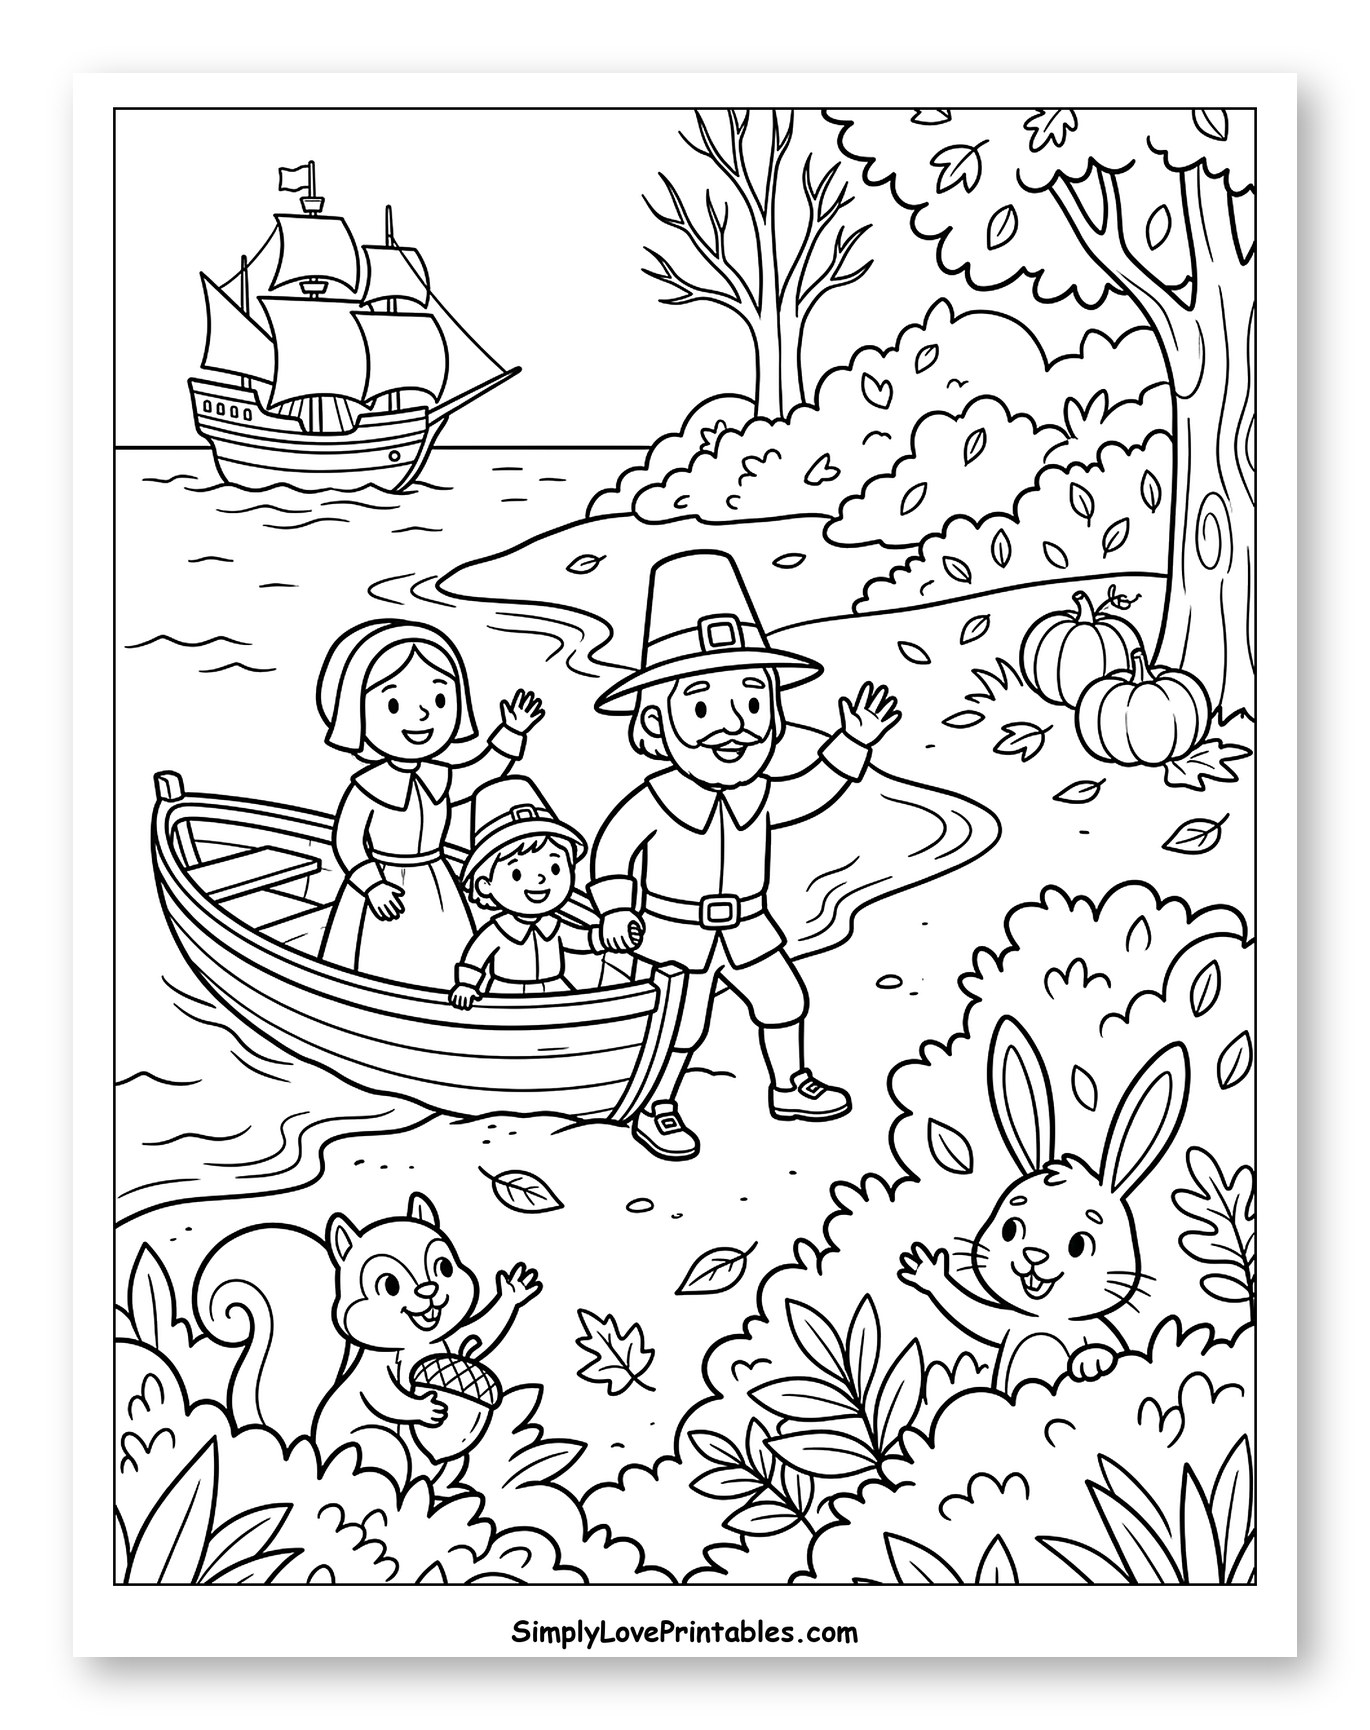
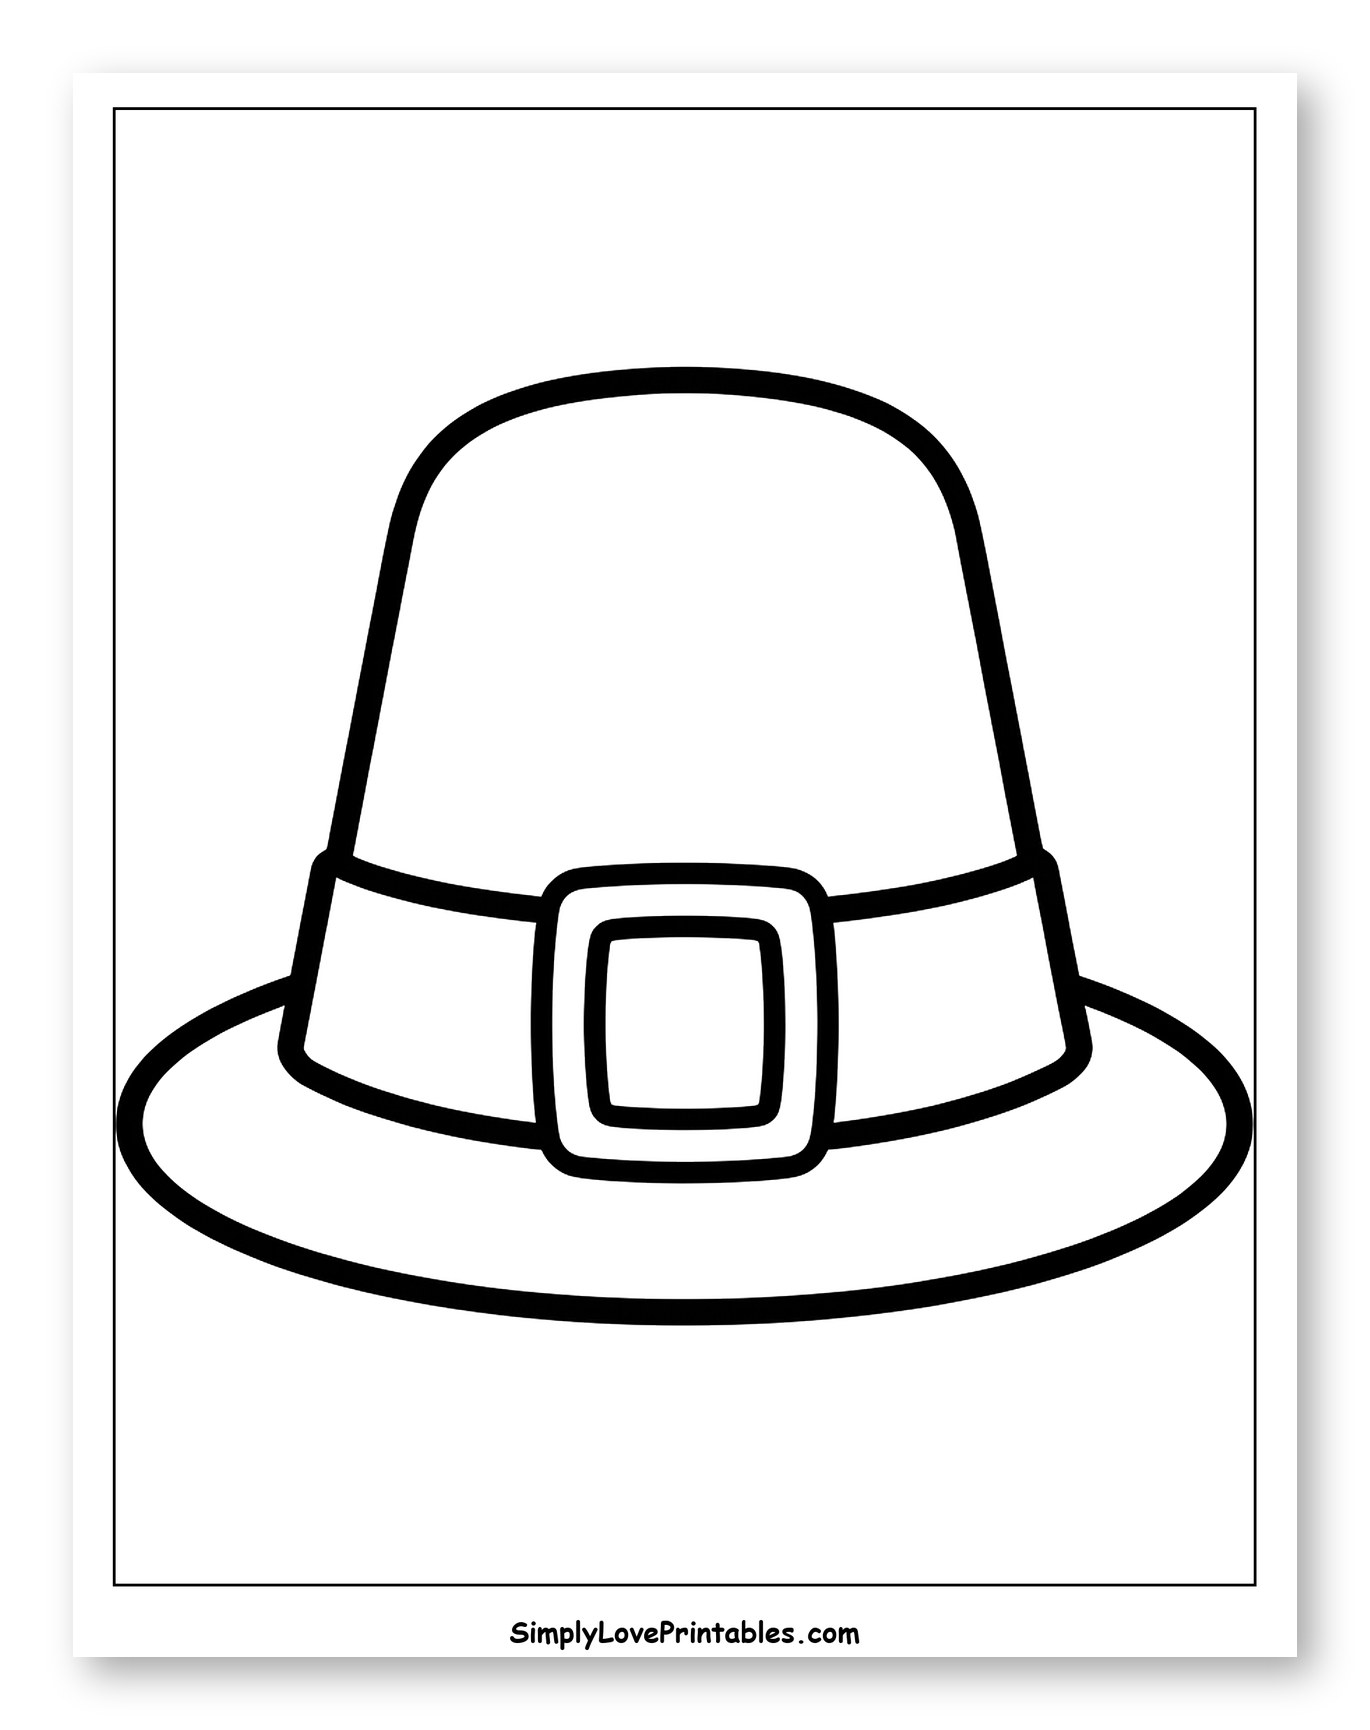
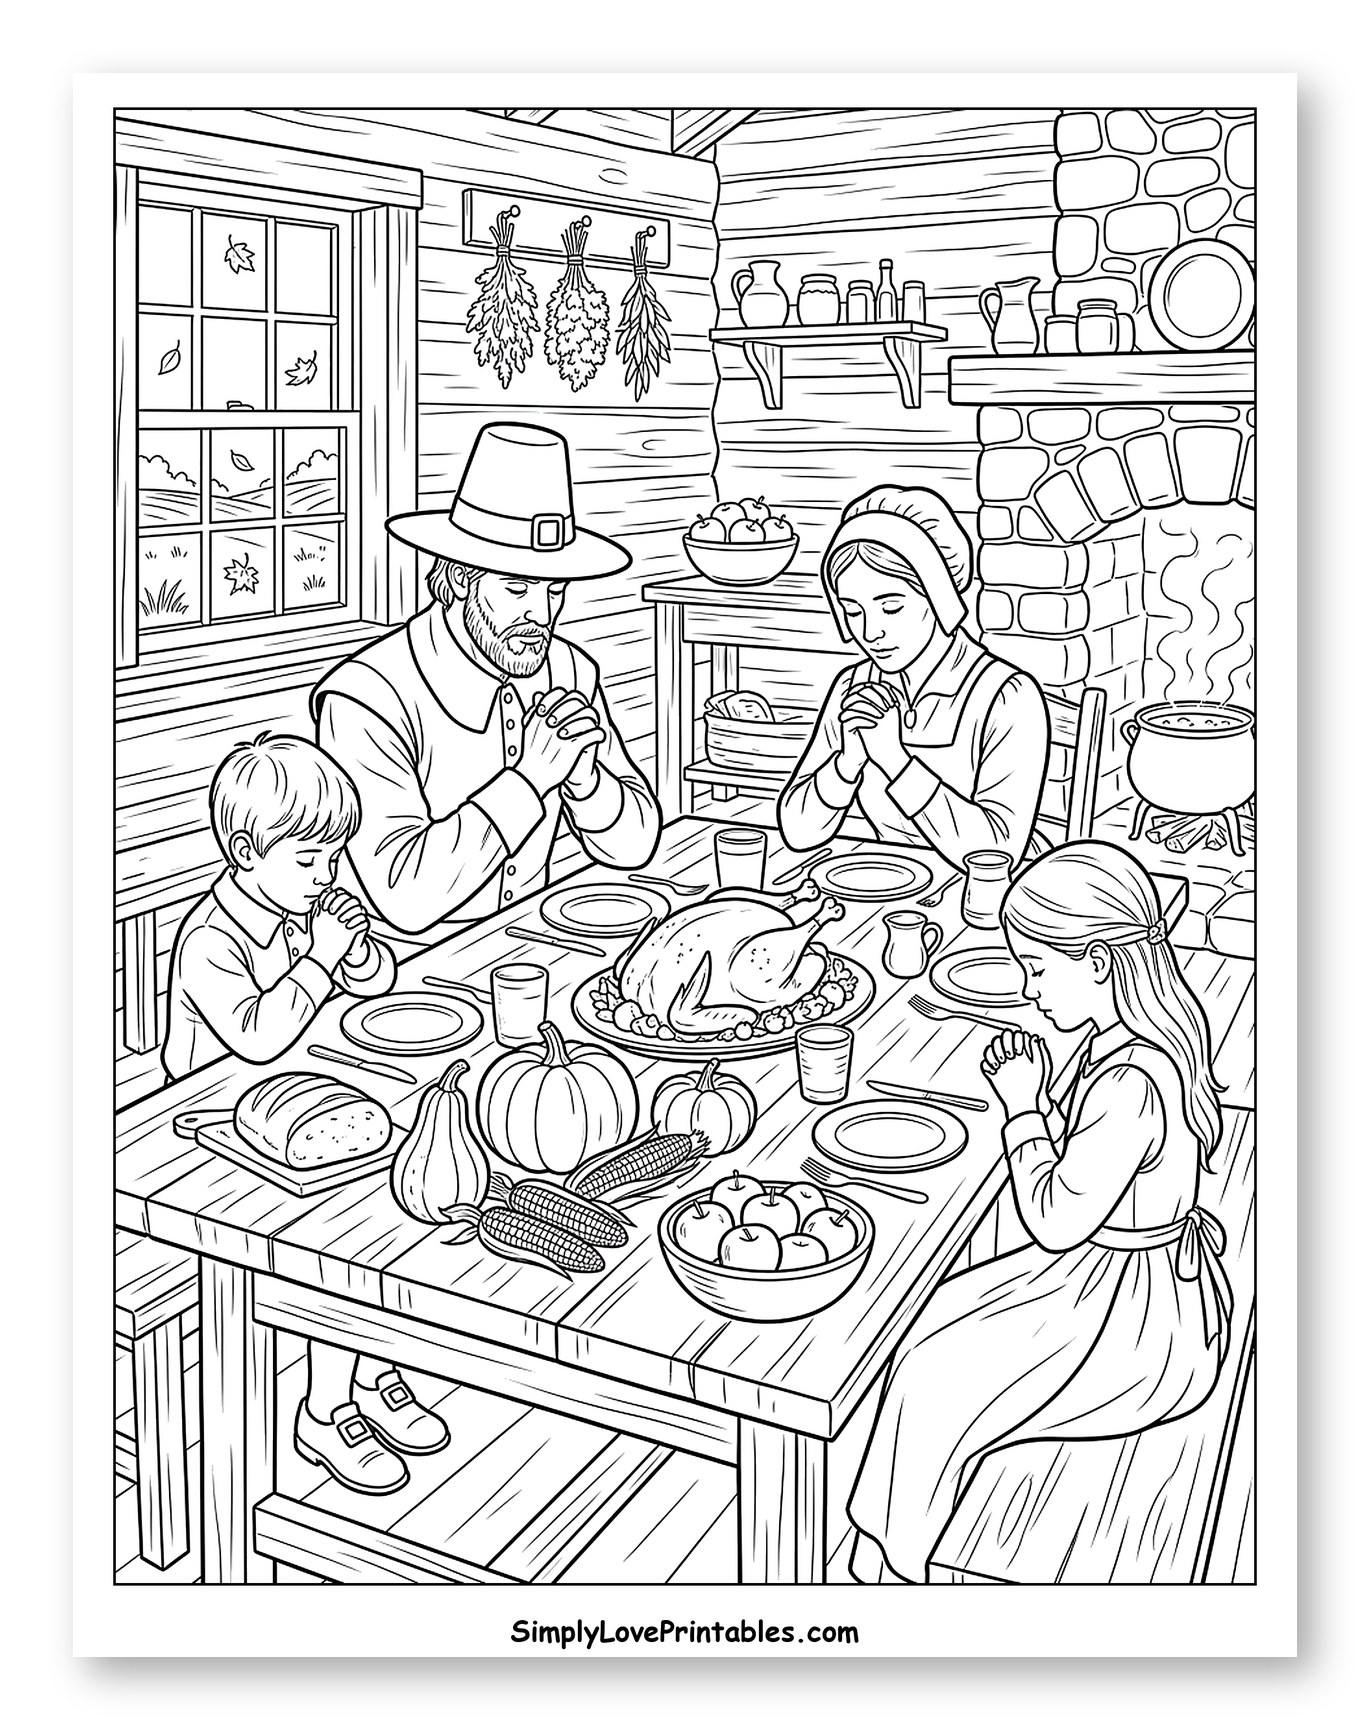
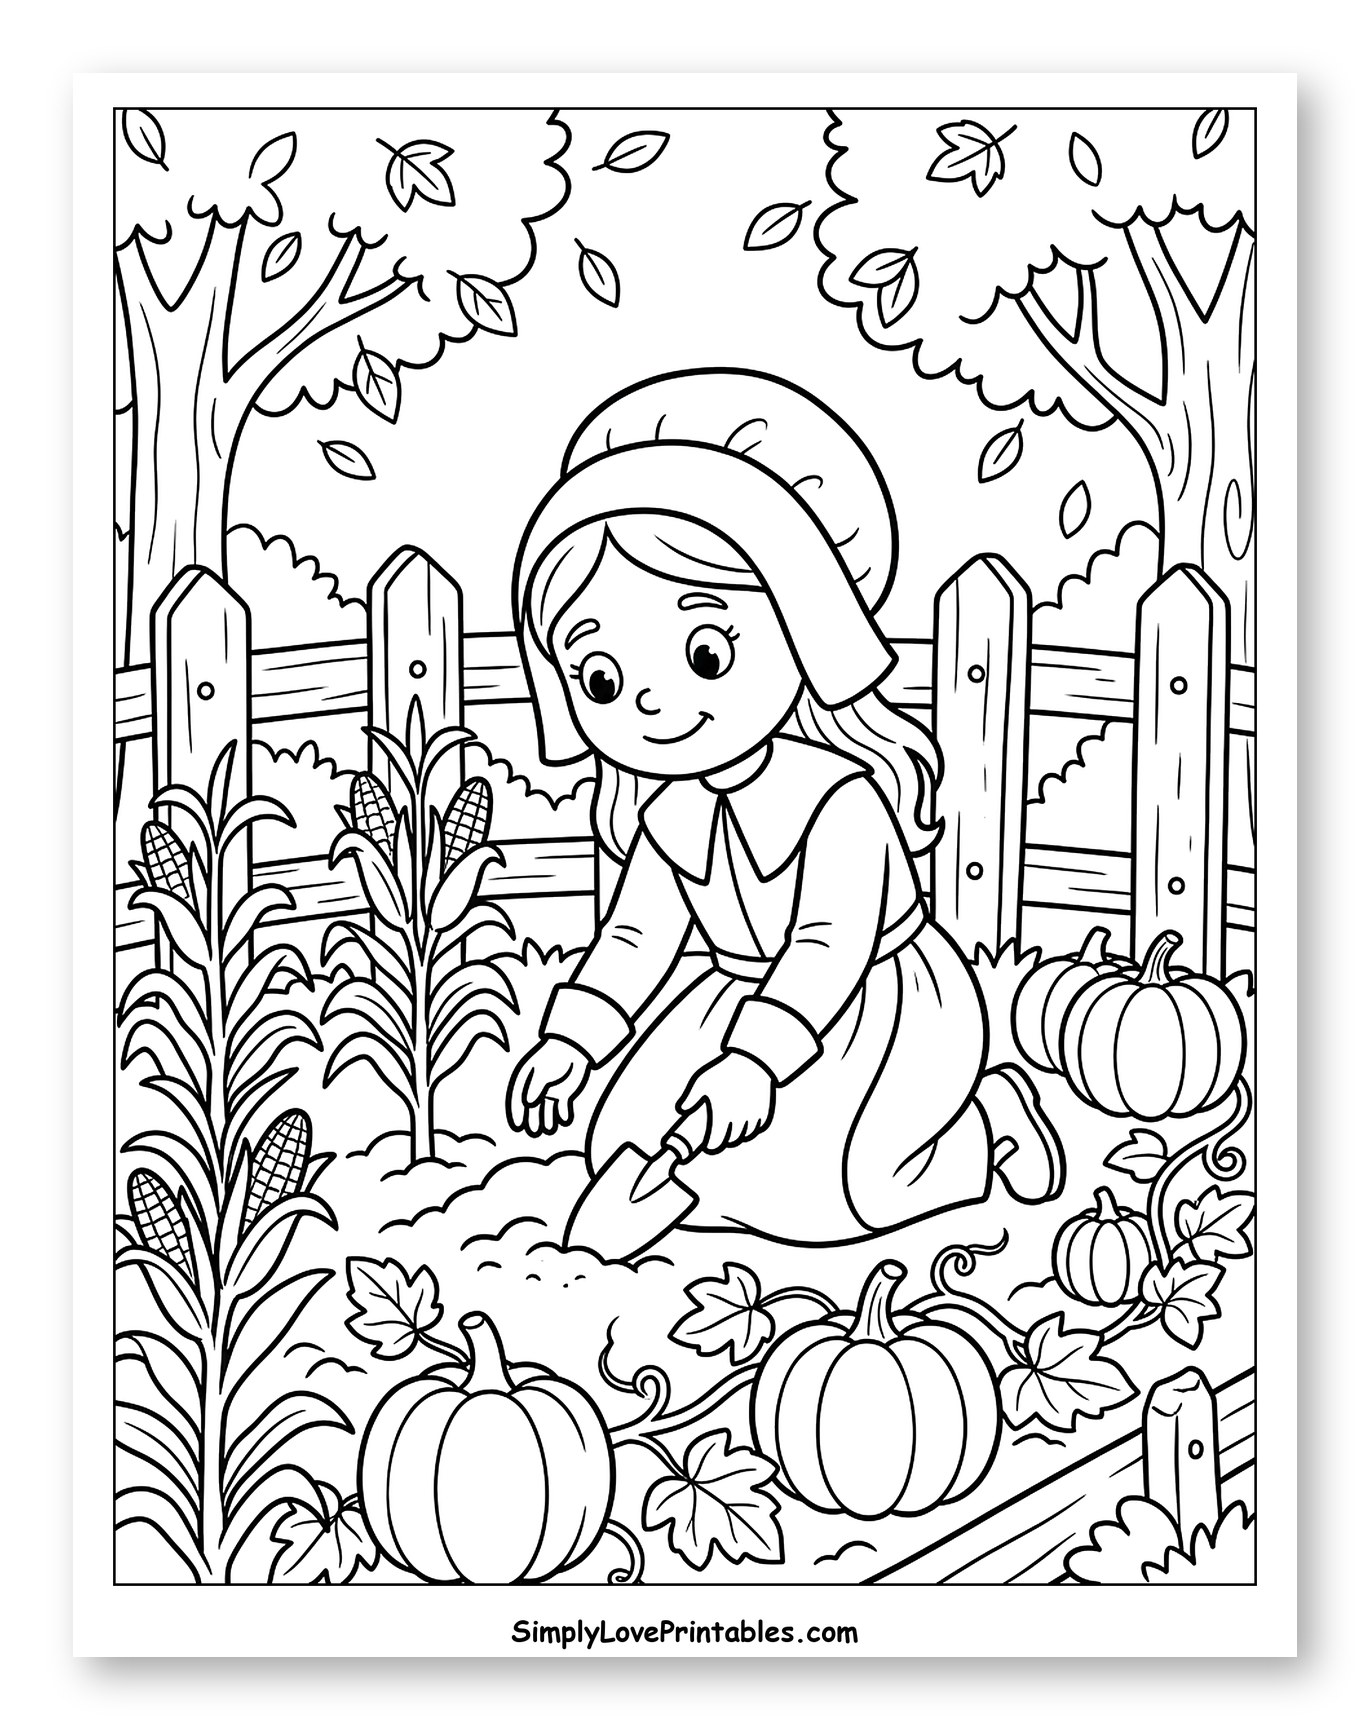
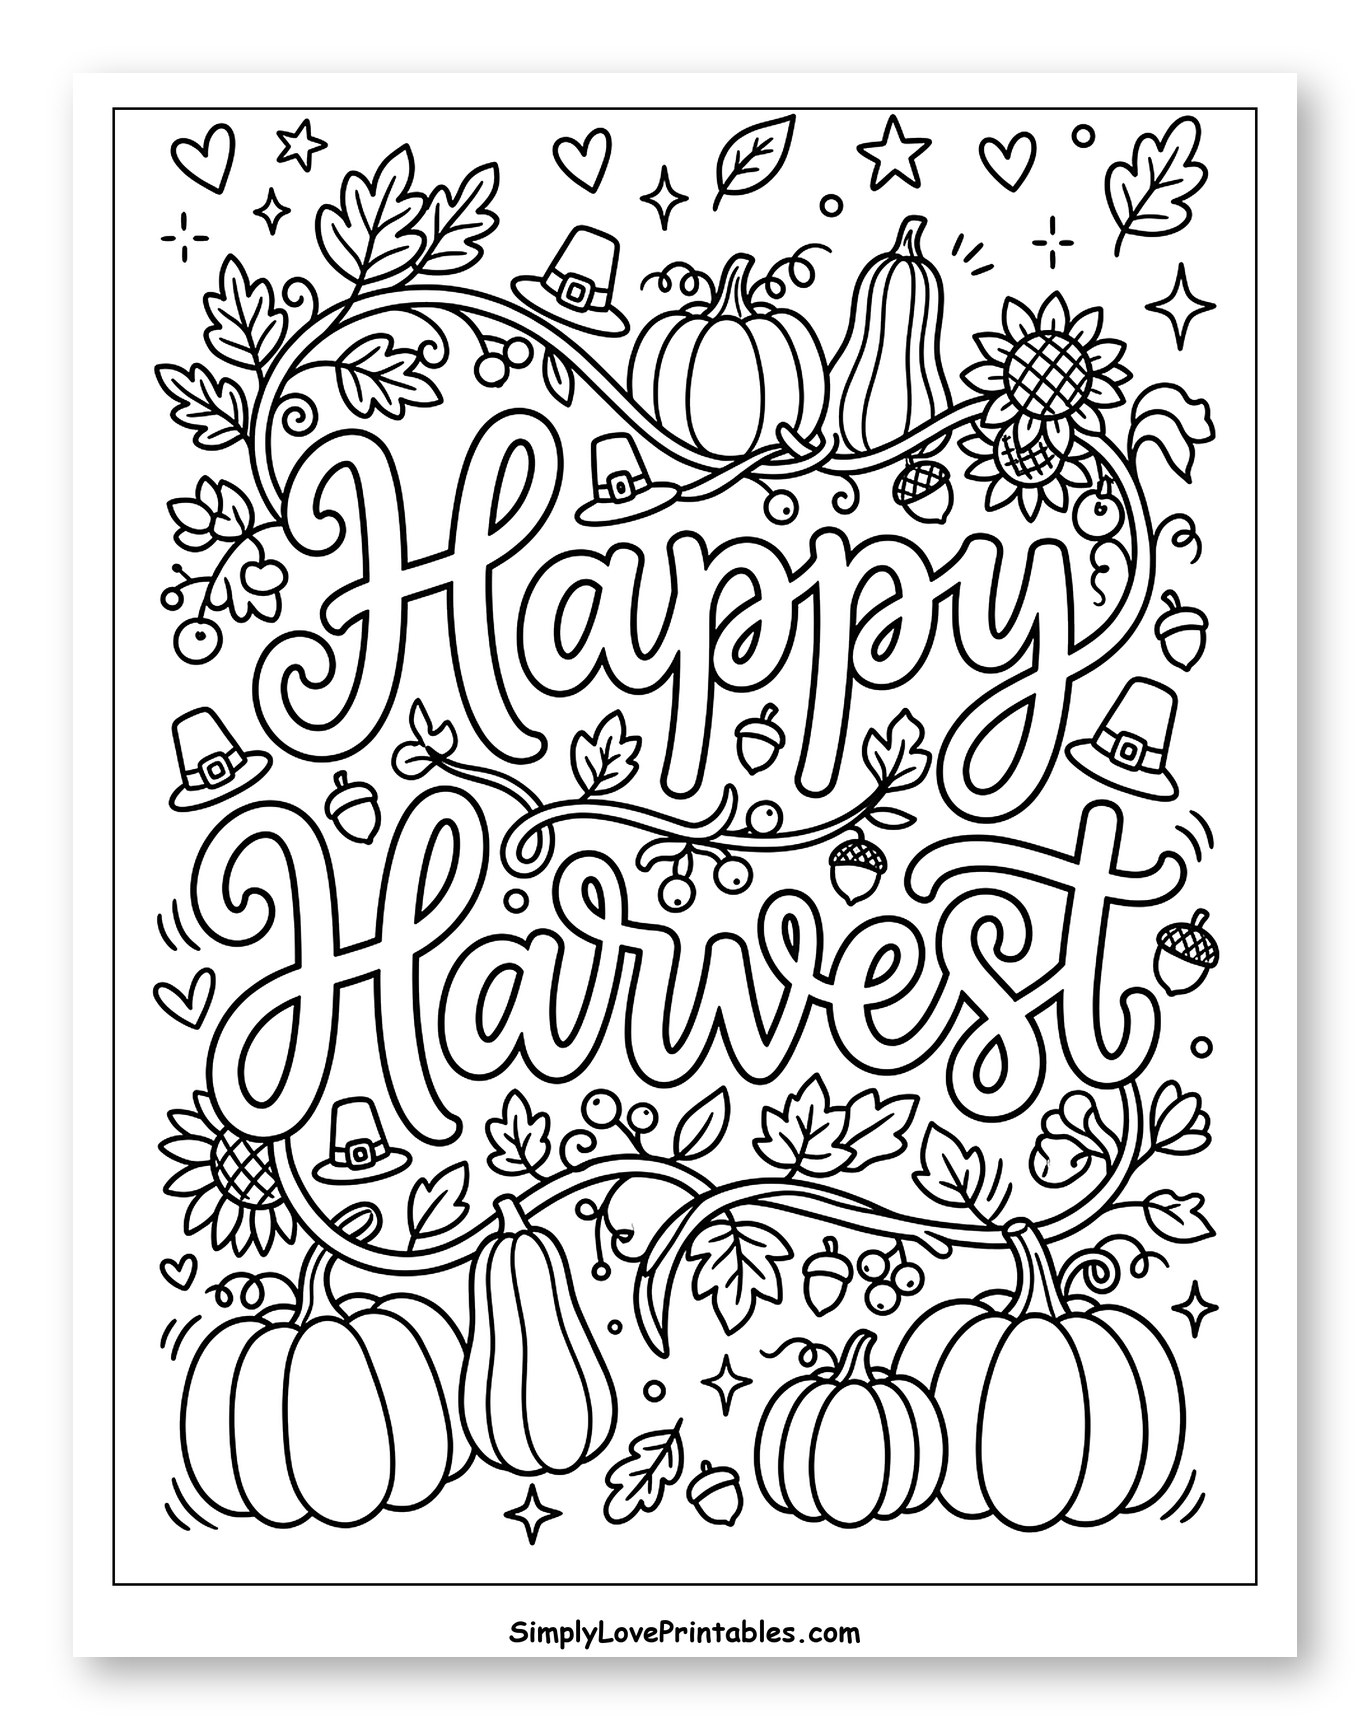
10 Craft Ideas to do With Pilgrim Coloring Pages
Once those beautifully colored Pilgrim pages are complete, don’t let them gather dust! These easy and affordable crafts are perfect for putting your finished artwork to good use.
1. Pilgrim Hat Headband
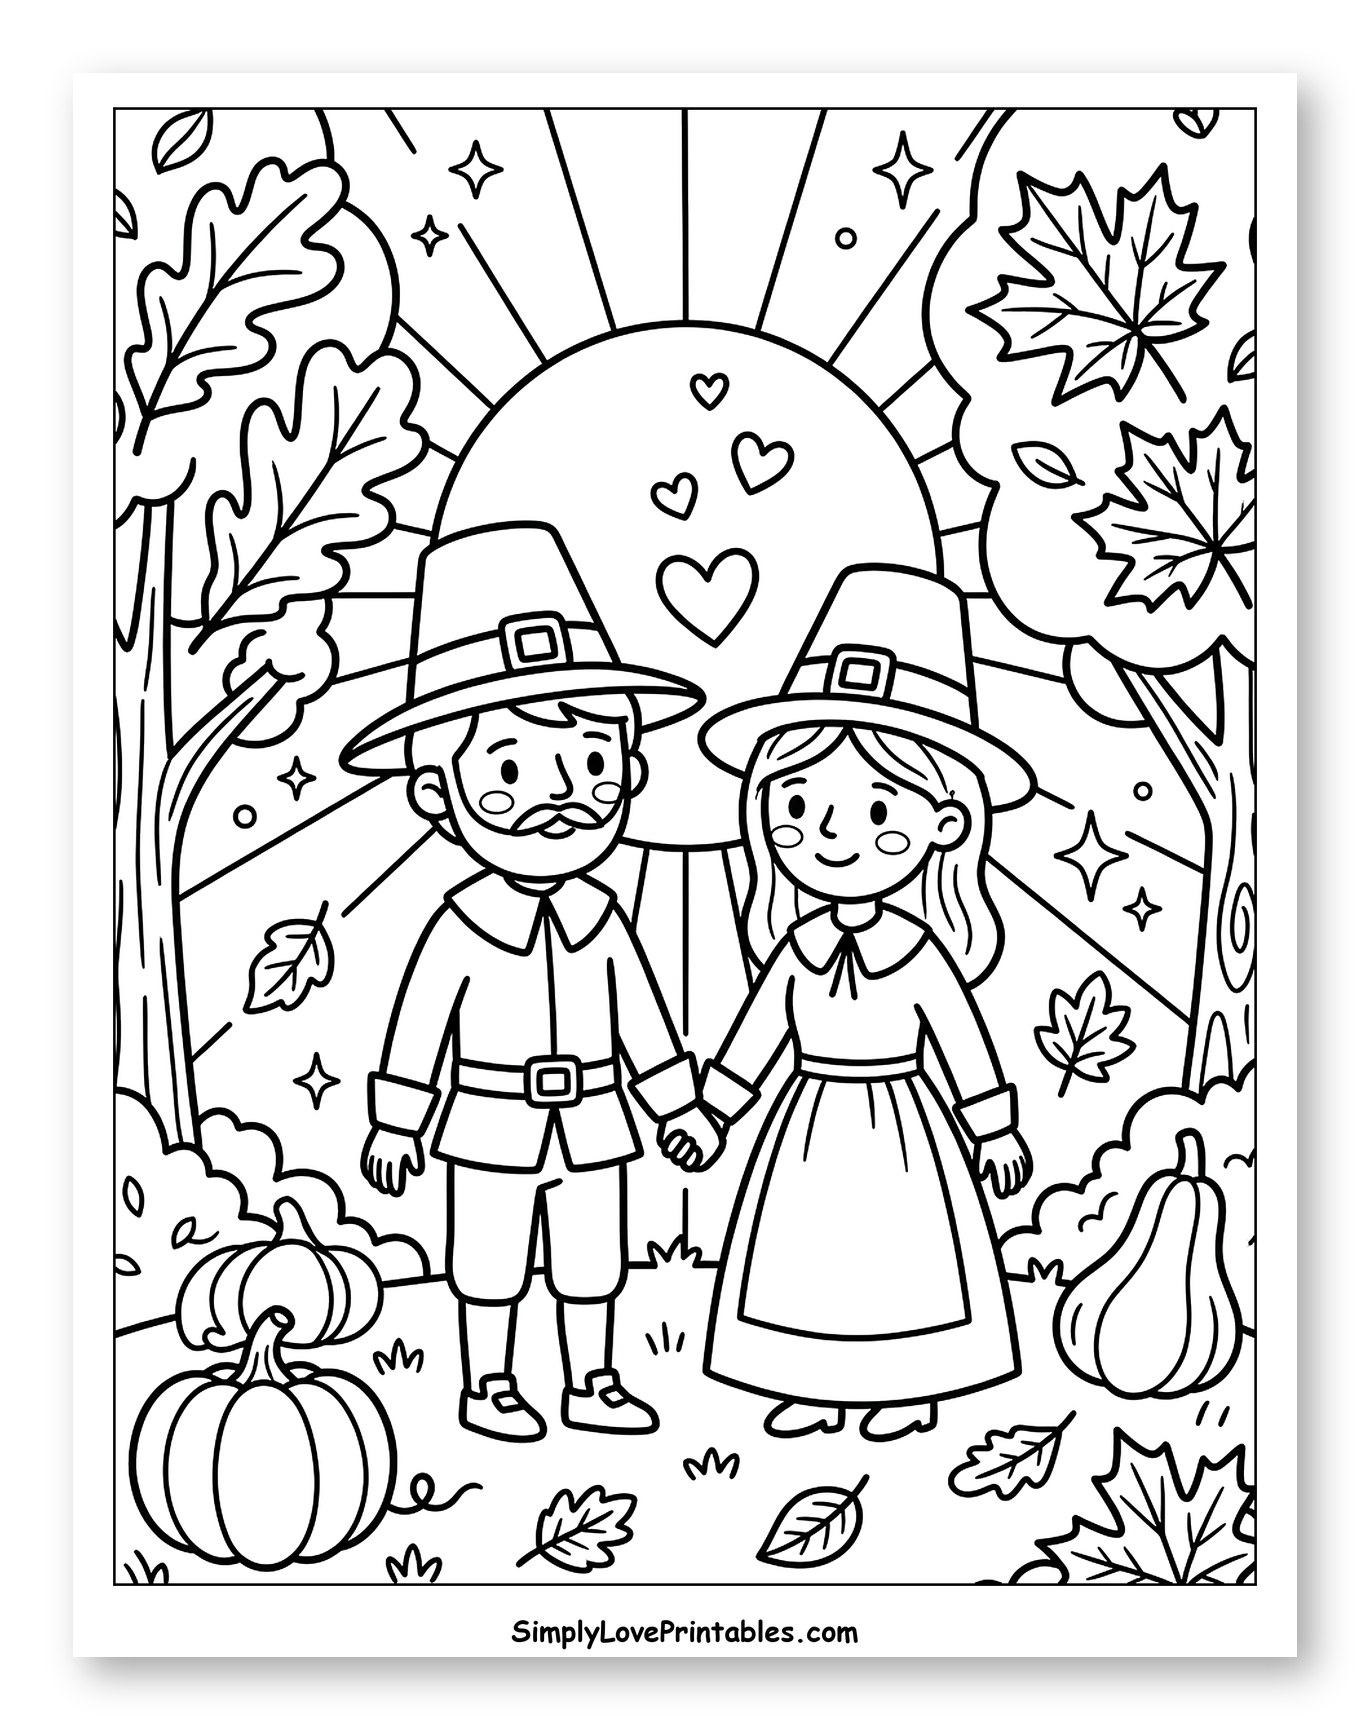
Cut out a colored Pilgrim figure or just their hat from your coloring page. Glue it onto a strip of black or white construction paper, adjusted to fit around your head. Secure the band with tape or a staple, and proudly wear your Pilgrim headwear!
2. Mayflower Ship Model
Fold a brown construction paper “hull” base for your ship. Cut out a Mayflower ship image or individual Pilgrim figures from your coloring pages to serve as sails or crew members. Glue your colored cut-outs onto popsicle stick masts and attach them to your paper ship, ready to sail the seas!
3. Harvest Feast Placemat
Choose your favorite finished Pilgrim coloring page featuring figures or harvest scenes. Glue it onto a larger piece of plain or colored construction paper for a border. Cover both sides with clear contact paper or laminate it to create a durable, wipeable placemat for your family’s next meal.
4. Pilgrim Stick Puppets
Carefully cut out individual Pilgrim characters or Wampanoag friends from your colored pages. Glue each cut-out firmly to the top of a craft stick or popsicle stick. Once dry, put on a historical puppet show detailing their journey or first Thanksgiving!
5. Buckle Shoe Embellishments
From your Pilgrim coloring pages, cut out the iconic buckles from their shoes or hats. Glue these onto squares of black construction paper and trim around them to create distinct buckles. You can then glue these decorative buckles onto paper shoes, hats, or use them as unique table scatter.
6. “First Harvest” Diorama
Take a shoebox and decorate the inside to look like a field or early settlement. Cut out various Pilgrim figures, Wampanoag friends, cornstalks, or other harvest elements from your coloring pages. Glue these cut-outs inside the shoebox to create a 3D scene depicting the first harvest or Thanksgiving feast.
7. Cornucopia Collage
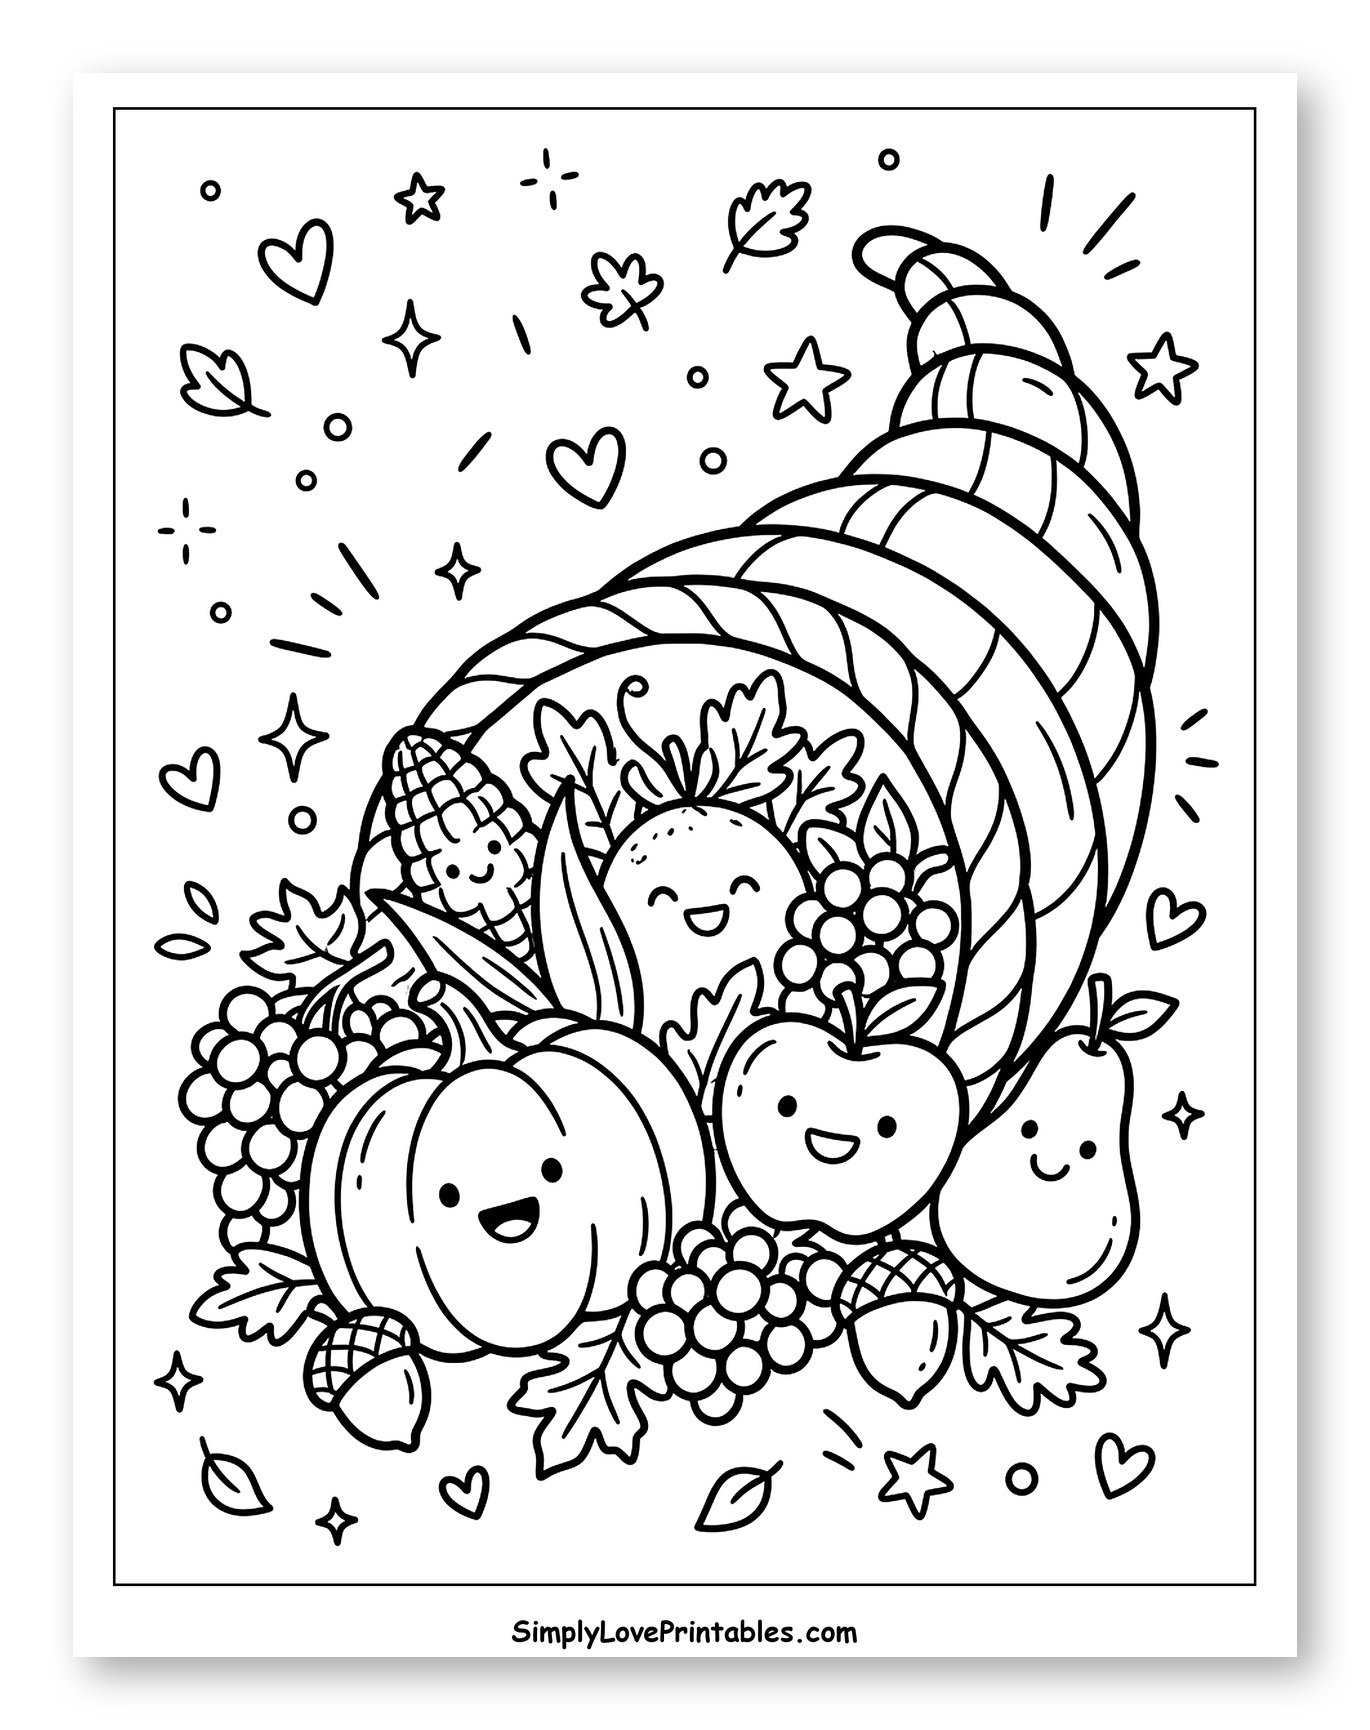
Draw or print a large cornucopia outline onto a piece of poster board. Cut out small images of corn, pumpkins, fruits, vegetables, or even tiny Pilgrim figures from your finished coloring pages. Glue these colorful cut-outs inside and spilling out of the cornucopia outline, creating a bountiful harvest display.
8. Friendship Feather Mobile
Cut out Pilgrim and Native American figures, along with decorative feathers, from your colored pages. Punch a small hole at the top of each cut-out. Tie pieces of yarn or string to each, then attach them at varying lengths to two crossed popsicle sticks or a small coat hanger, creating a spinning mobile.
9. Pilgrim Journal Cover
Fold several pieces of blank paper in half to create a simple book, or use a small spiral notebook. Trim your favorite finished Pilgrim coloring page to fit the front cover. Glue it securely onto the cover, then use this journal to write about gratitude or your own historical adventures.
10. Colonial Window View
Glue a colorful Pilgrim coloring page depicting an outdoor scene, like a settlement or a forest, onto a piece of blue or white poster board. Using brown construction paper, create a simple window frame by cutting out strips and gluing them around your scene. This makes a charming “window” showing life in colonial times.
