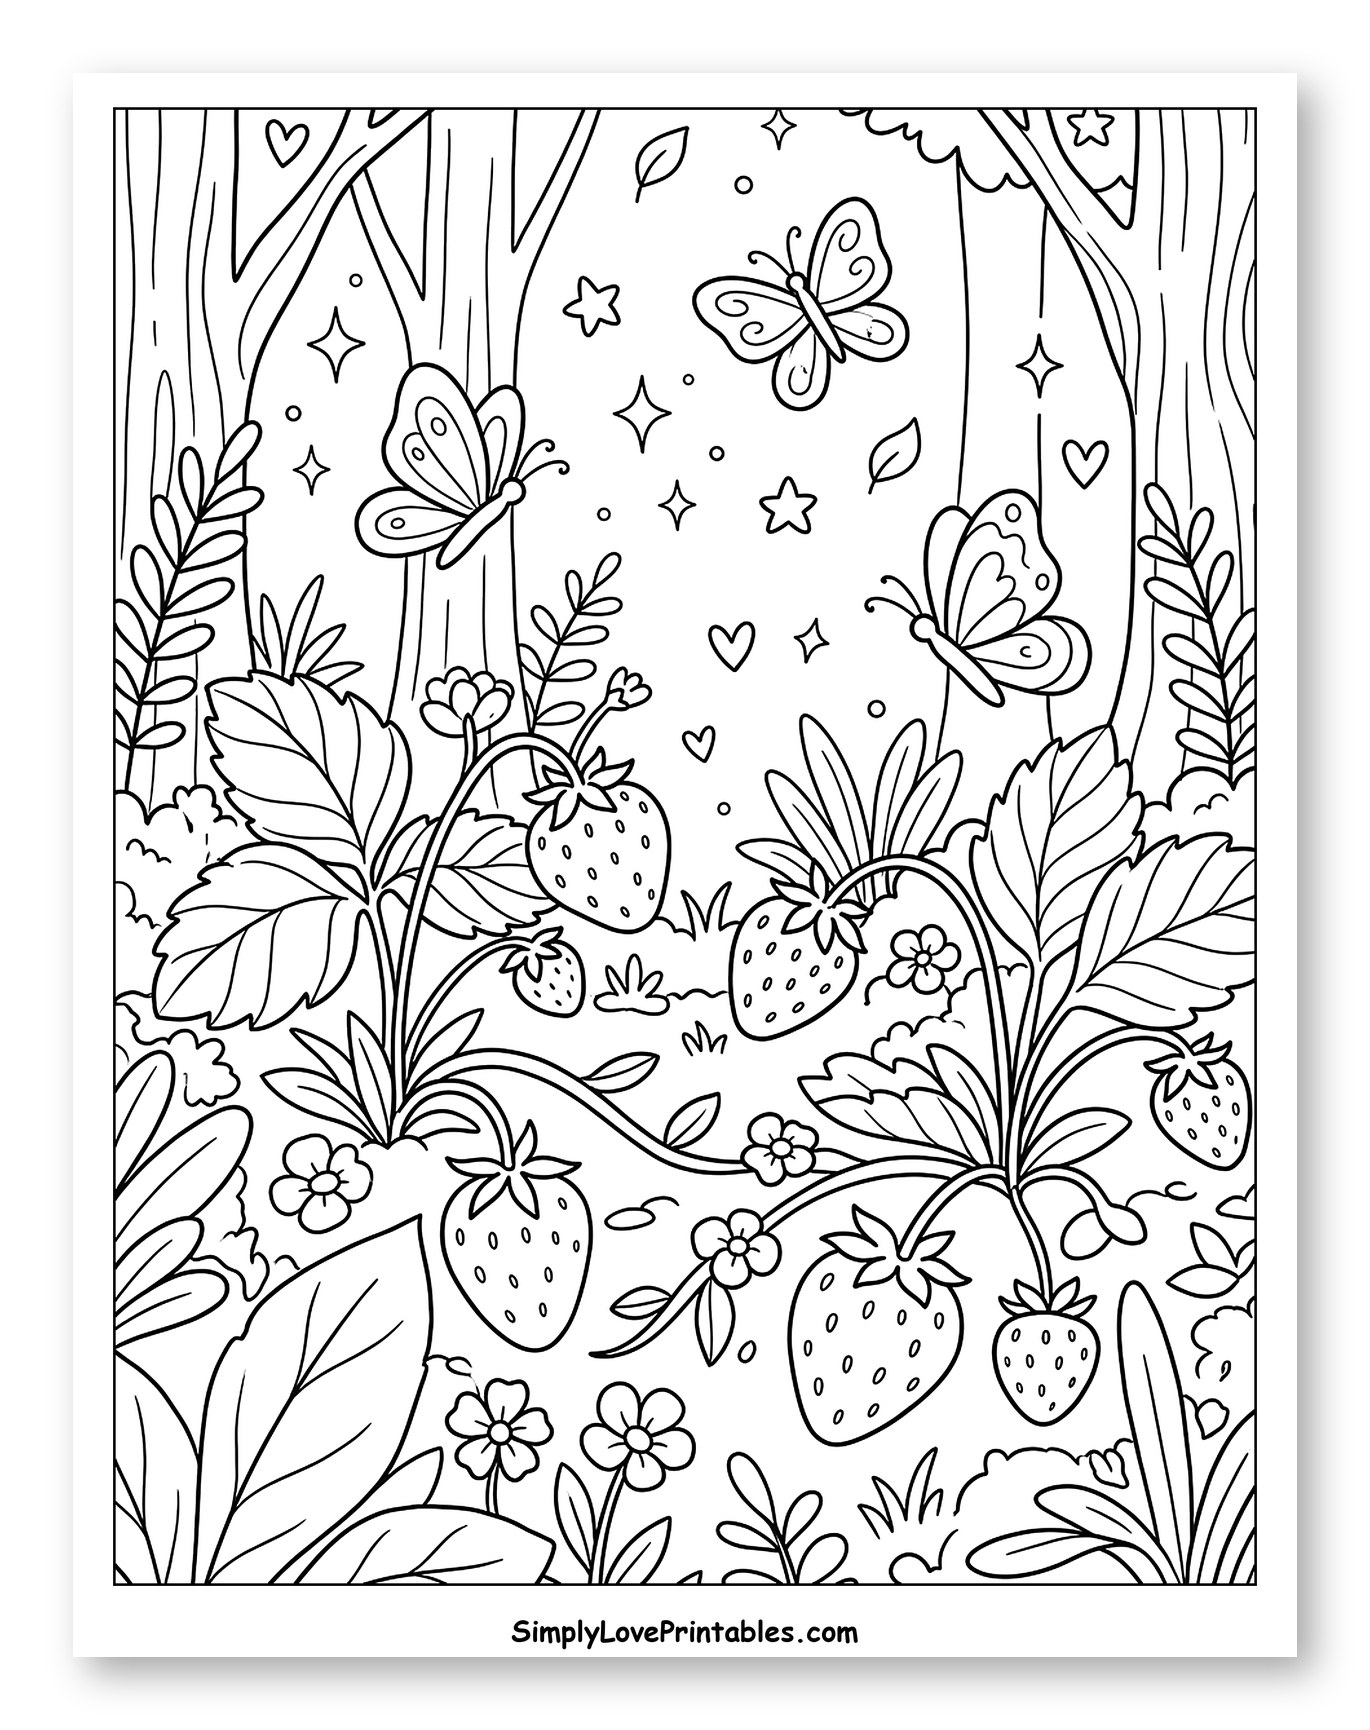
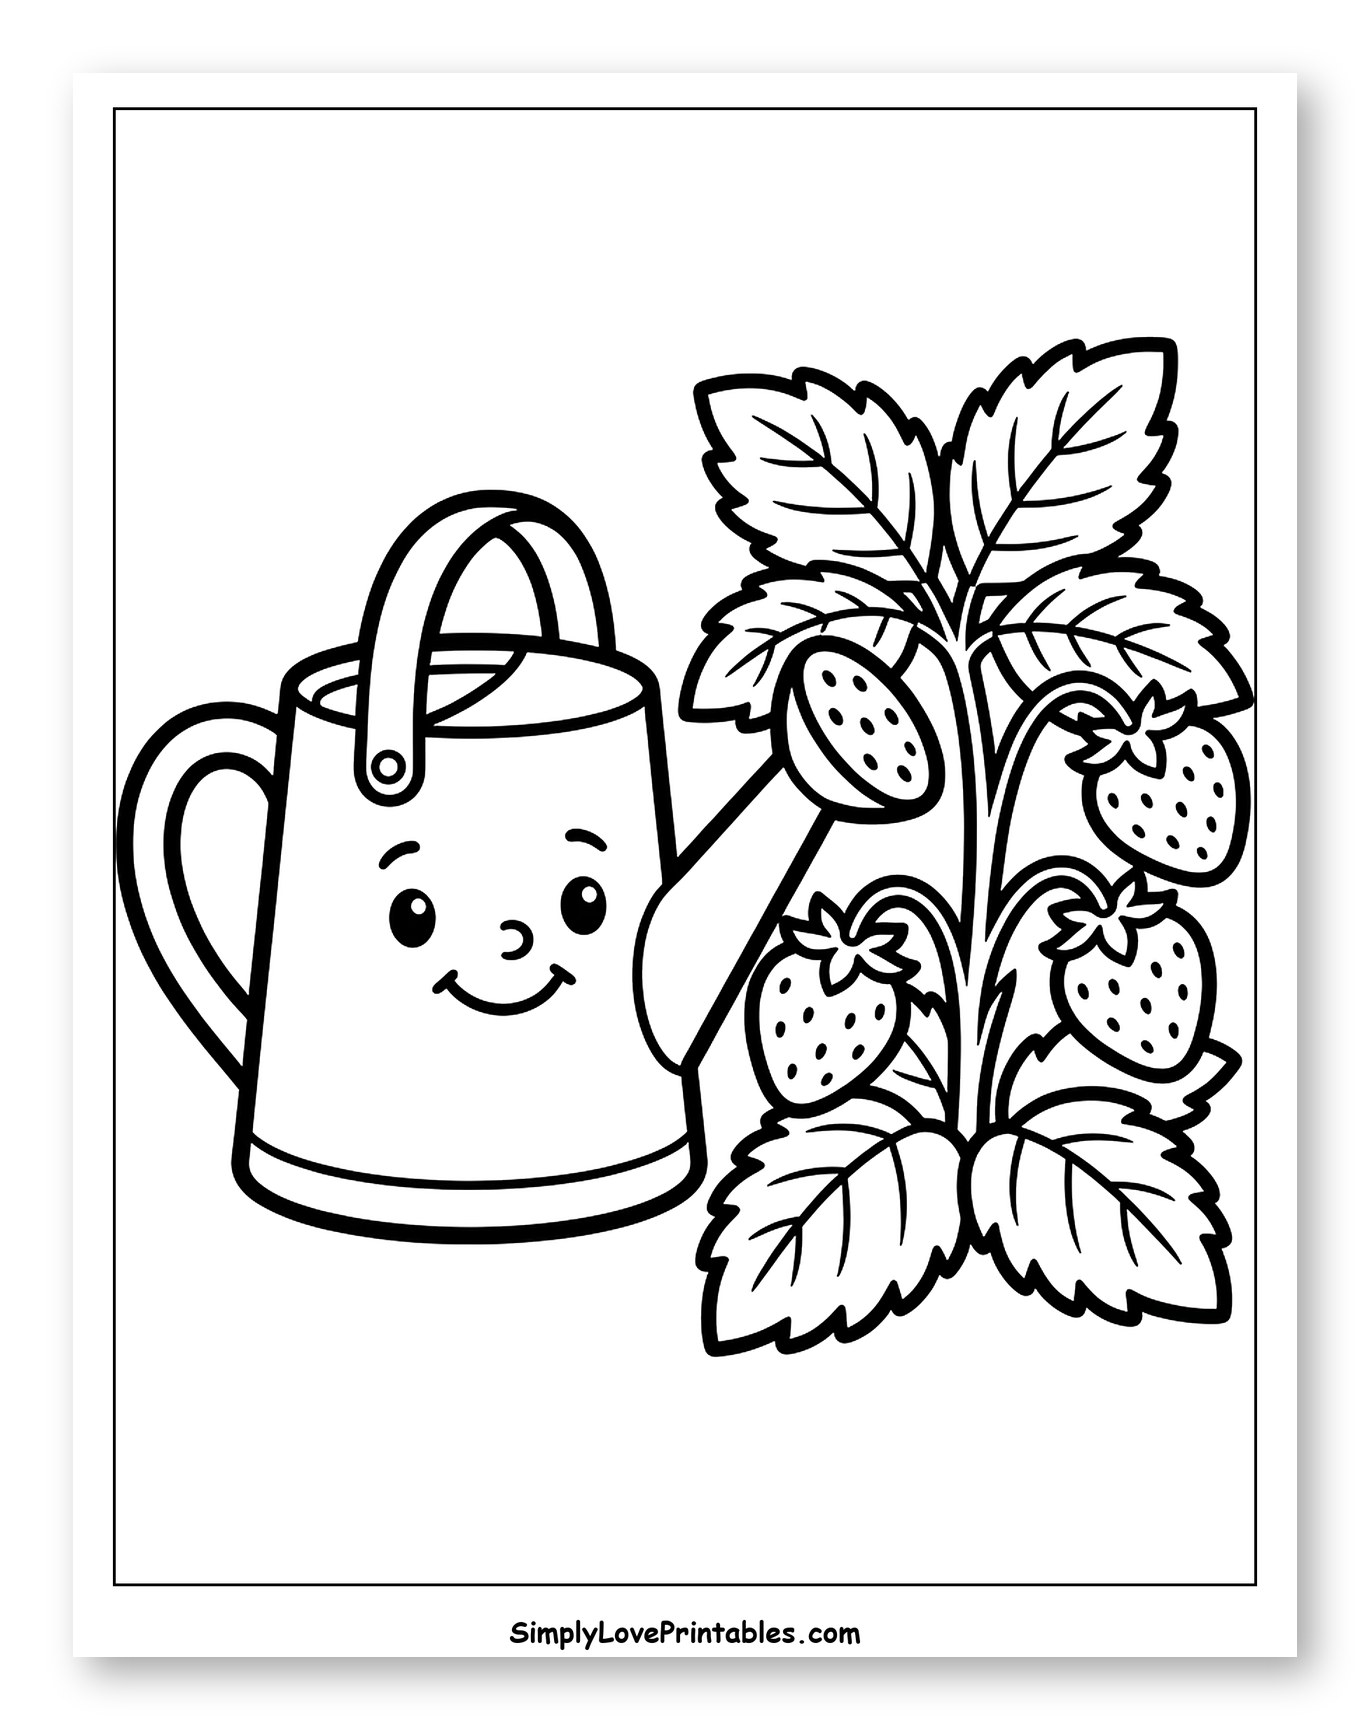
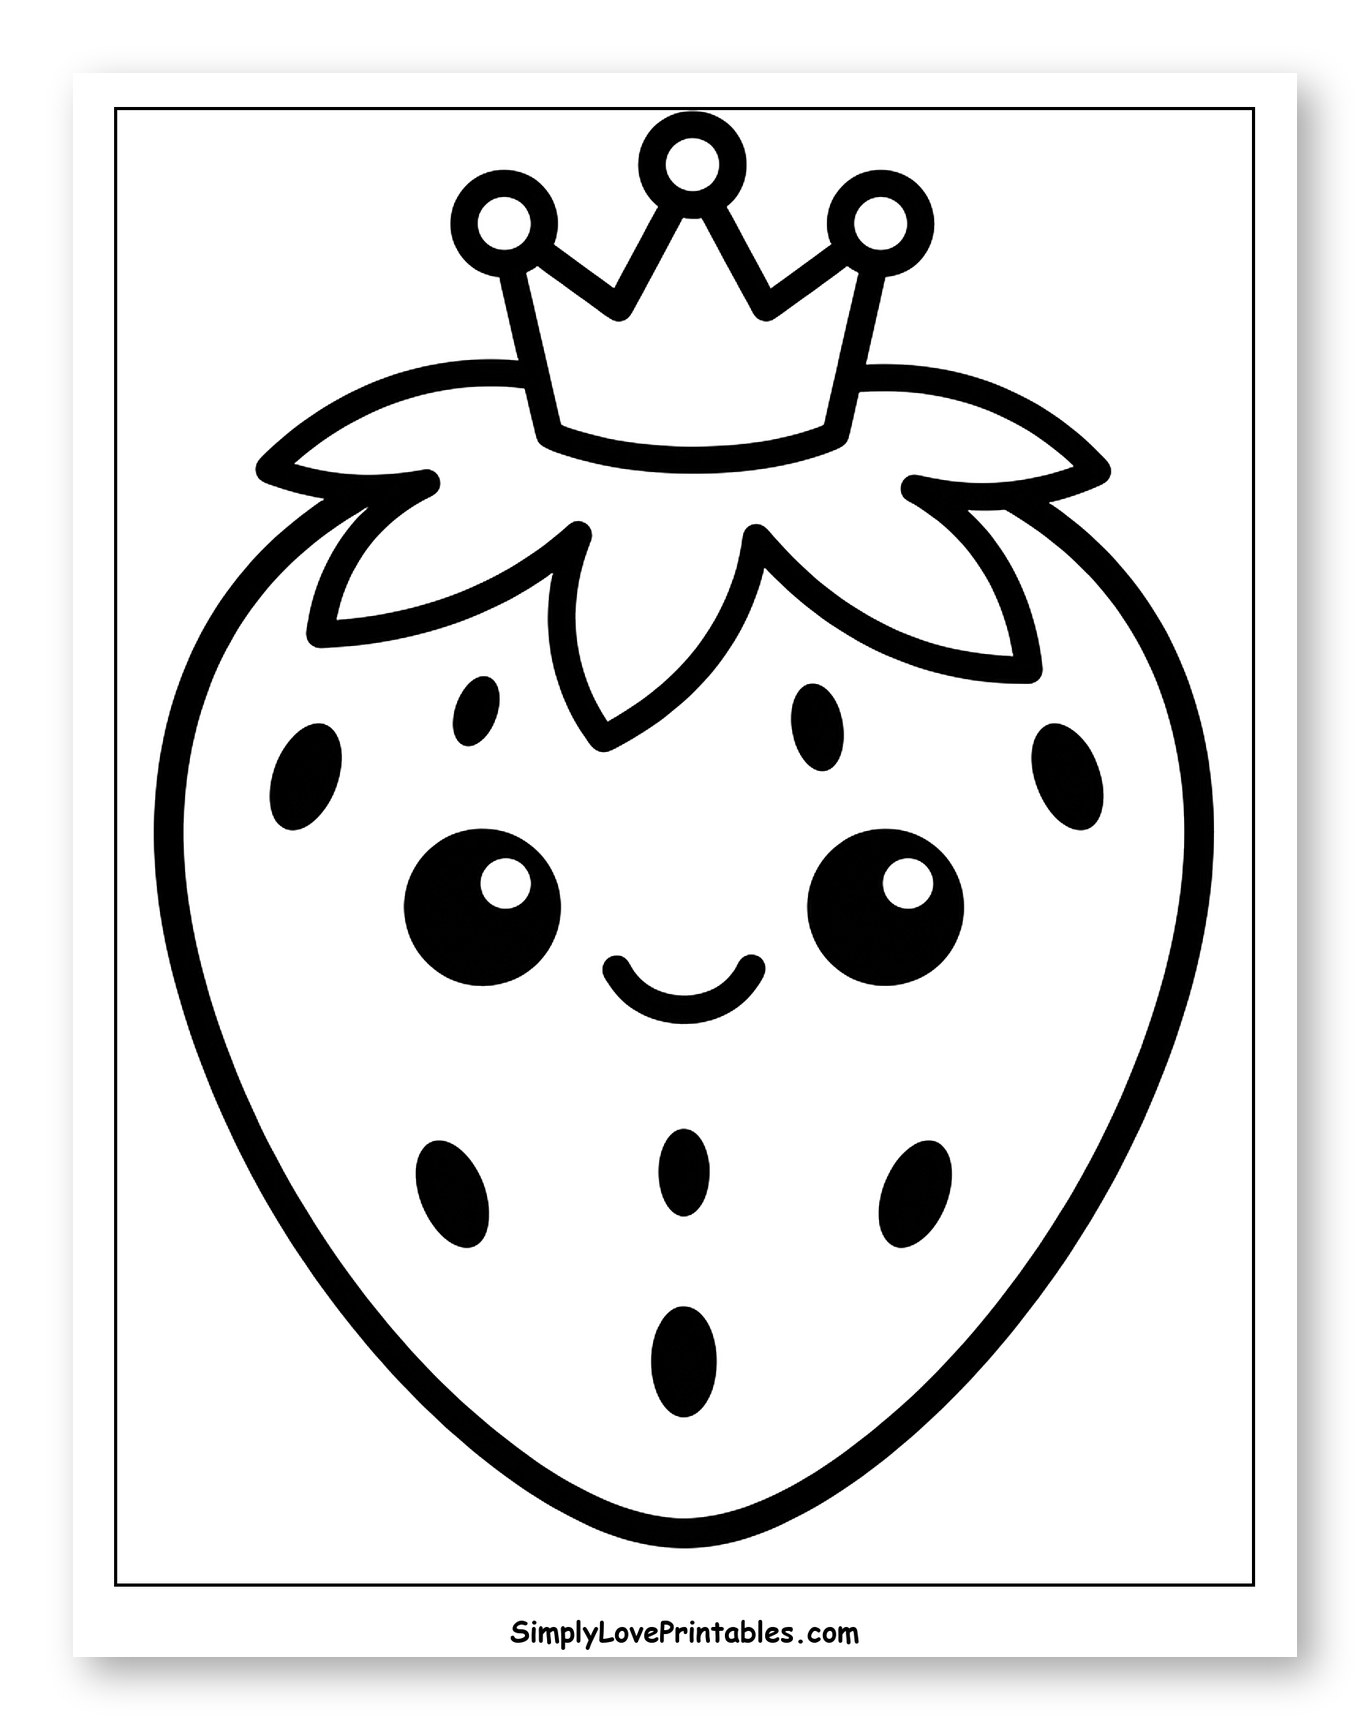
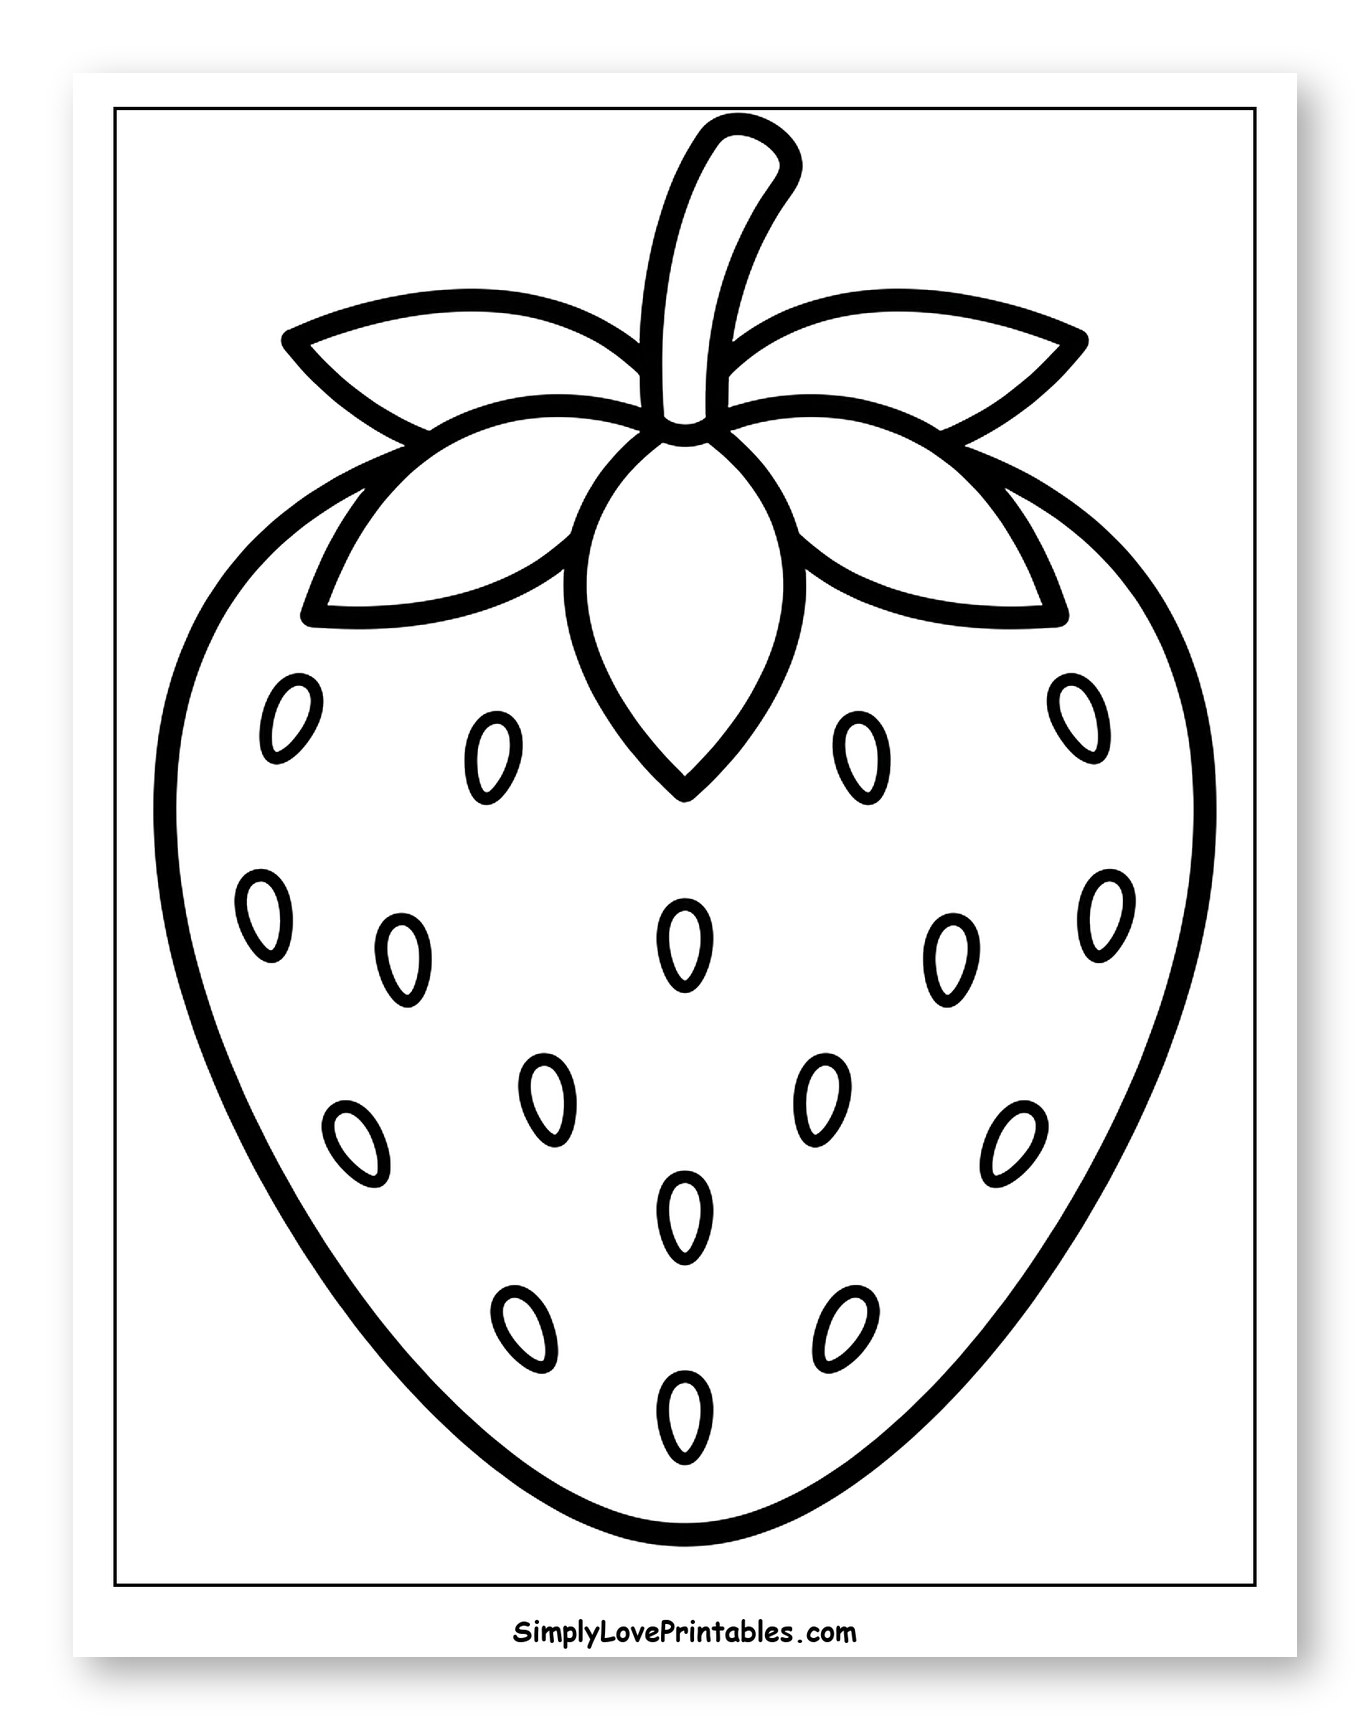
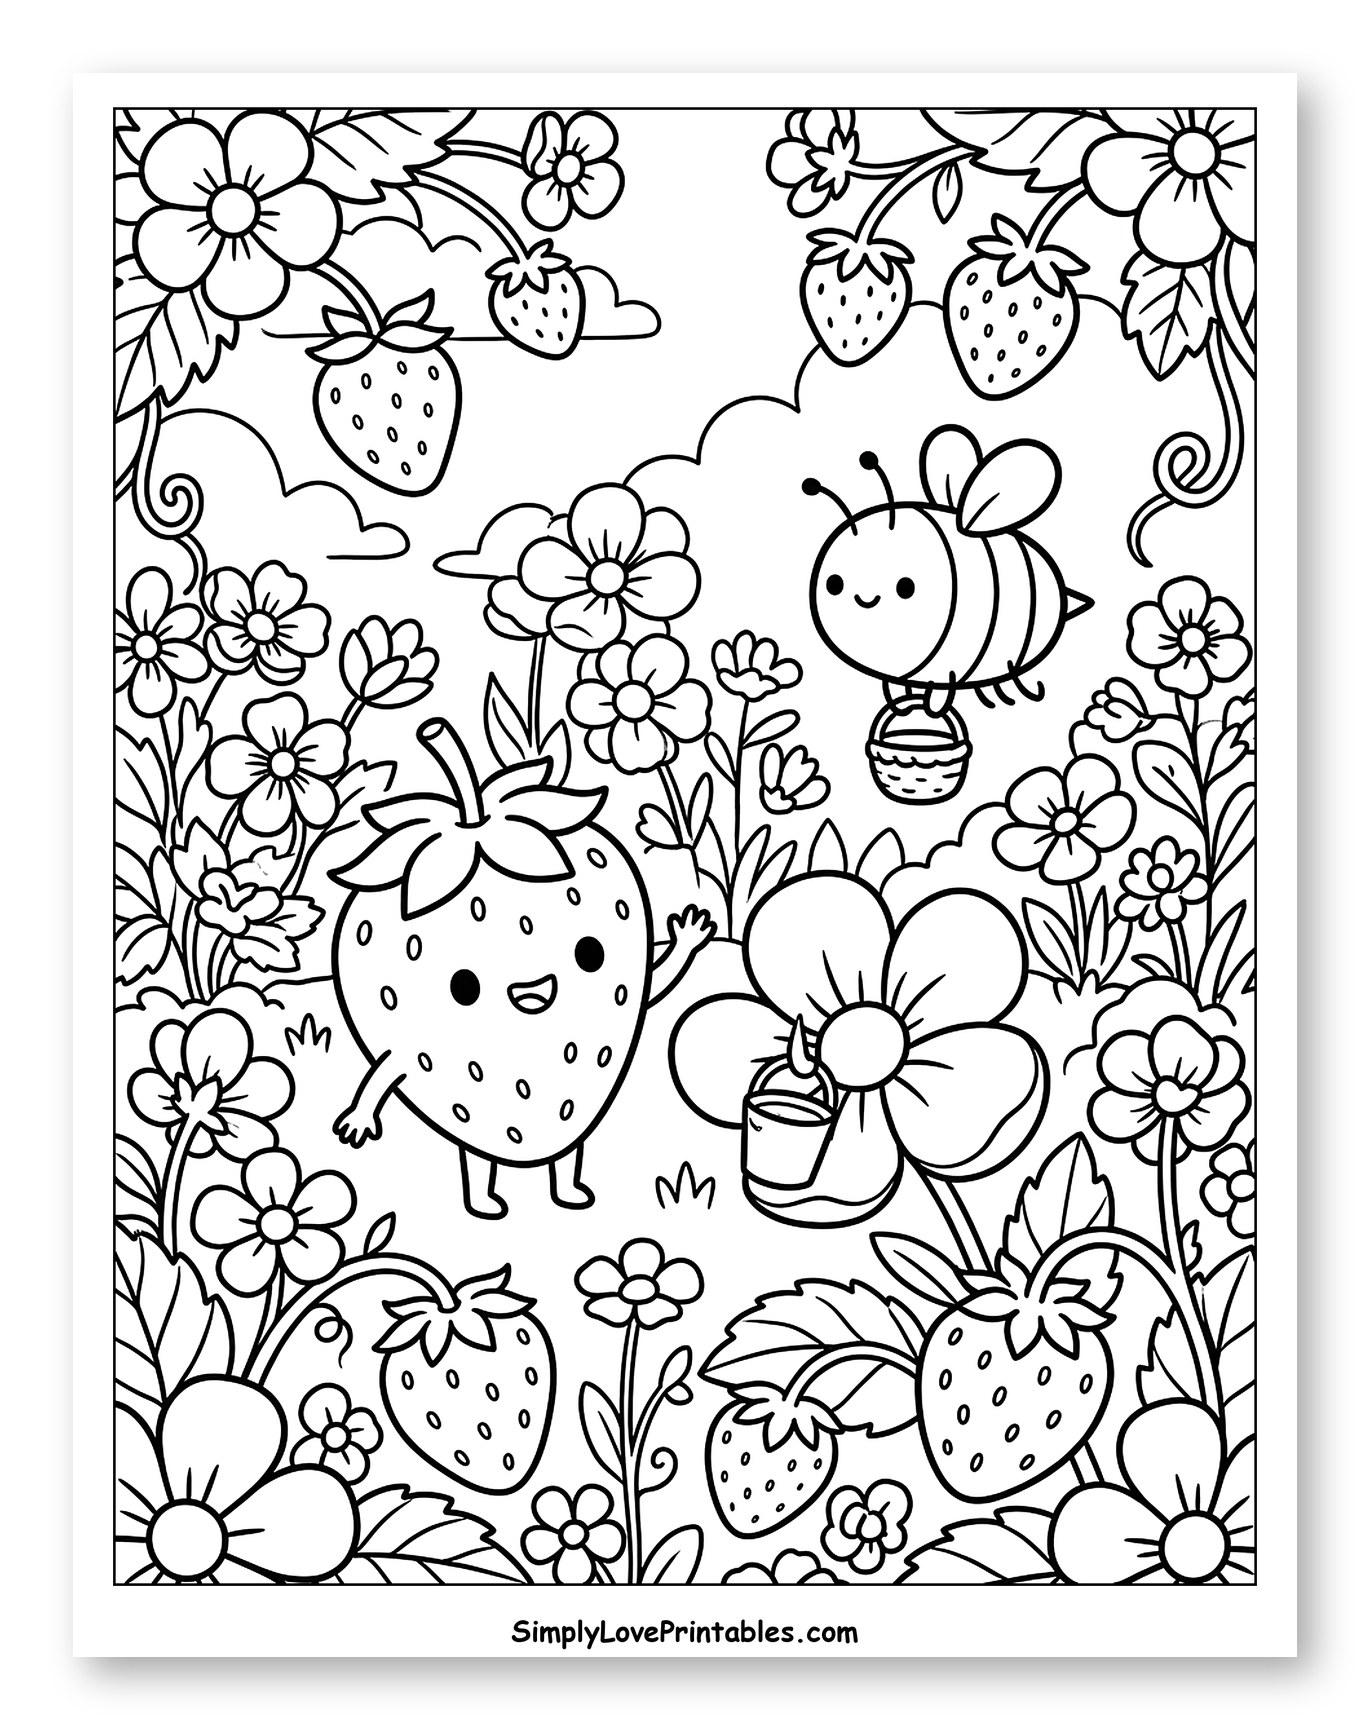
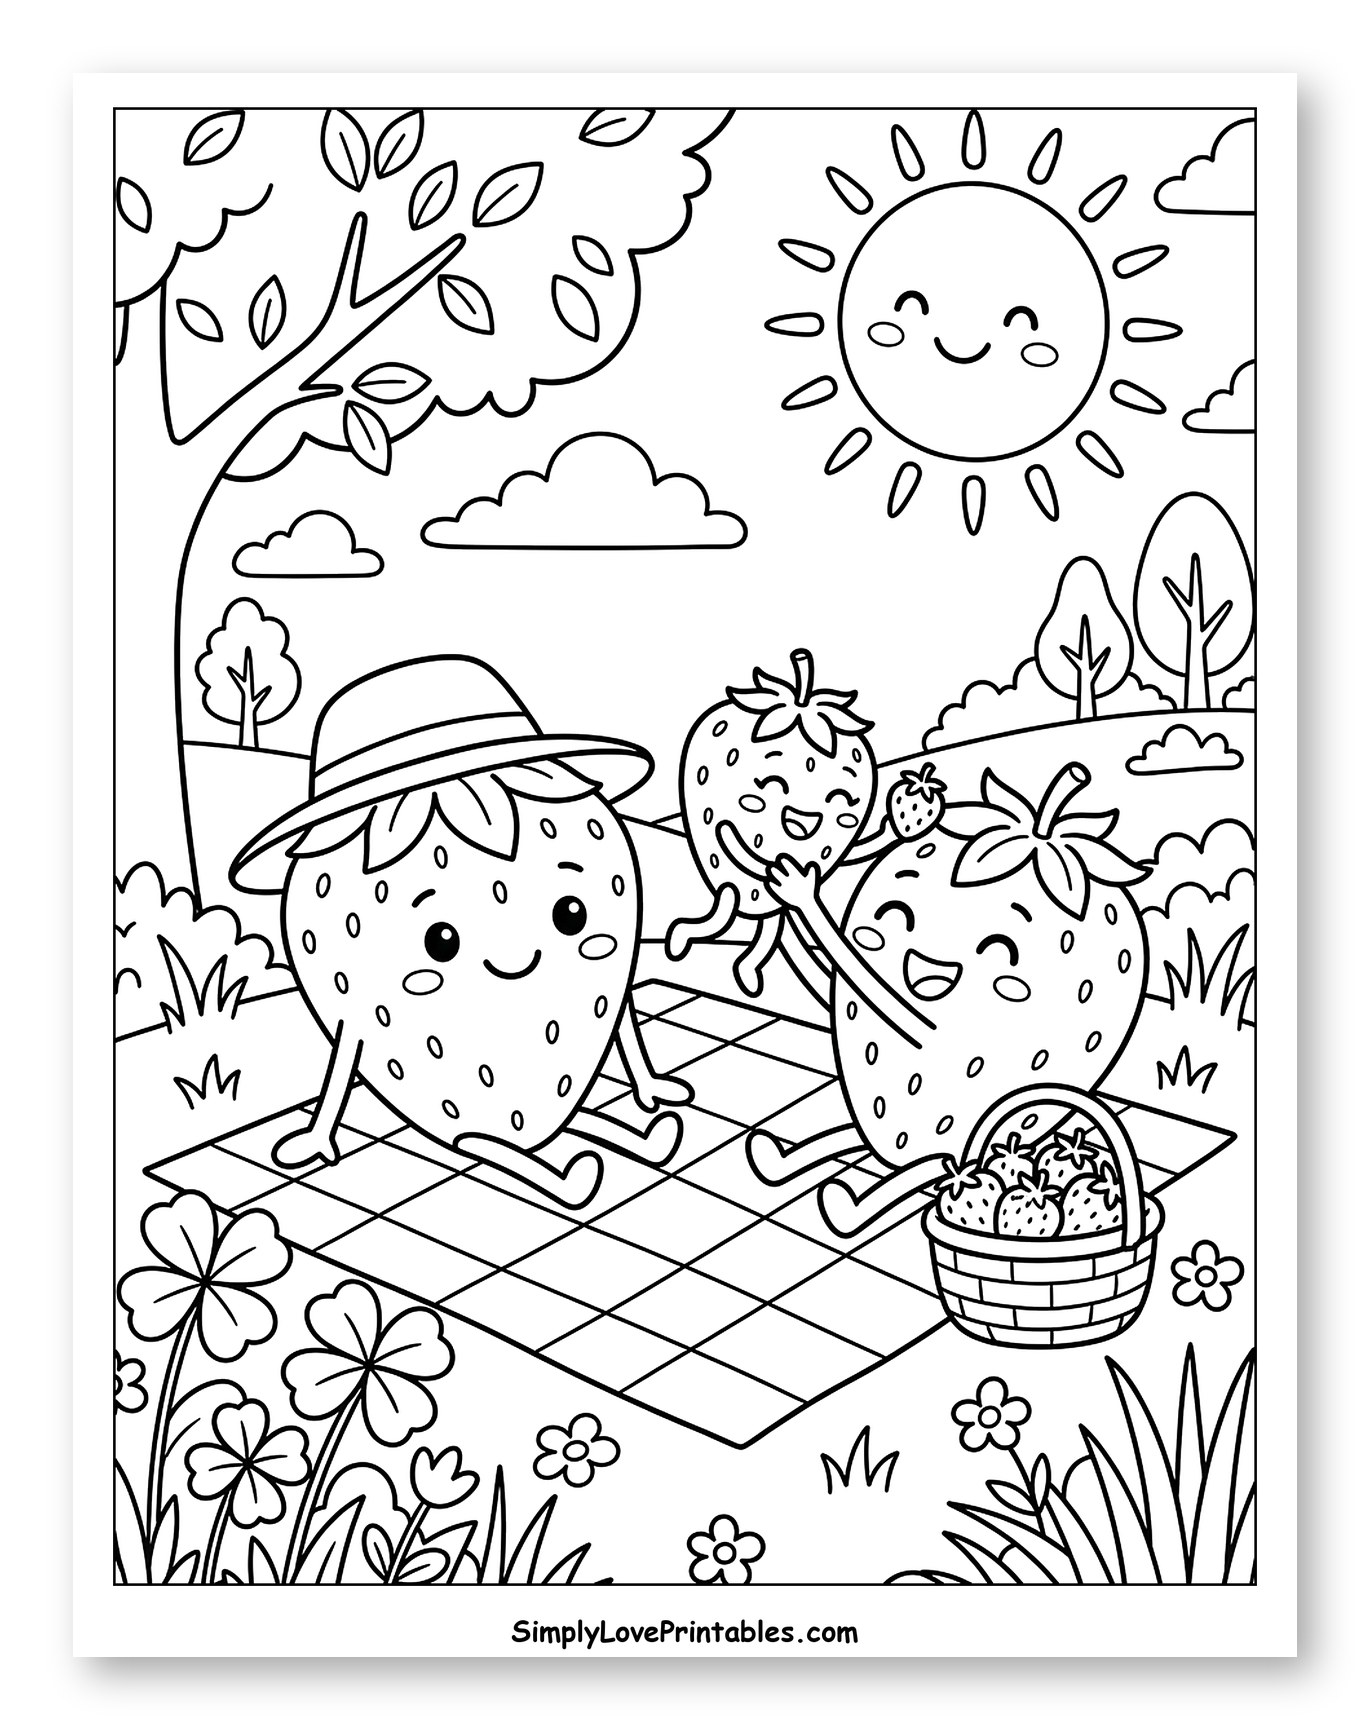
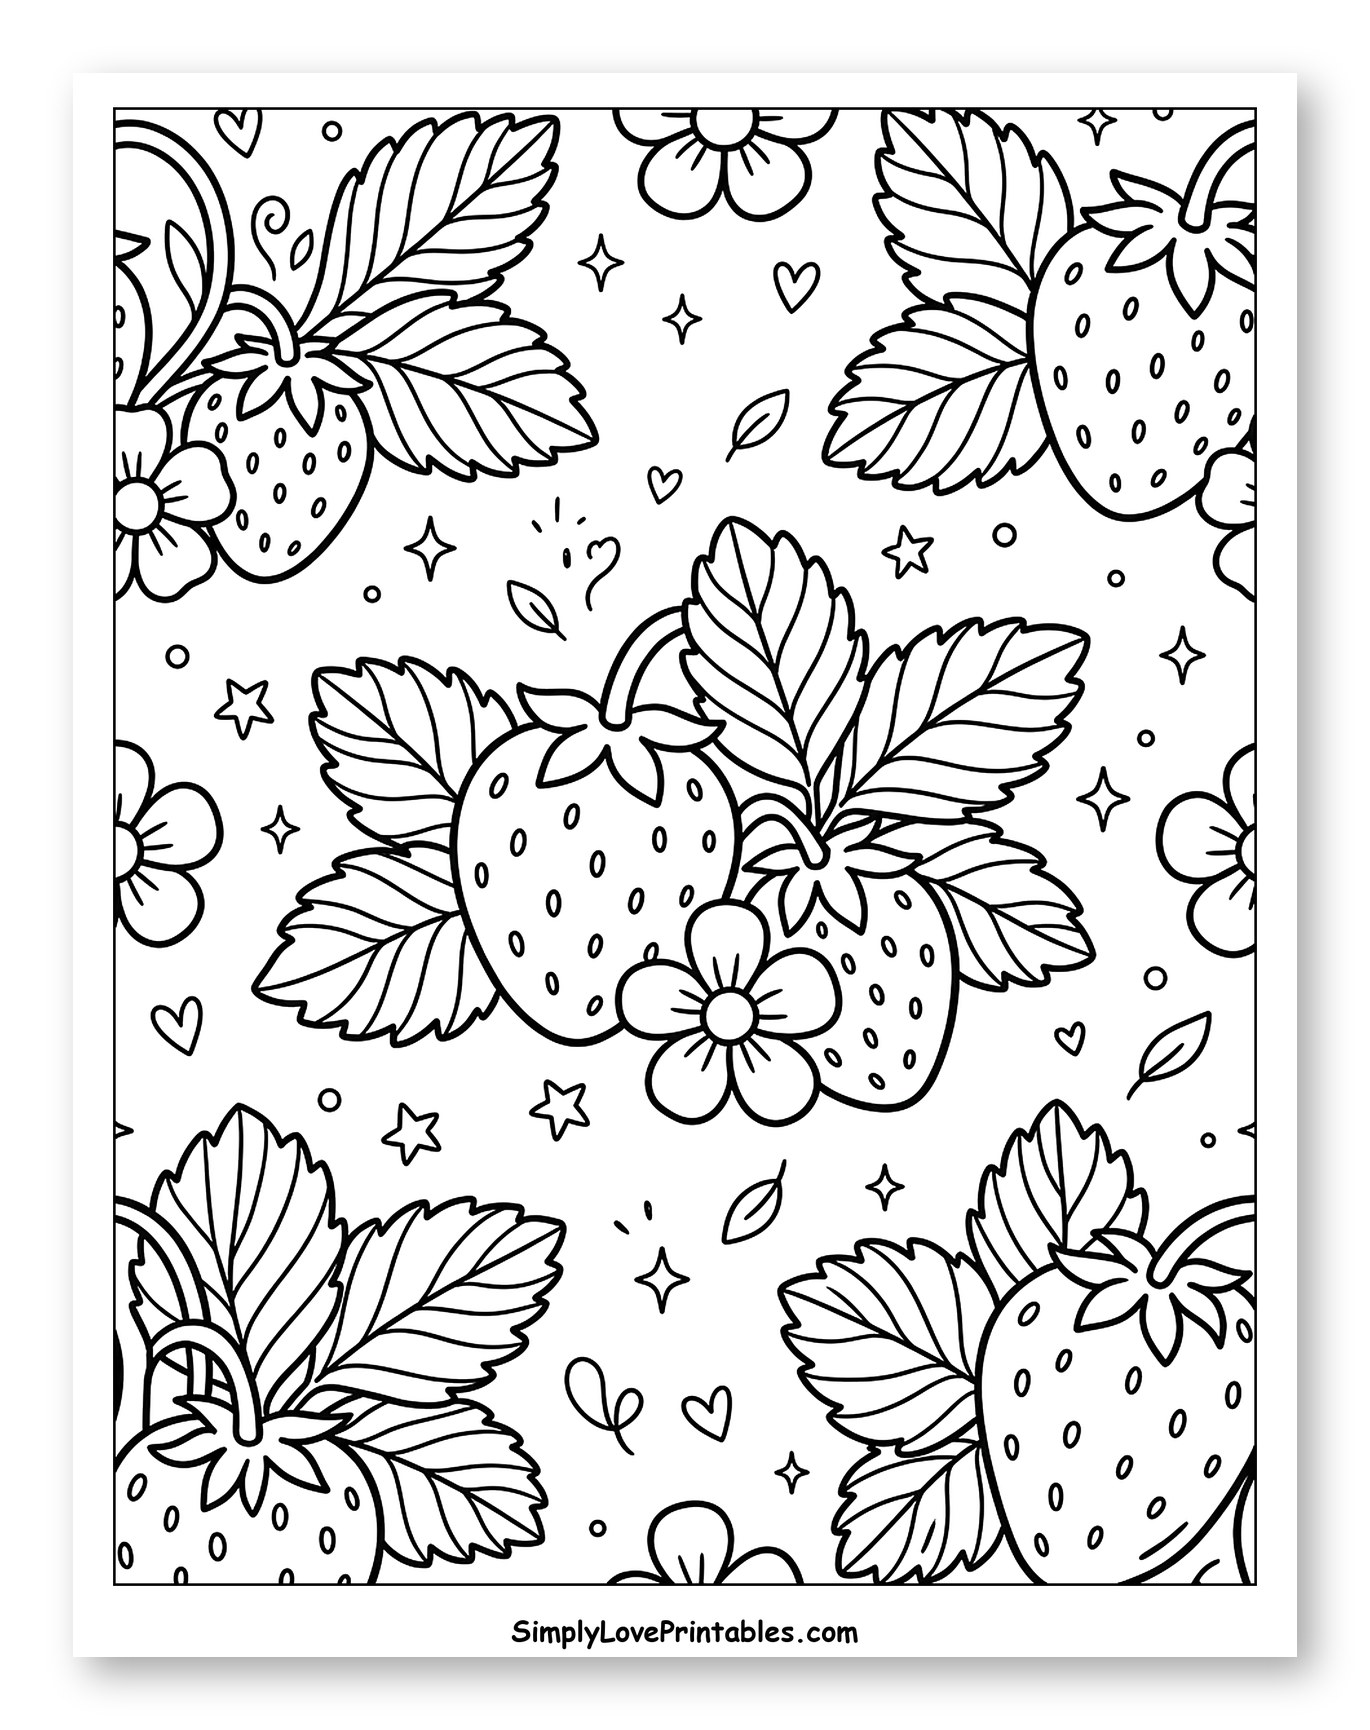
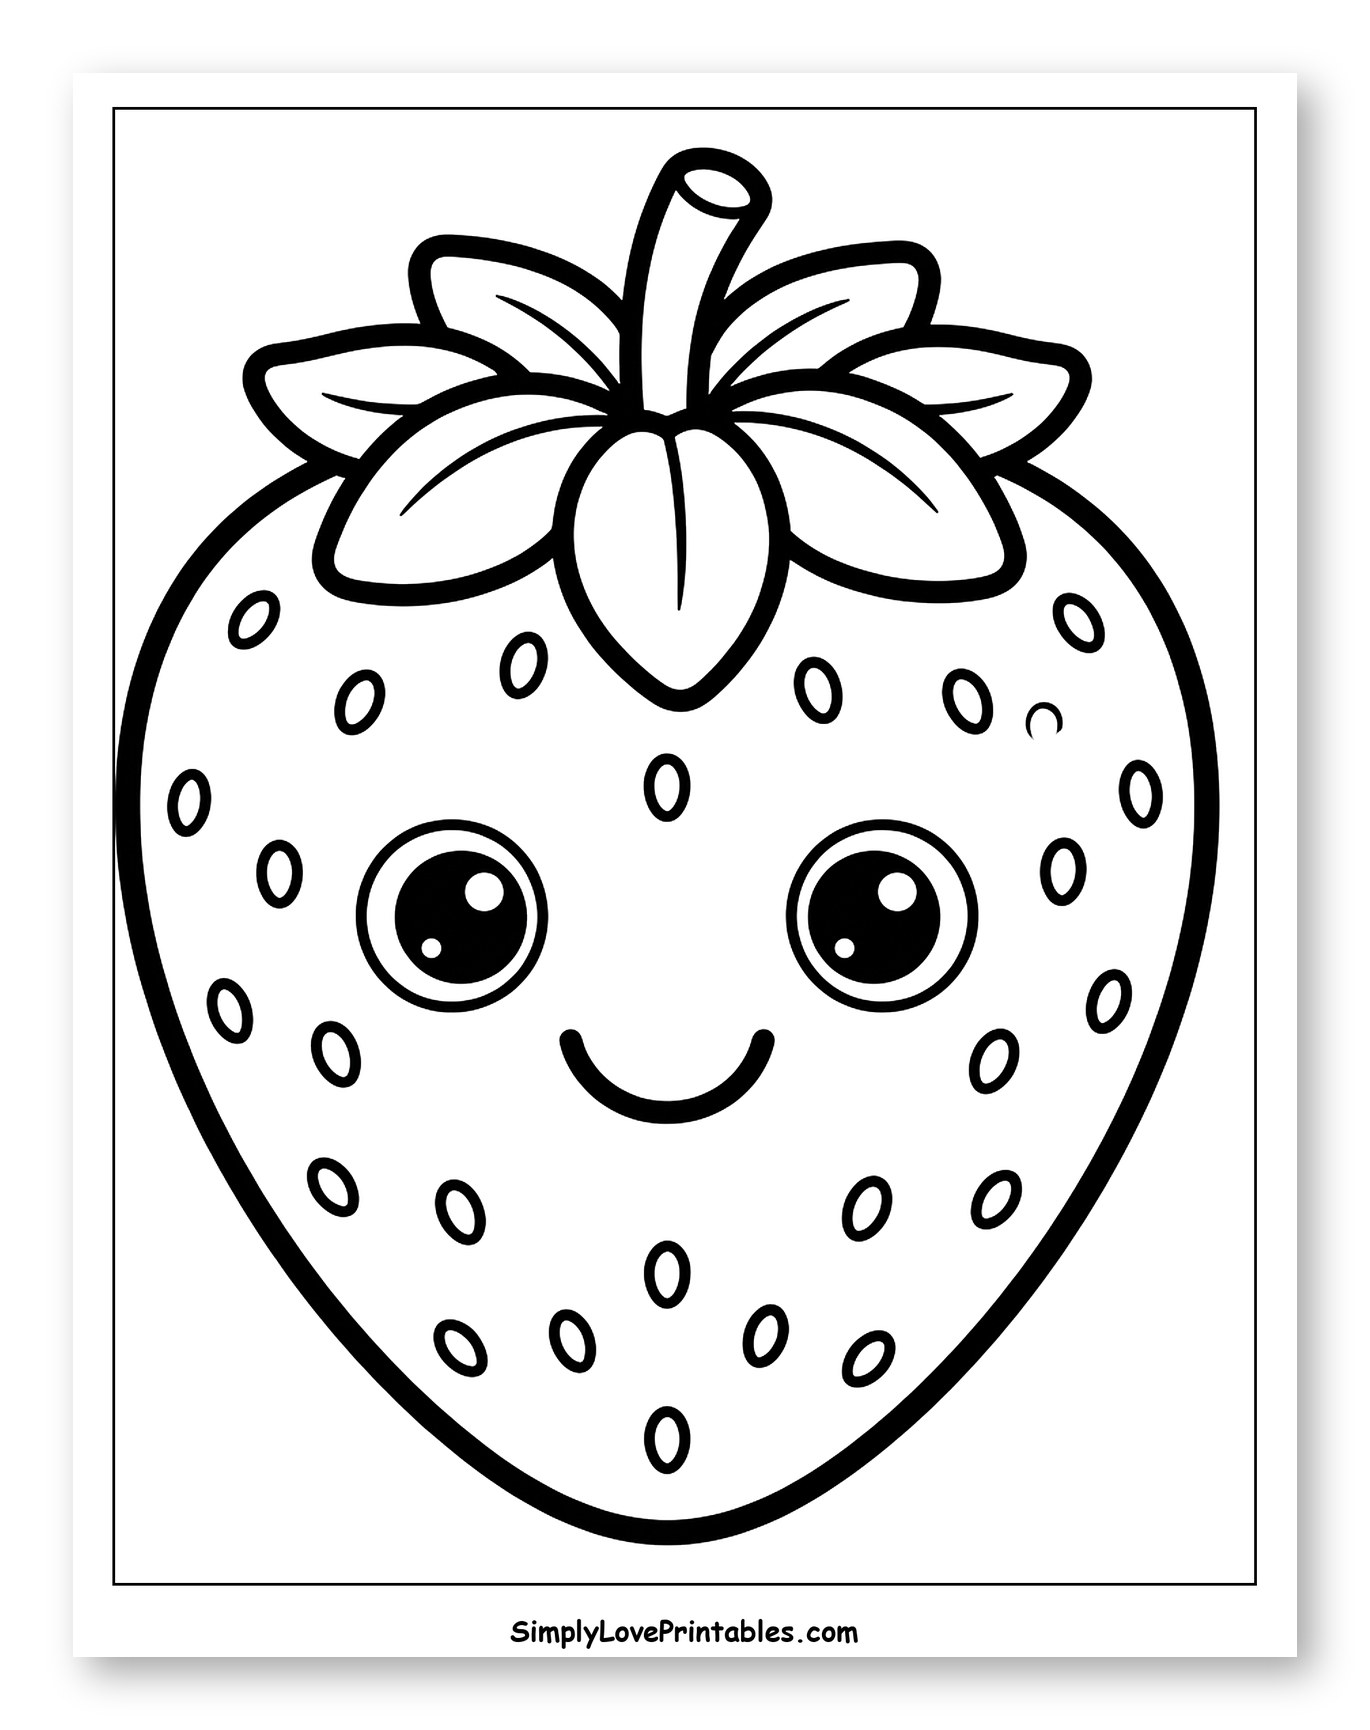
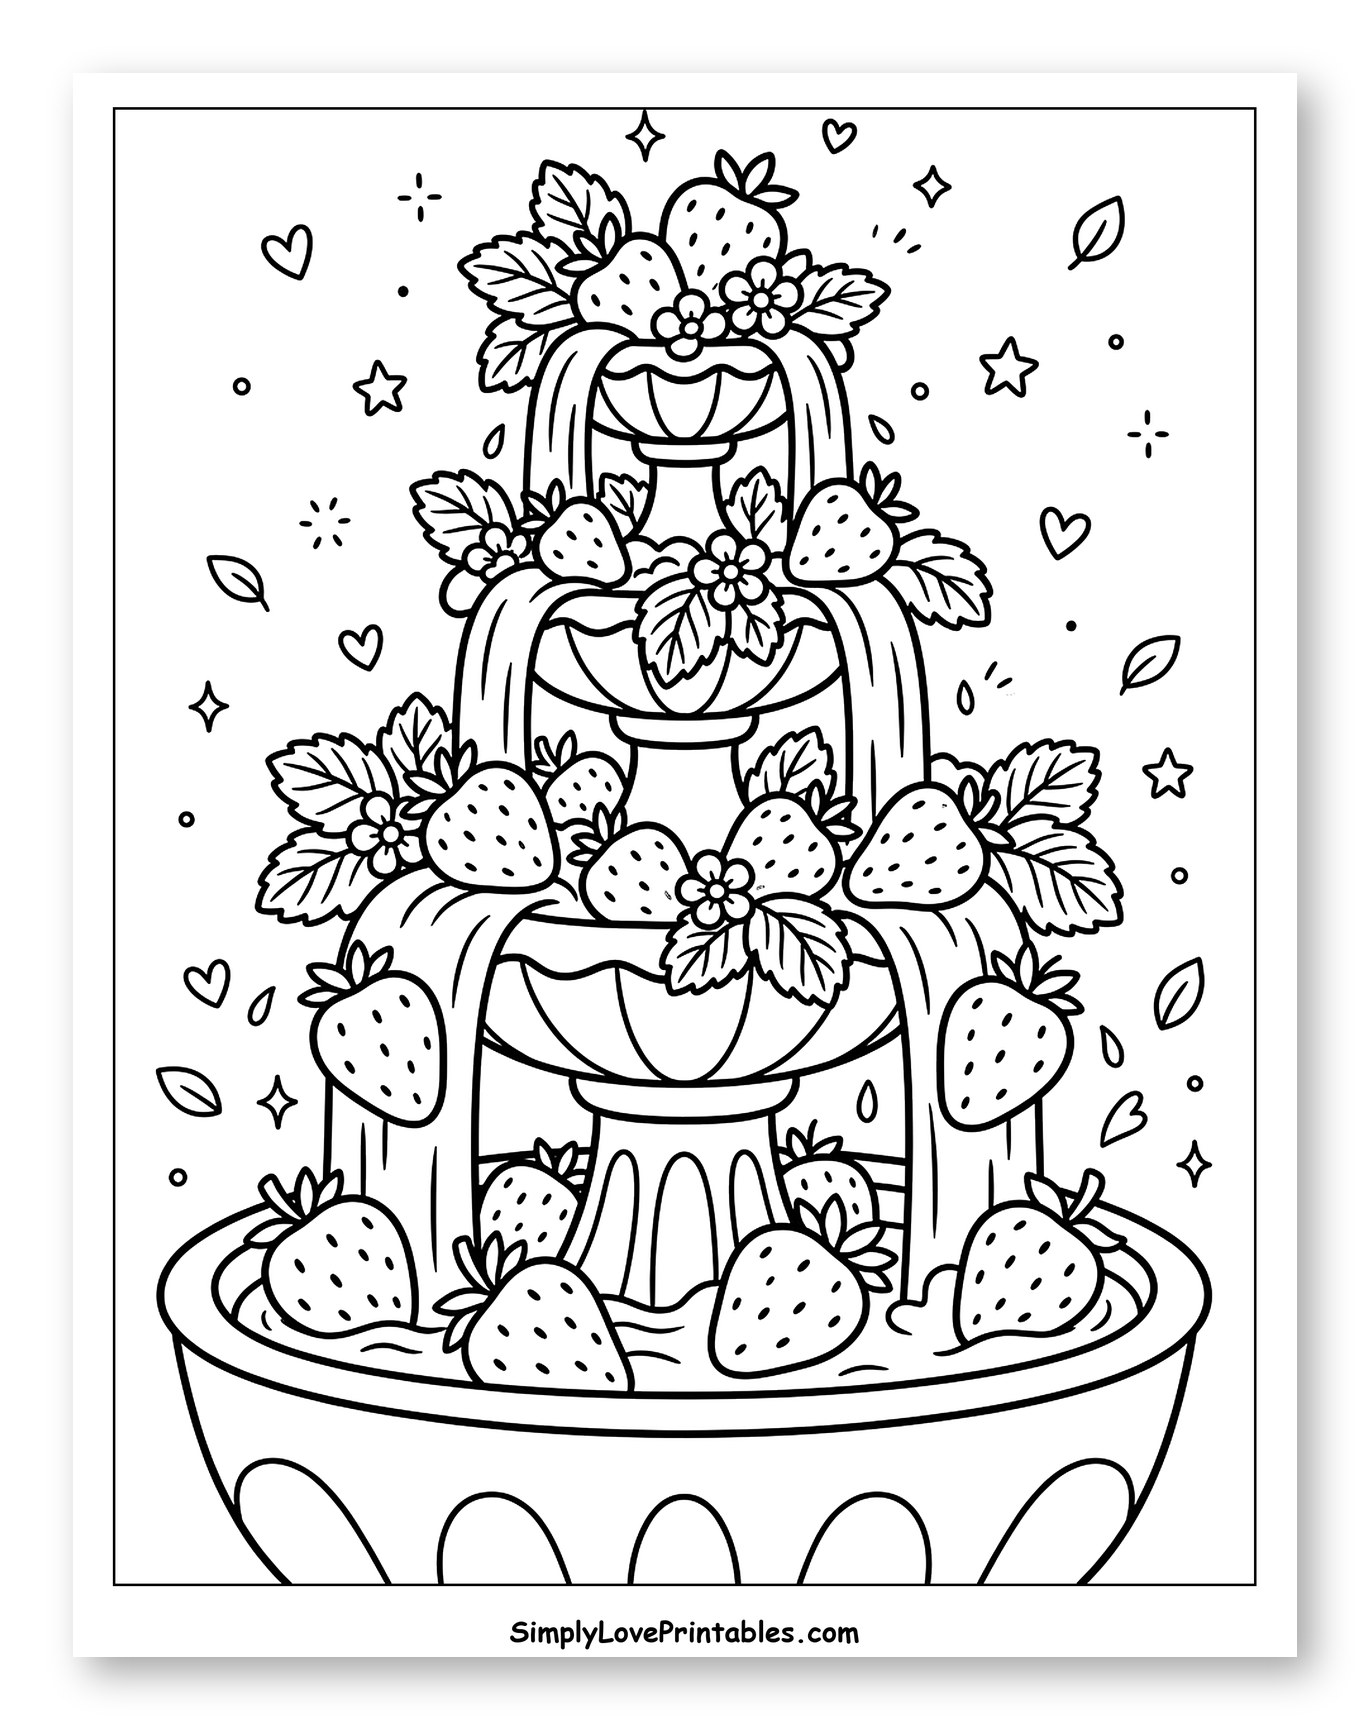
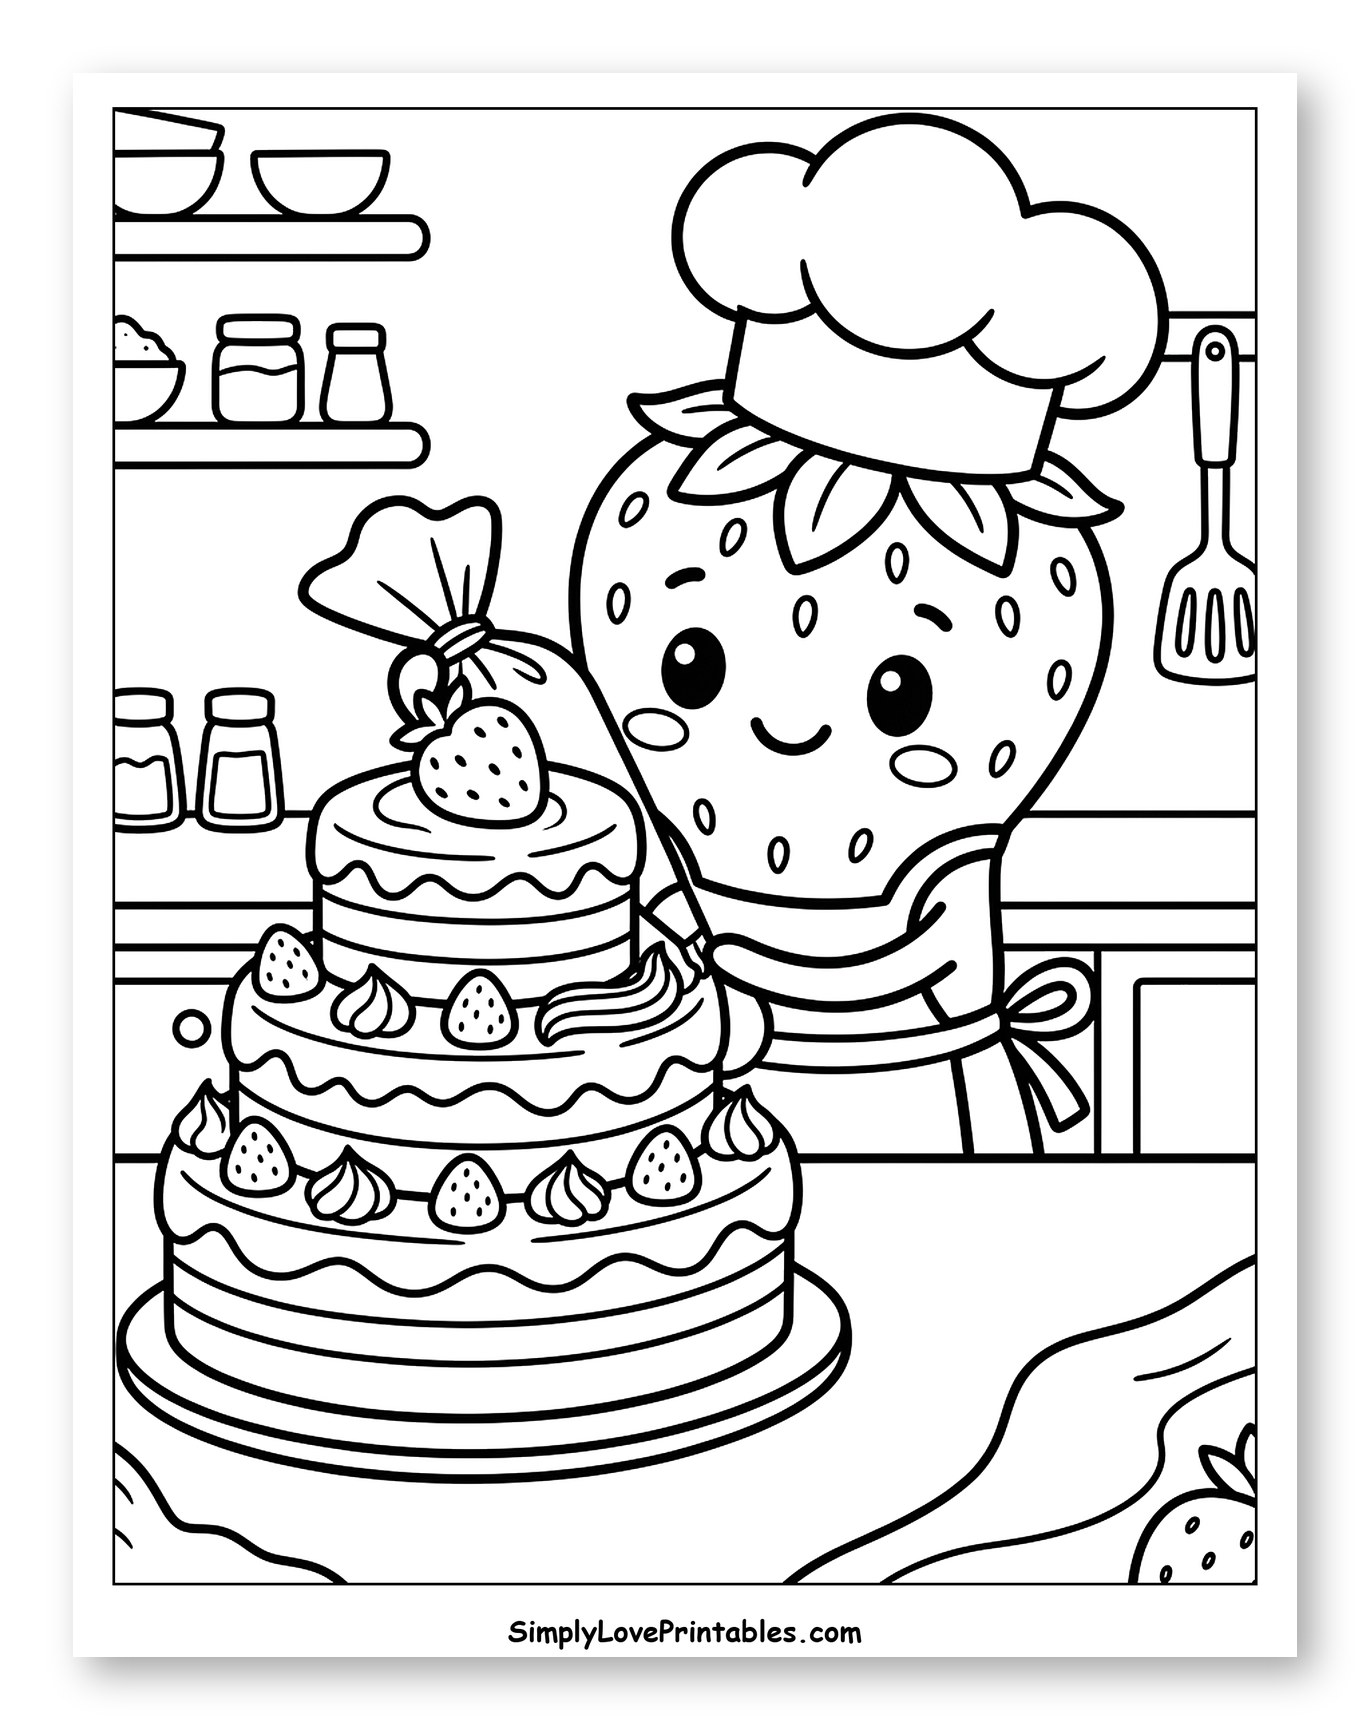
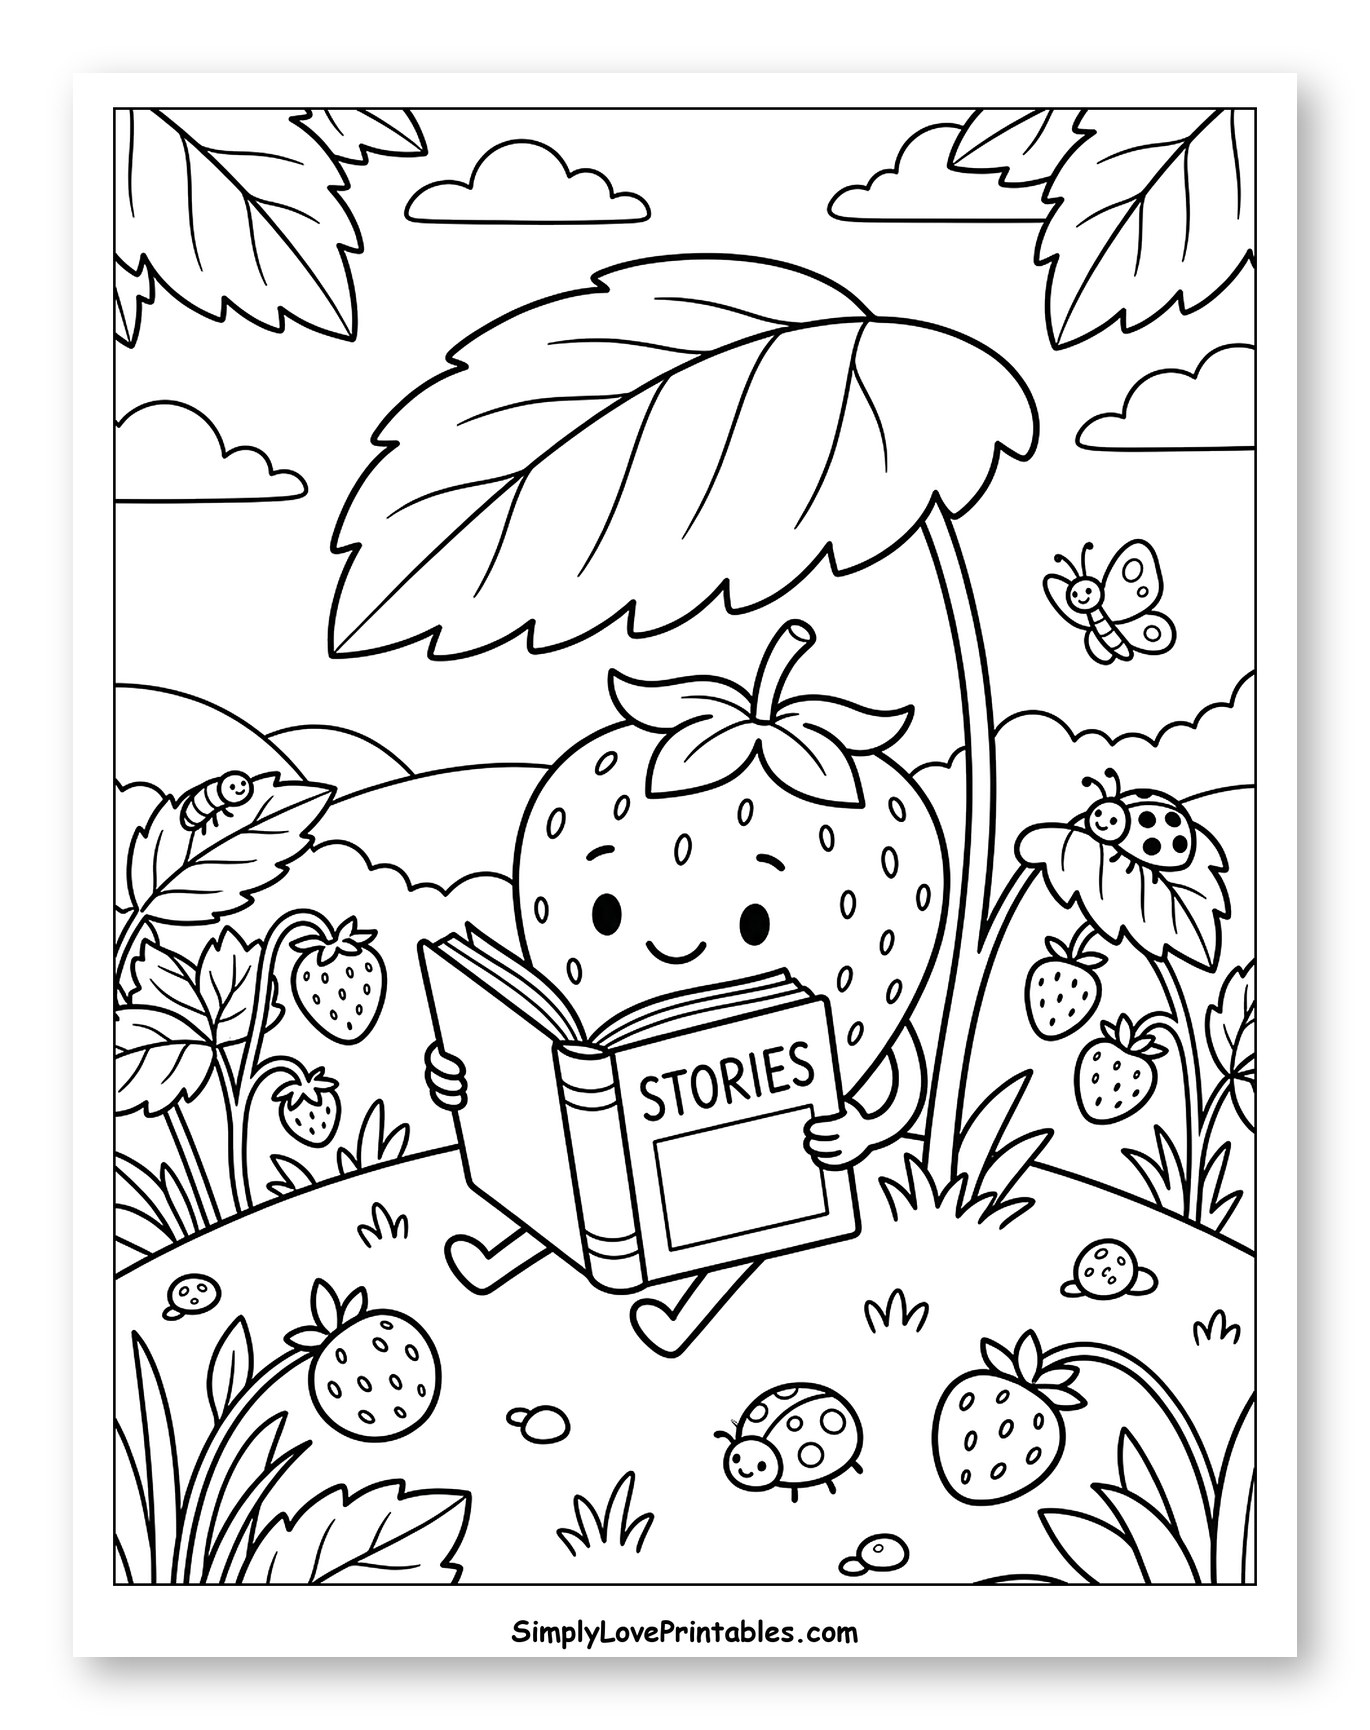
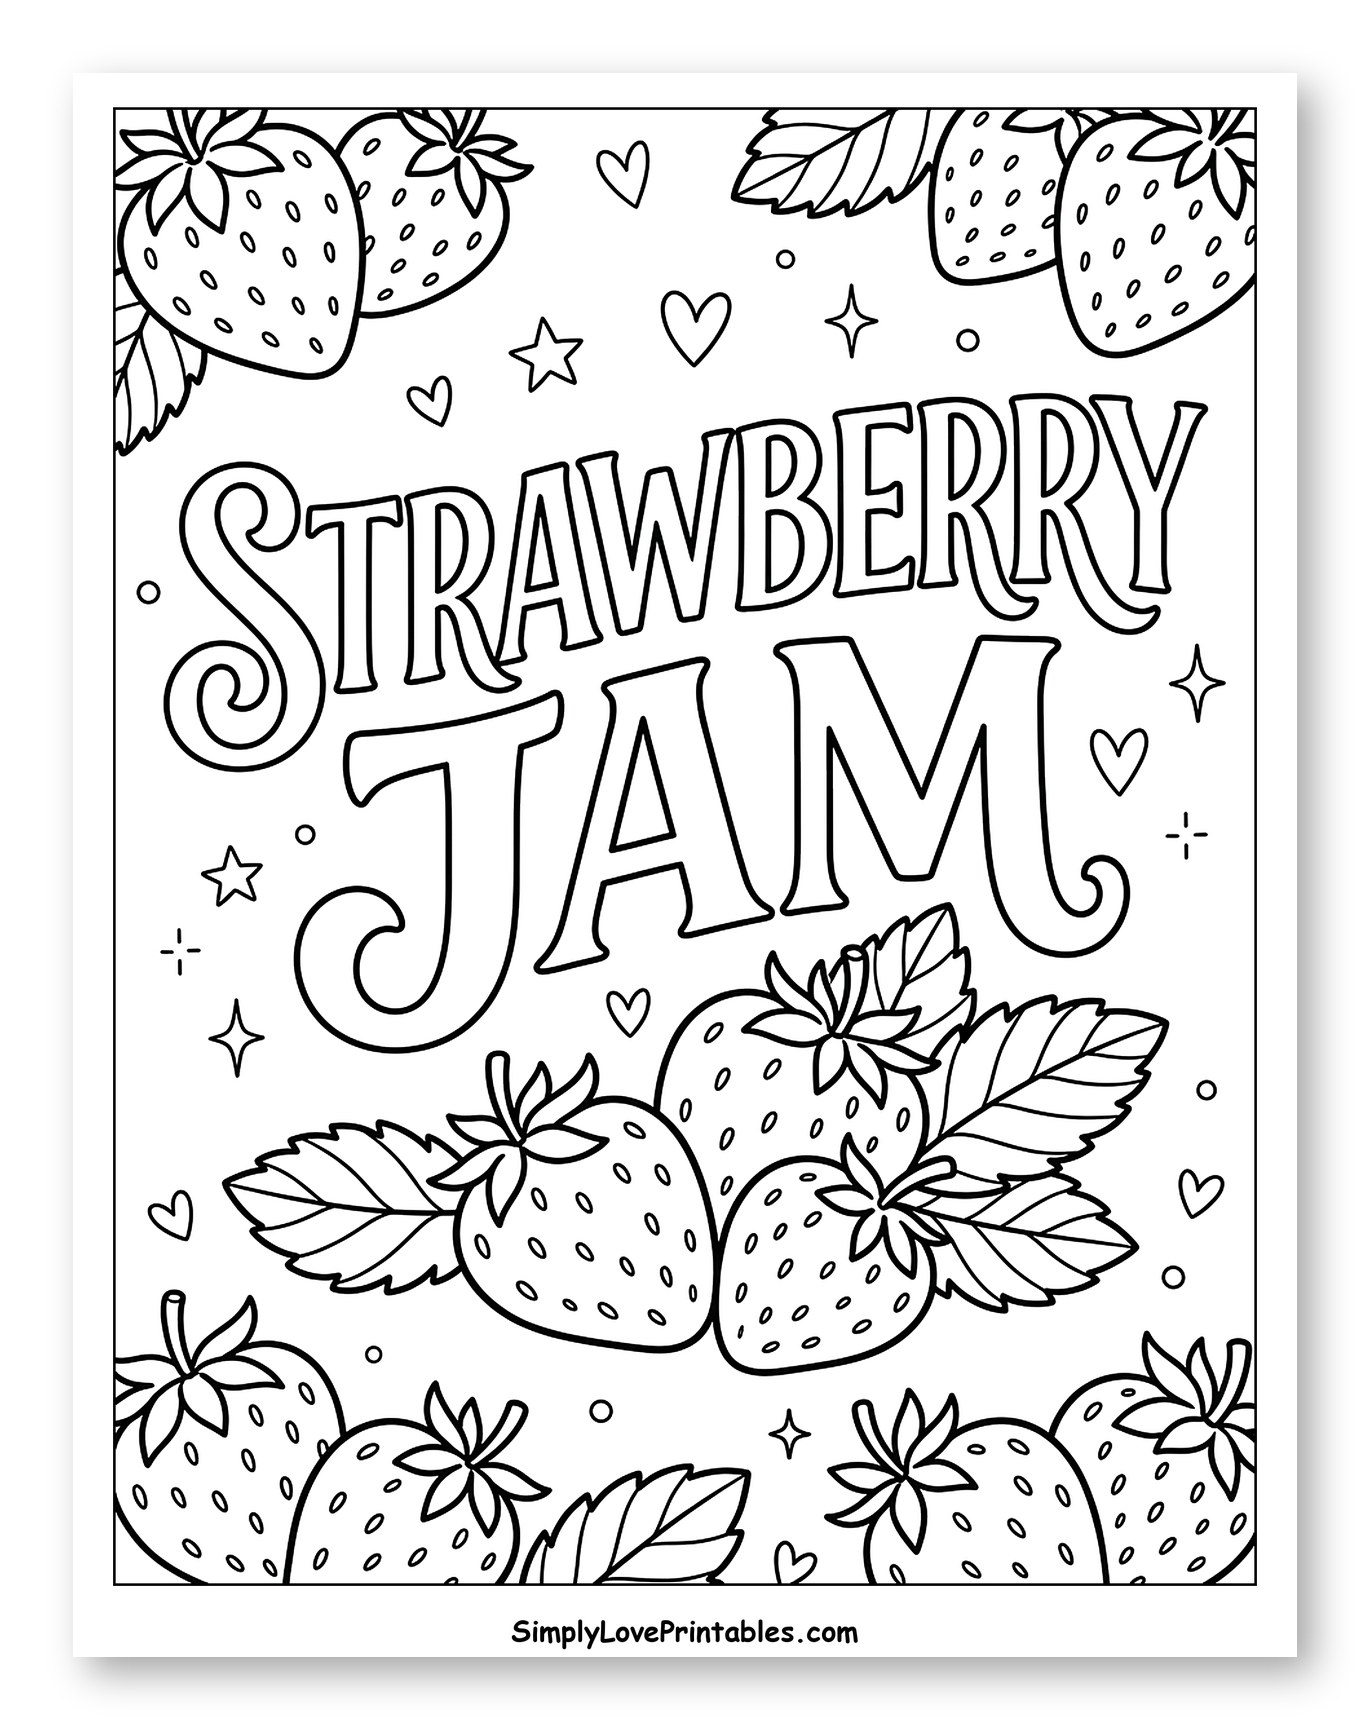
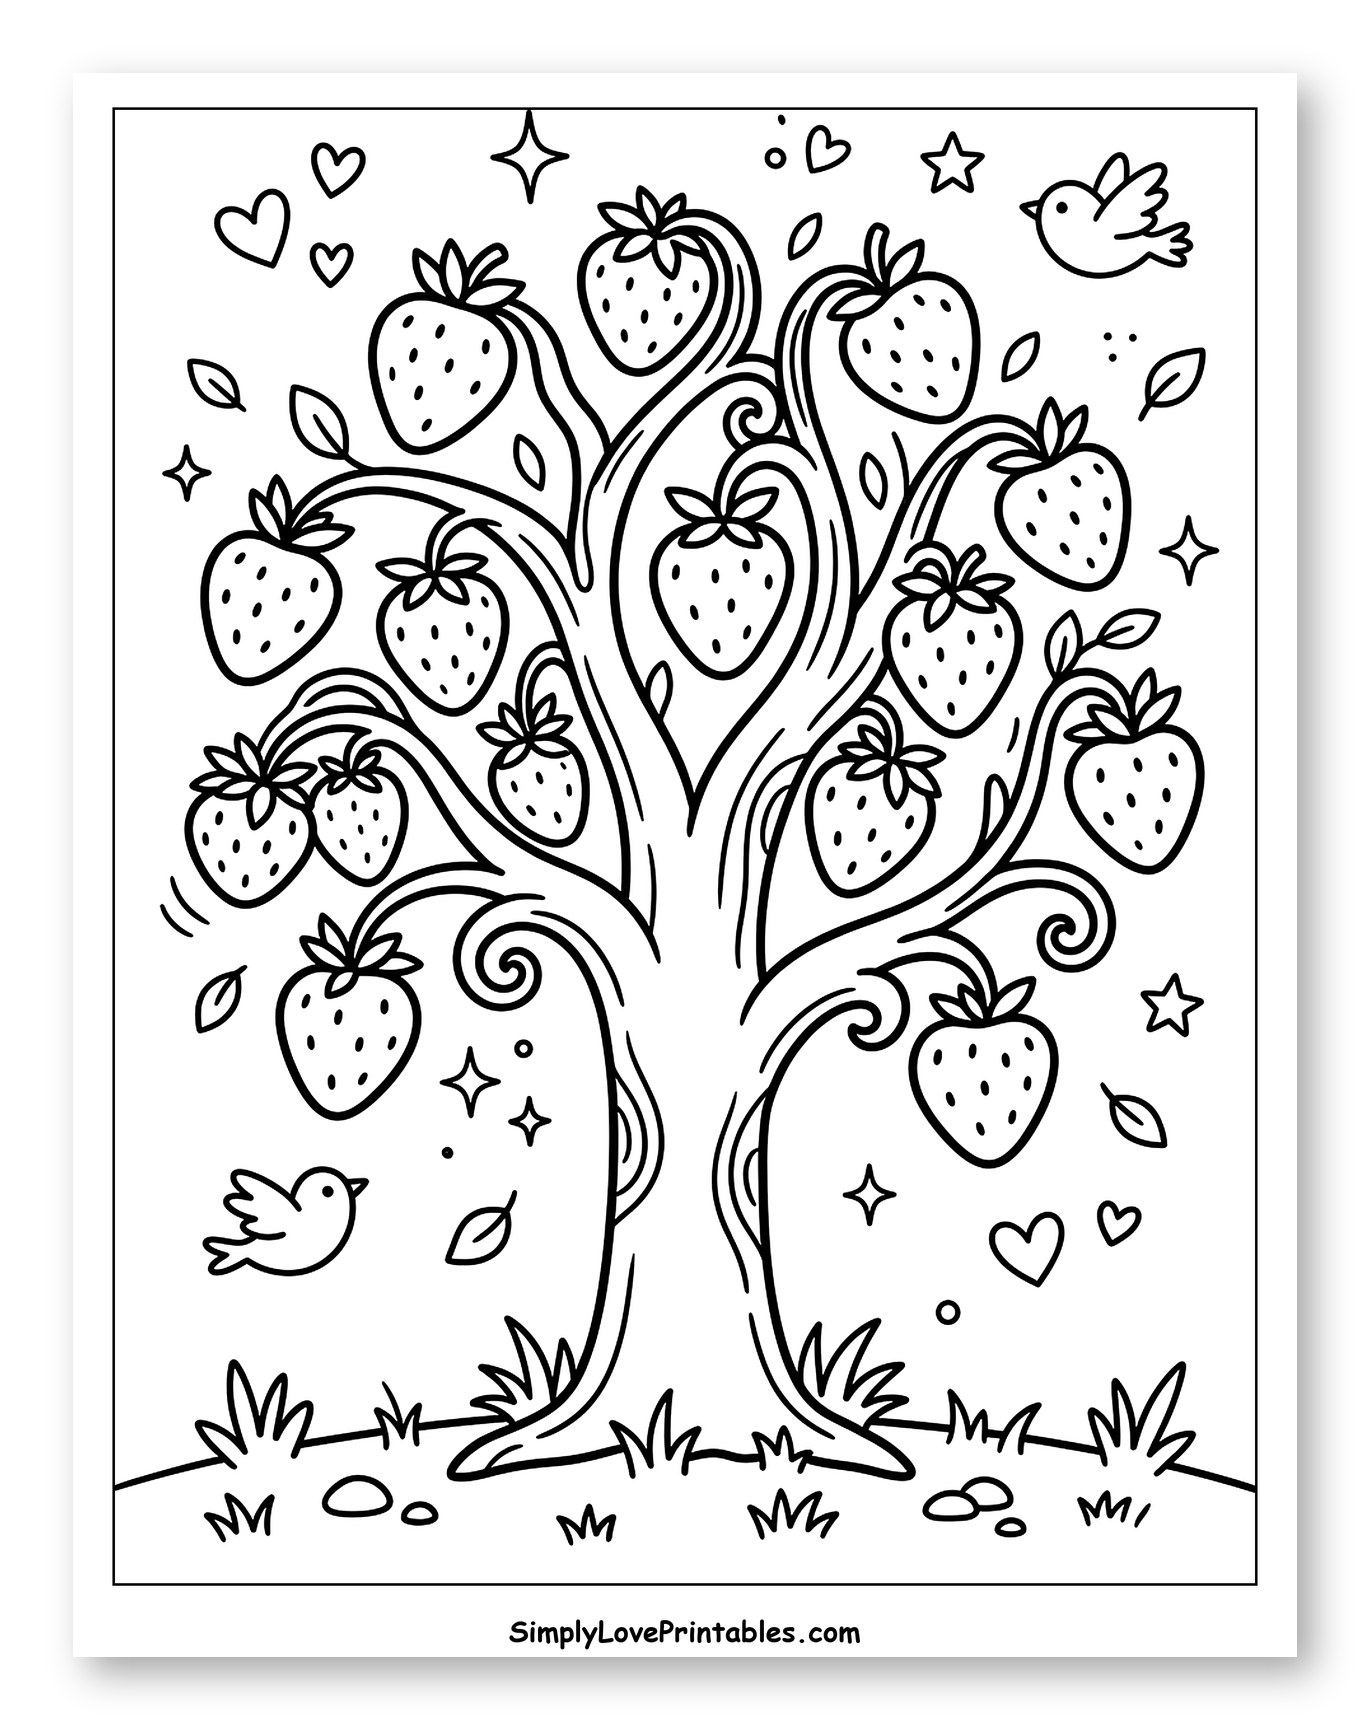
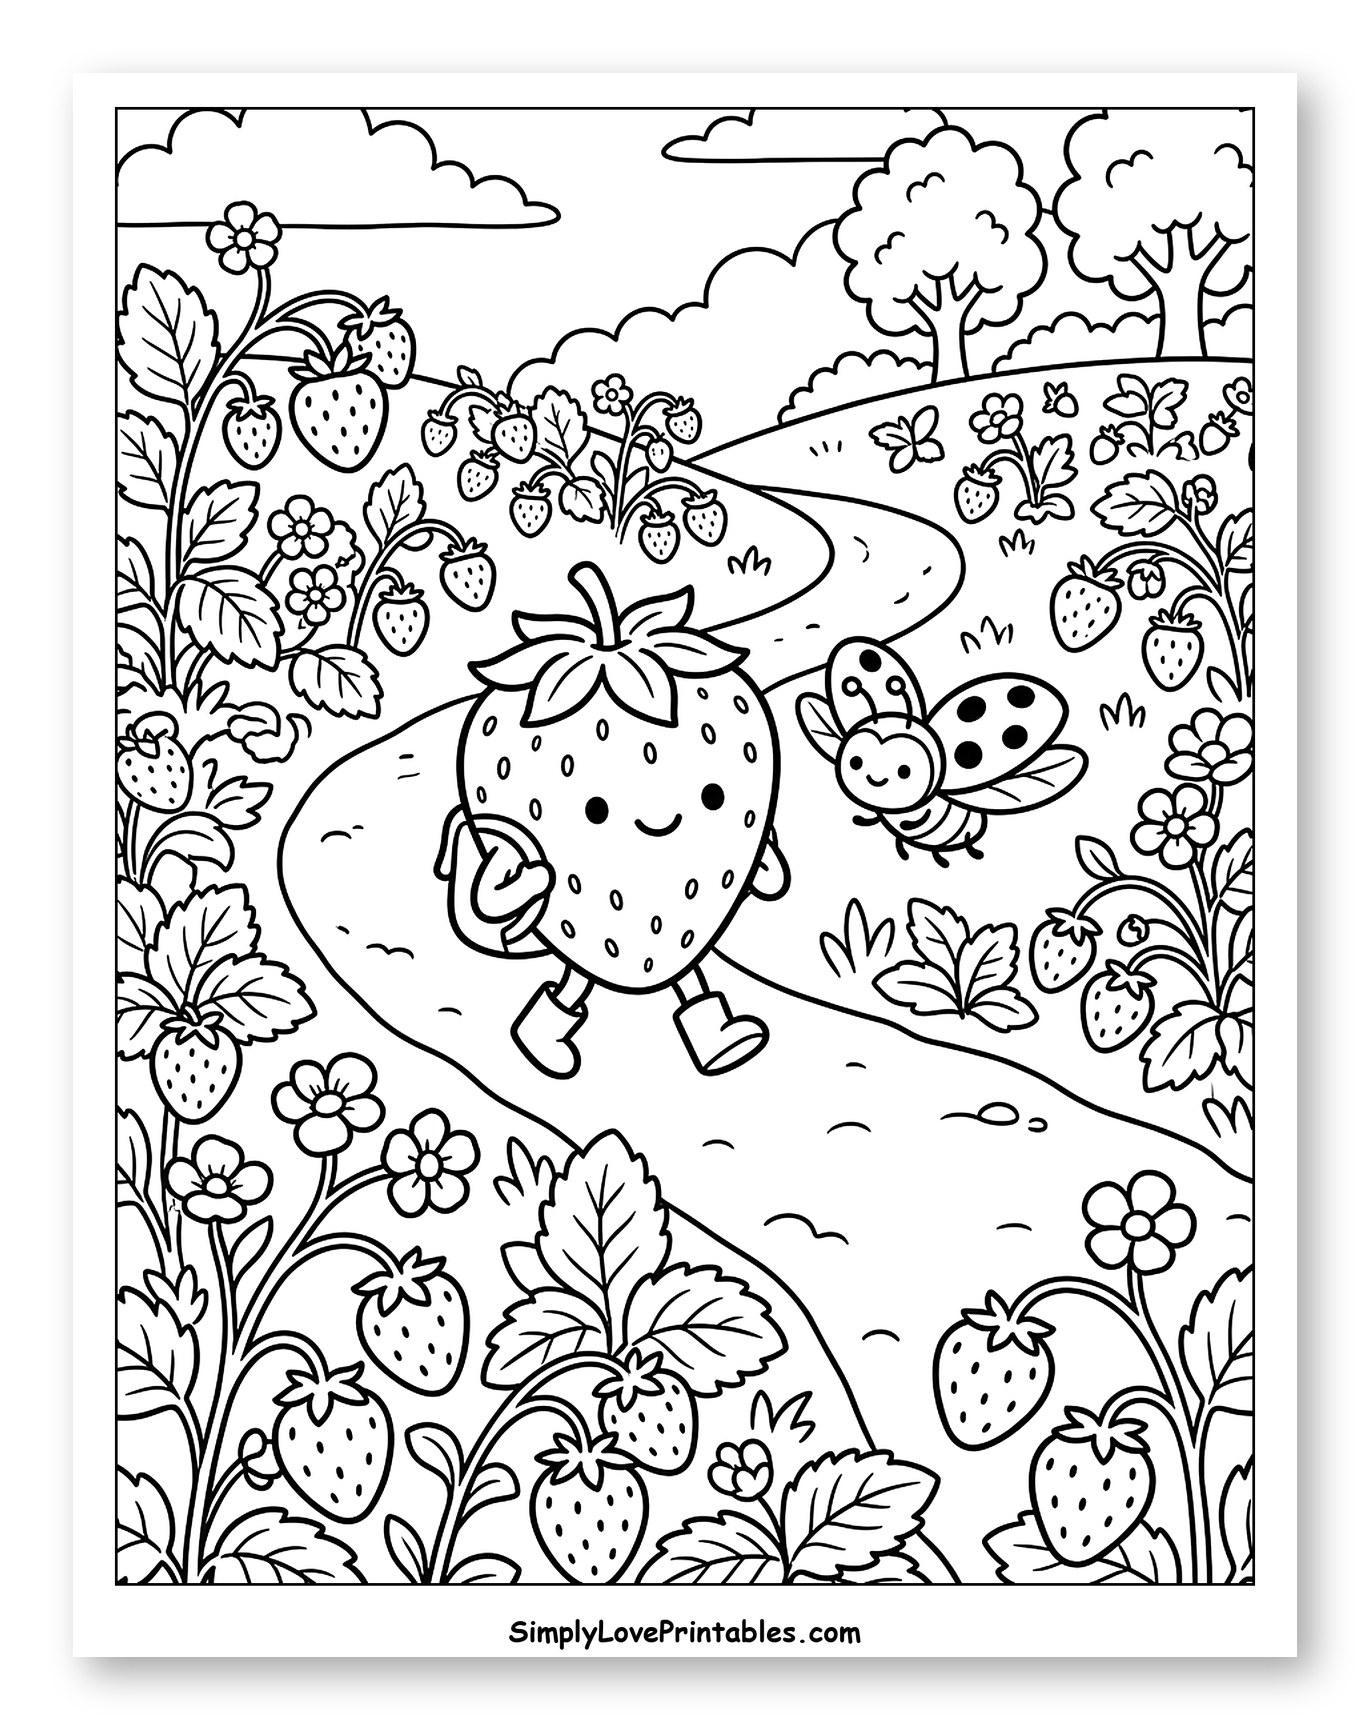
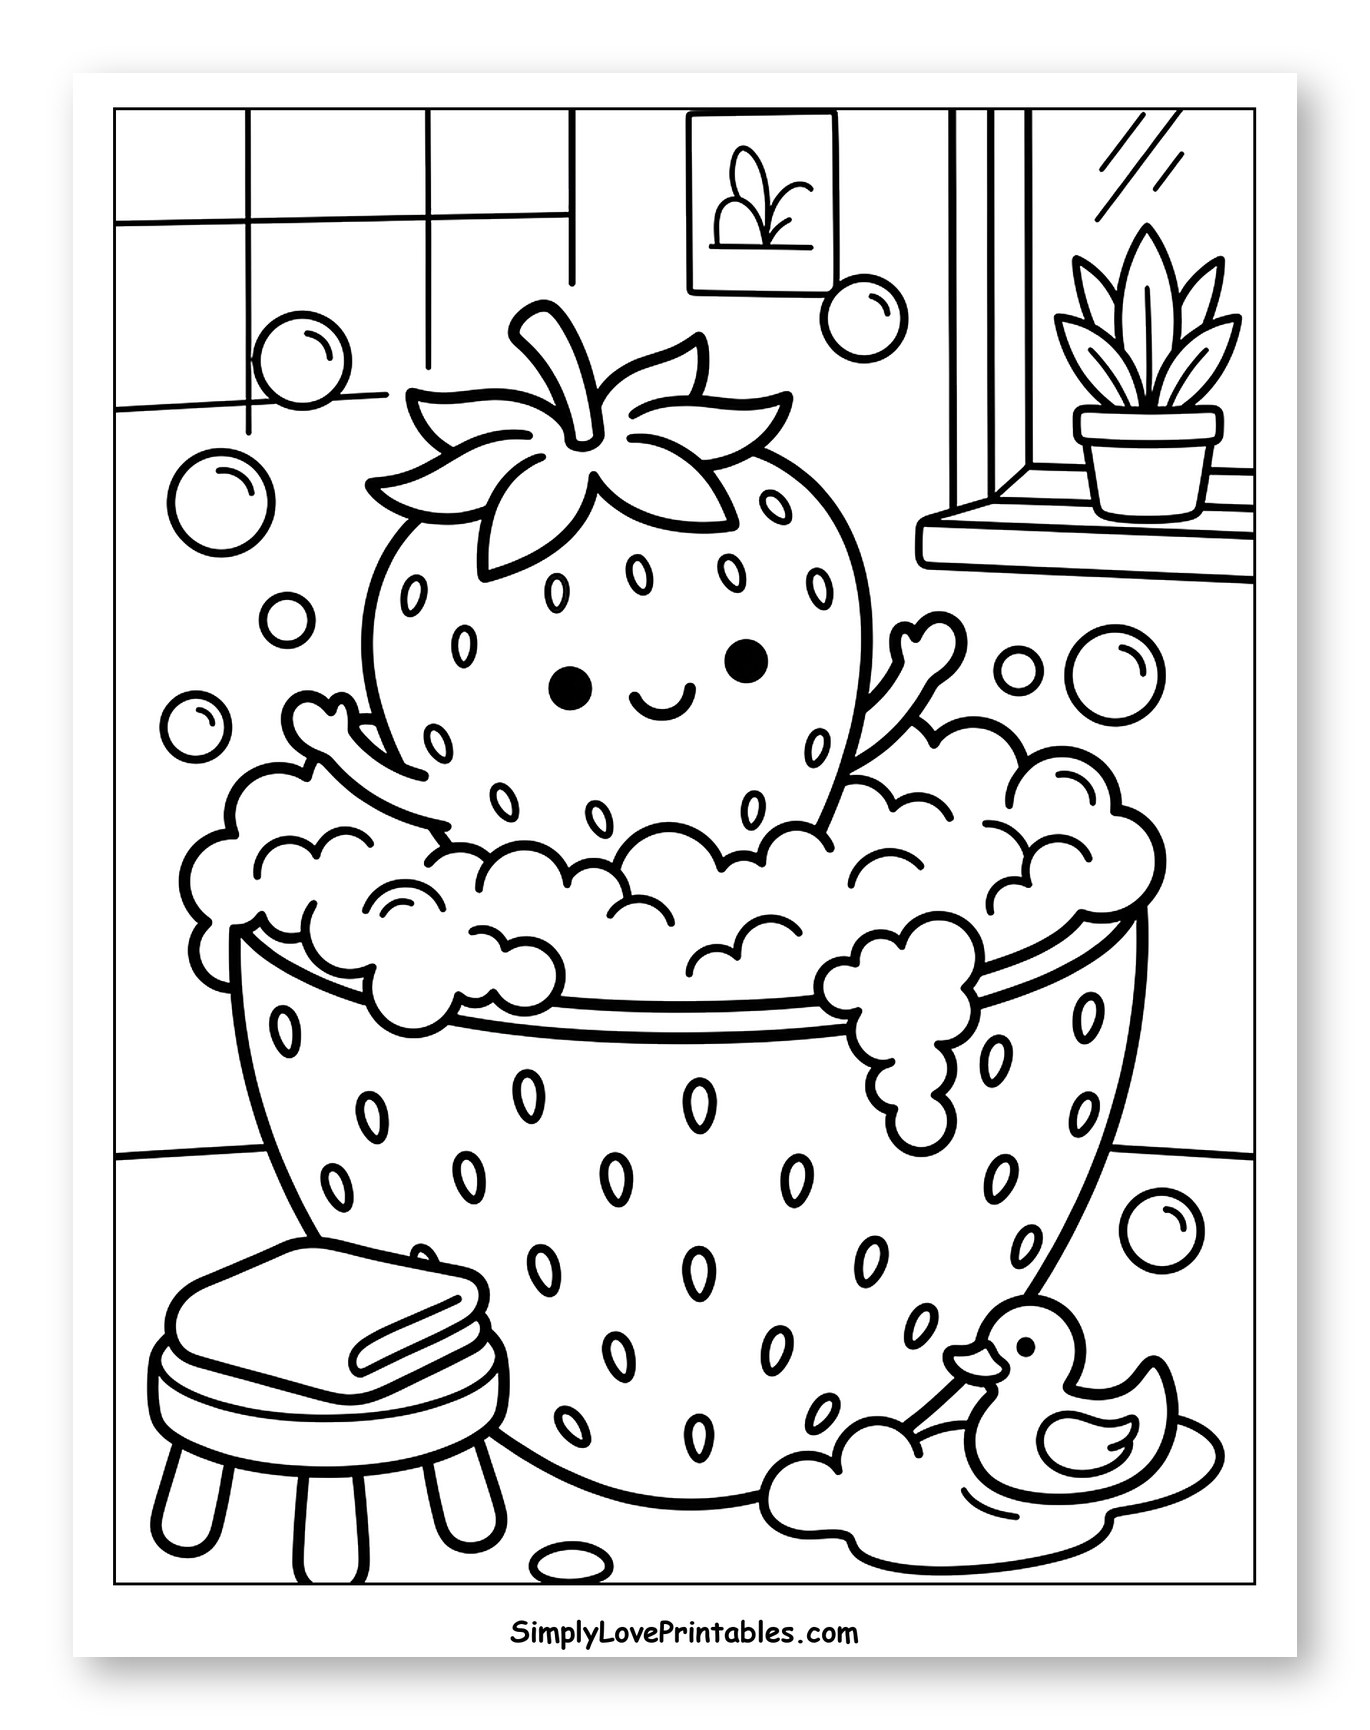
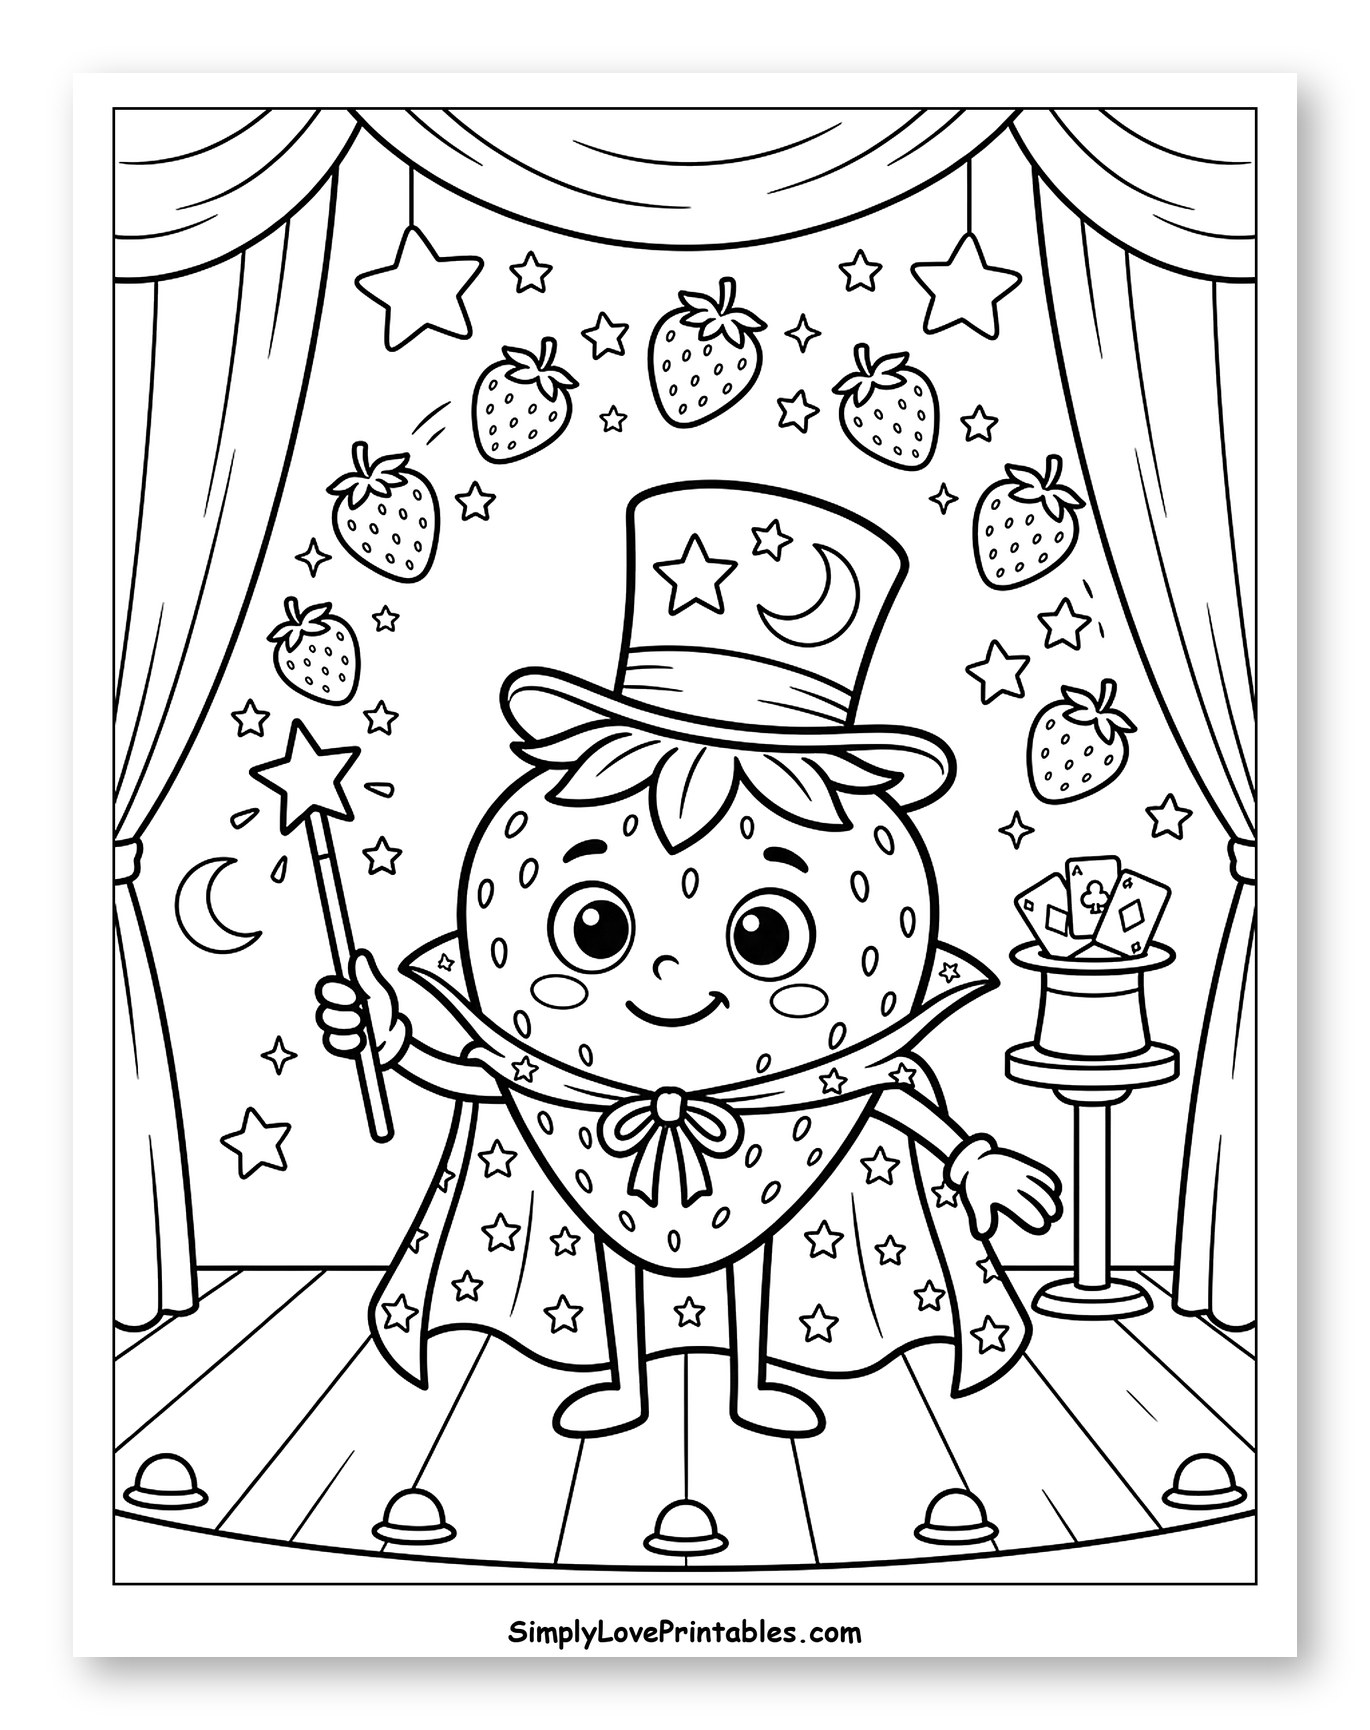
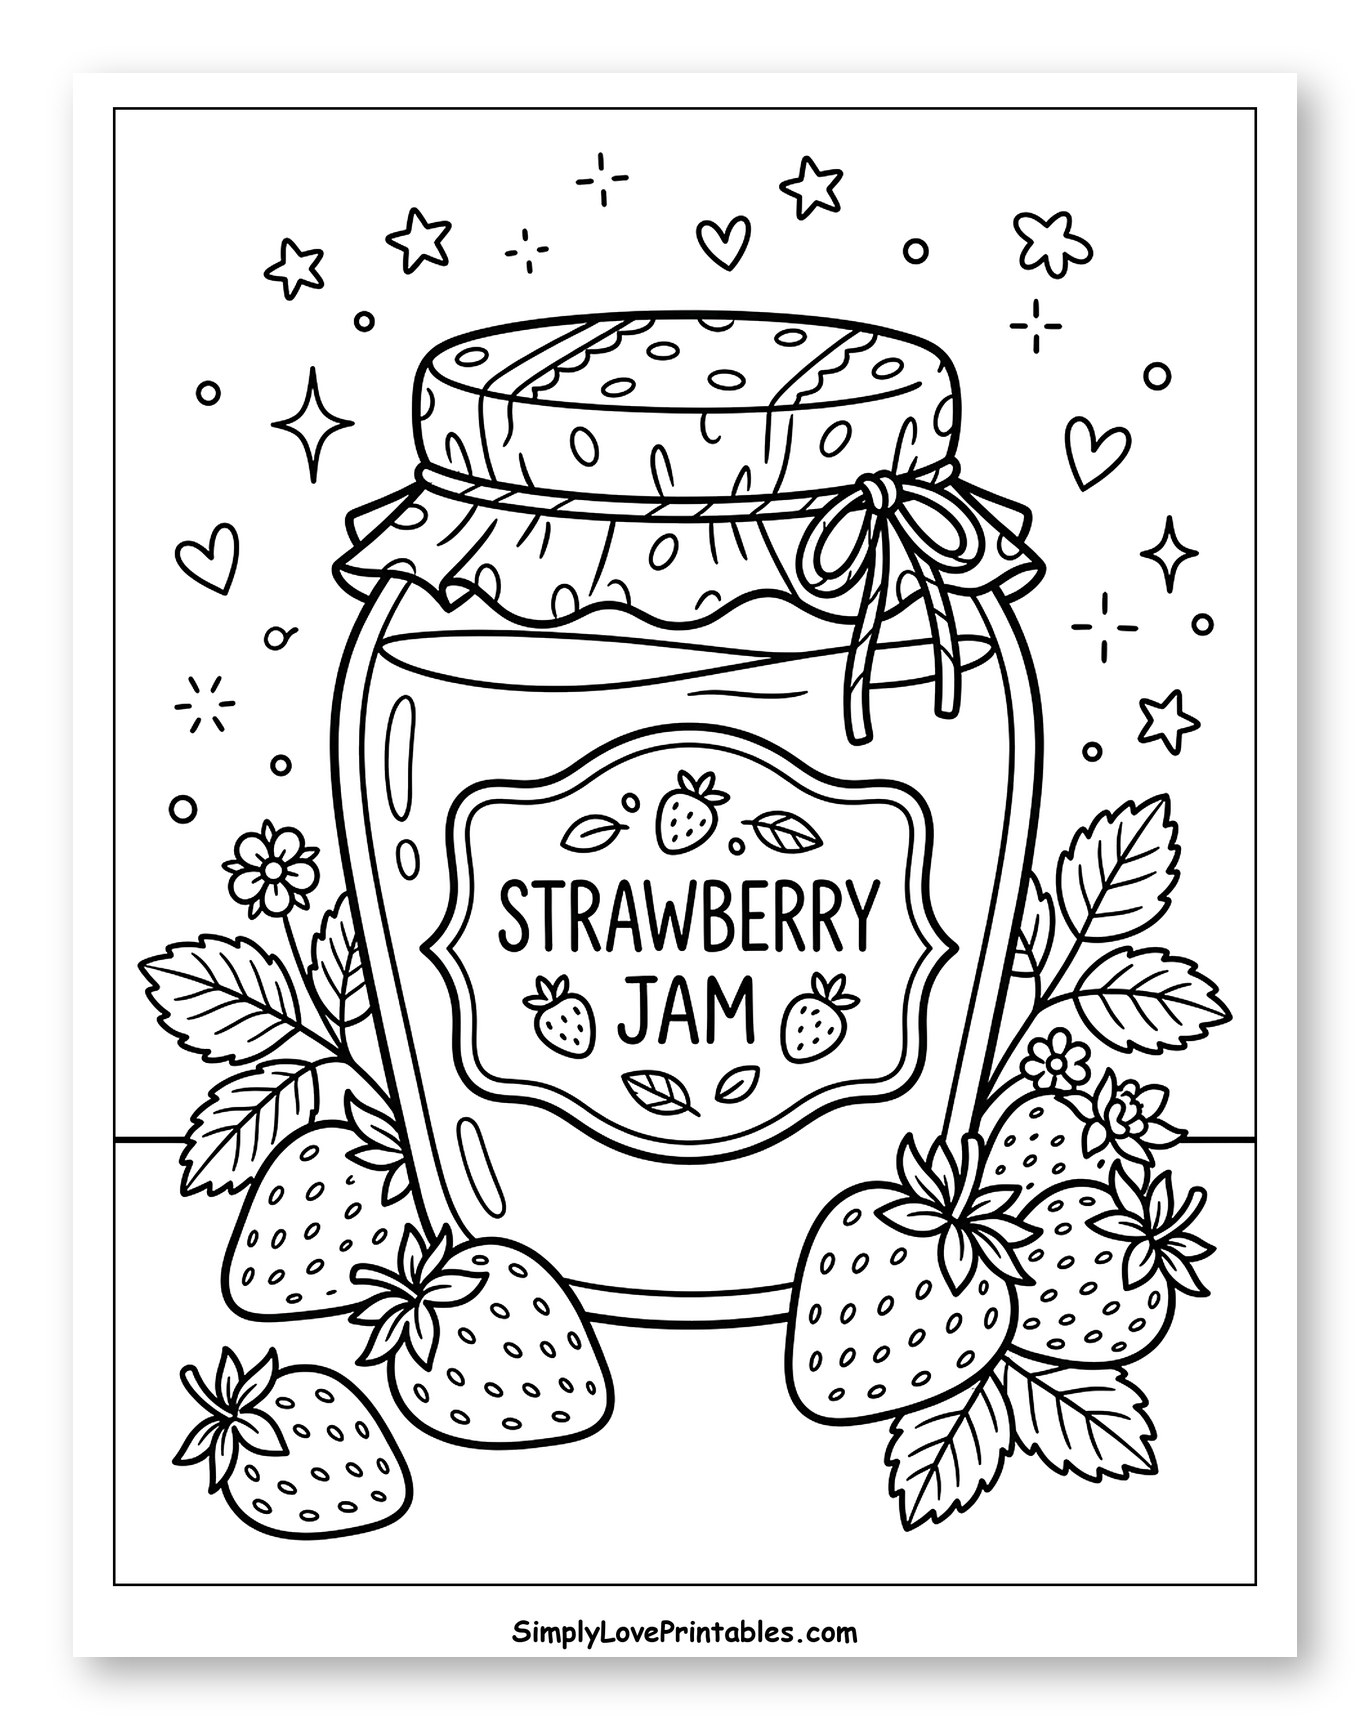
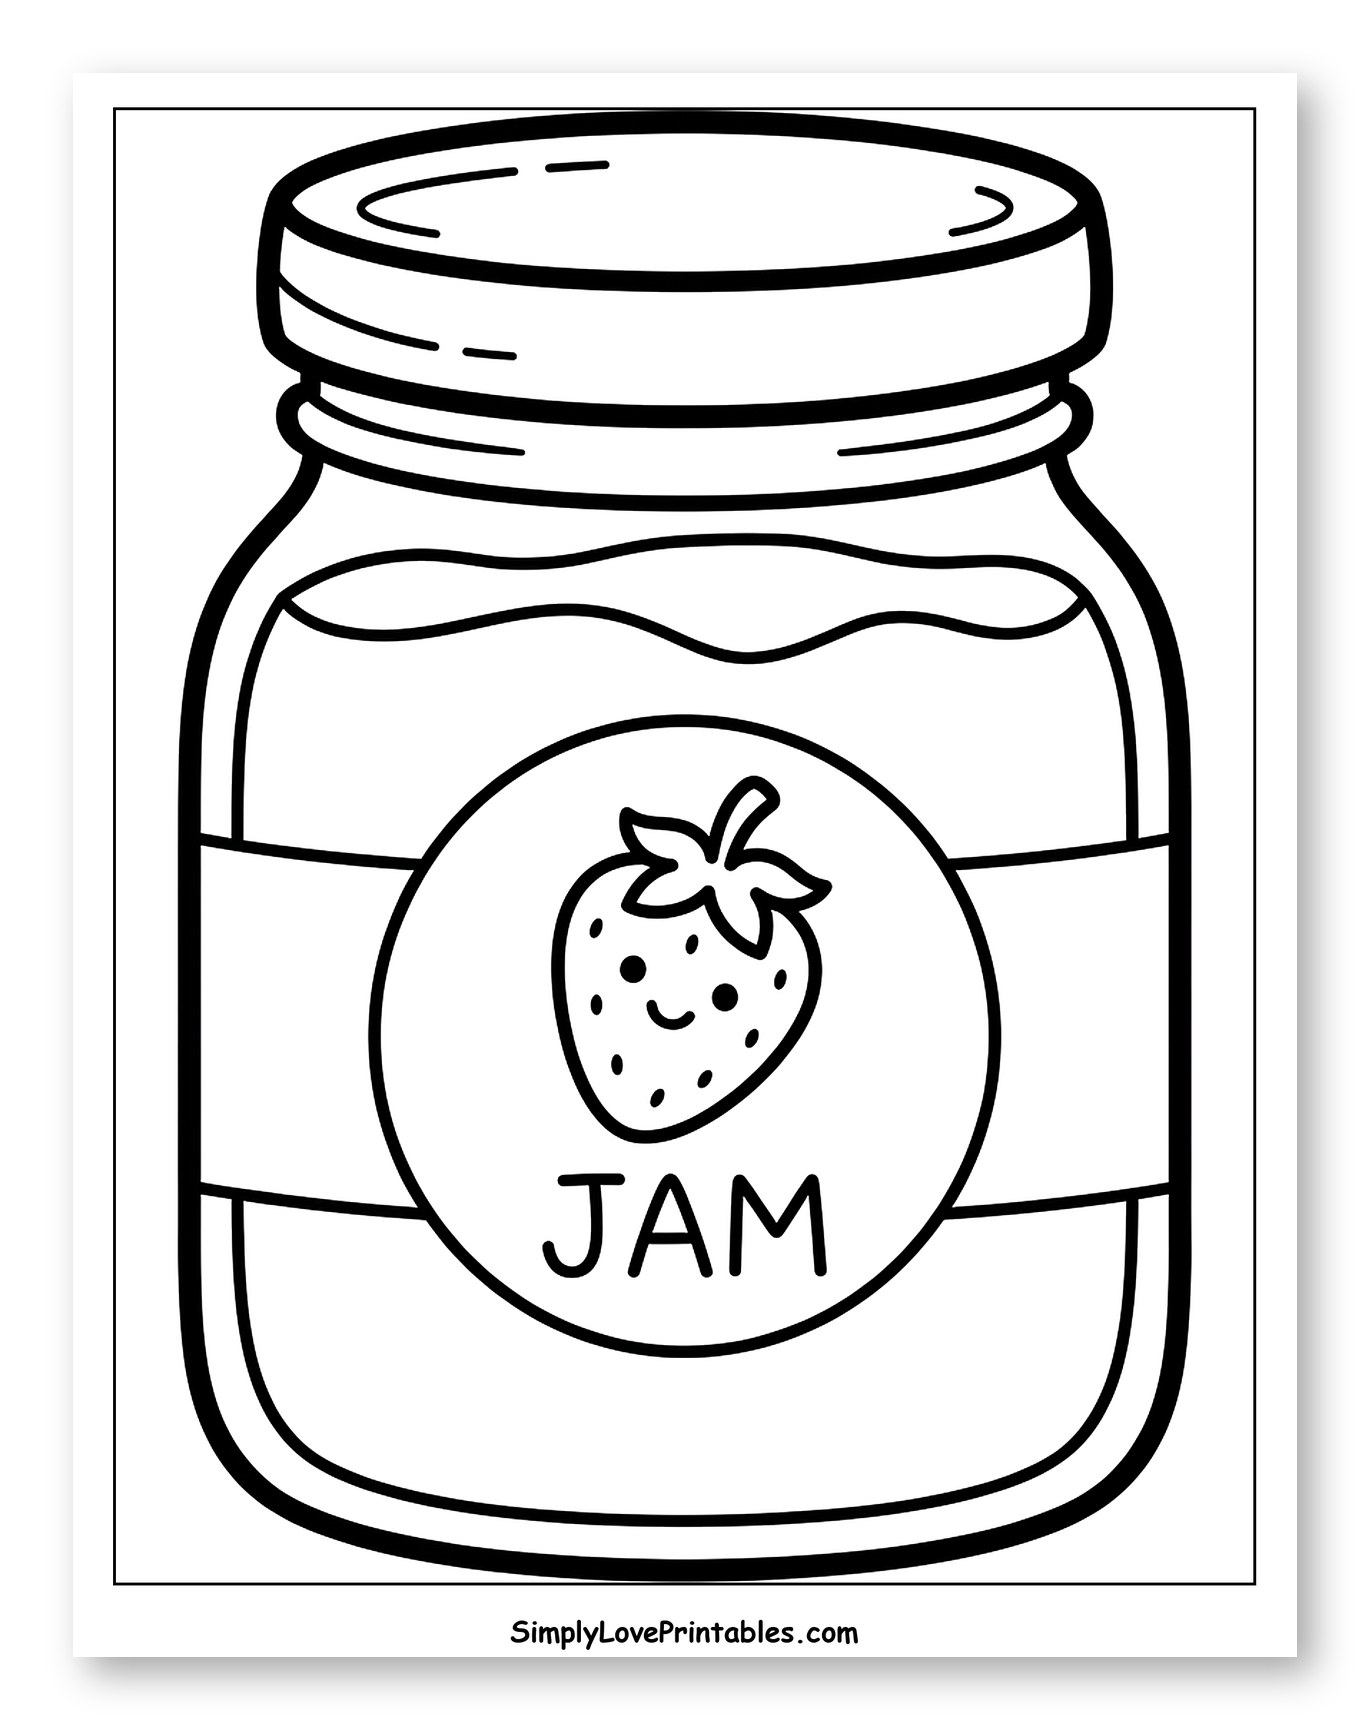
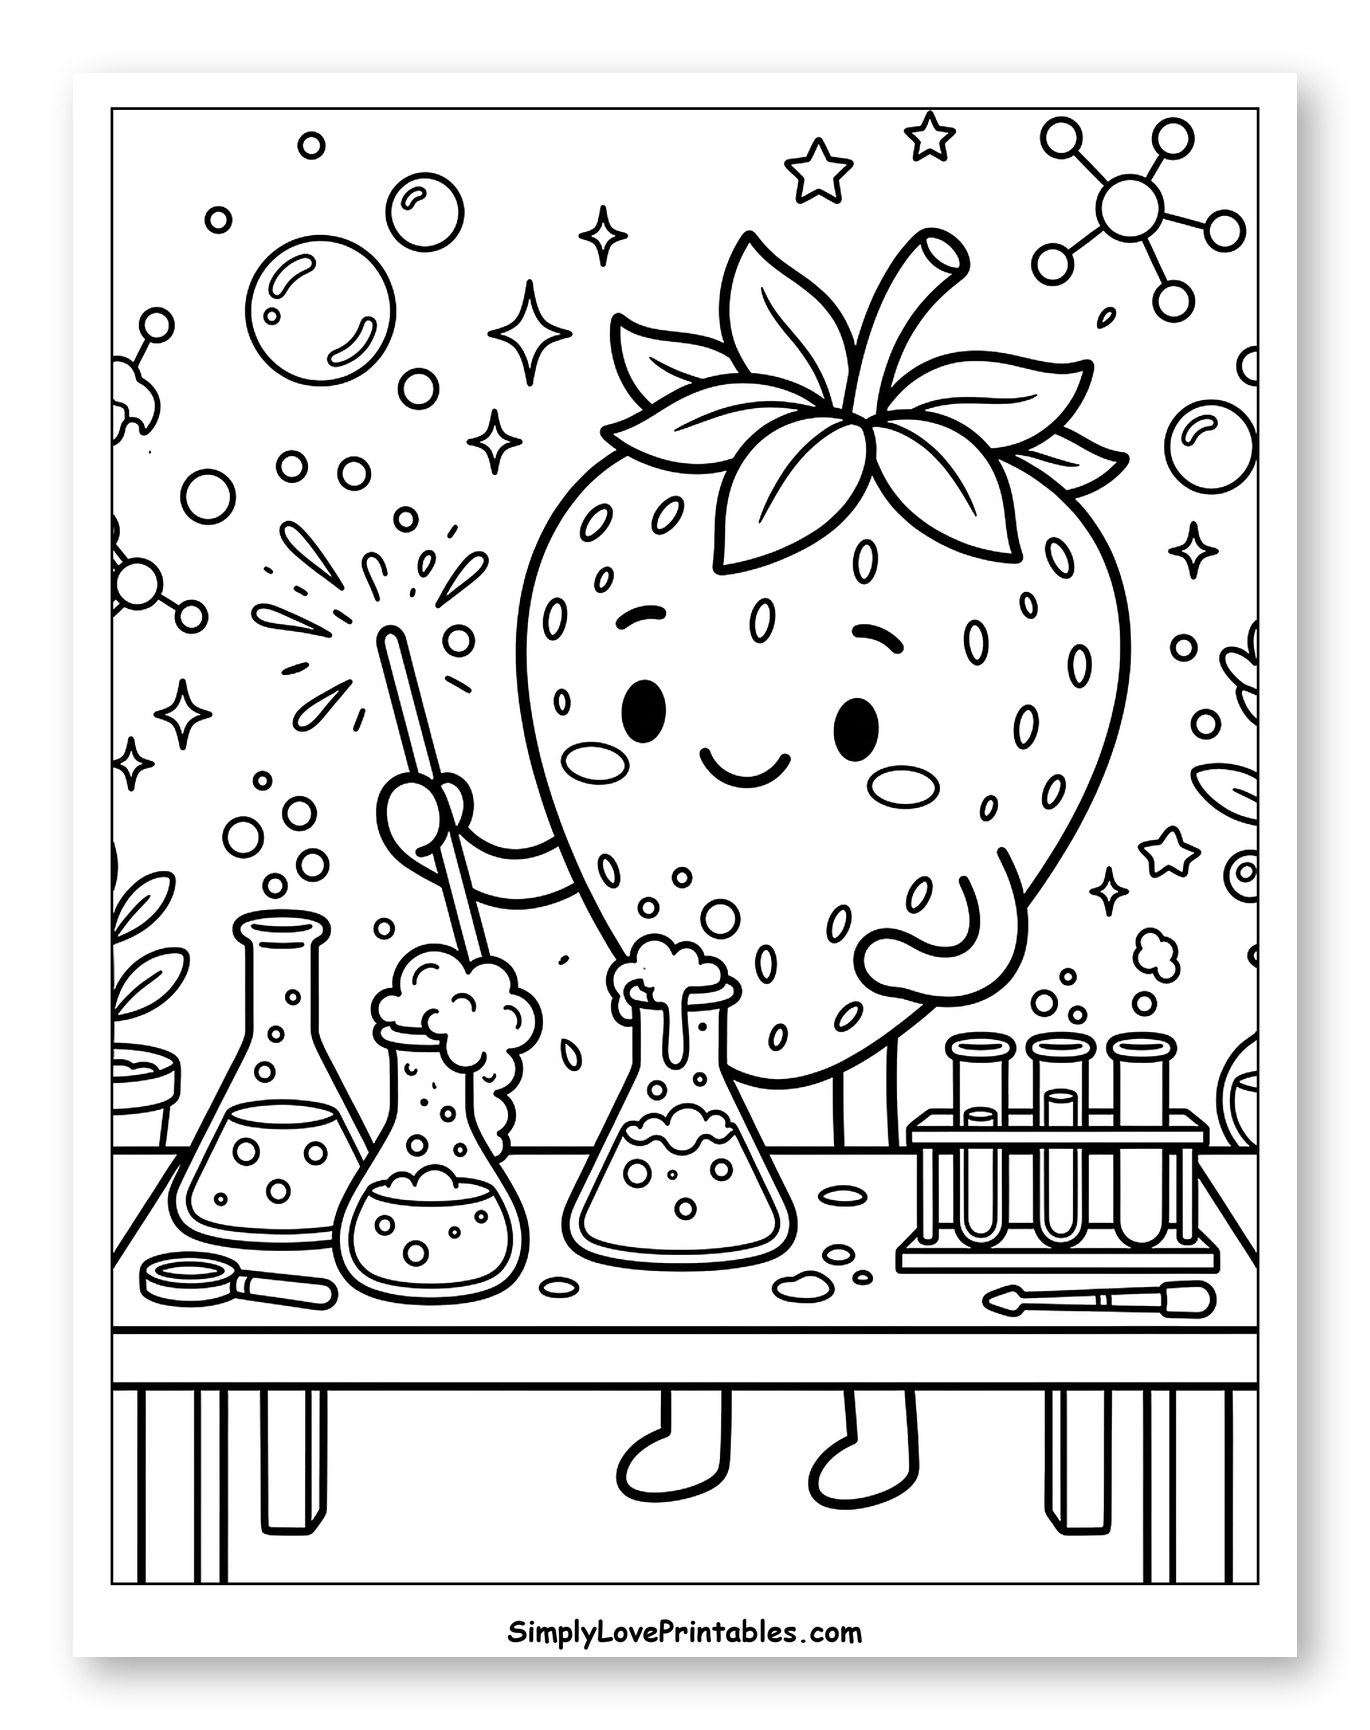
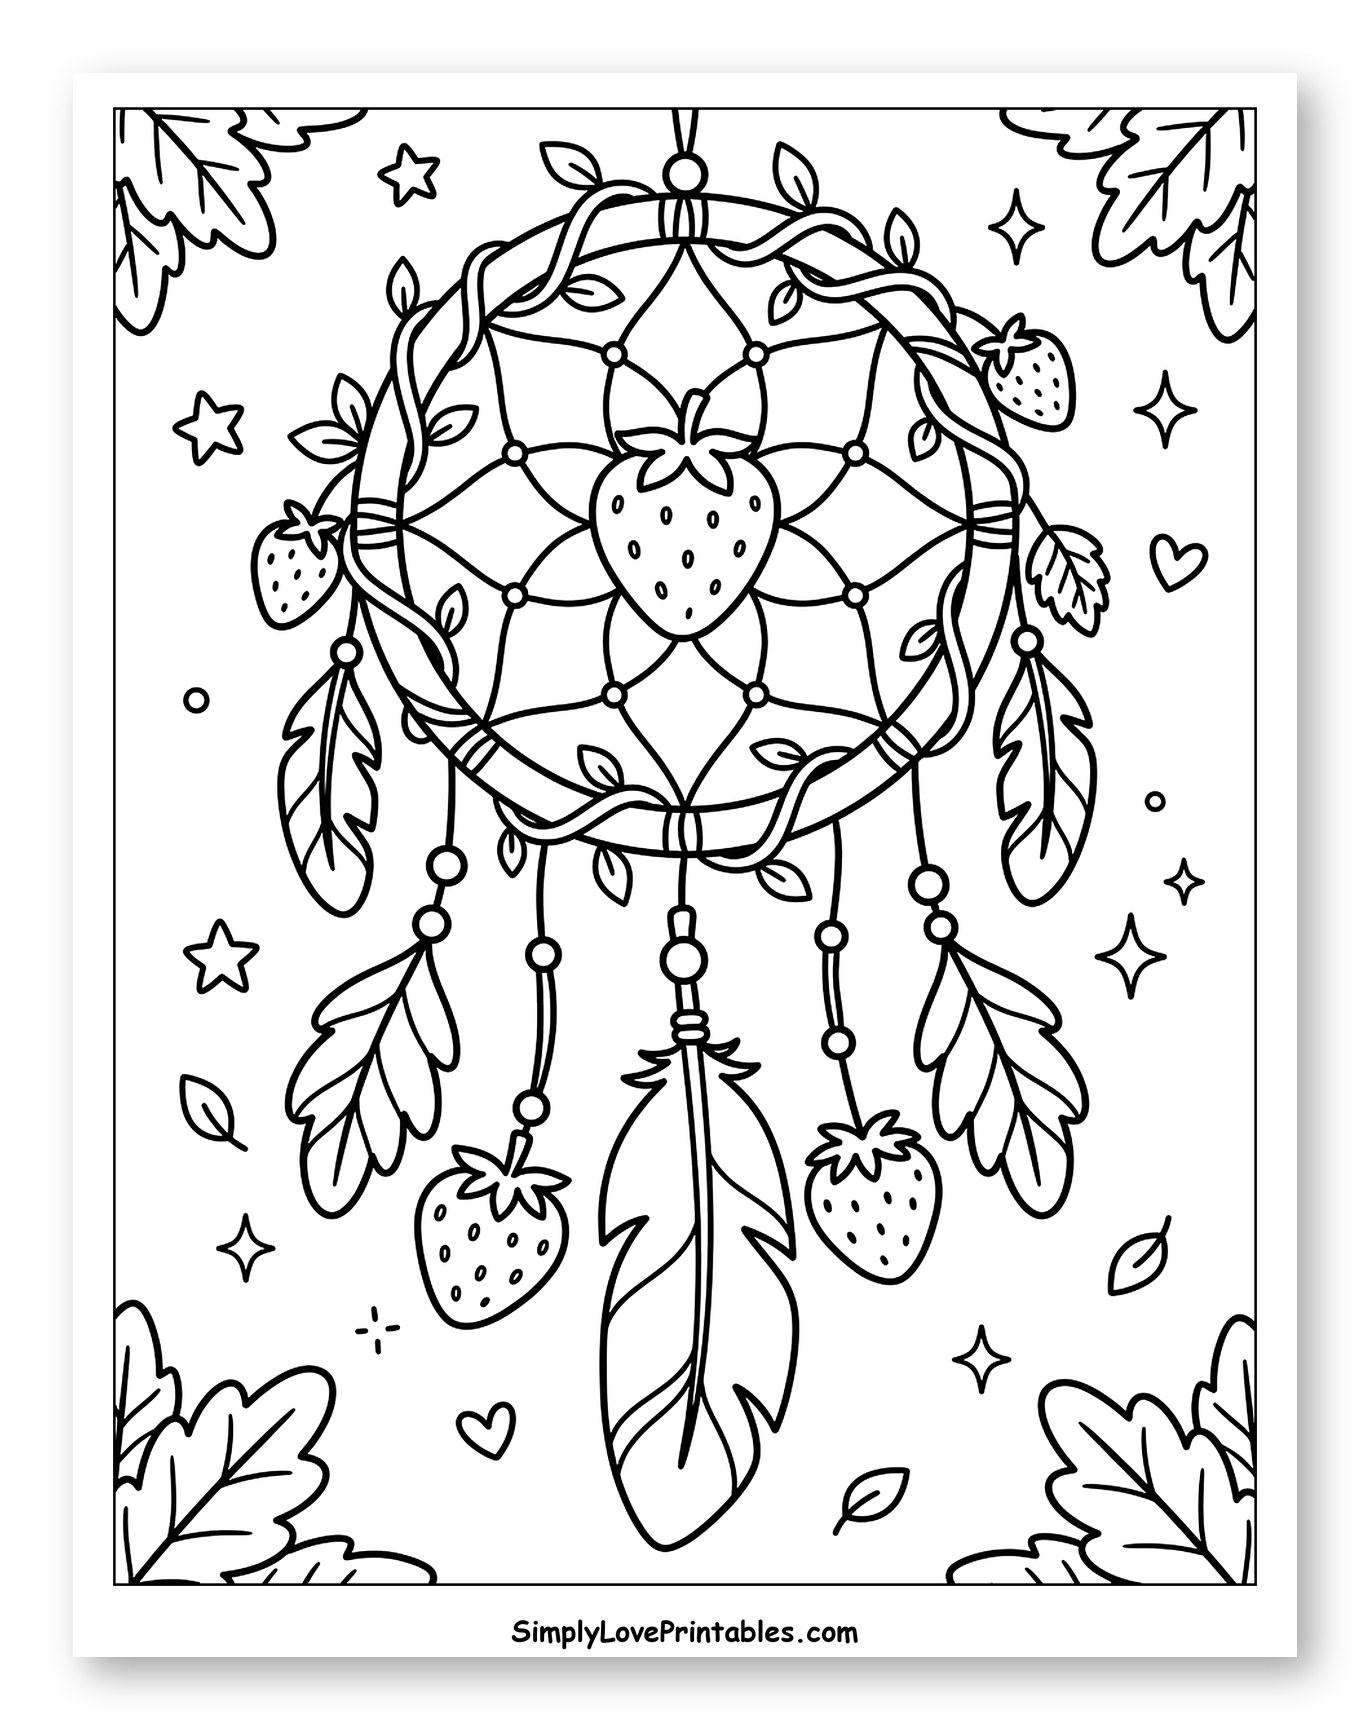
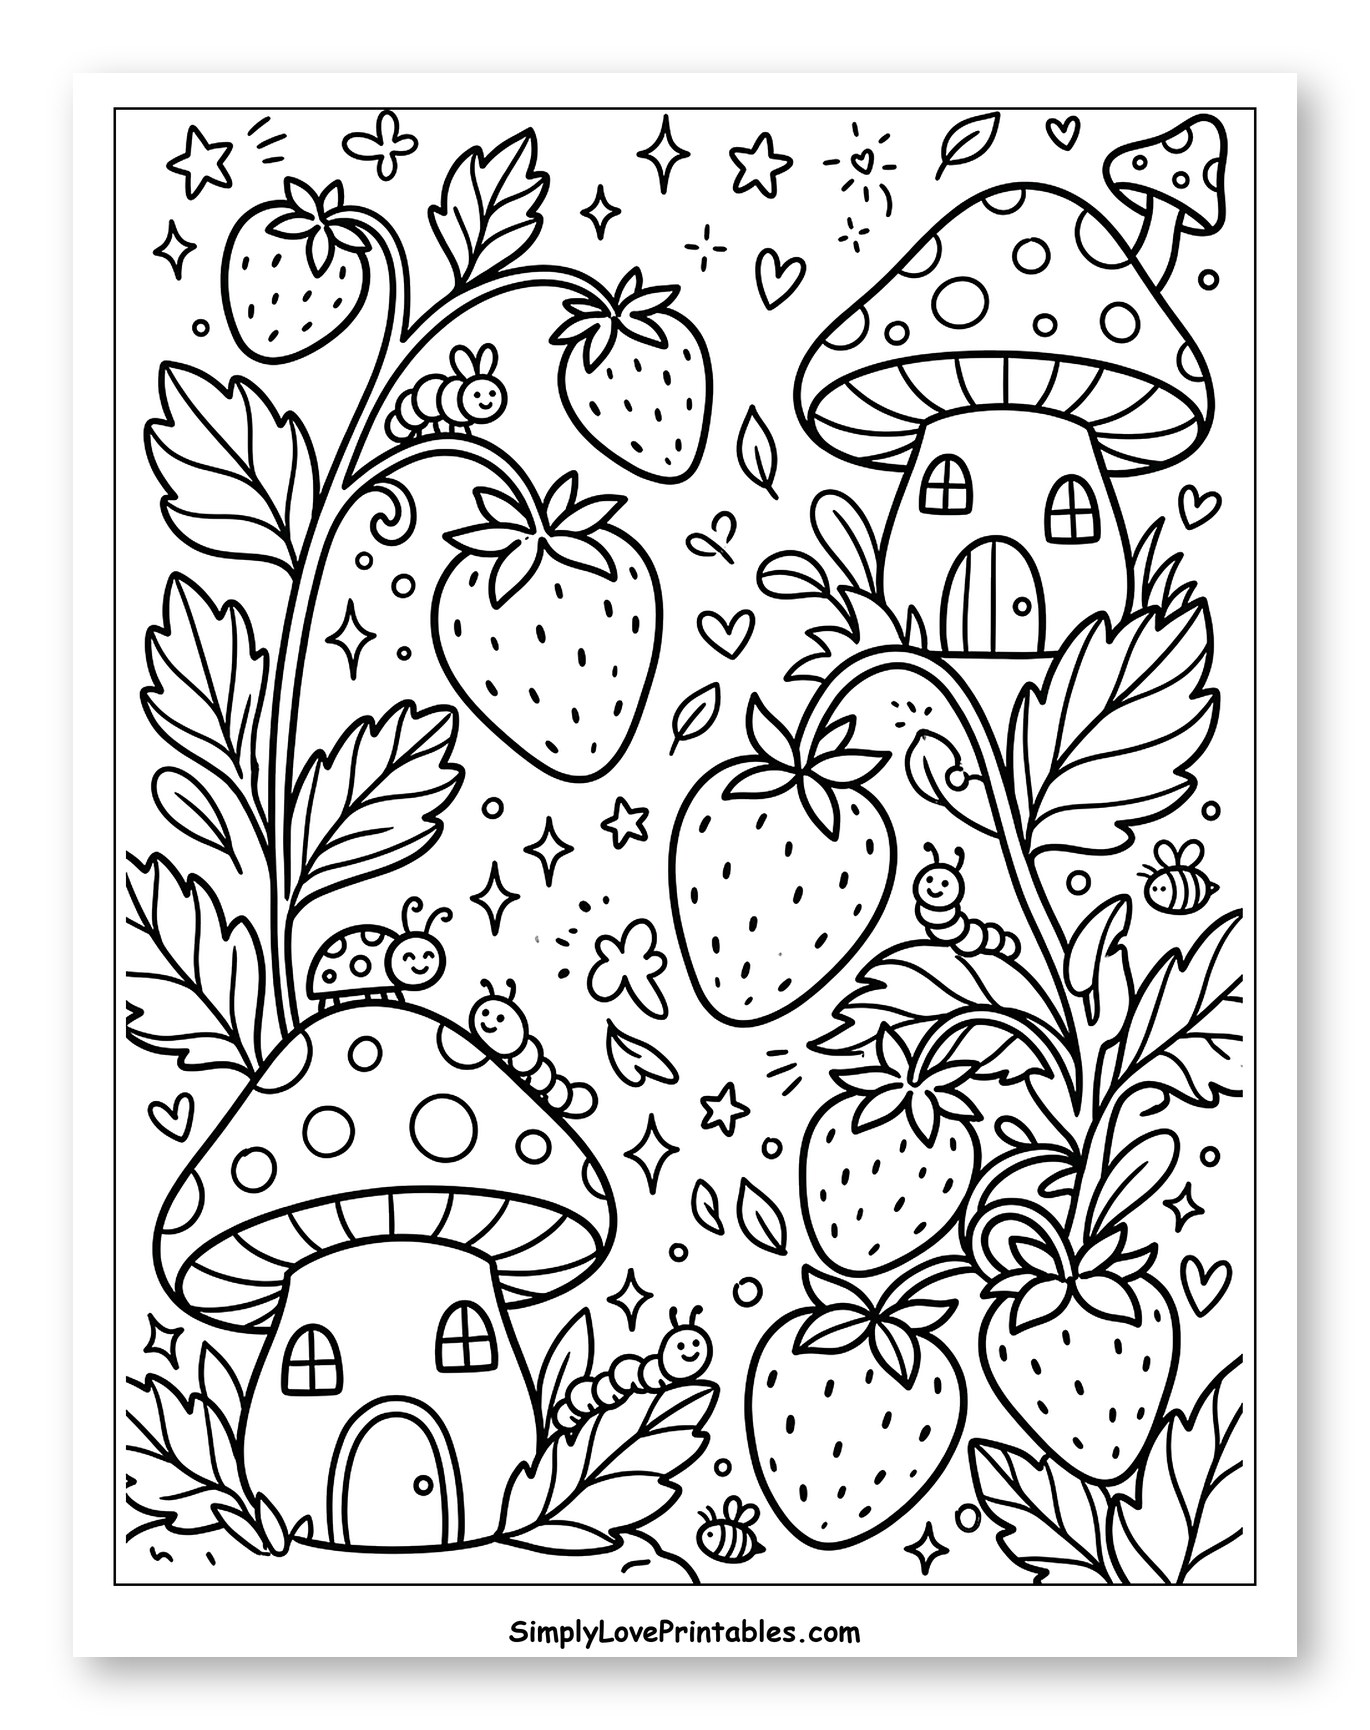
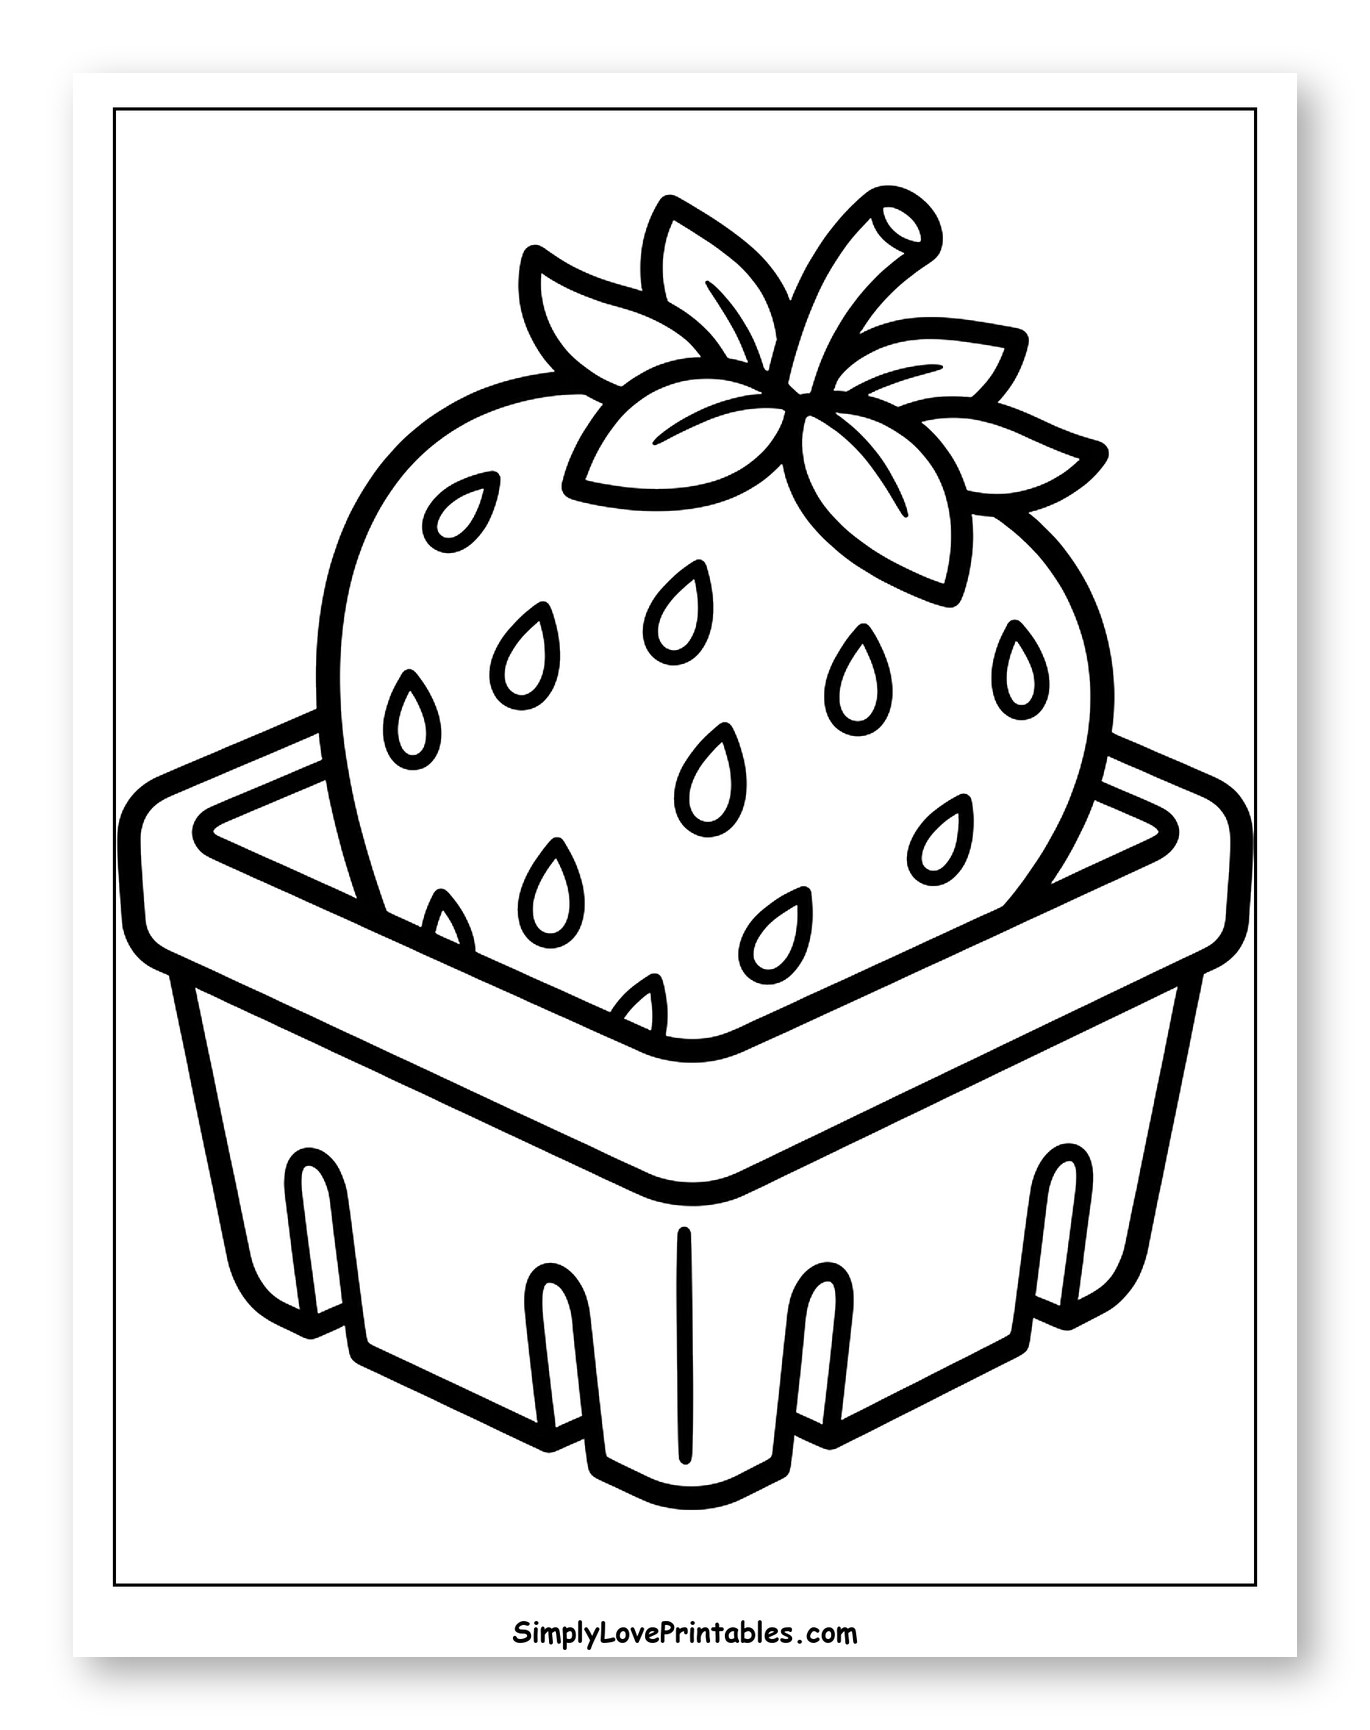
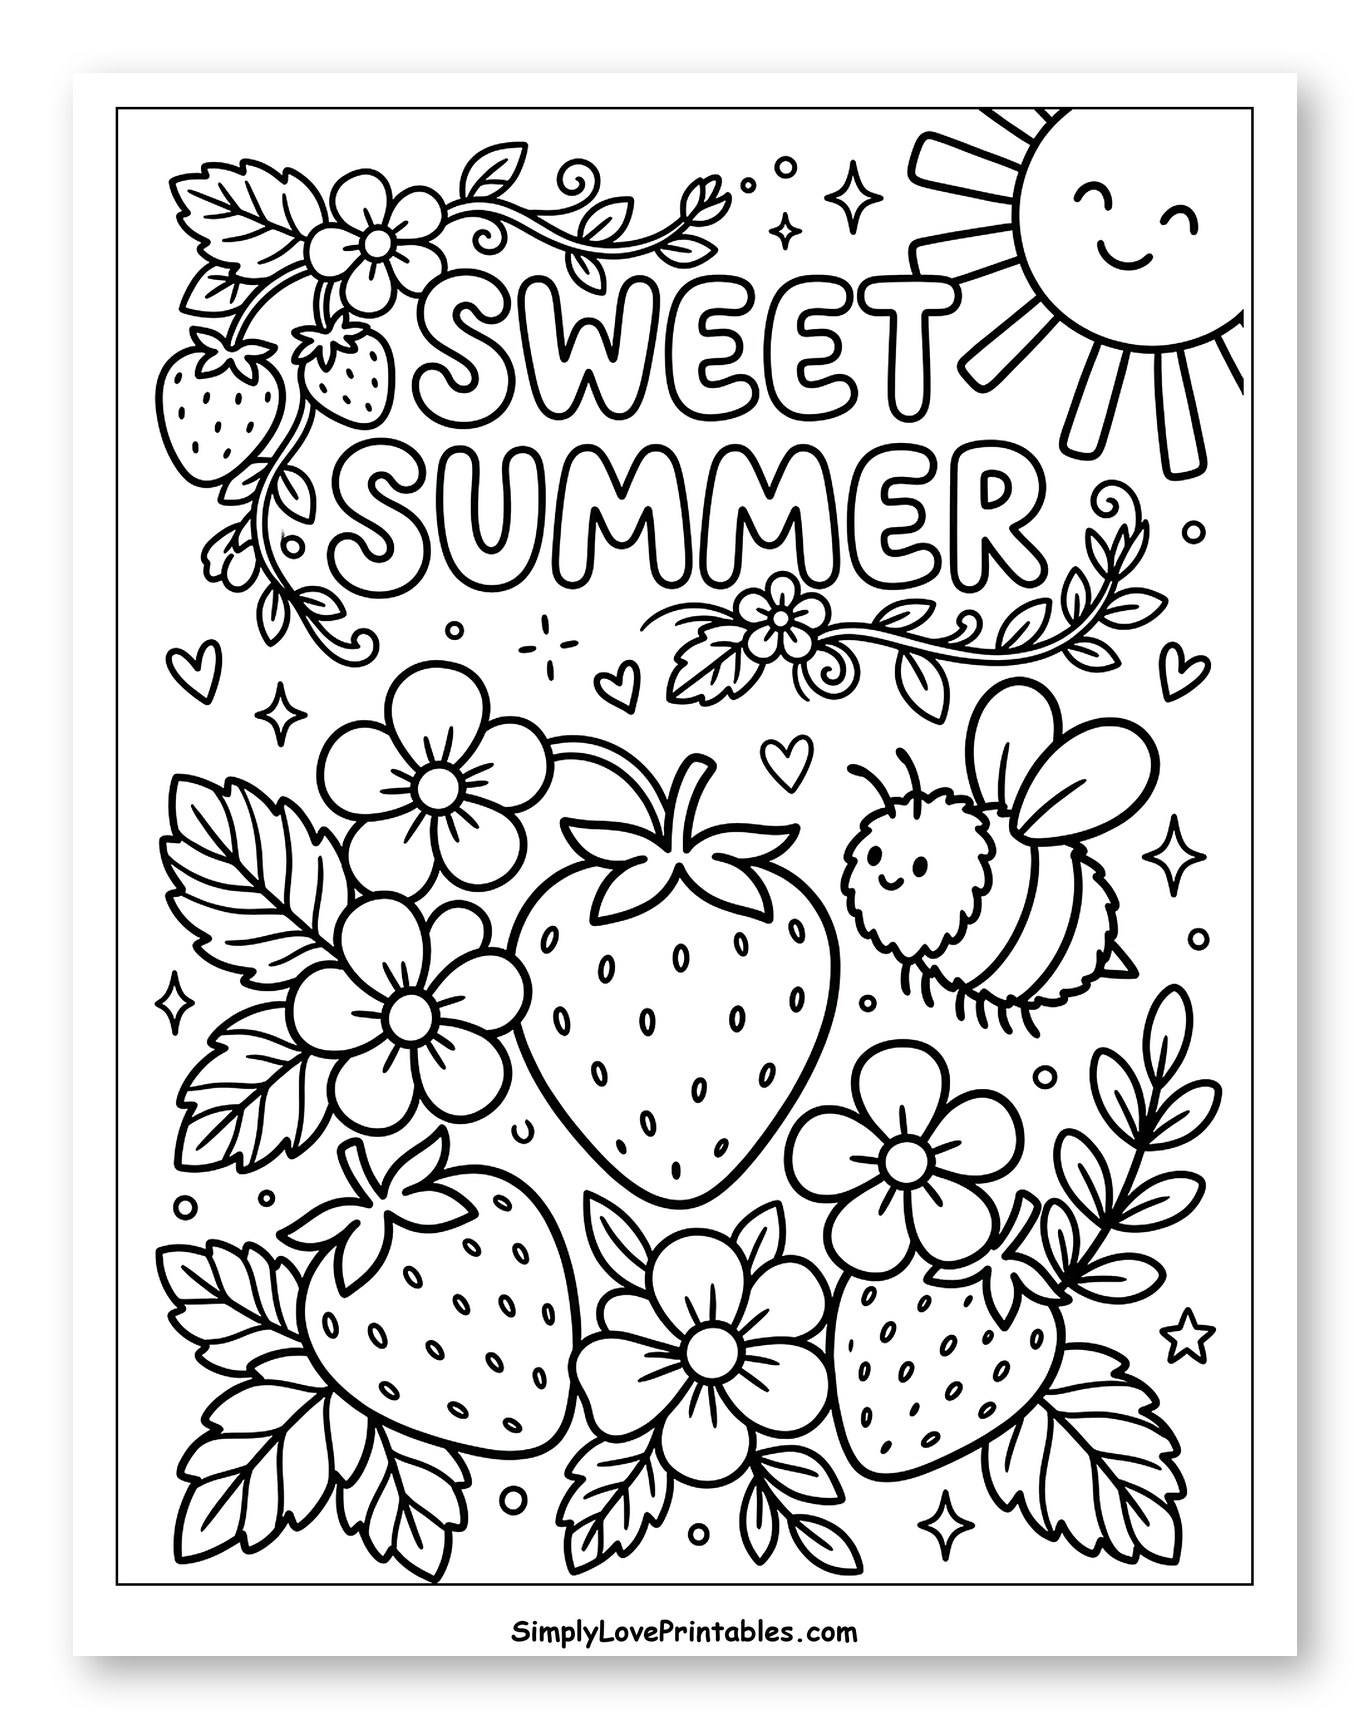
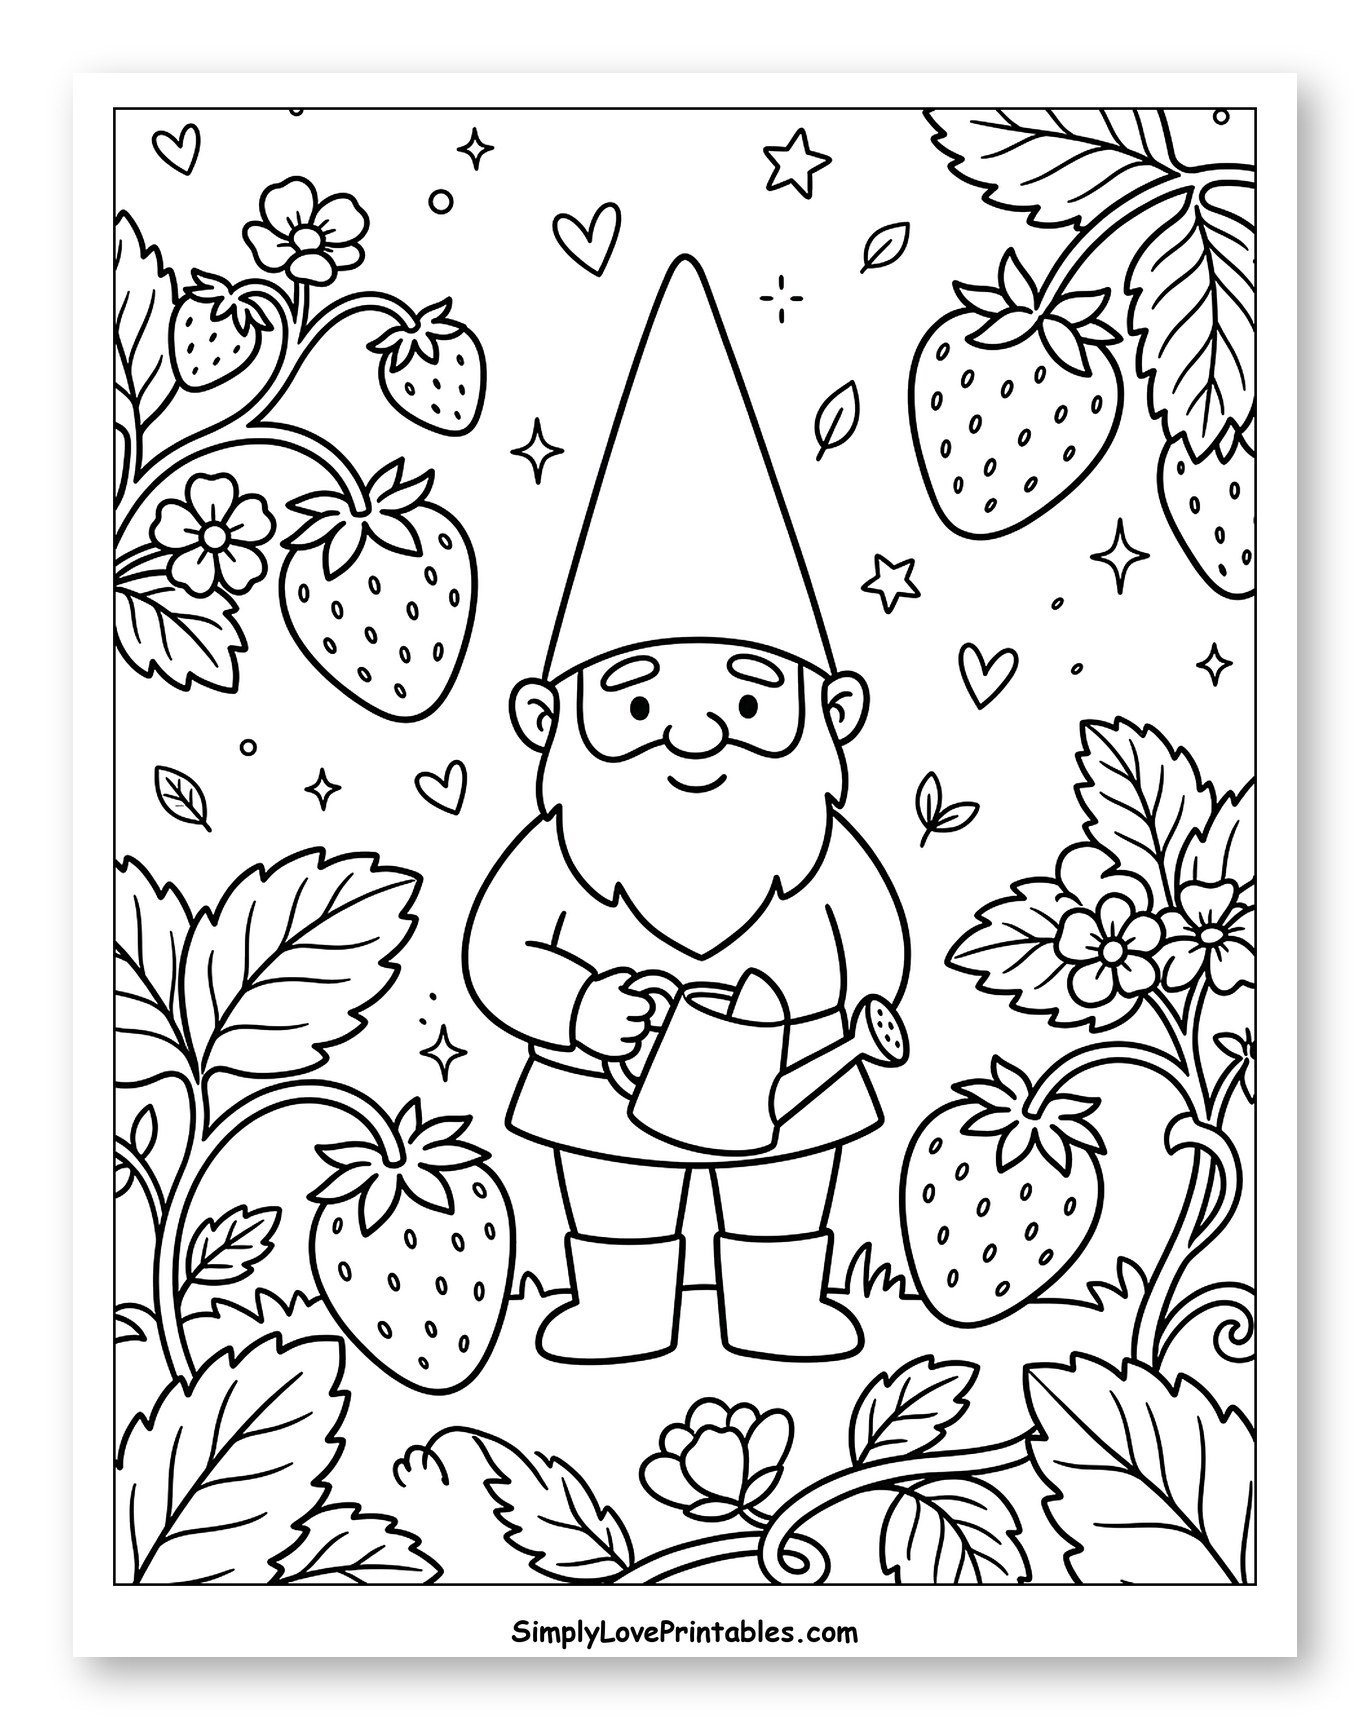
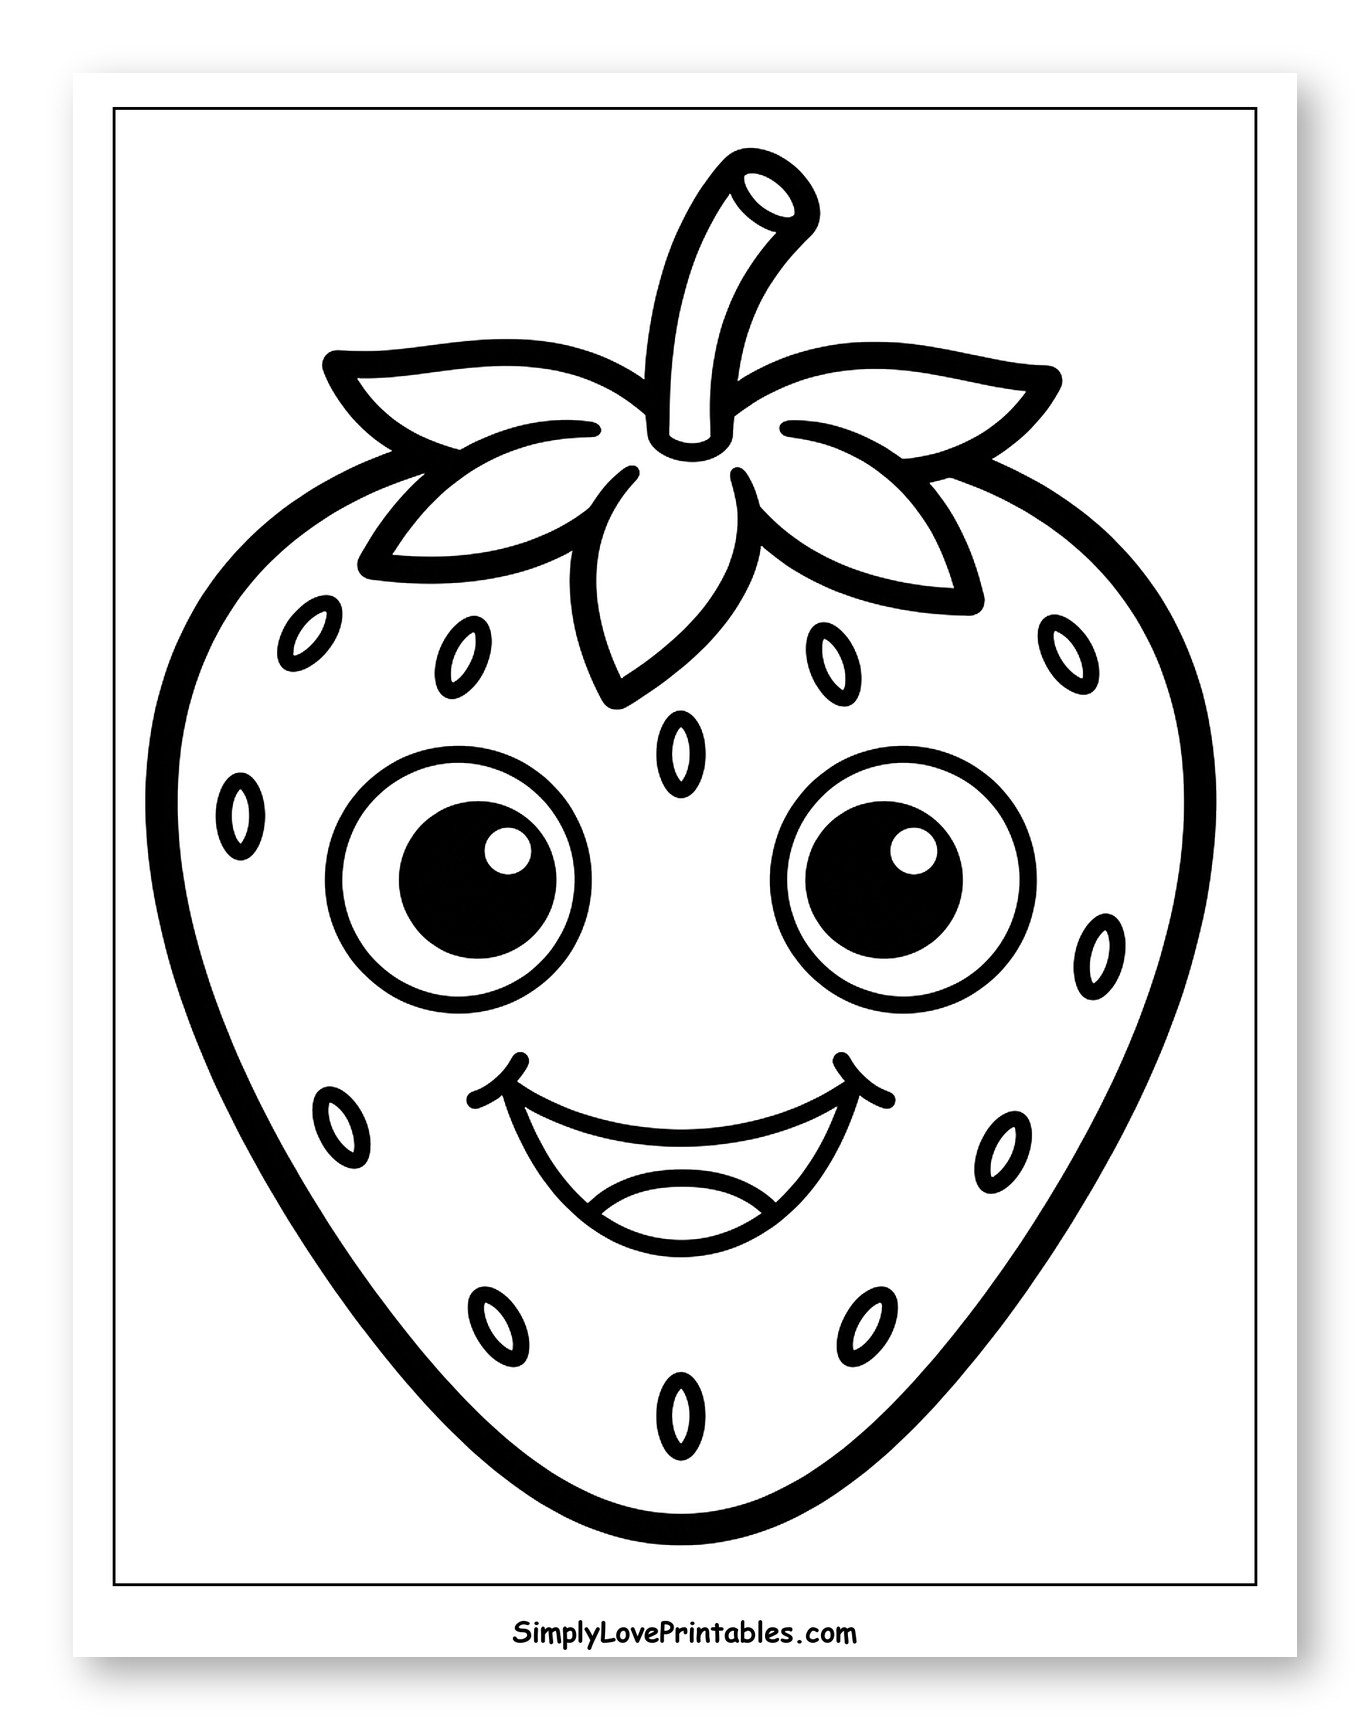
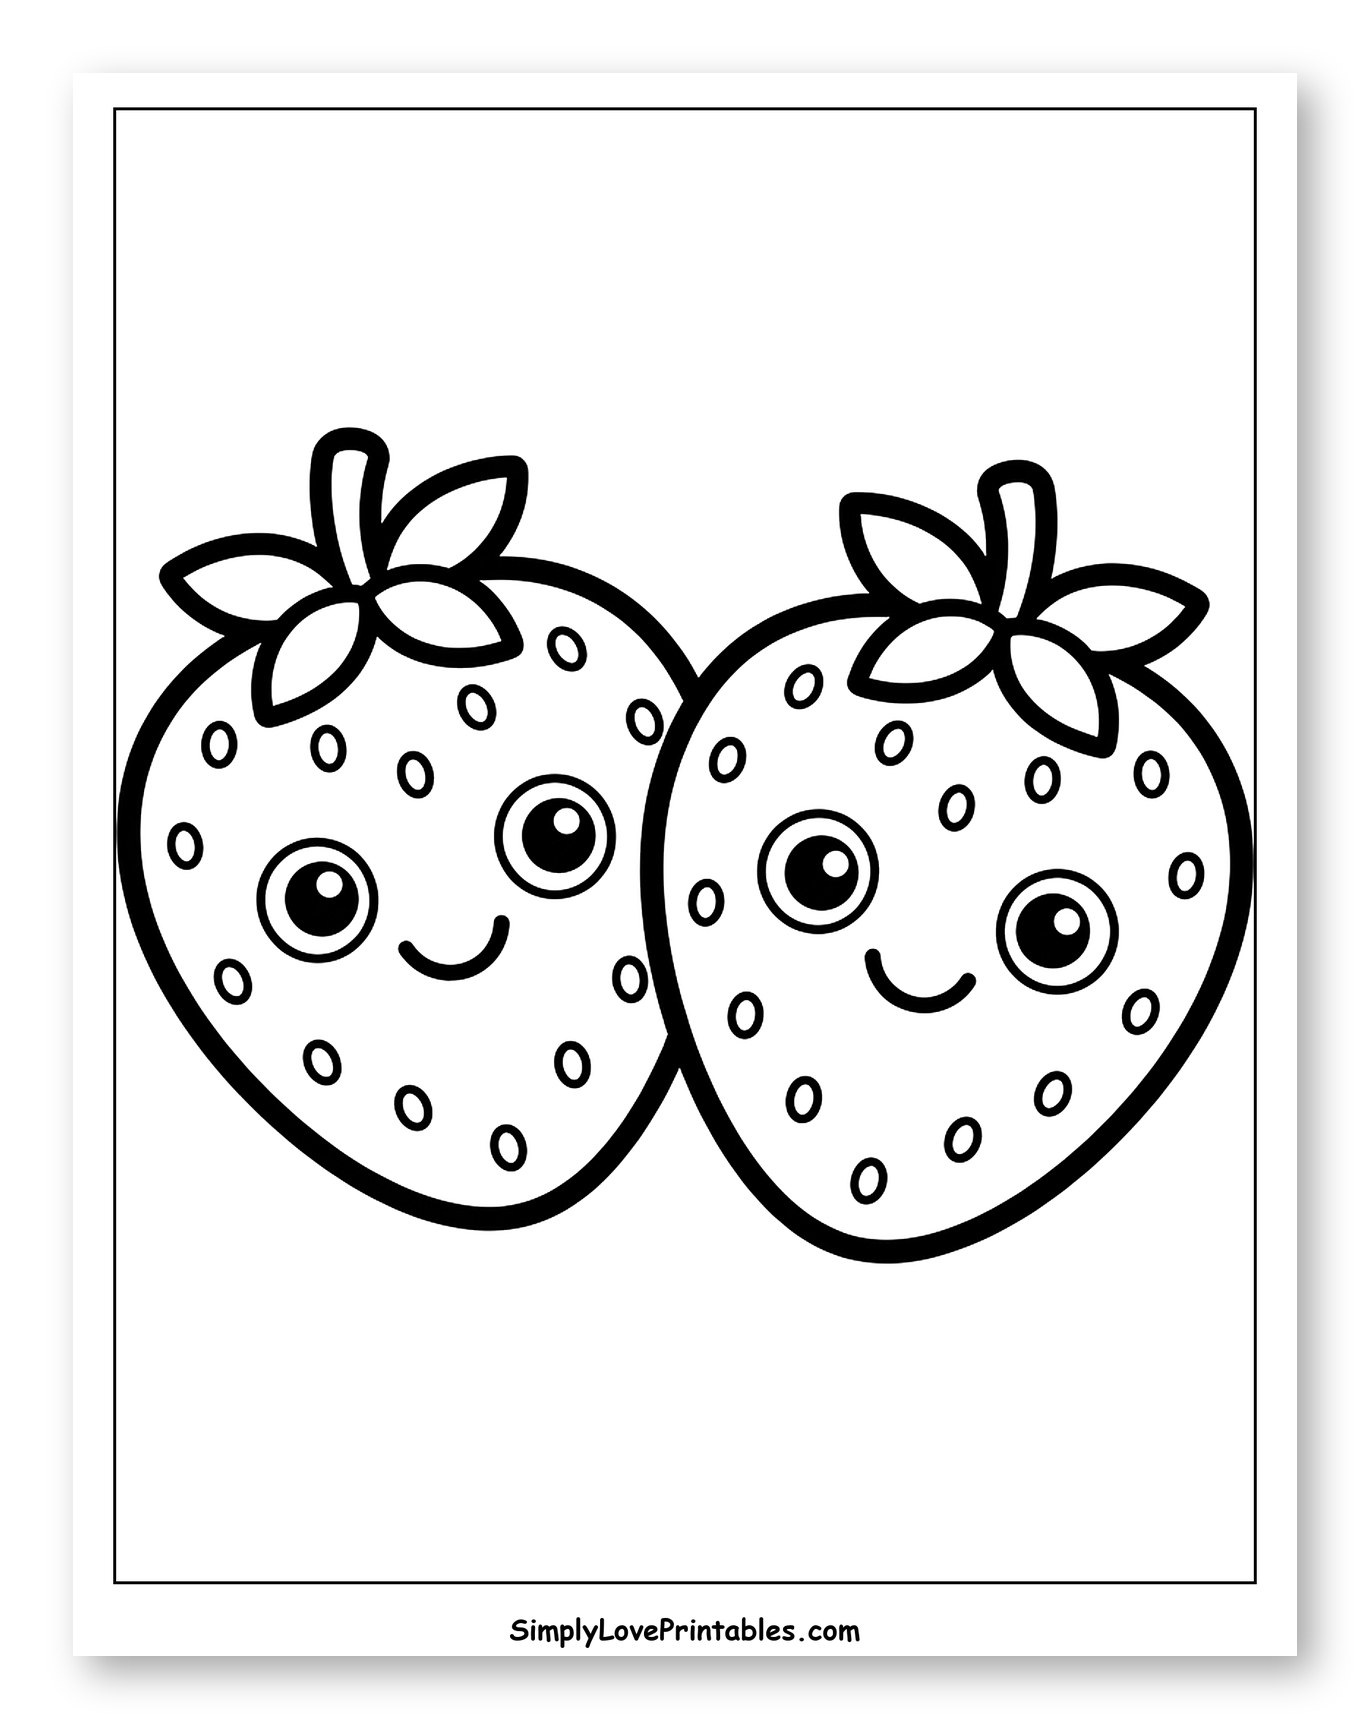
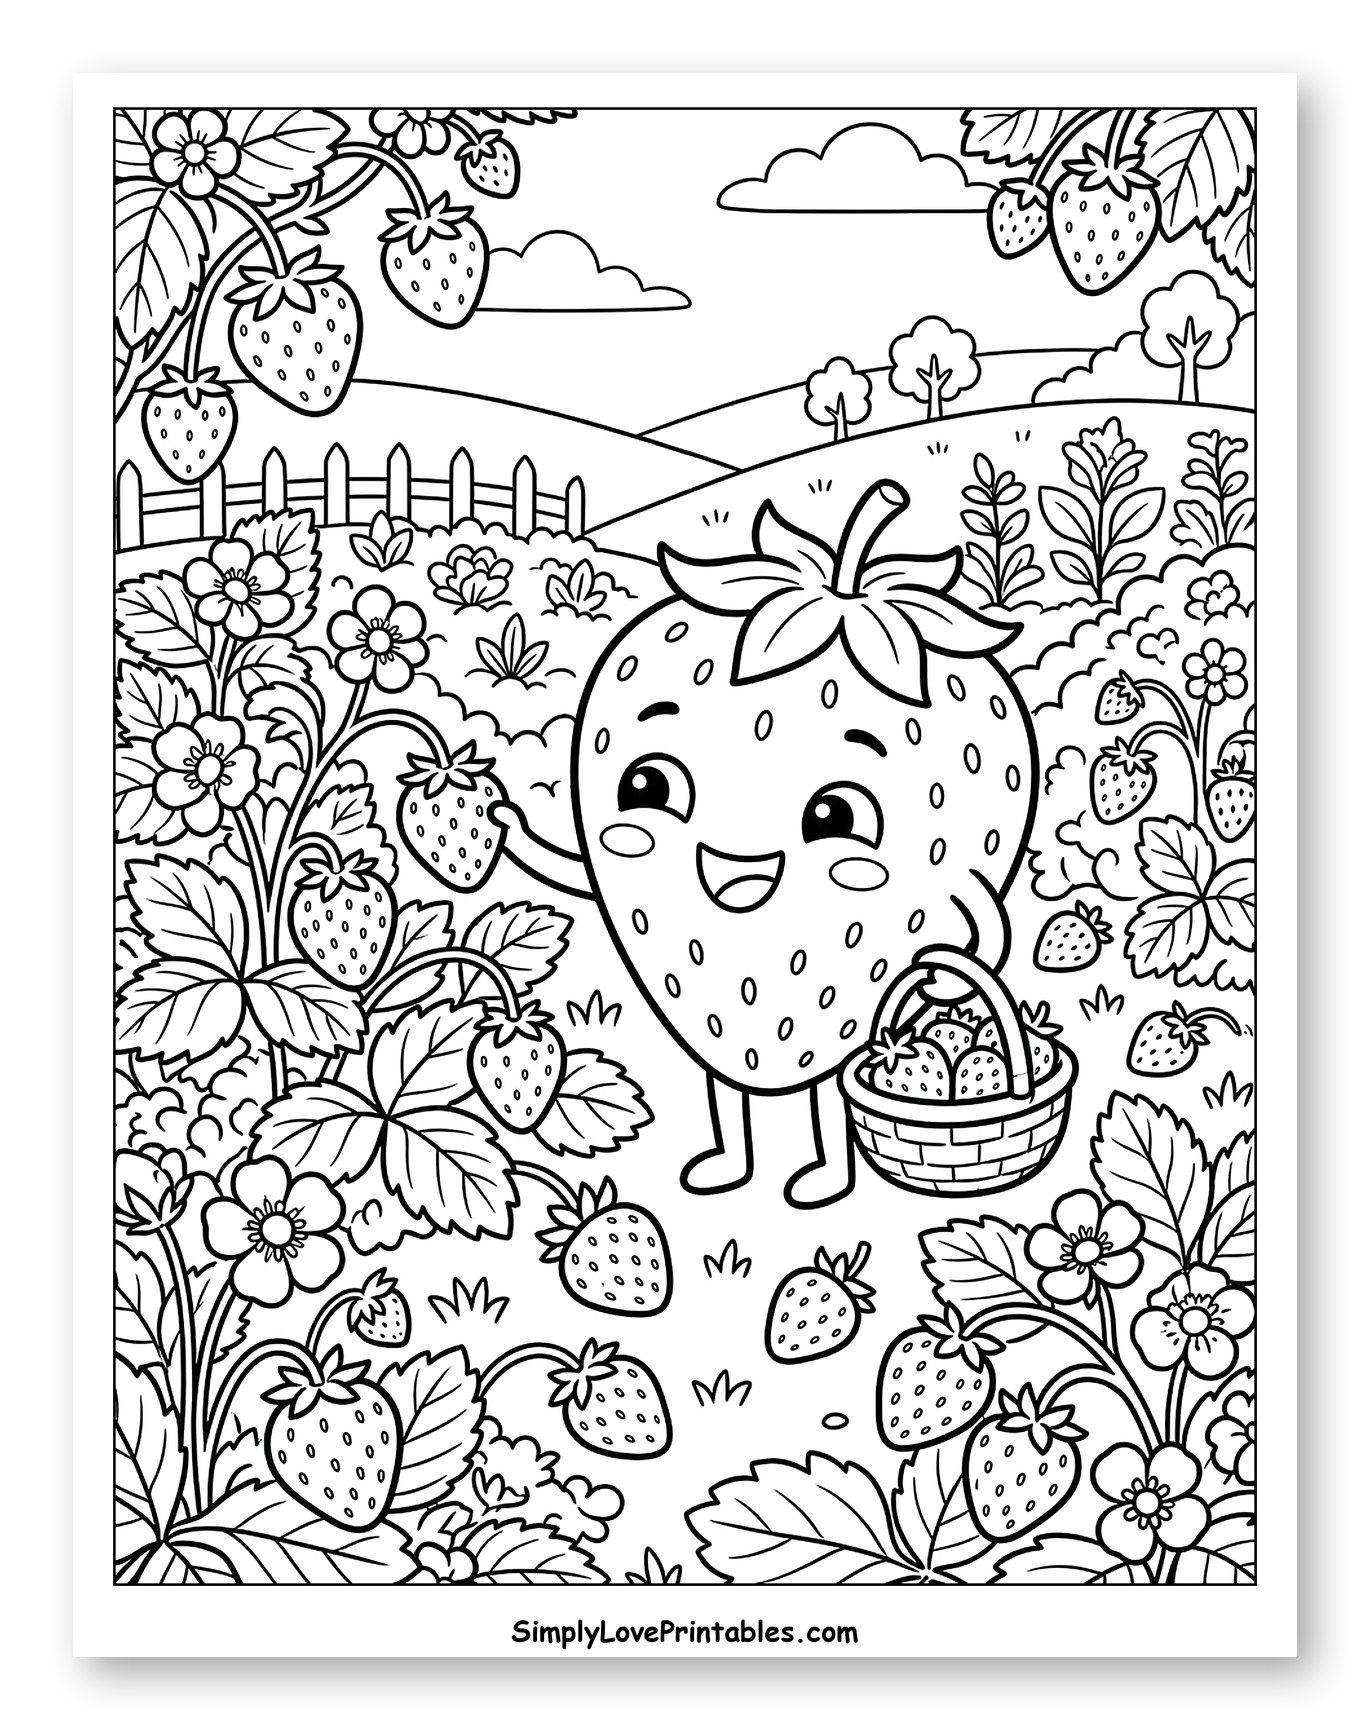
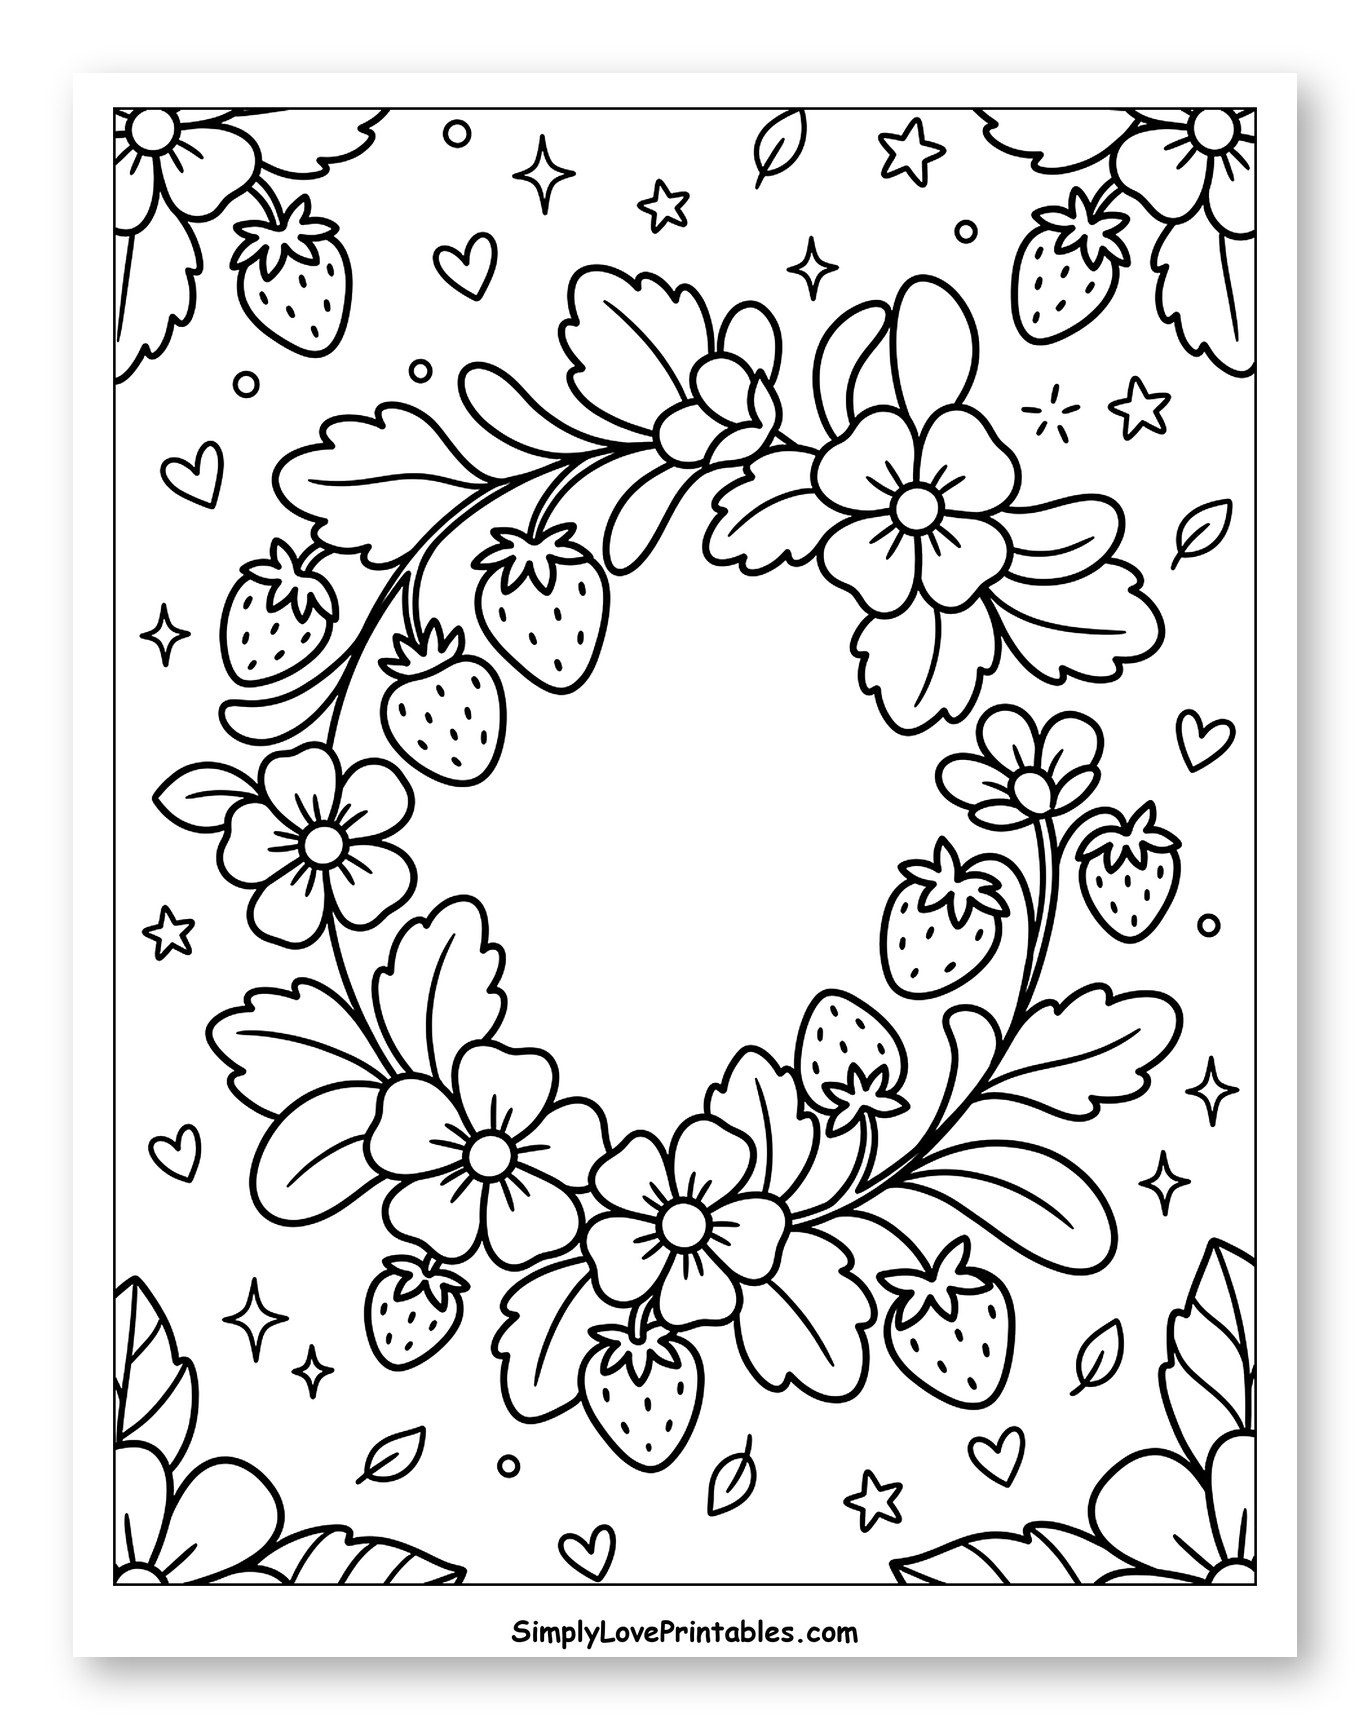
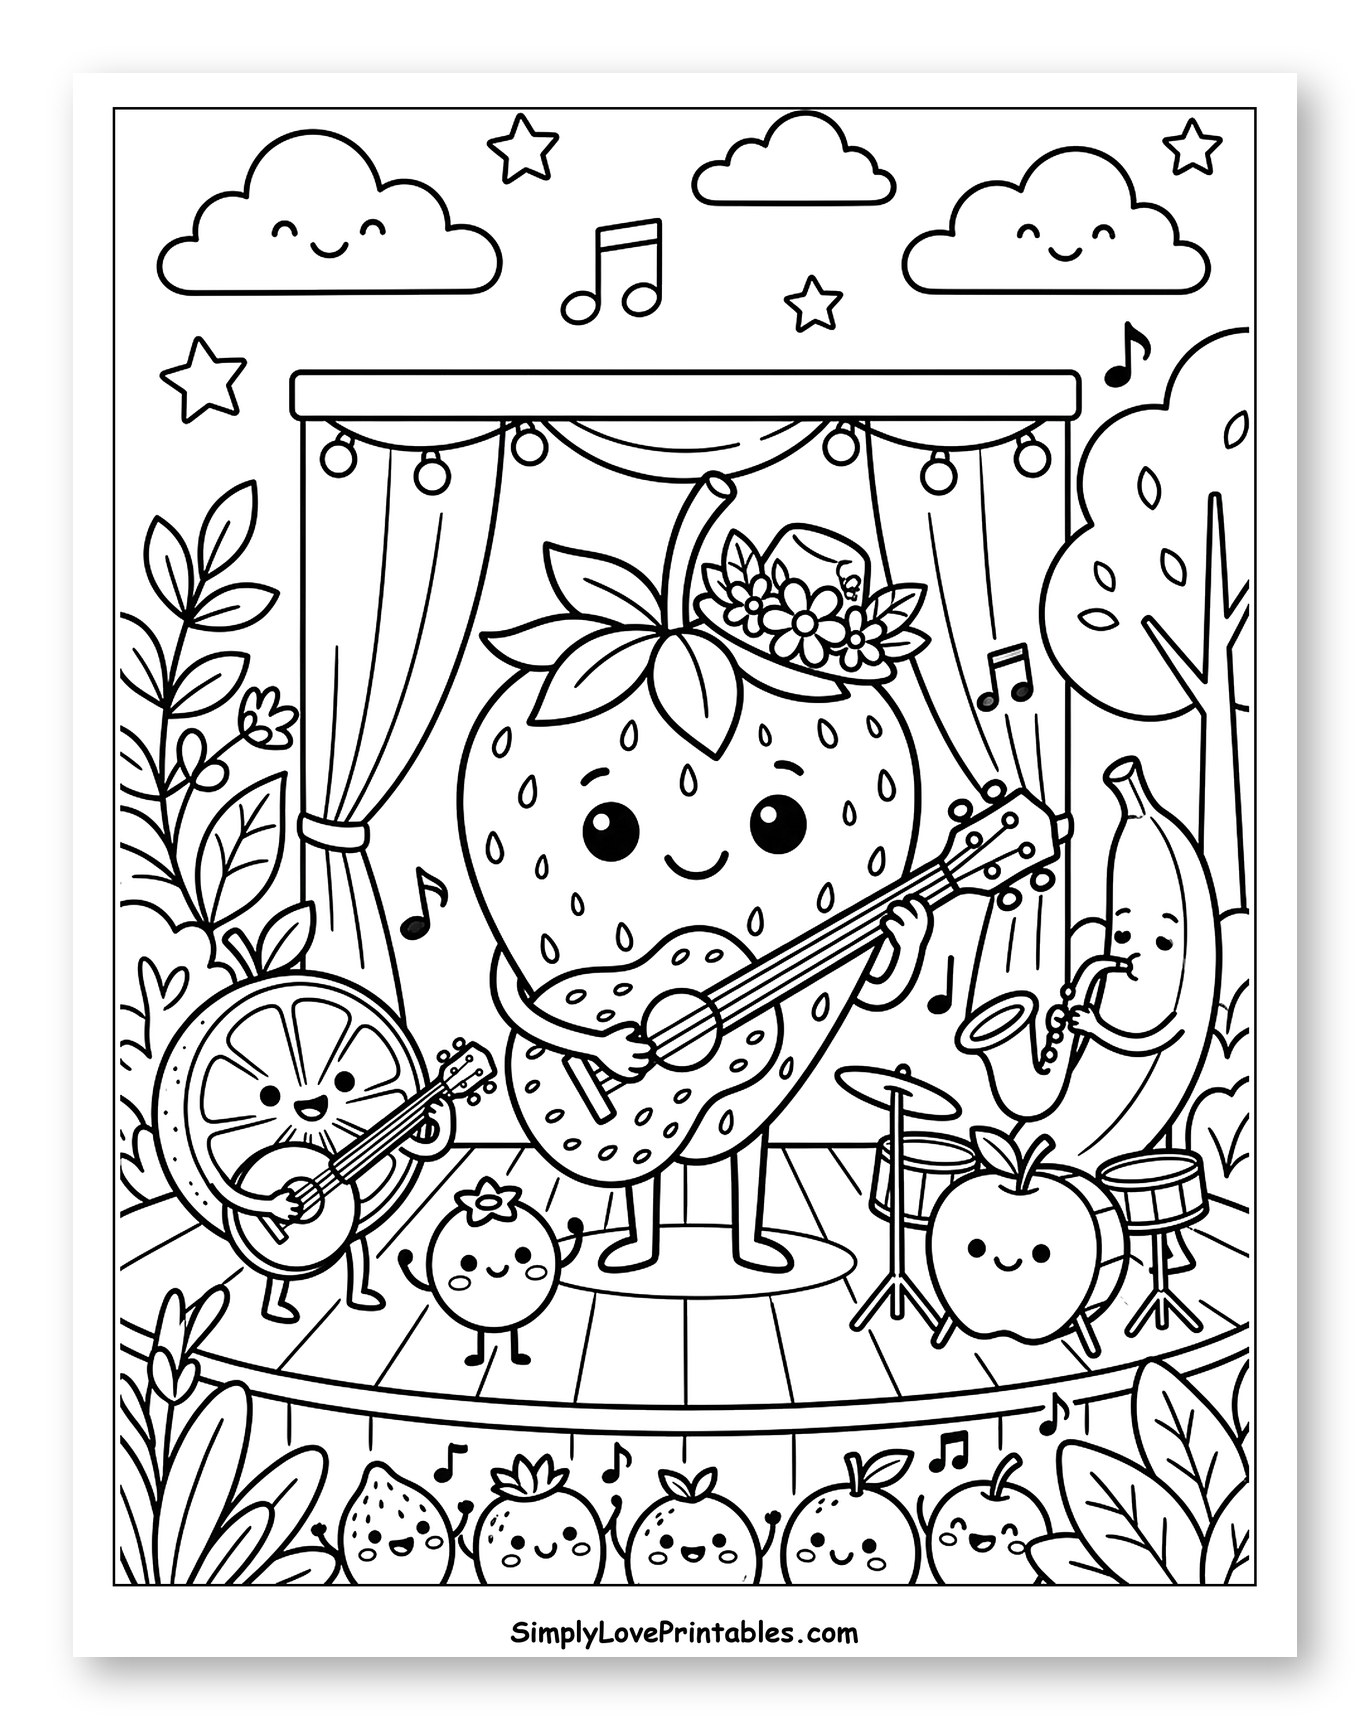
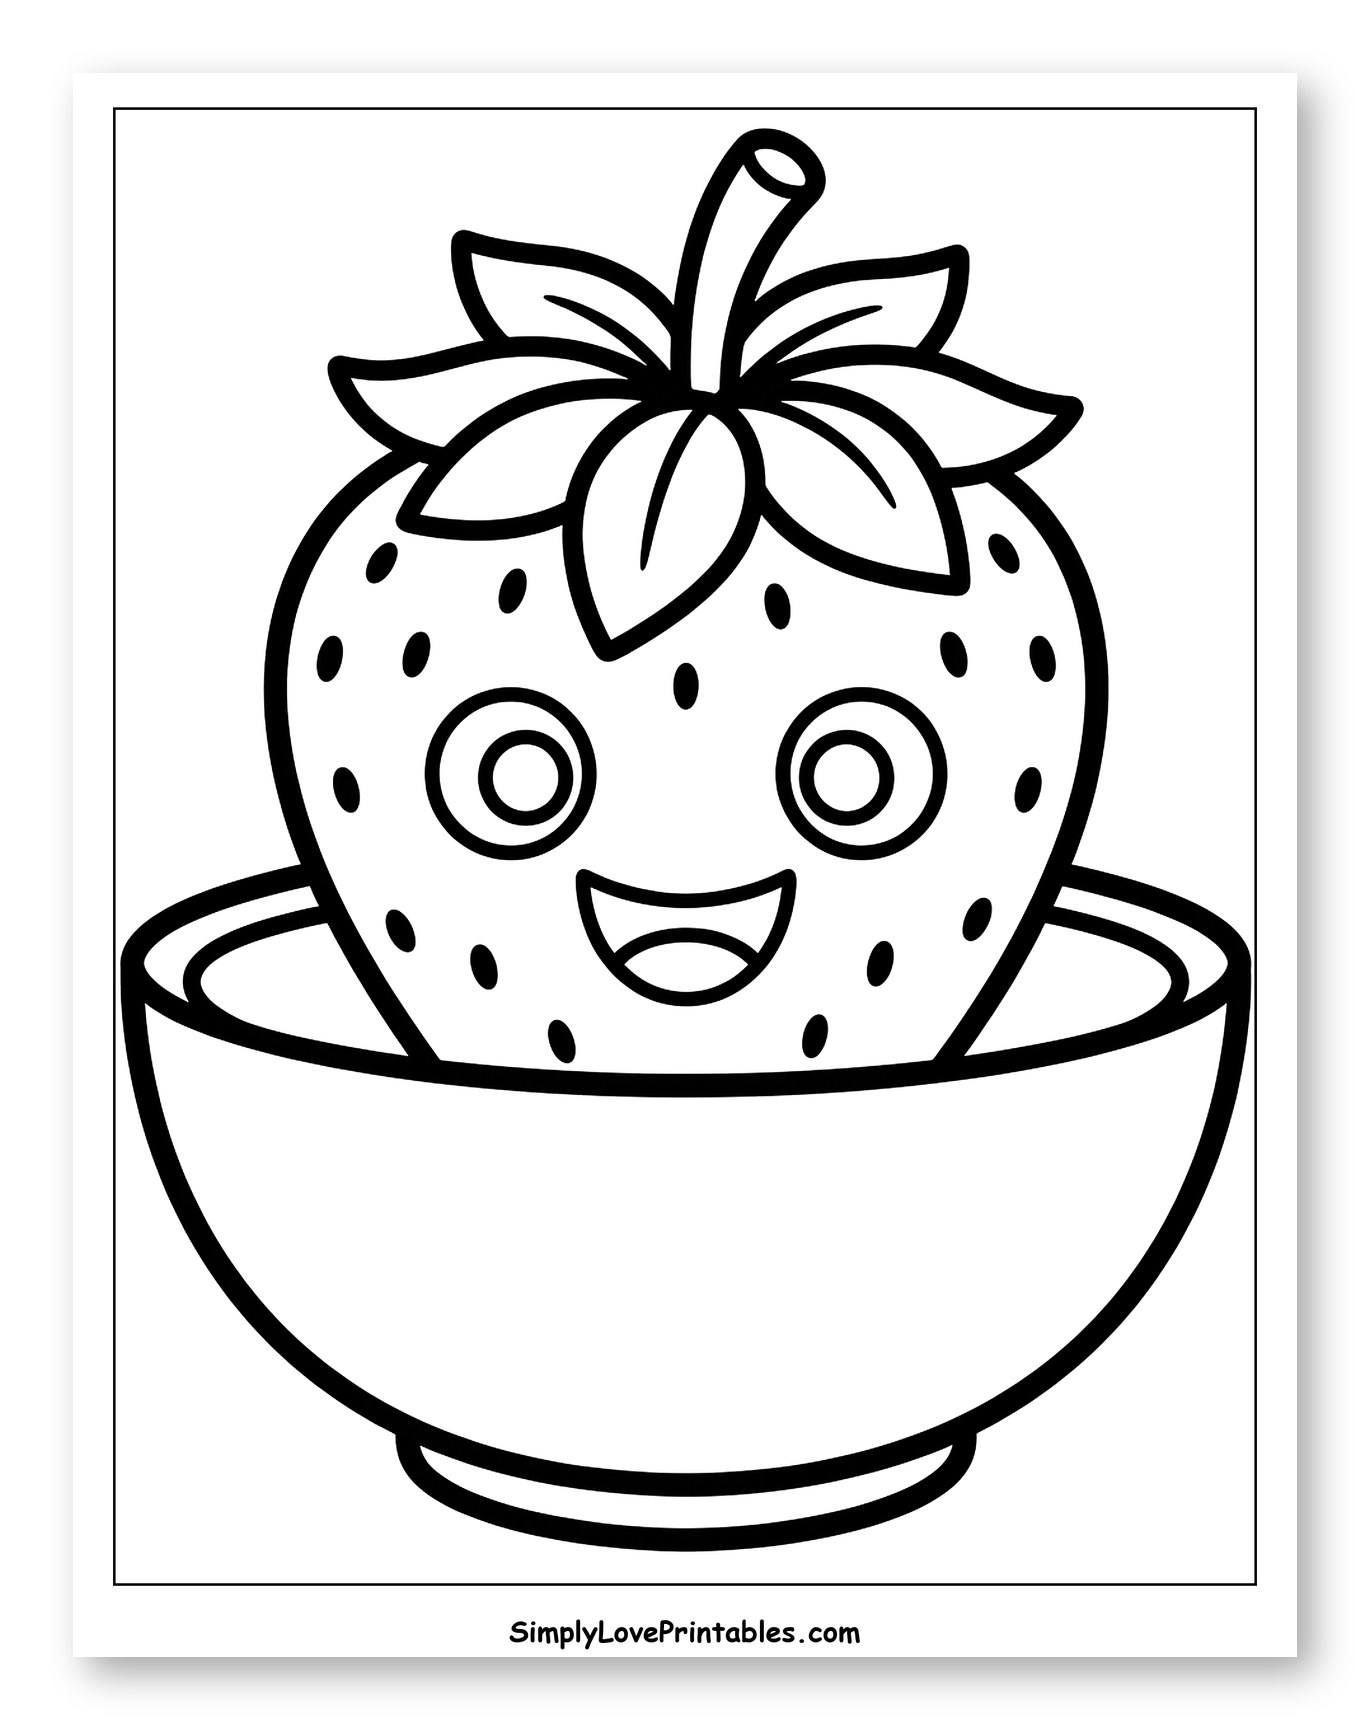
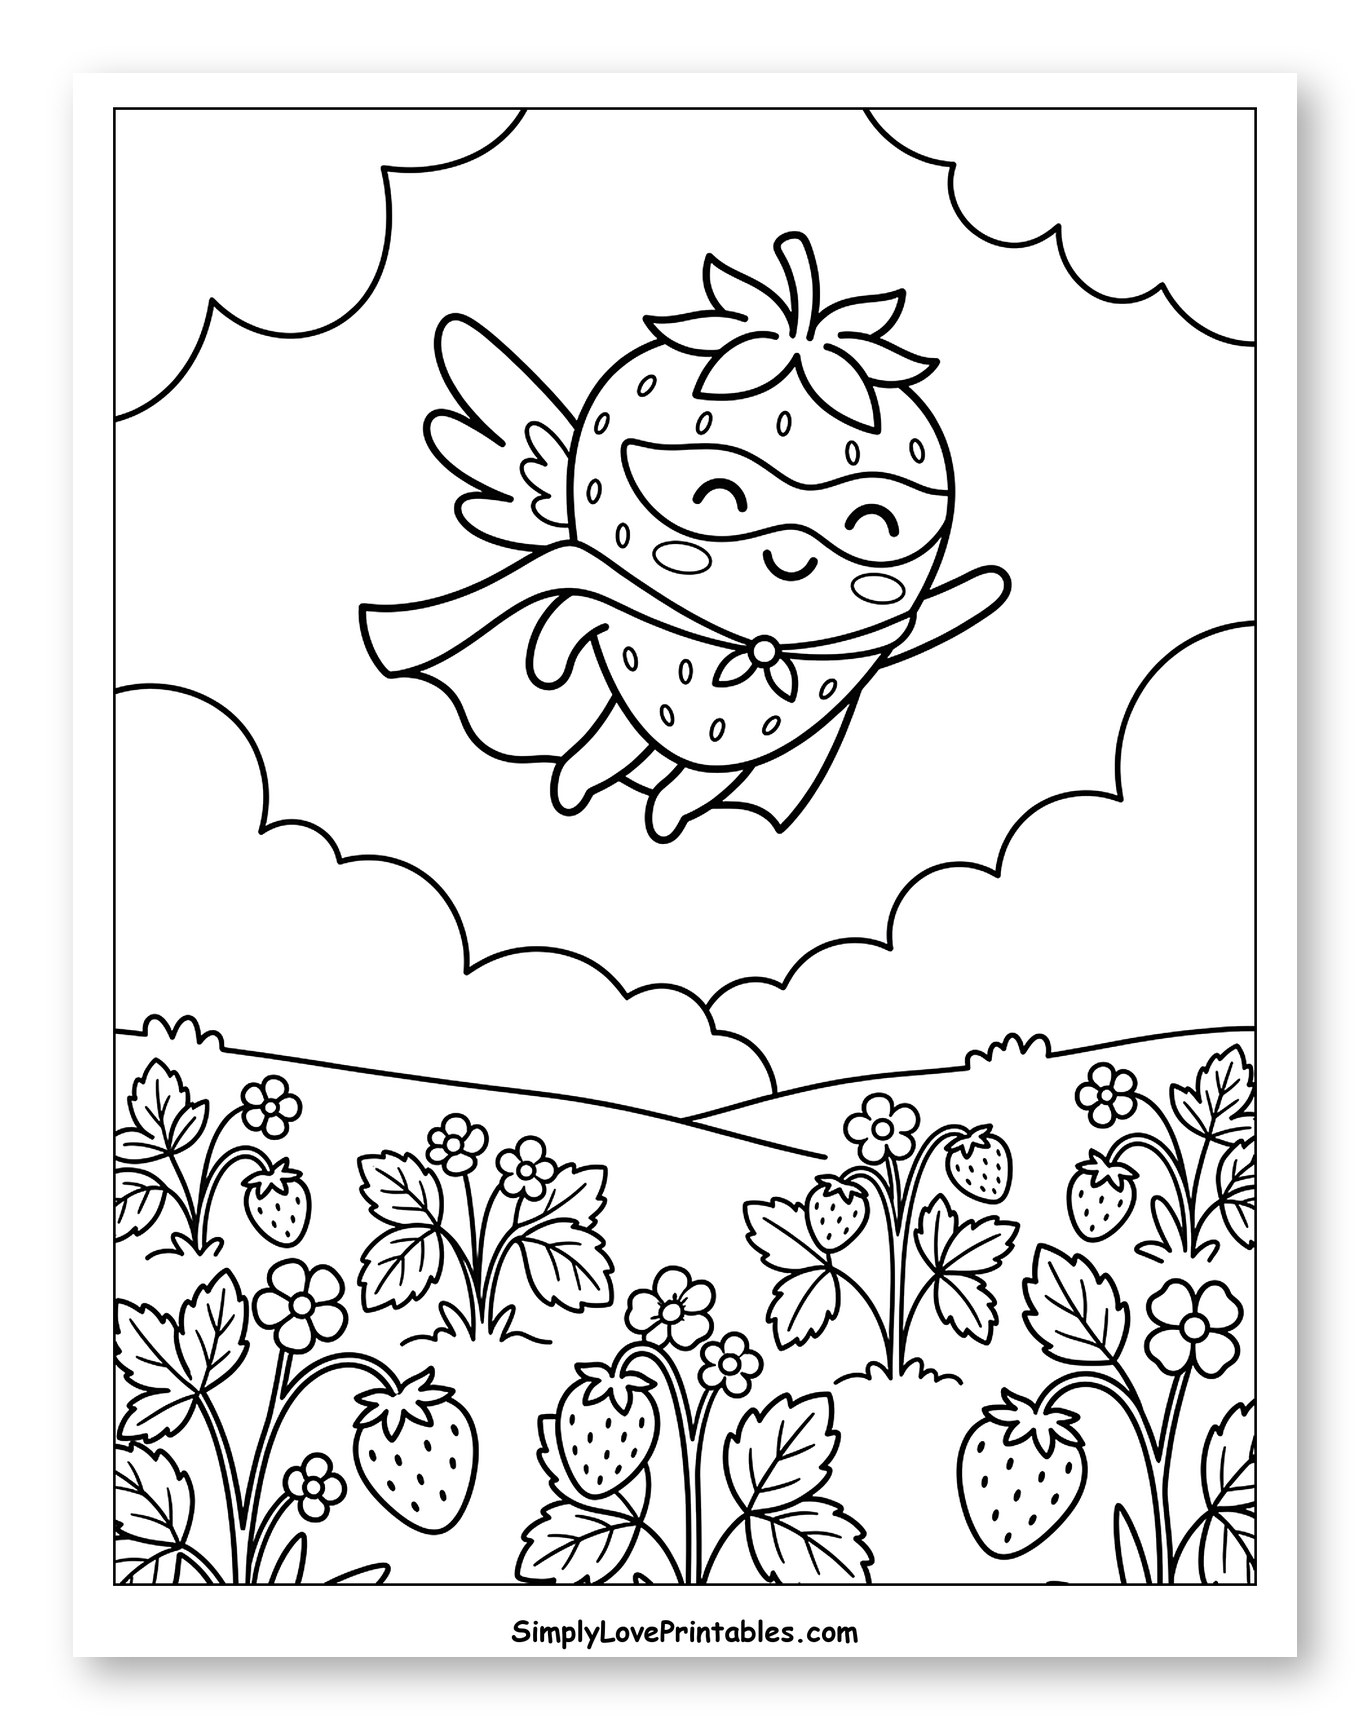
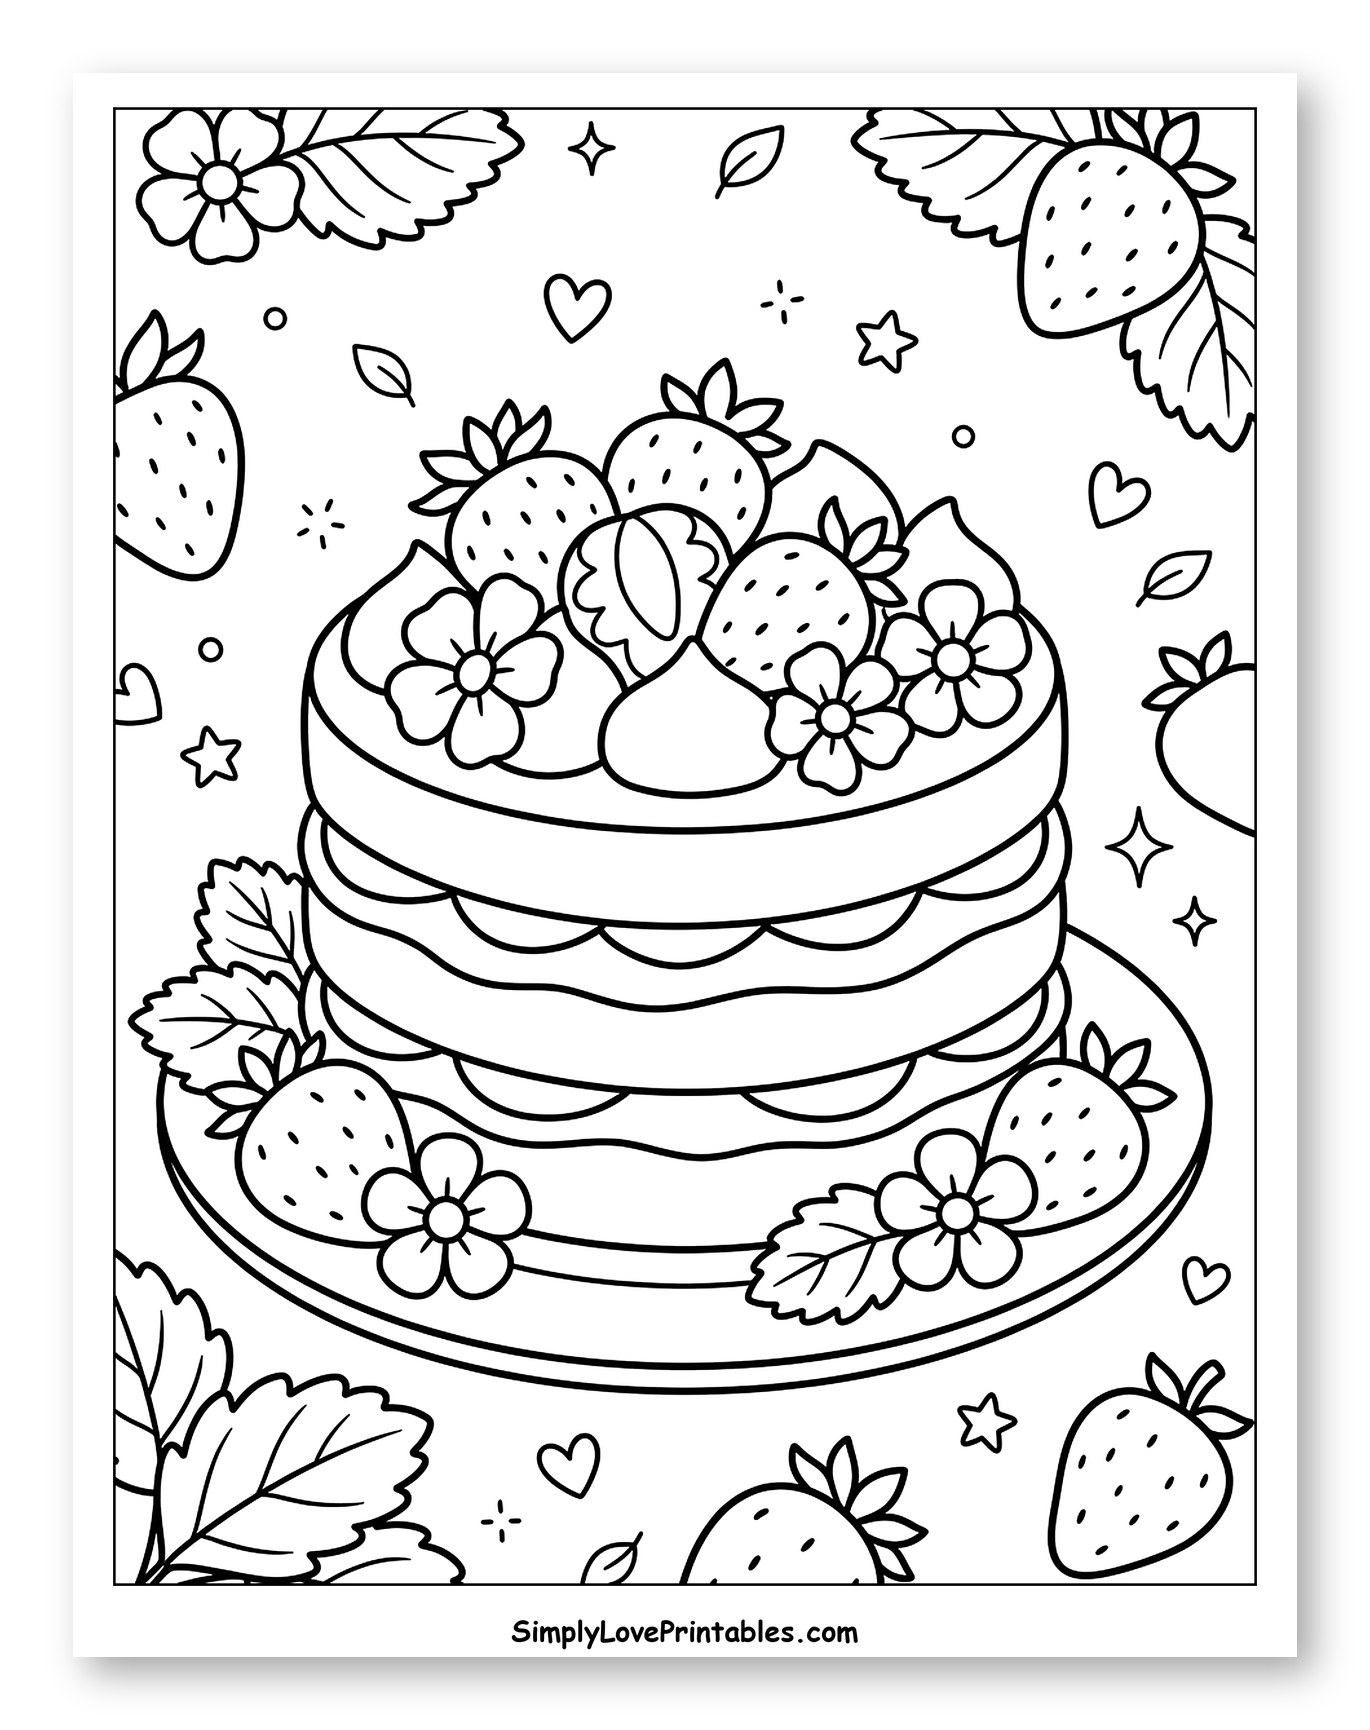
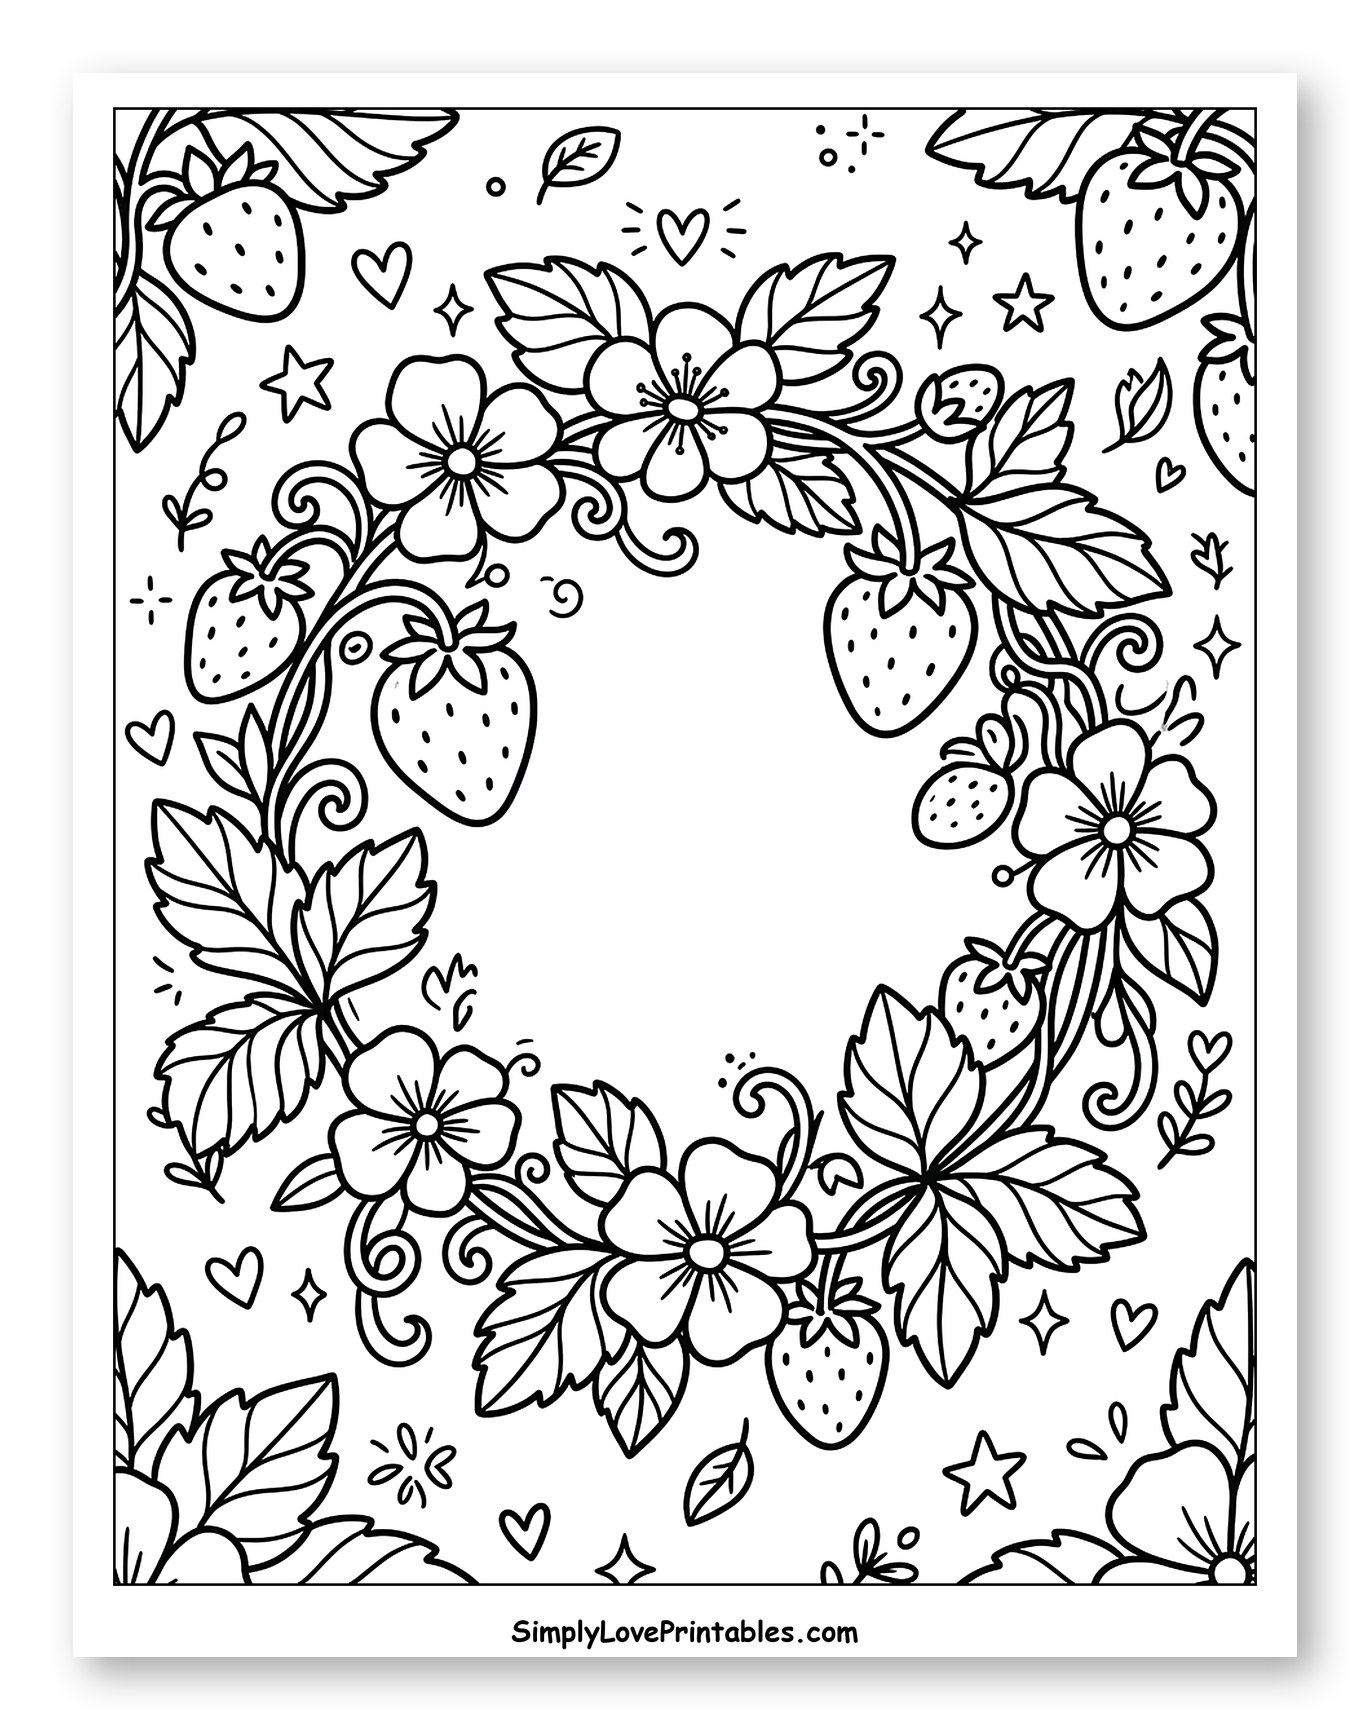
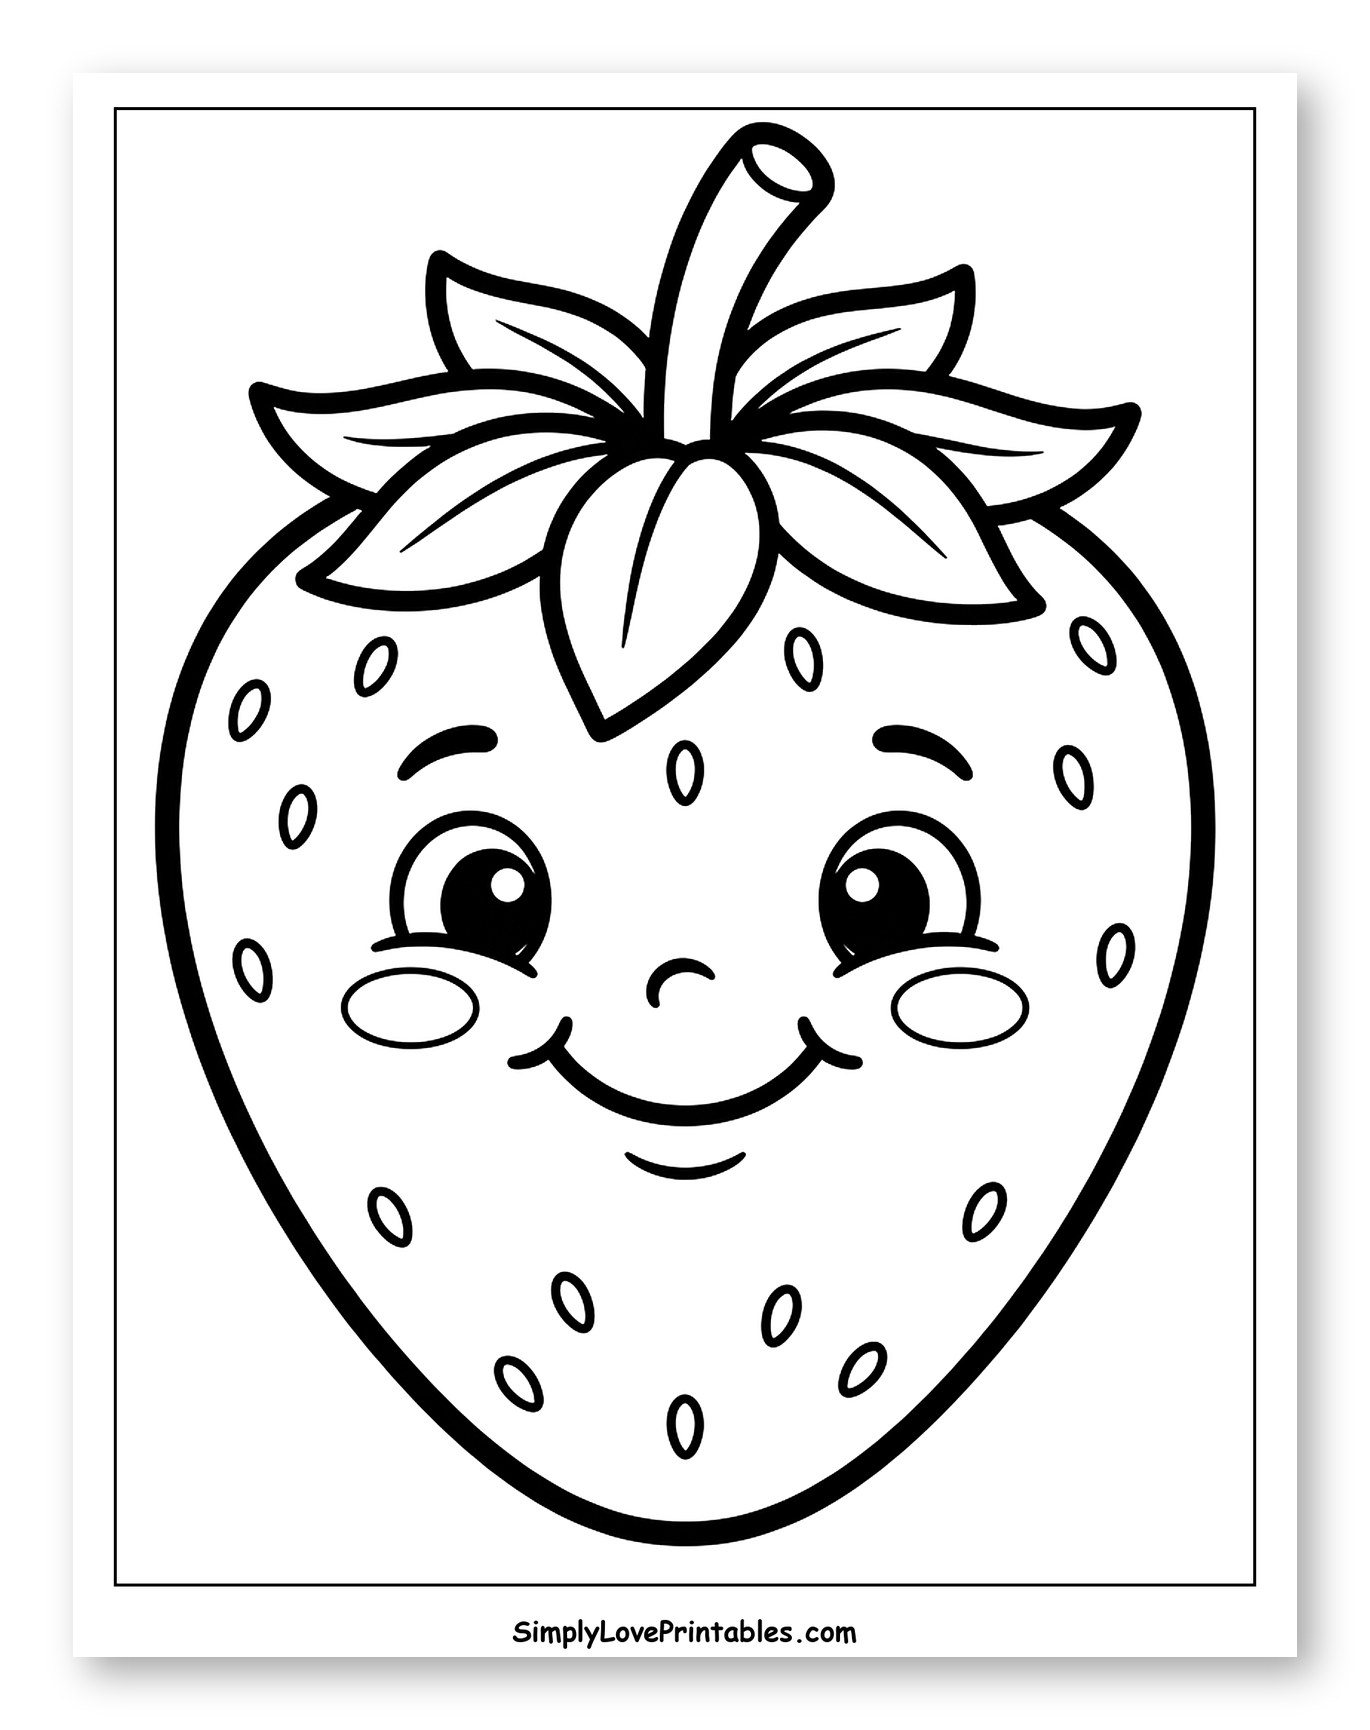
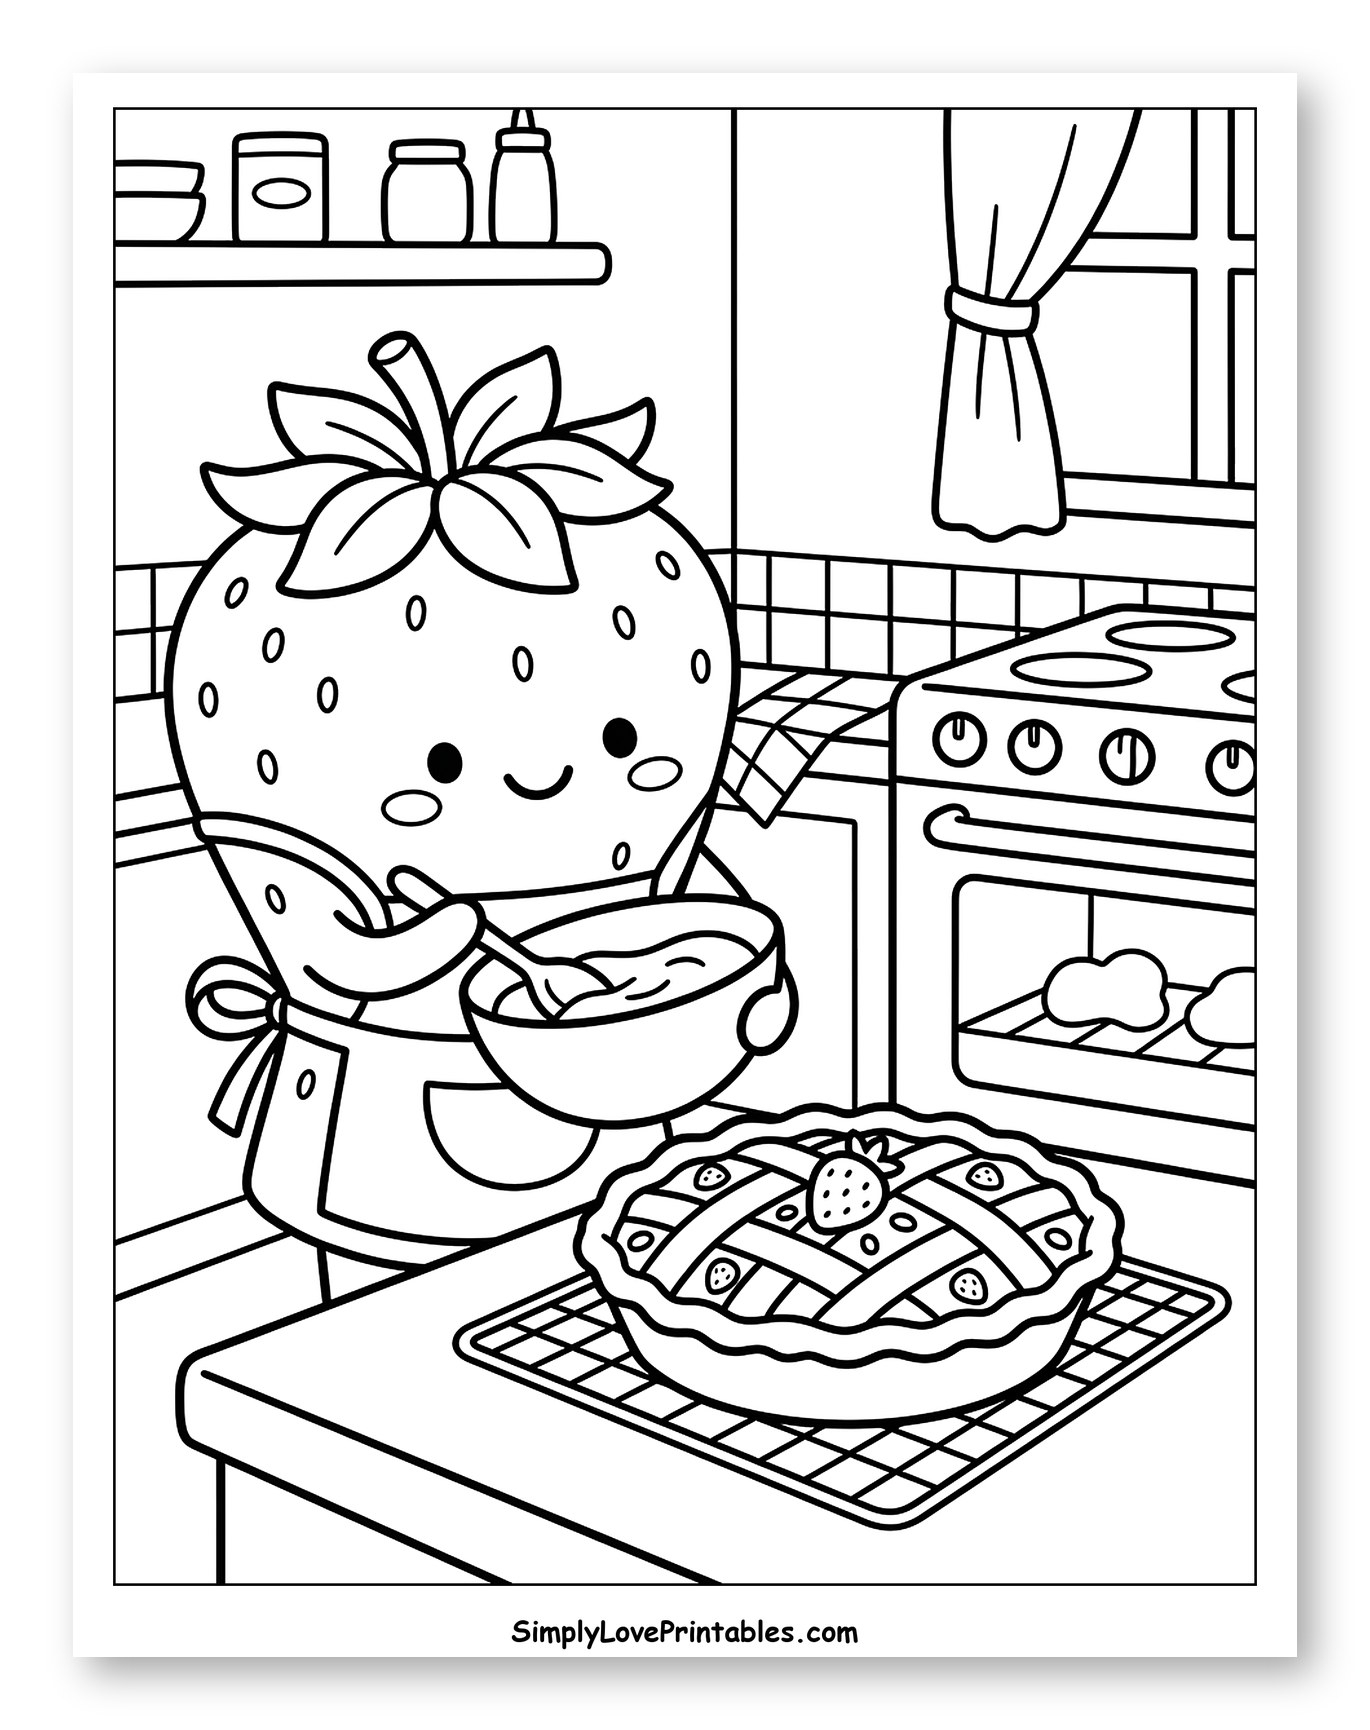
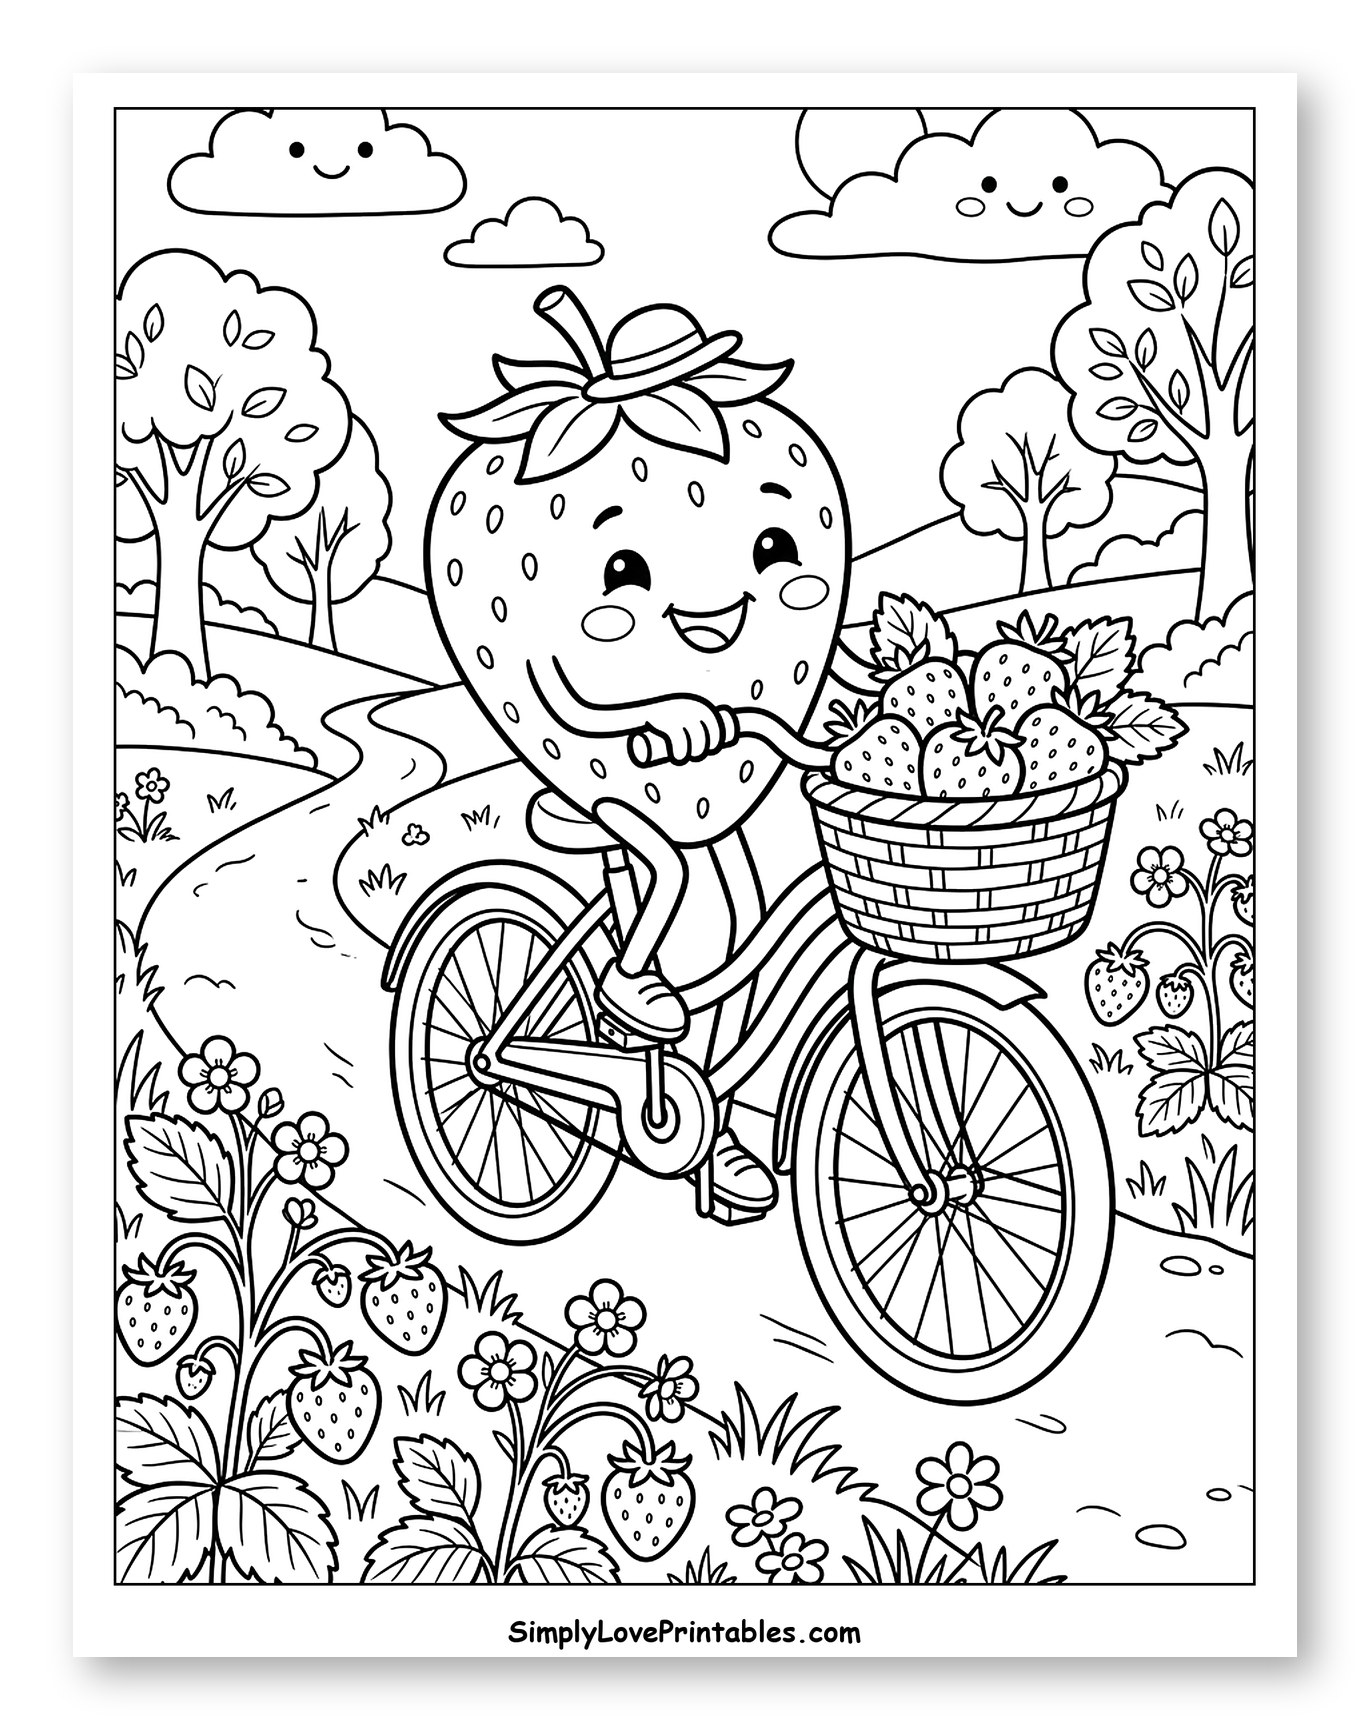
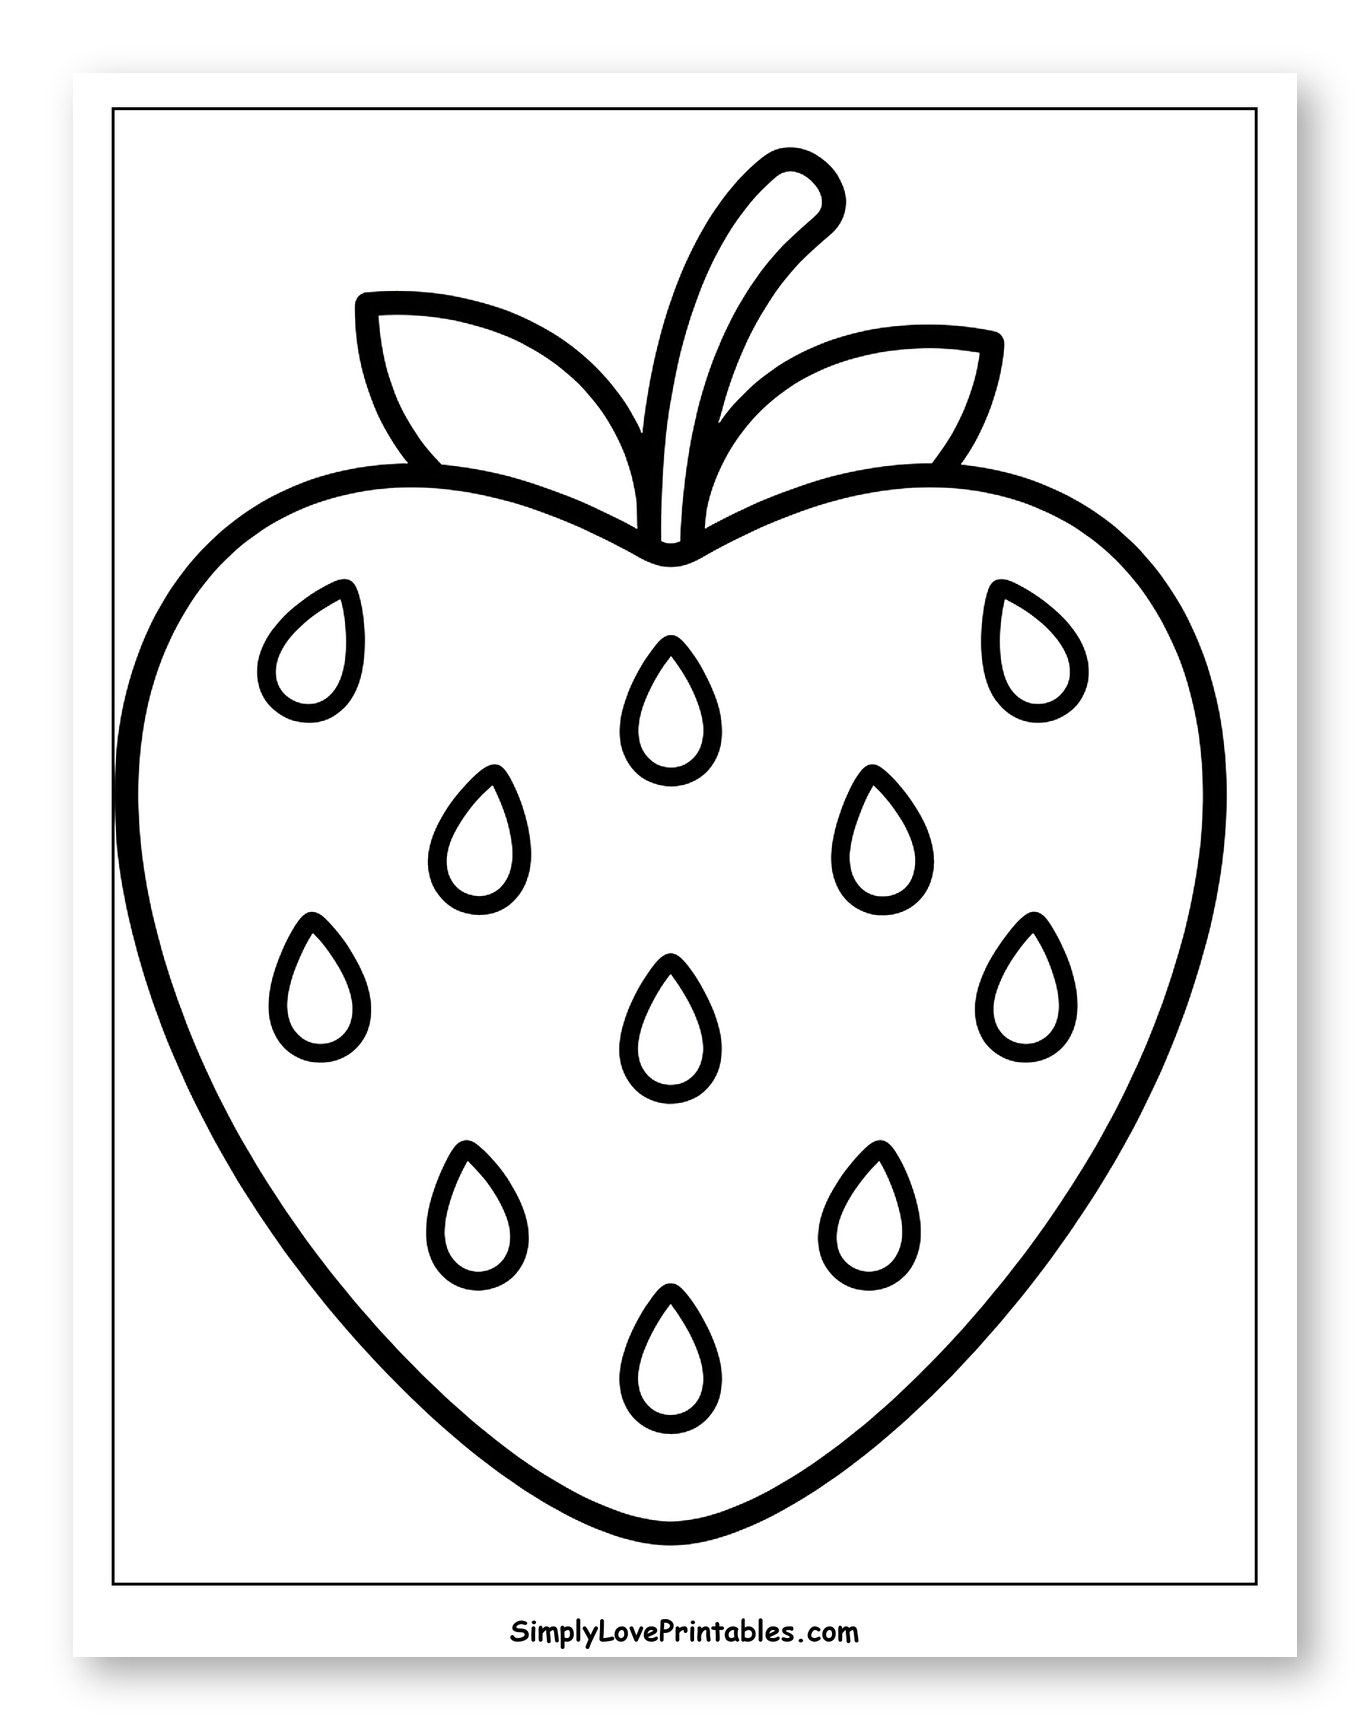
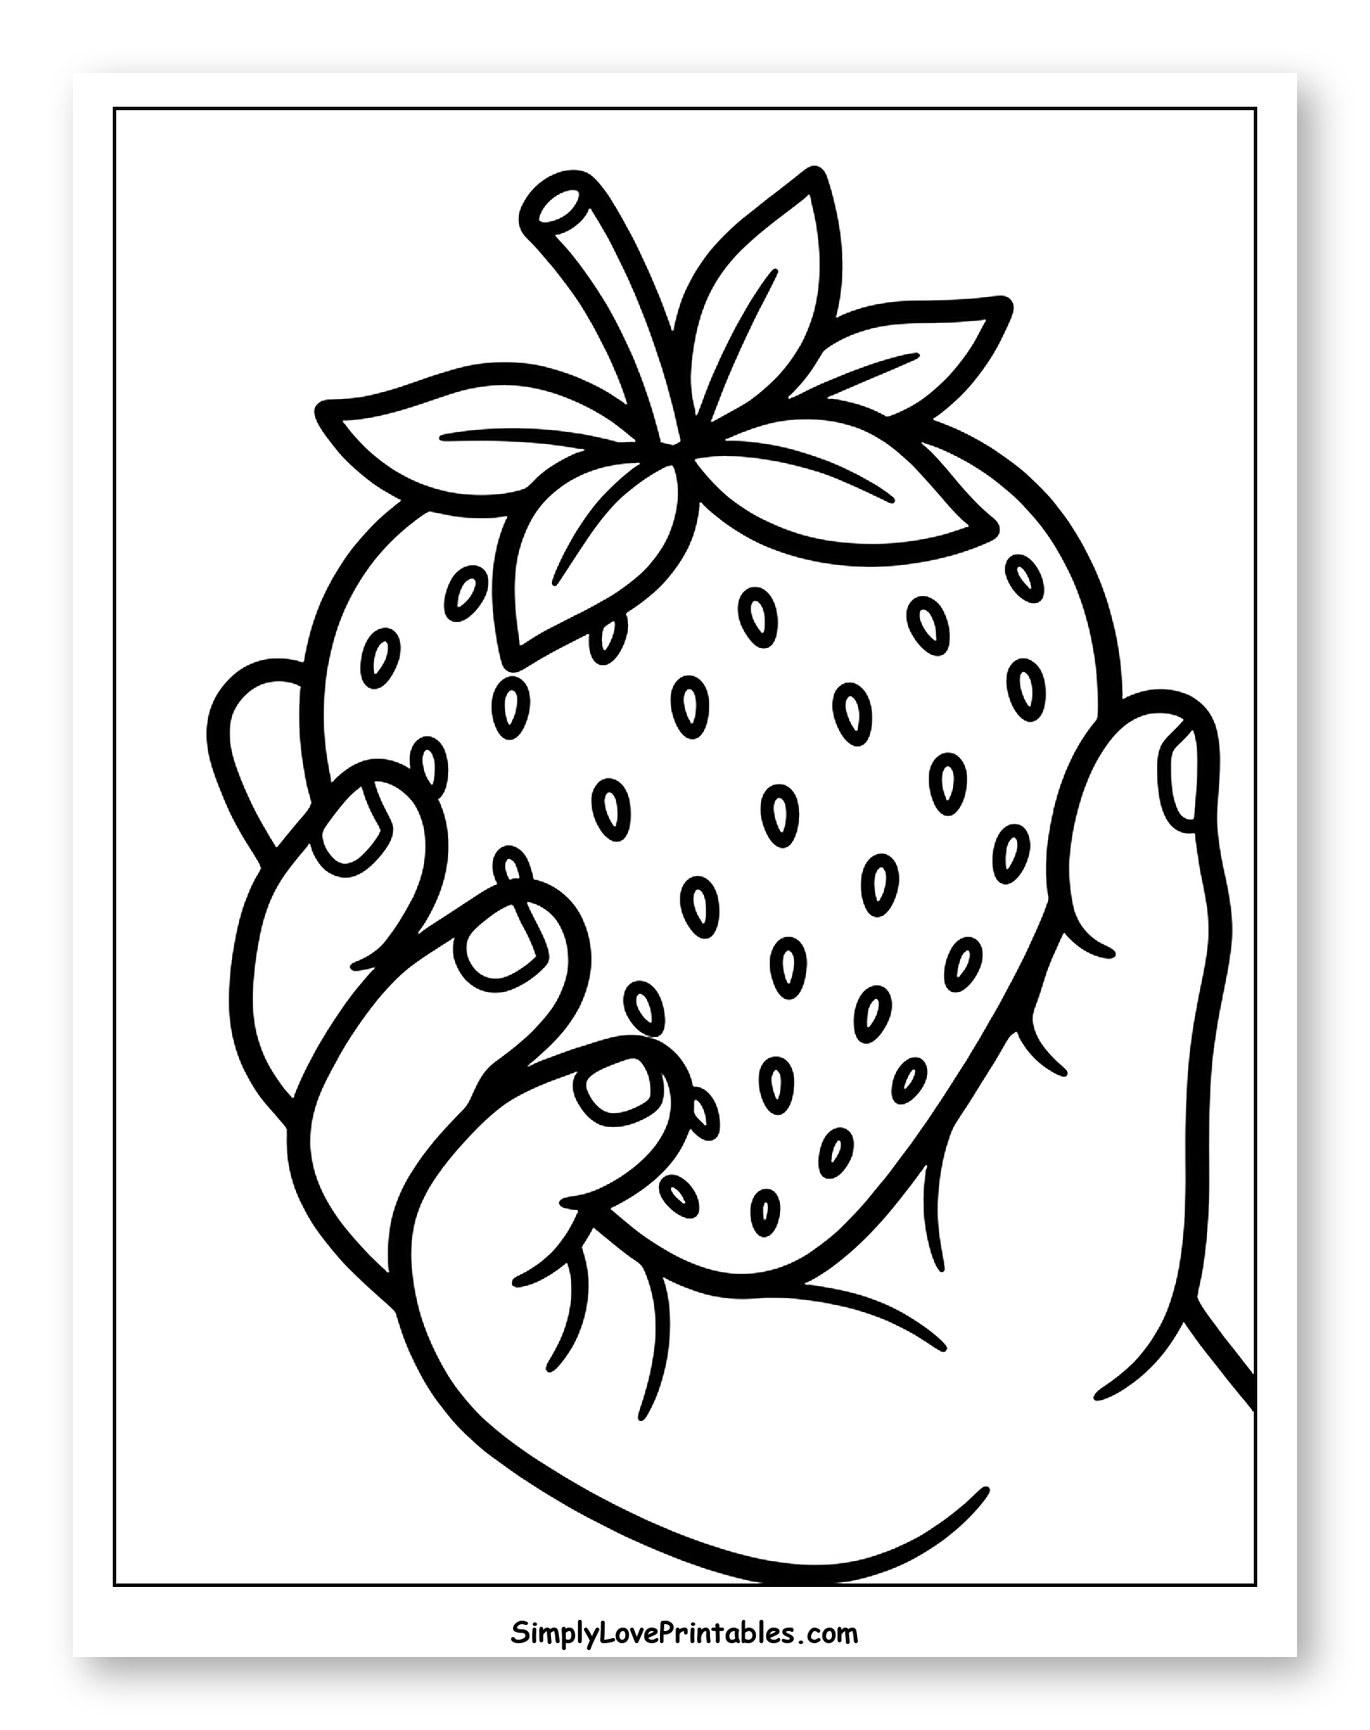
Sweet, juicy berries and vibrant red hues burst forth in these 52 strawberry coloring pages, free for you to download and print. This delightful collection celebrates the charm and deliciousness of this beloved fruit, capturing the essence of a perfect summer treat!
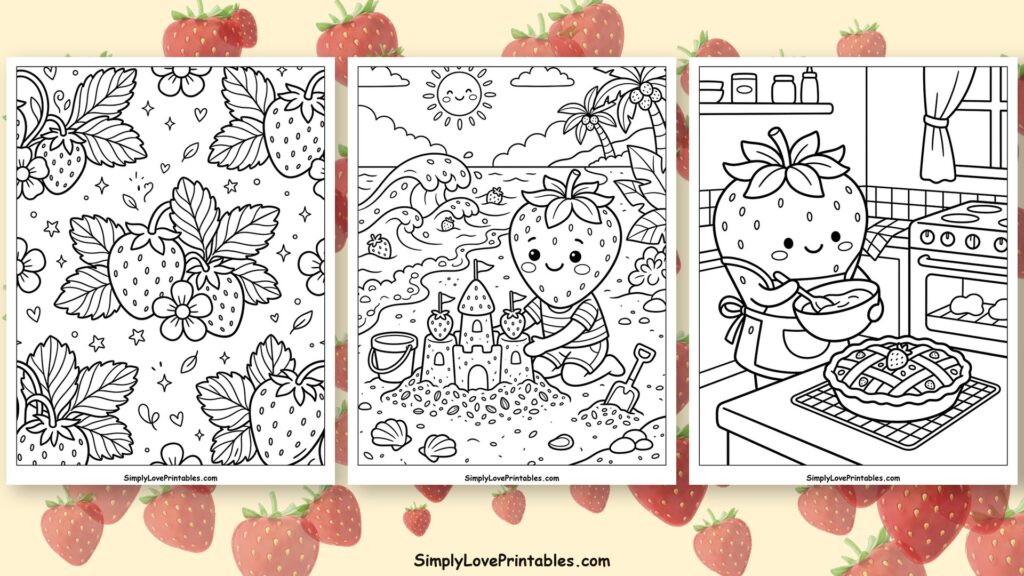
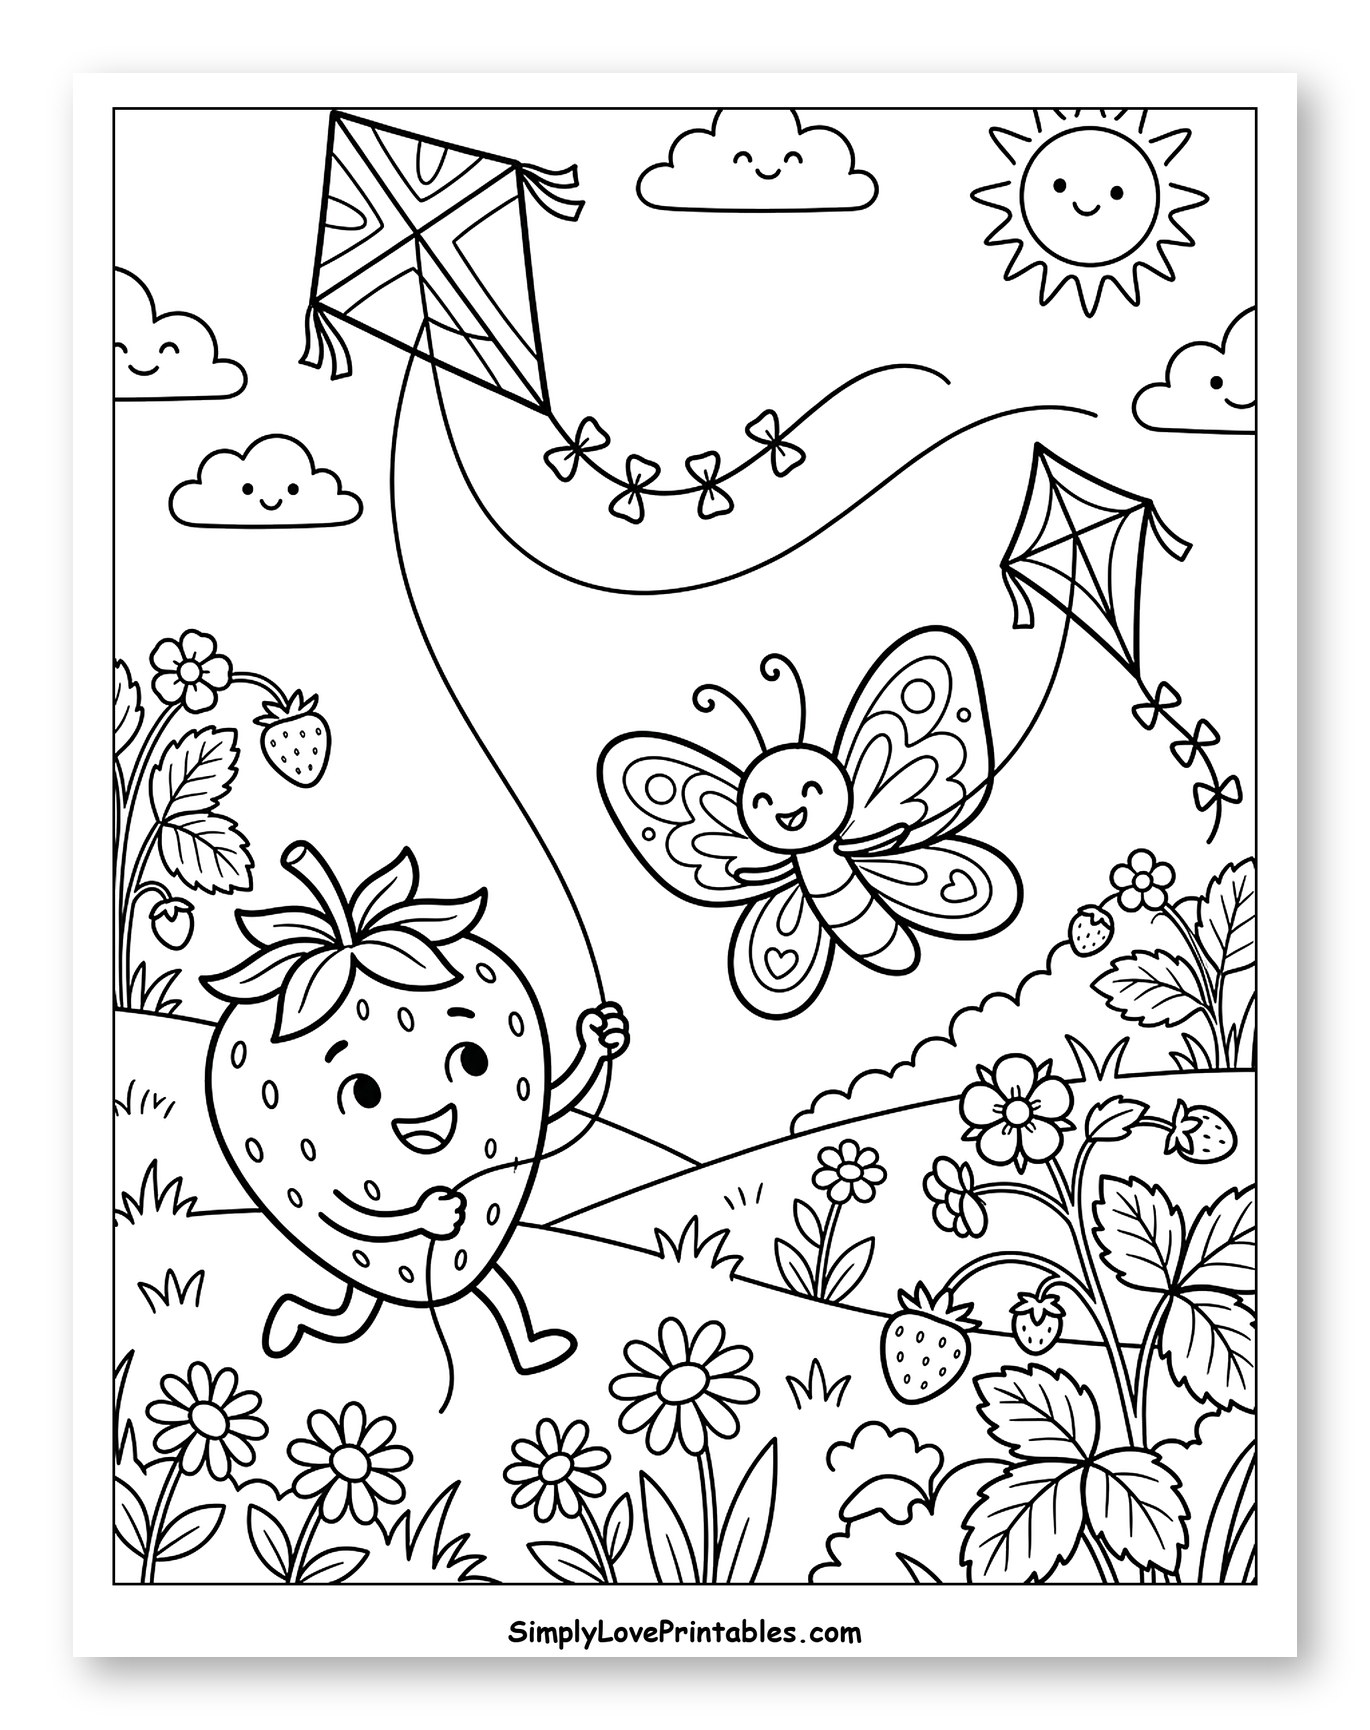
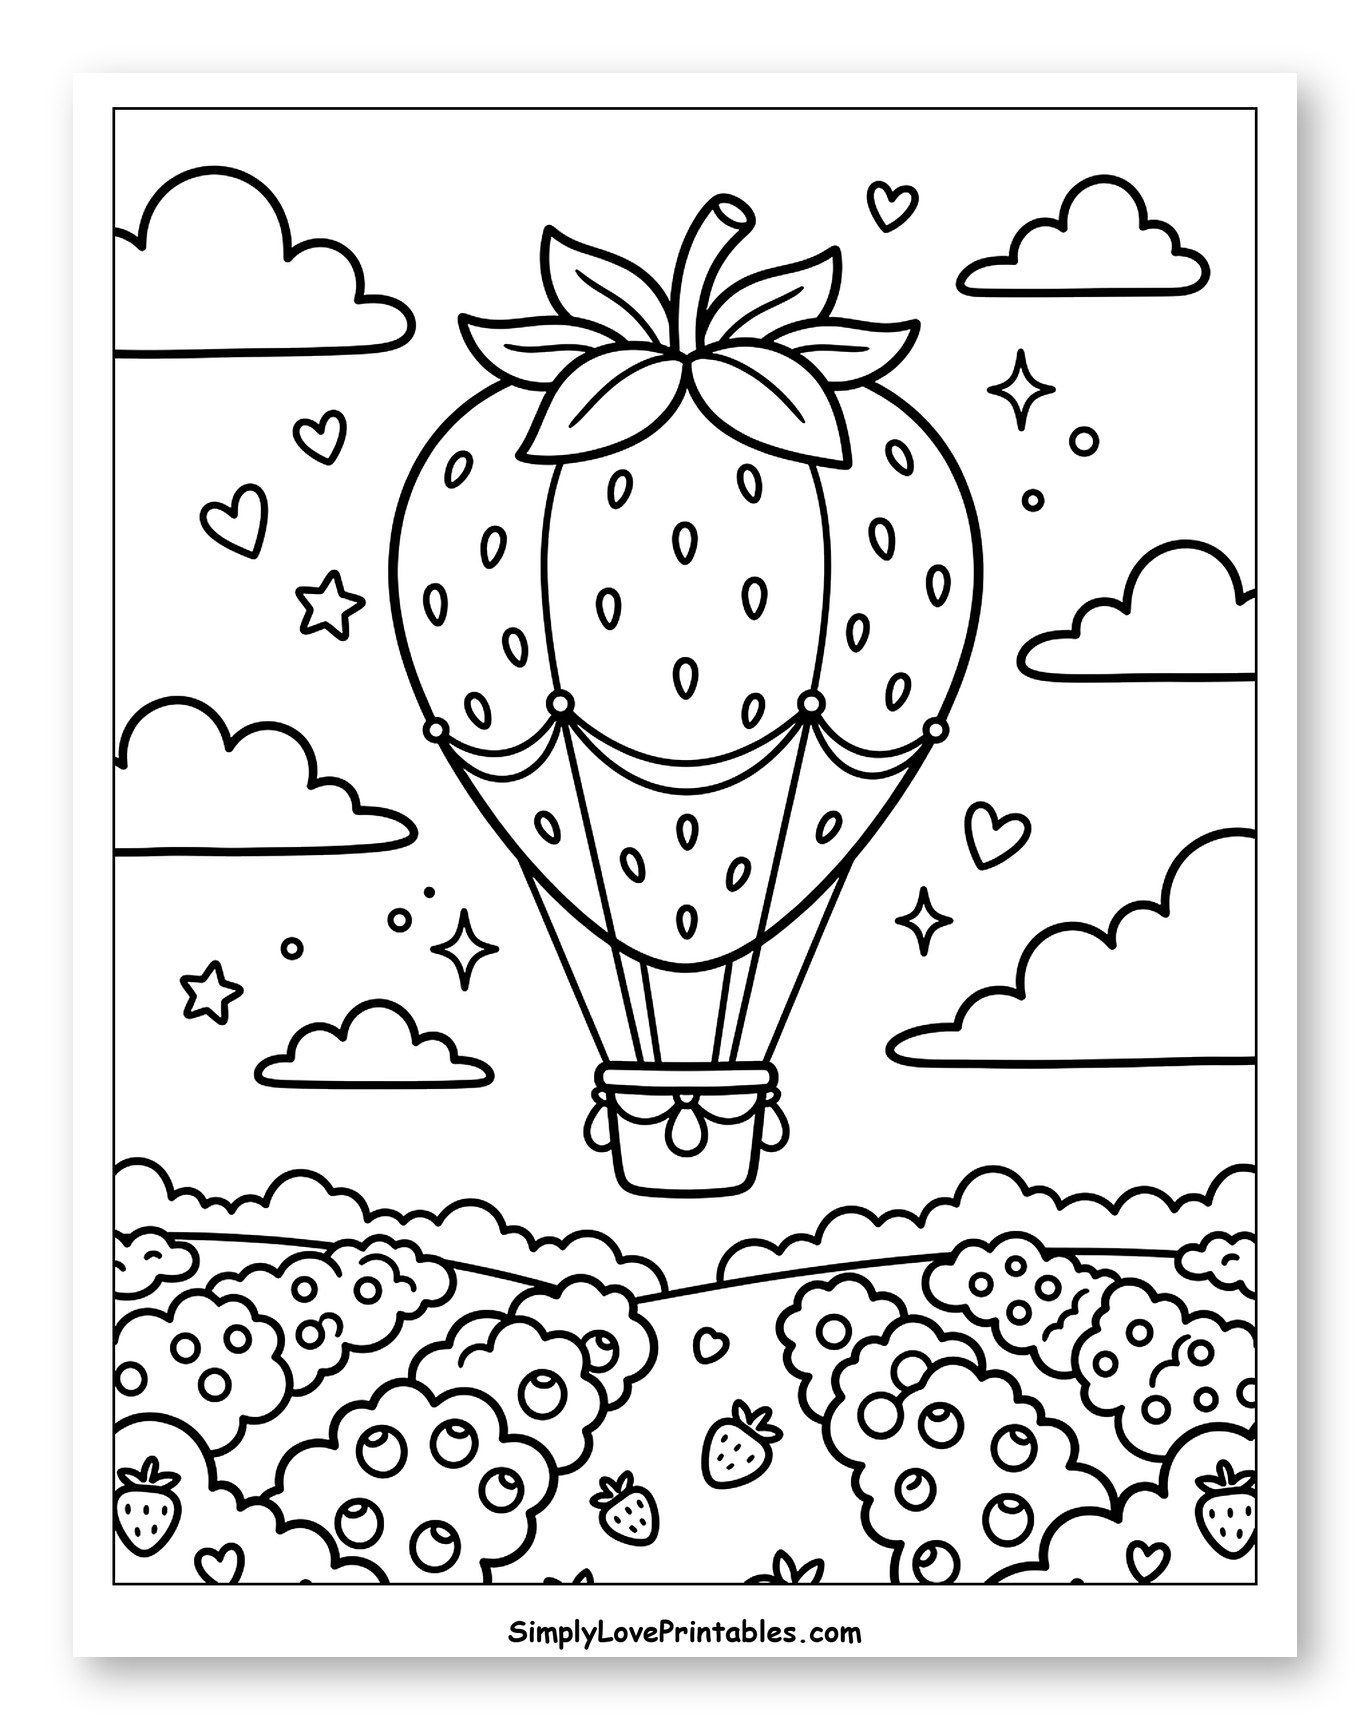
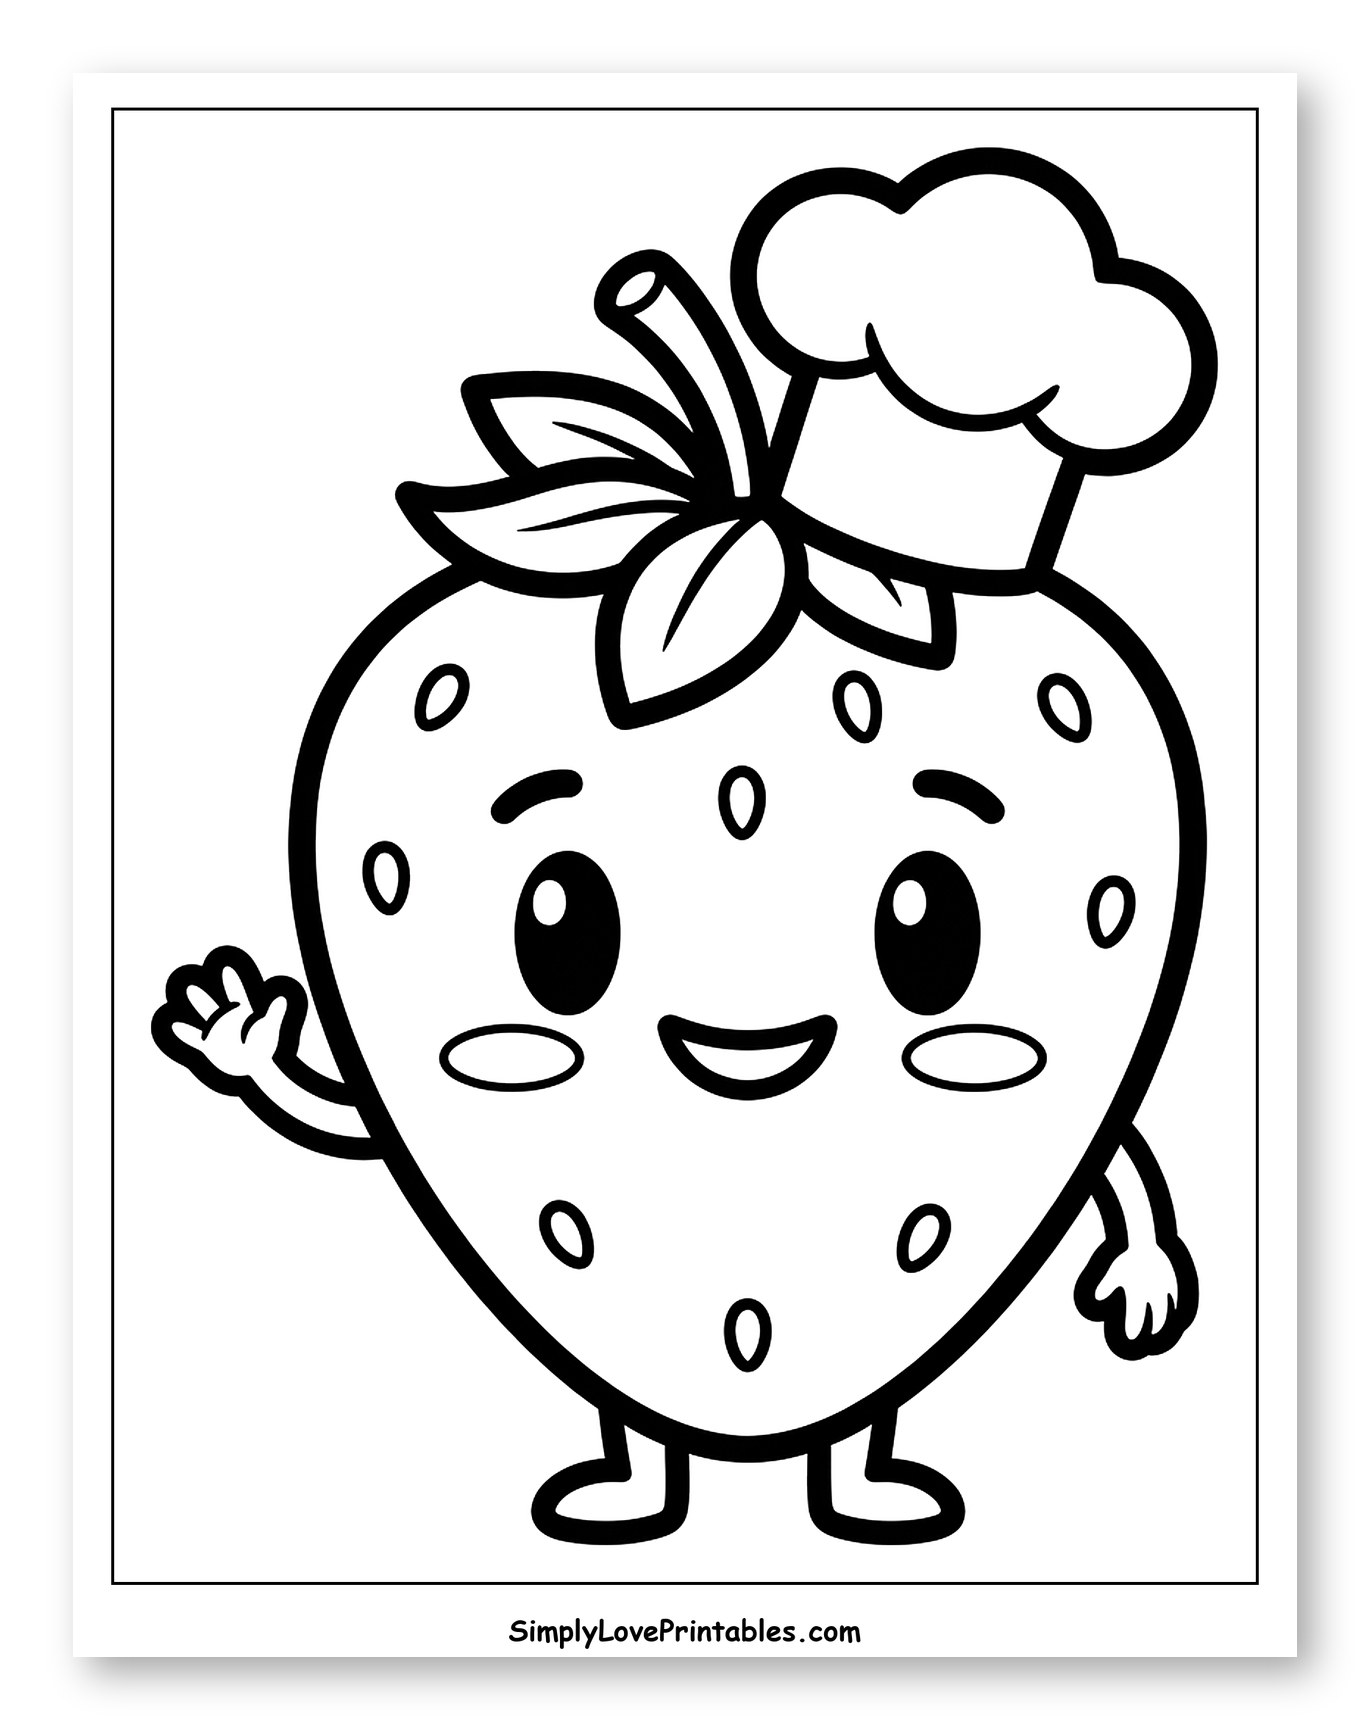
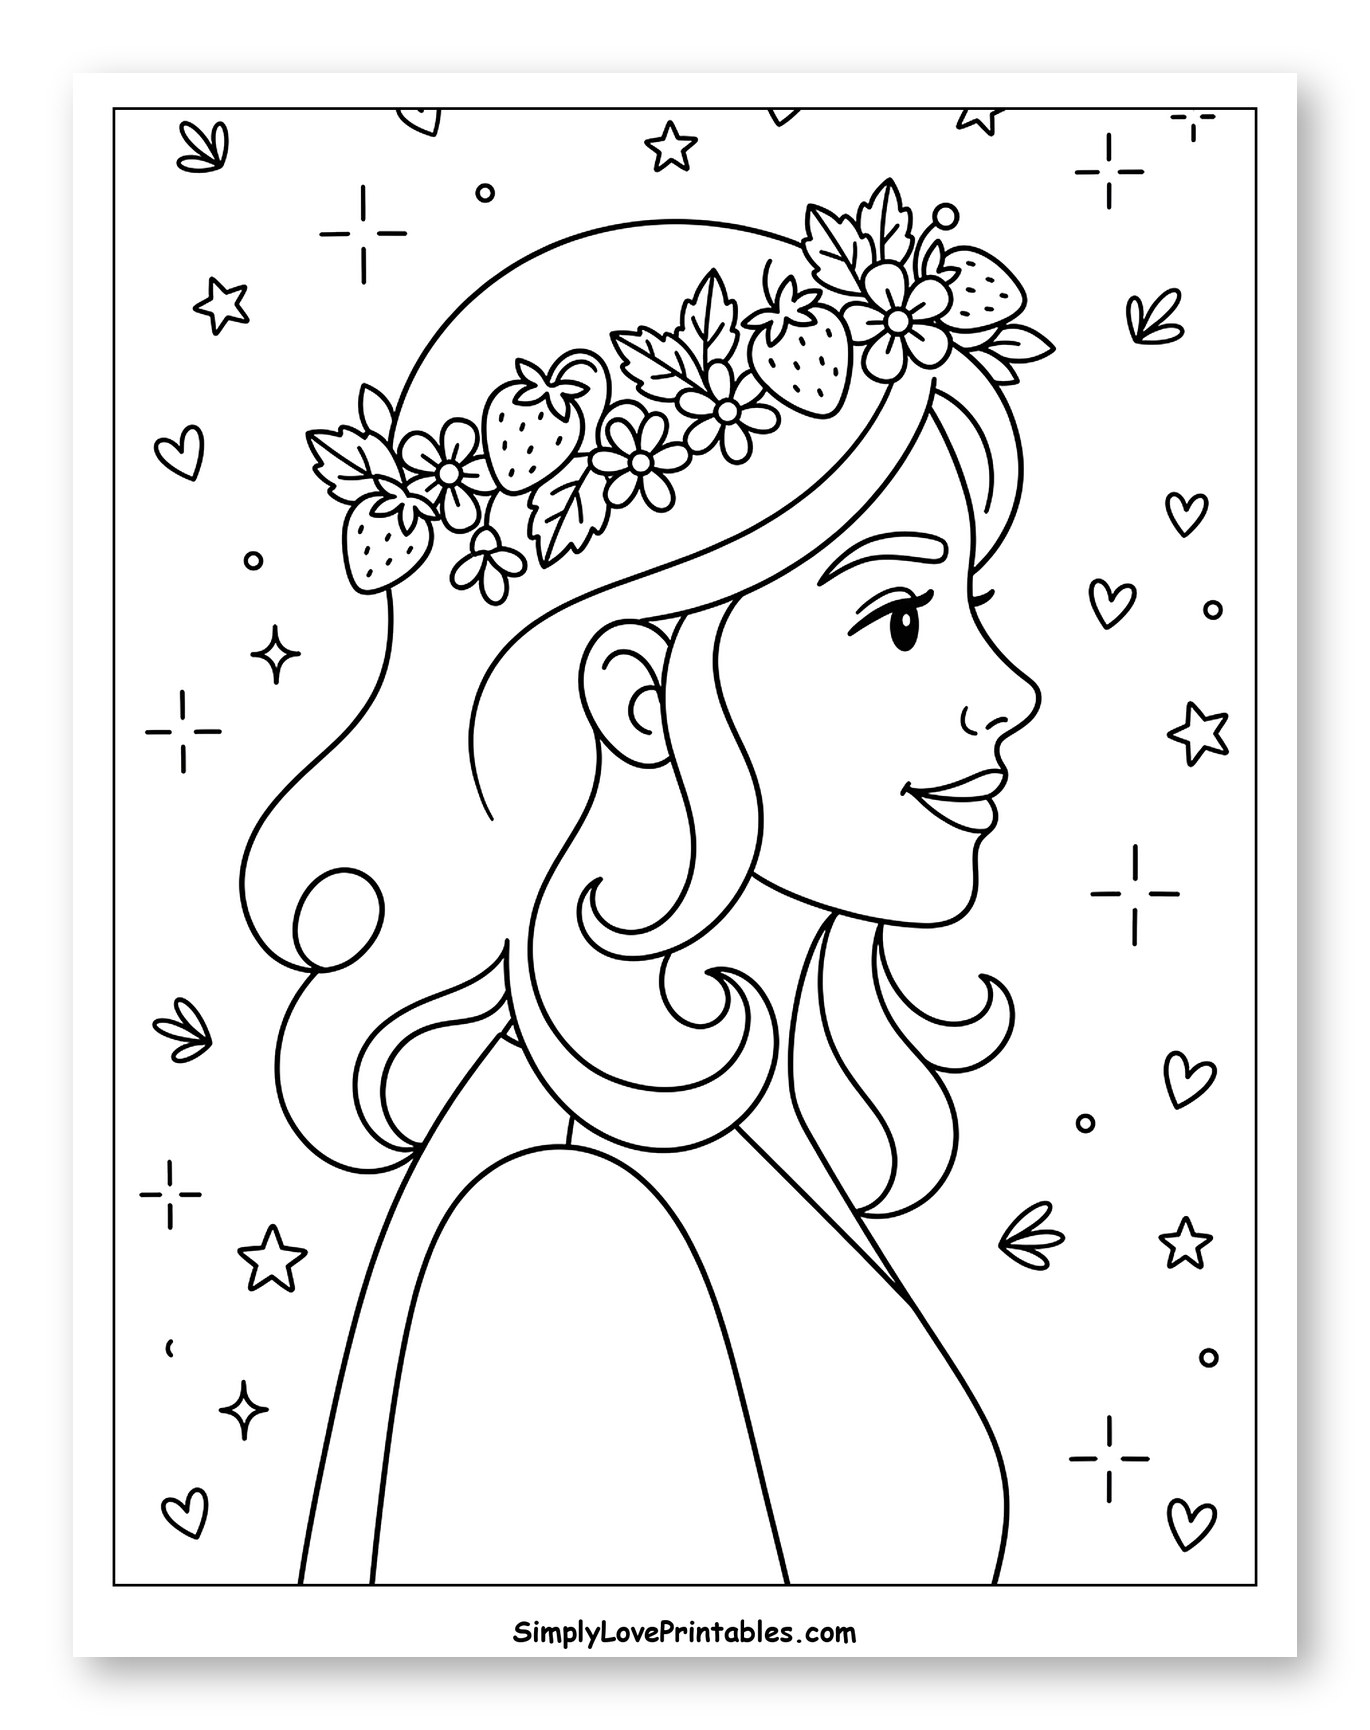
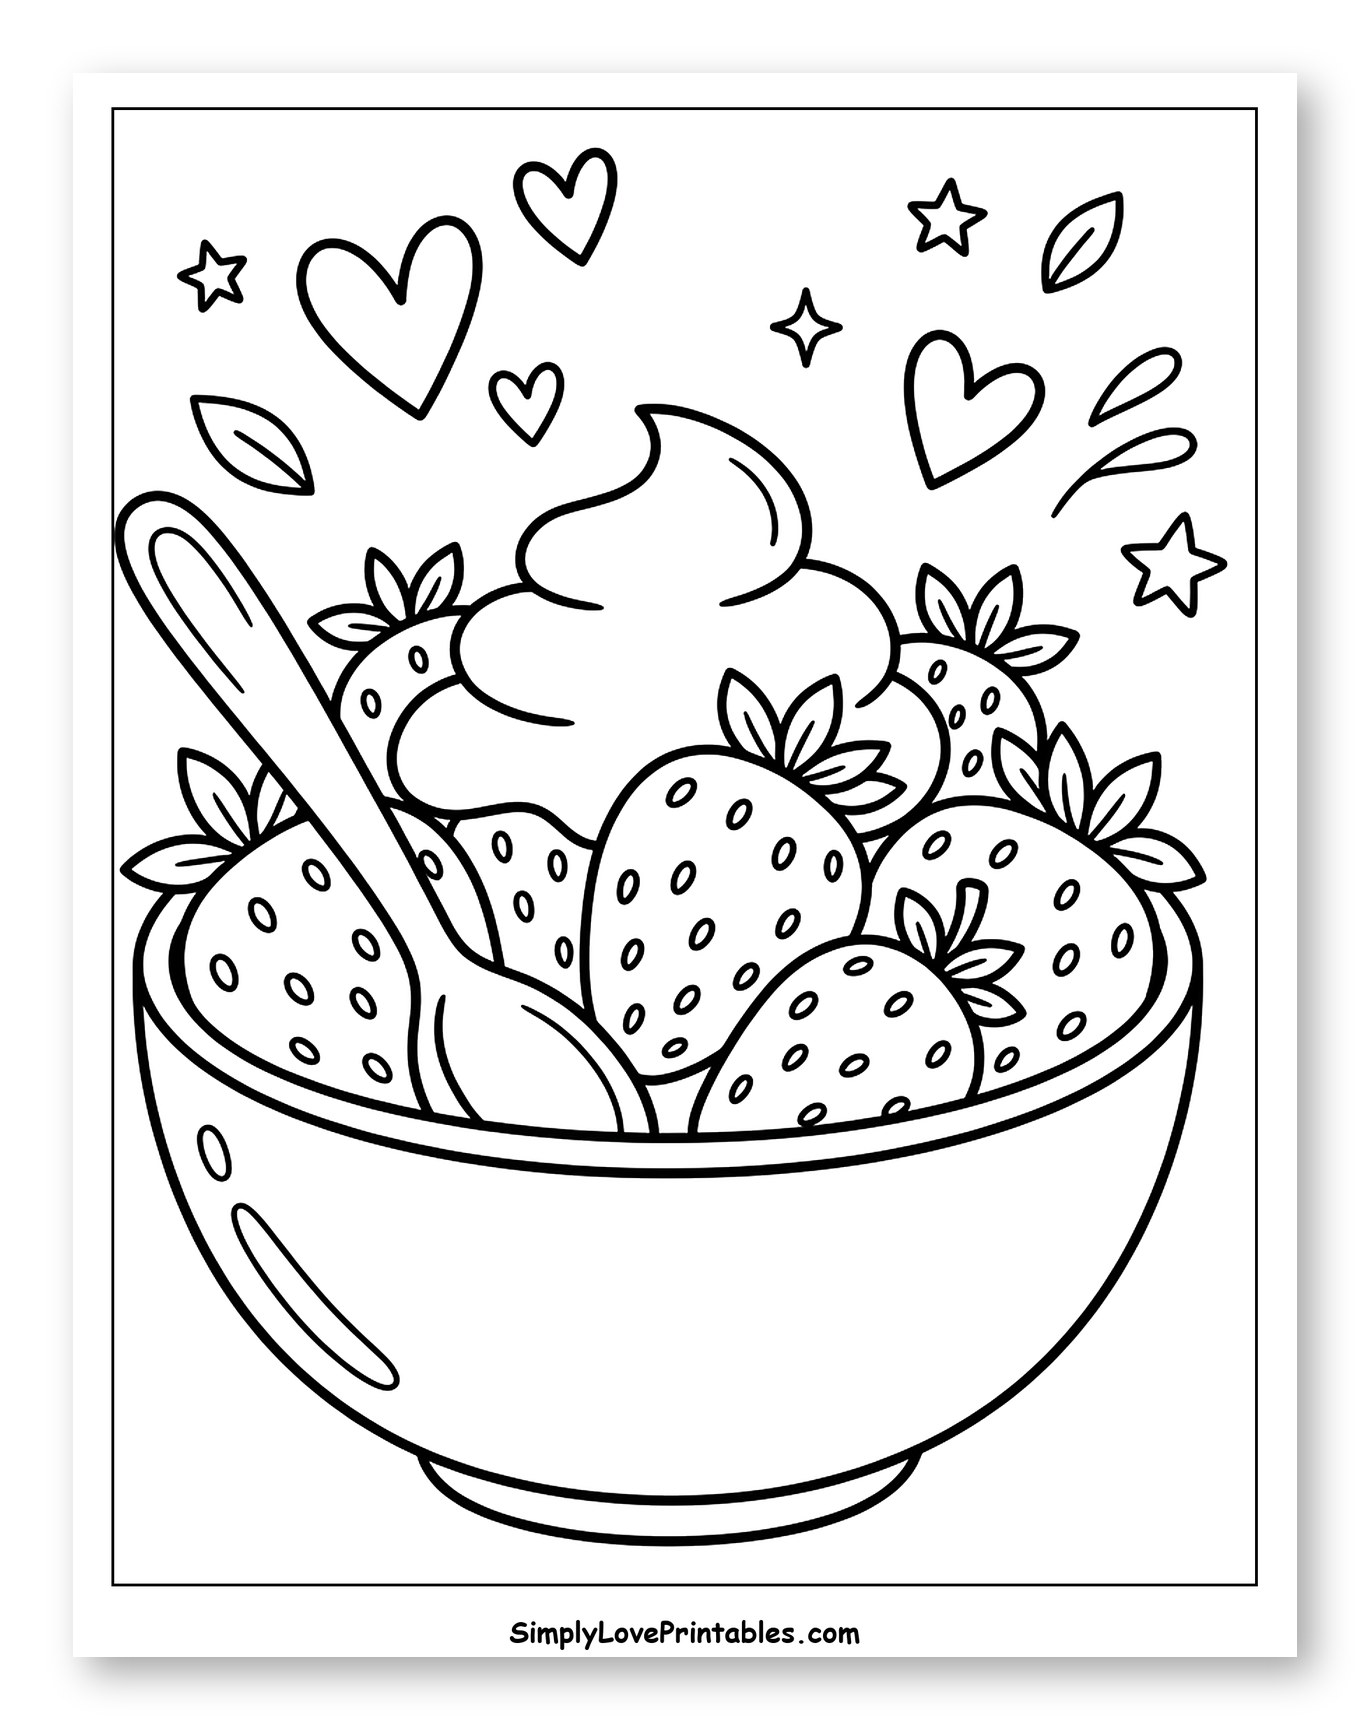
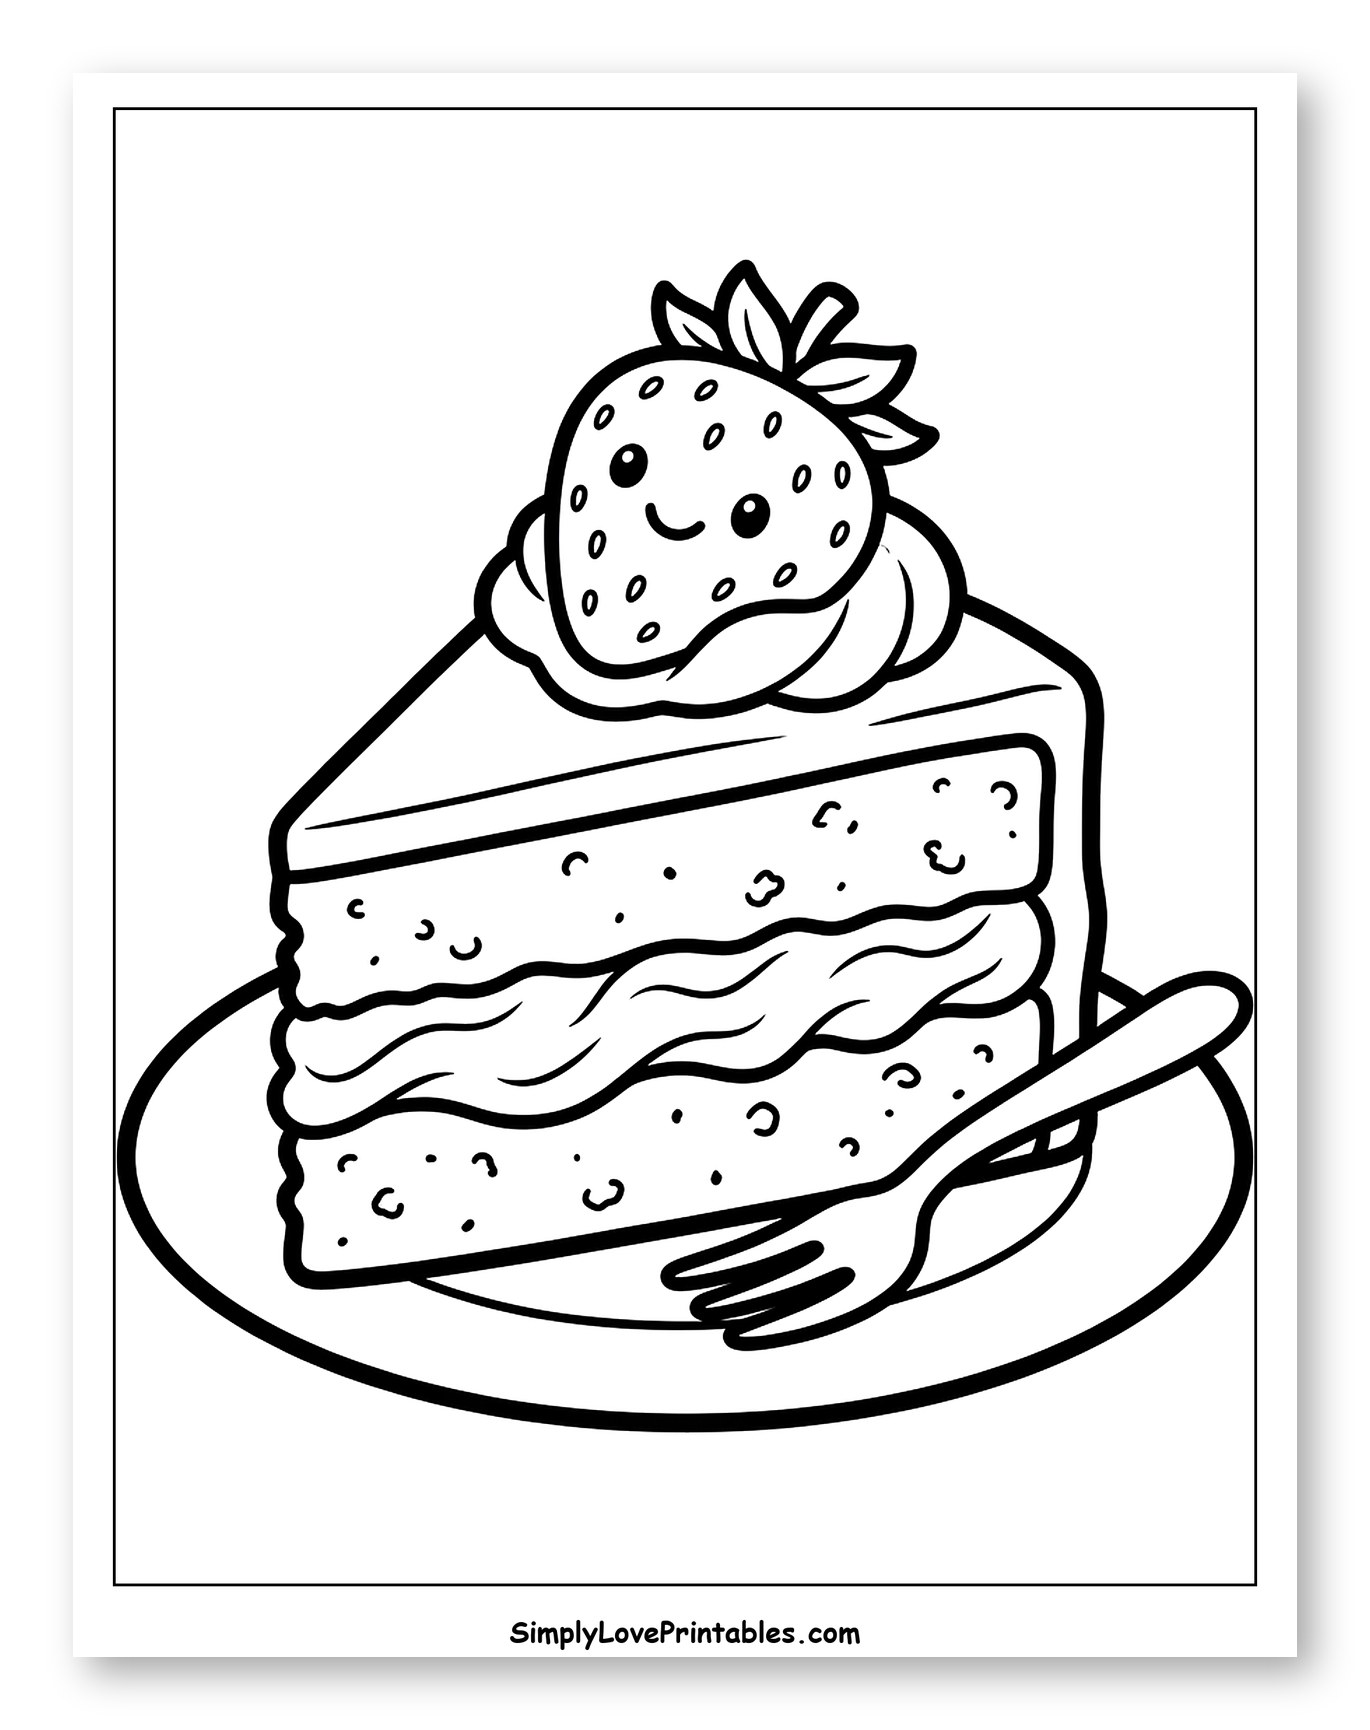
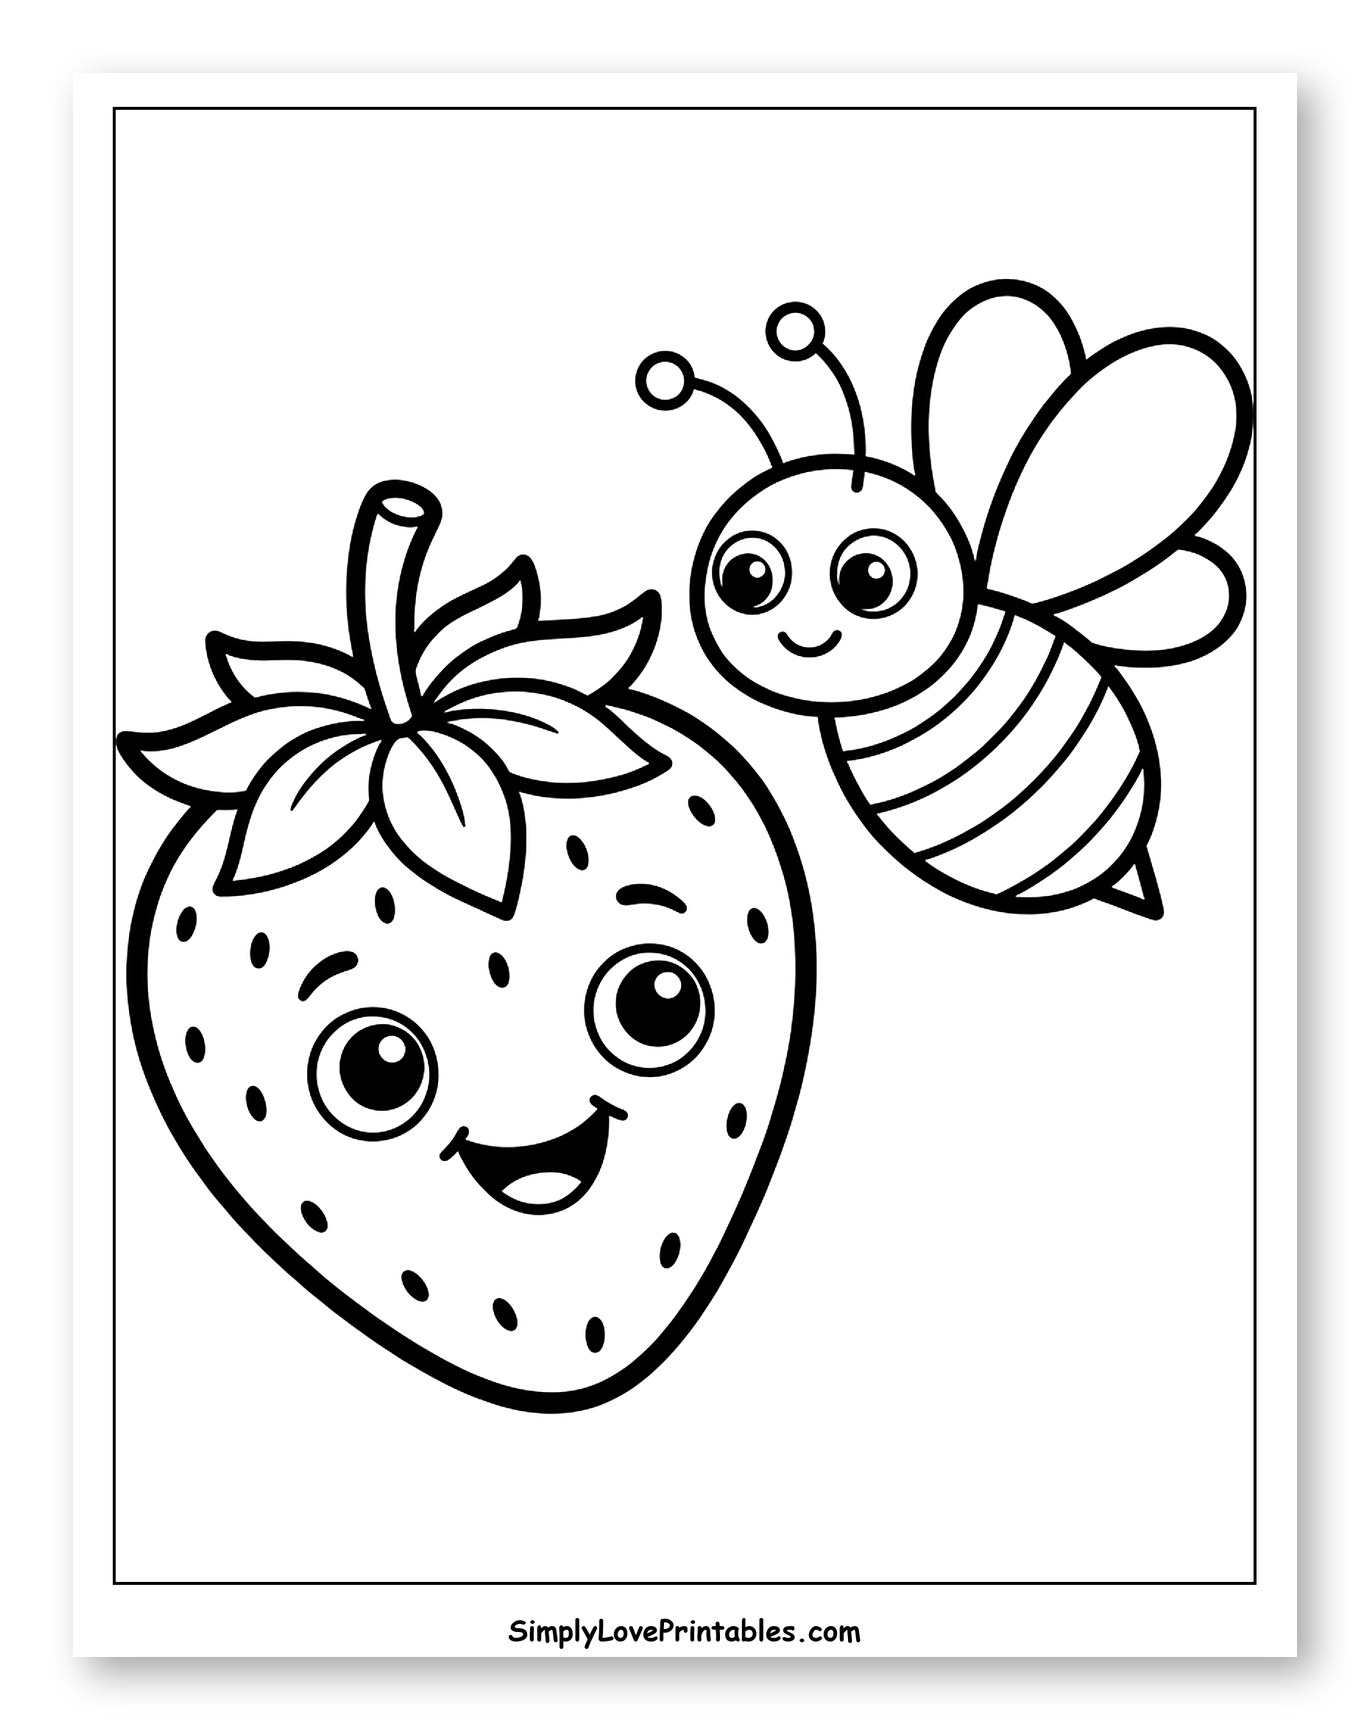
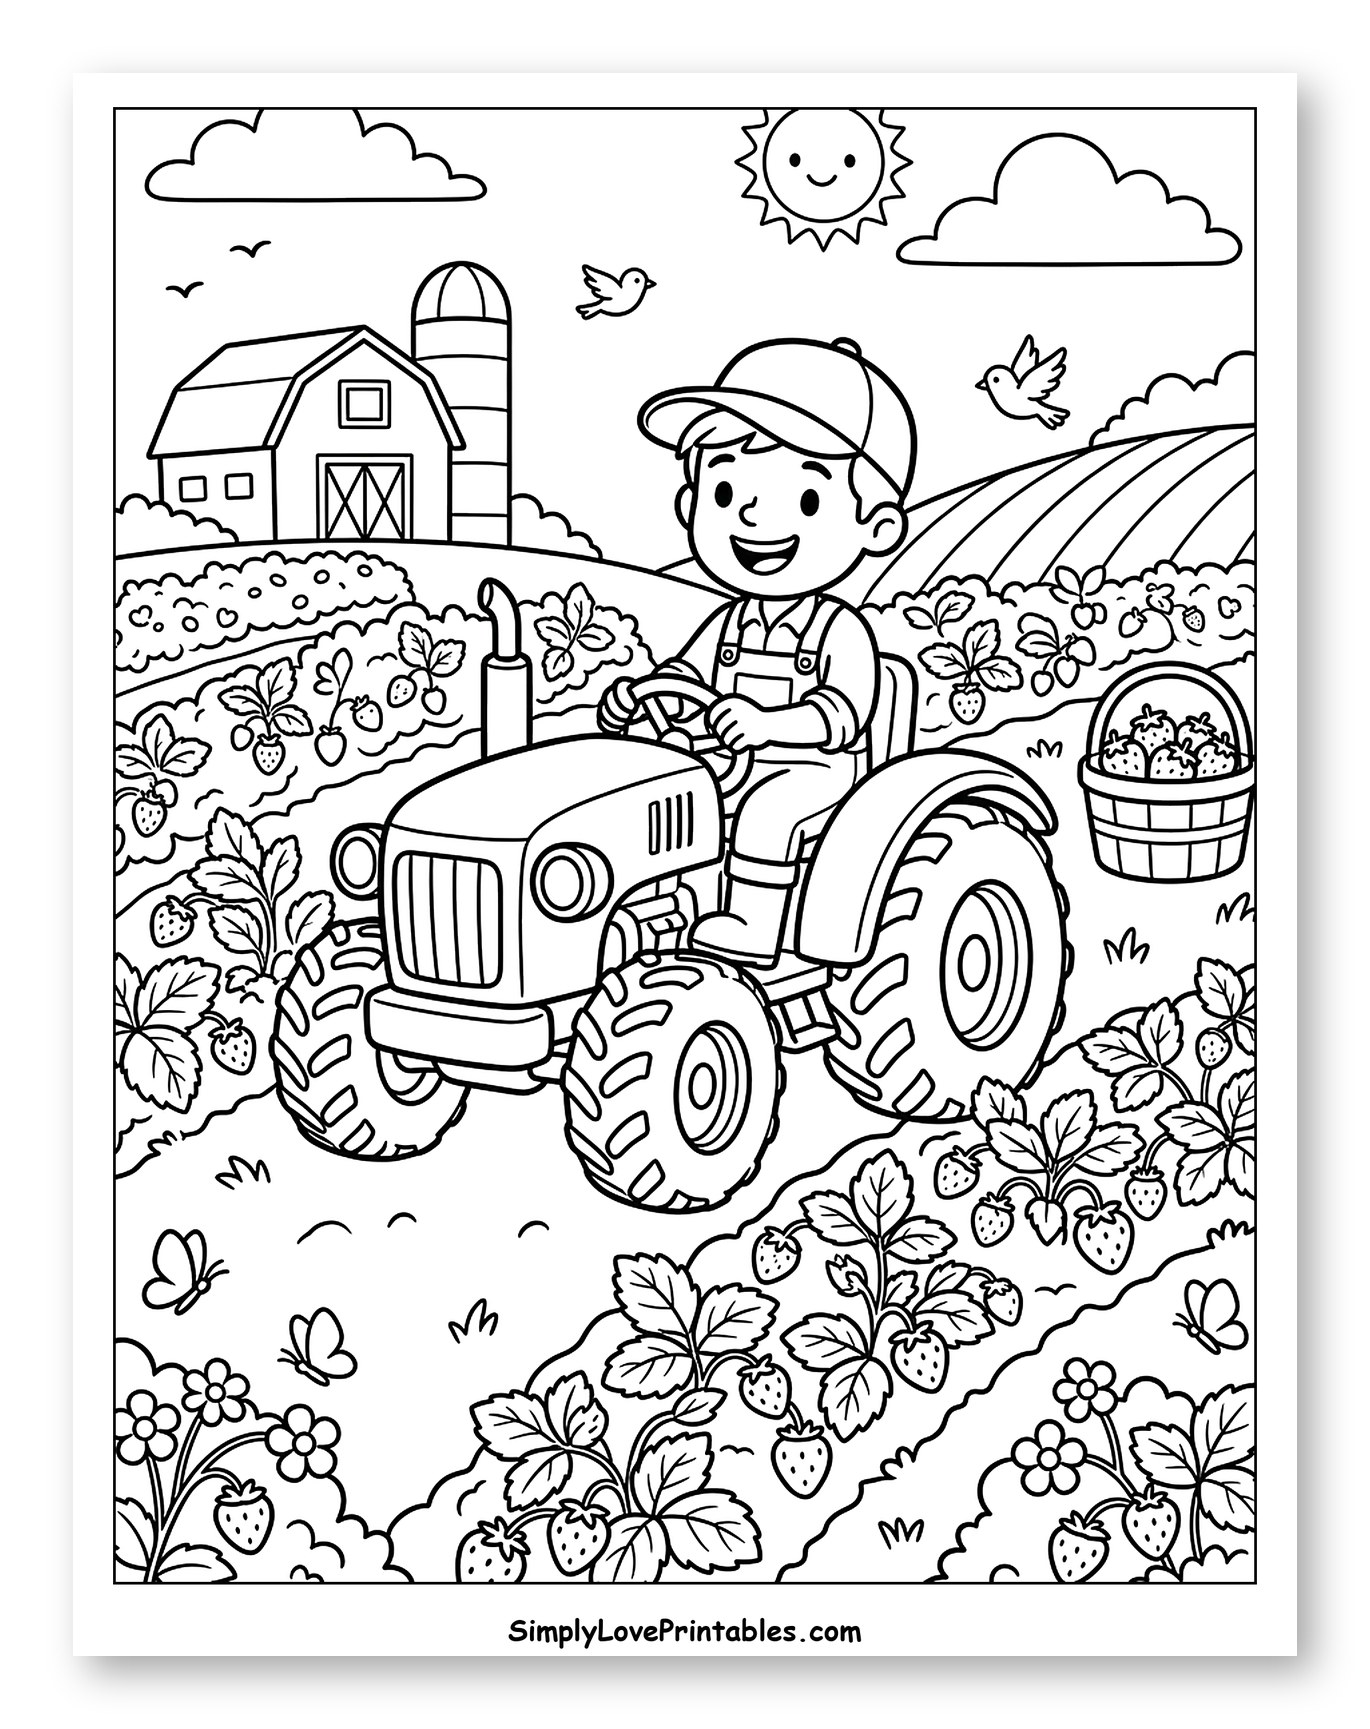
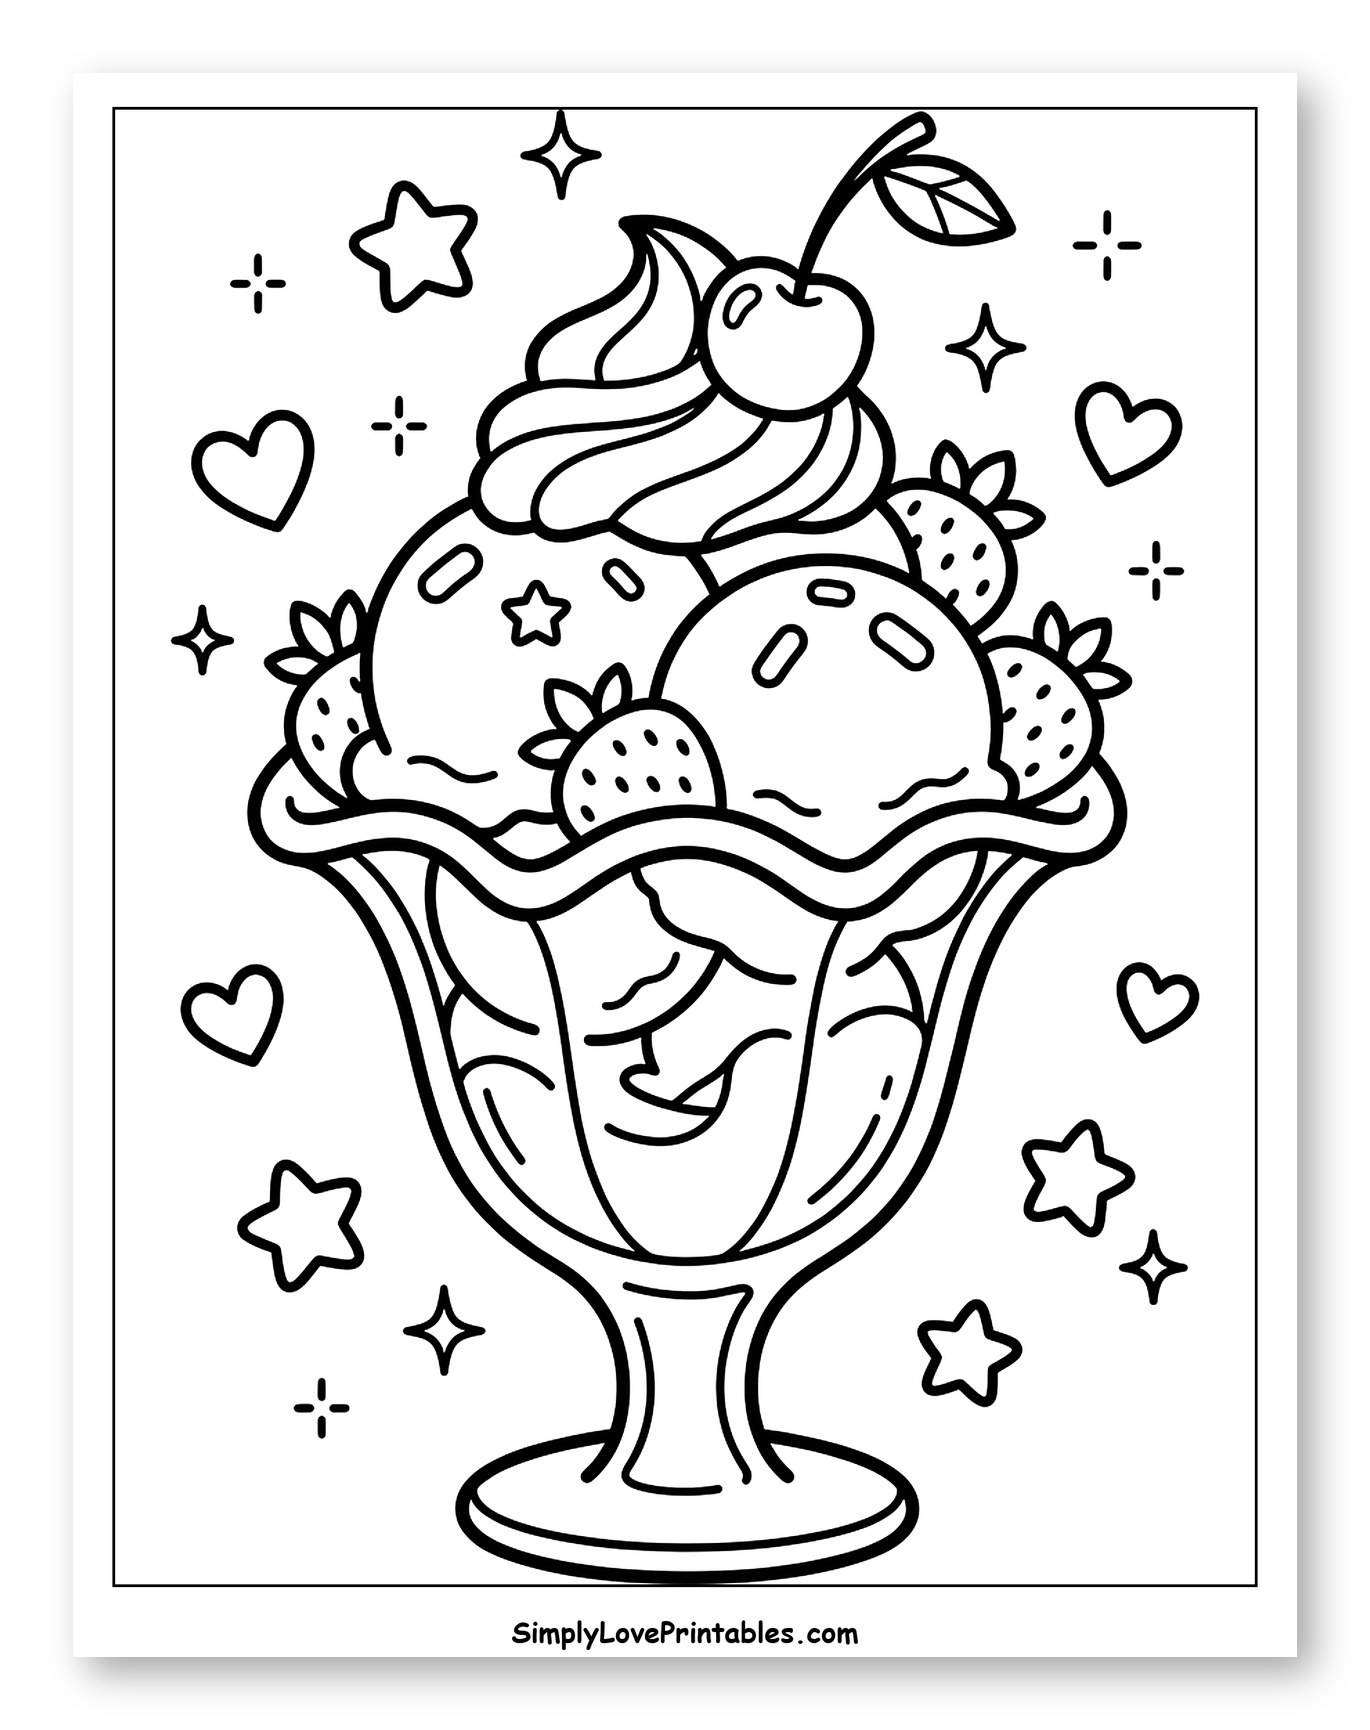
These pages bring the sweet delight of strawberries right to your fingertips, from images of plump berries growing on vines to scenes of delicious strawberry desserts, cute strawberry characters, and more!
To begin coloring, just click on any image or link below to view the free PDF. Once open, feel free to download and print to your heart's content.
All pages are designed for US Letter paper but scale flawlessly to A4. Happy coloring!


10 Craft Ideas to do With Strawberry Coloring Pages
Once those finished coloring pages start piling up, put your little artist's work to use with these easy and affordable strawberry-themed crafts!
1. Sweet Strawberry Garland
Gather several brightly colored strawberry pages. Carefully cut out each strawberry, then use a hole punch at the top of each berry. Thread a length of yarn or string through the holes to create a beautiful banner to hang in your home or child's room.
2. Berry Basket Liners
Transform plain tissue paper or brown kraft paper into charming basket liners or gift wrap. Cut out your finished strawberries and glue them artfully onto larger sheets of paper. This makes a lovely, personalized touch for gifting homemade treats or filling a decorative basket.
3. Strawberry Patch Headbands
Create a fun wearable craft! Cut a long strip of green construction paper to fit around your child's head, forming a headband base. Cut out a collection of your colored strawberries, then glue them along the top edge of the green headband, making it look like a little strawberry patch you can wear.
4. Finger Puppet Friends
Bring your strawberries to life as adorable finger puppets! Carefully cut out a single strawberry from its page. Glue it to the top of a small paper tube (like a cut-down toilet paper roll) or a craft stick. Now you have a sweet little character ready for imaginative play and storytelling.
5. DIY Strawberry Window Clings
Make your windows burst with berry brightness! Cut out your colored strawberries. Cover each cutout on both sides with clear contact paper or clear packing tape for a laminated effect, ensuring no air bubbles. Trim around the edges, leaving a small border, then stick them to windows for a cheerful, removable decoration.
6. Strawberry Growth Chart
Track your little one's height with a custom growth chart. Take a long strip of poster board or sturdy paper and mark height intervals. Cut out various sizes of your colored strawberries and glue them next to the measurements, creating a sweet and functional piece of wall art that grows with them.
7. Story Time Strawberry Stones
Turn smooth pebbles or river stones into unique storytelling props. Cut out small, individual strawberries from your coloring pages. Glue one strawberry onto each stone, then seal with Mod Podge or clear nail polish to protect them. These tactile “story stones” are perfect for sparking imagination and narrative play.
8. Strawberry Memory Game
Create a berry fun memory game! You'll need at least two identical copies of each strawberry you color. Cut out the matching pairs and glue each one onto separate cardstock squares or bottle caps. Flip them over and play a classic matching game, perfect for reinforcing visual recognition.
9. Sweet Berry Diorama
Build a miniature strawberry patch! Use a shoebox turned on its side as your diorama base. Cut green construction paper for the ground and glue pipe cleaners for stems. Then, strategically glue your cut-out, colored strawberries onto the paper ground and stems to create a delightful 3D berry scene.
10. “Berry Fresh” Placemats
Protect your table in style with custom placemats! Take a piece of sturdy cardstock or poster board and glue several of your finished strawberry cutouts onto it in a pleasing design. Laminate the entire placemat using clear contact paper or by covering both sides with clear packing tape for a wipeable, durable finish.