Intricate borders, elegant designs, and artistic enclosures come together in these 30 frame coloring pages, free for you to download and print. This collection celebrates the beauty of defining space and showcasing your creativity!
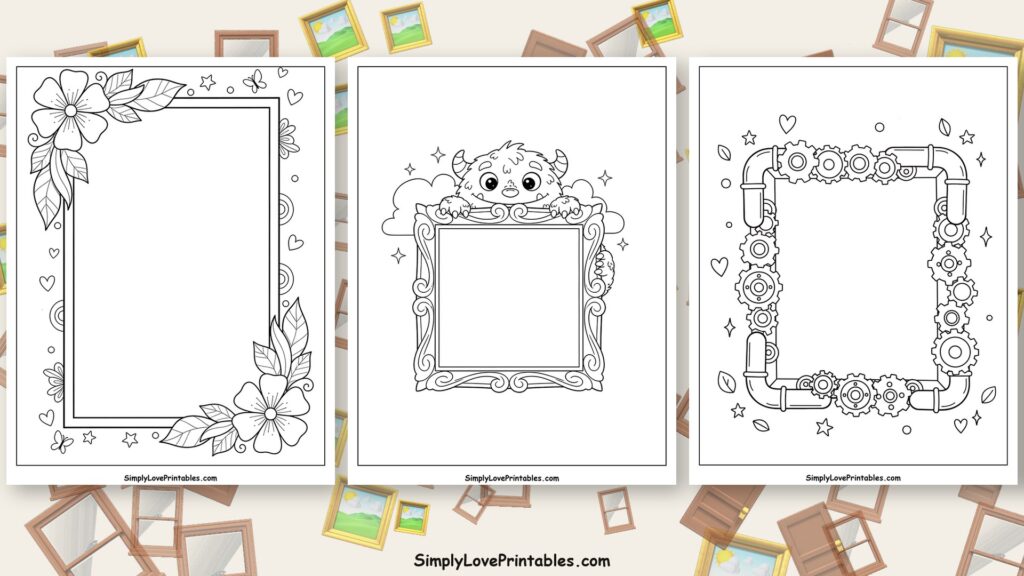
Click any image below to open the free PDF. Pages are US letter sized but also print well on A4. Happy coloring!
Once those beautiful frame coloring pages are all colored and piled up, don't let them gather dust! These easy, affordable crafts are perfect ways to put them to creative use.
1. Mini Gallery Wall
Cut out your favorite colored frames, ensuring the inner “picture” area is left intact or filled with a small drawing. Glue these diverse frames onto a larger sheet of construction paper or a piece of thin poster board to create a charming miniature art display. Arrange them playfully to design your own tiny gallery exhibit ready for any wall.
2. Pop-Up Frame Card
Transform a simple card into a delightful surprise! Fold a piece of cardstock in half for your card base. Cut out a vibrant colored frame, then create a simple pop-up mechanism inside the card by making two parallel cuts and folding the strip inward. Securely glue your frame onto this pop-up strip so it springs forward when the card opens.
3. Wearable Frame Photo Booth Prop
Let kids frame themselves or their friends with this fun prop! Carefully cut out a large, empty colored frame from your coloring page, ensuring the center is completely open. Reinforce it with a piece of cardboard on the back for stiffness, then glue a sturdy popsicle stick or ruler to the bottom edge as a handle. Hold it up to create instant, silly photo opportunities!
4. Frame “Stained Glass” Sun Catcher
Brighten up any window with a colorful frame sun catcher. Cut out a frame, leaving only the decorative border and removing the entire inner section. Glue various small pieces of colorful tissue paper behind this frame border, completely filling the open space. Once dry, cover both sides with clear contact paper or laminate for durability and hang in a sunny window.
5. Framed Fridge Magnets
Turn small, charming frames into functional fridge art. Cut out individual colored frames, reinforcing each with a slightly smaller piece of cereal box cardboard glued to the back. Attach a small craft magnet to the cardboard. These cute frame magnets can hold up notes, tiny drawings, or even “frame” a small photo on your refrigerator.
6. “Picture This” Story Cubes
Inspire creative storytelling with these unique cubes. Find a few small cardboard boxes or wooden blocks. Cut out different colored frames, perhaps with a simple drawing or word inside each one from the coloring page. Glue these frames onto the sides of your cubes. Roll the cubes and use whatever “picture” or “frame” lands face up to start your next story adventure!
7. Frame Garland or Bunting
Decorate a room with a whimsical frame garland. Cut out a collection of different sized and shaped colored frames, making sure their inner sections are either removed or filled. Punch two holes at the top corners of each frame. Thread them onto a piece of string, ribbon, or yarn, spacing them out as desired to create a festive decoration.
8. Memory Jar Labels
Organize your keepsakes with creatively framed labels. Cut out various decorative frames from your colored pages, possibly with a small blank space inside. Glue these frames onto the front of clean glass jars, tin cans, or plastic containers. Use a marker or a small piece of paper inserted into the frame to label the jar's contents, like “Summer Memories” or “Tiny Treasures.”
9. Picture Frame Coasters
Protect surfaces with these artistic coasters. Carefully cut out square or rectangular colored frames, ensuring they are sized appropriately for coasters. Glue each frame onto a sturdy piece of corkboard or thick cardboard, then seal with a clear, non-toxic craft sealant or cover with clear contact paper. Let dry completely for unique and functional tabletop decor.
10. Frame Puppets on a Stick
Bring stories to life with these simple stick puppets. Cut out individual colored frames, leaving the center open. Attach a character (drawn on paper or cut from another source) behind the frame opening so it looks like the character is “framed.” Glue a craft stick or pencil to the bottom of the frame for easy handling. Kids can put on a puppet show with their framed characters!